Thanks Jack, Greg, Bart and Kevin.
")
Bart: I'm really glad that tip worked for you.

No worries, Kevin - cool photo too!
I've been waiting for the rain to ease off, so I can take some photos for this next tip in natural light, but evidently it's not happening anytime soon, so apologies for the indoor pic quality.
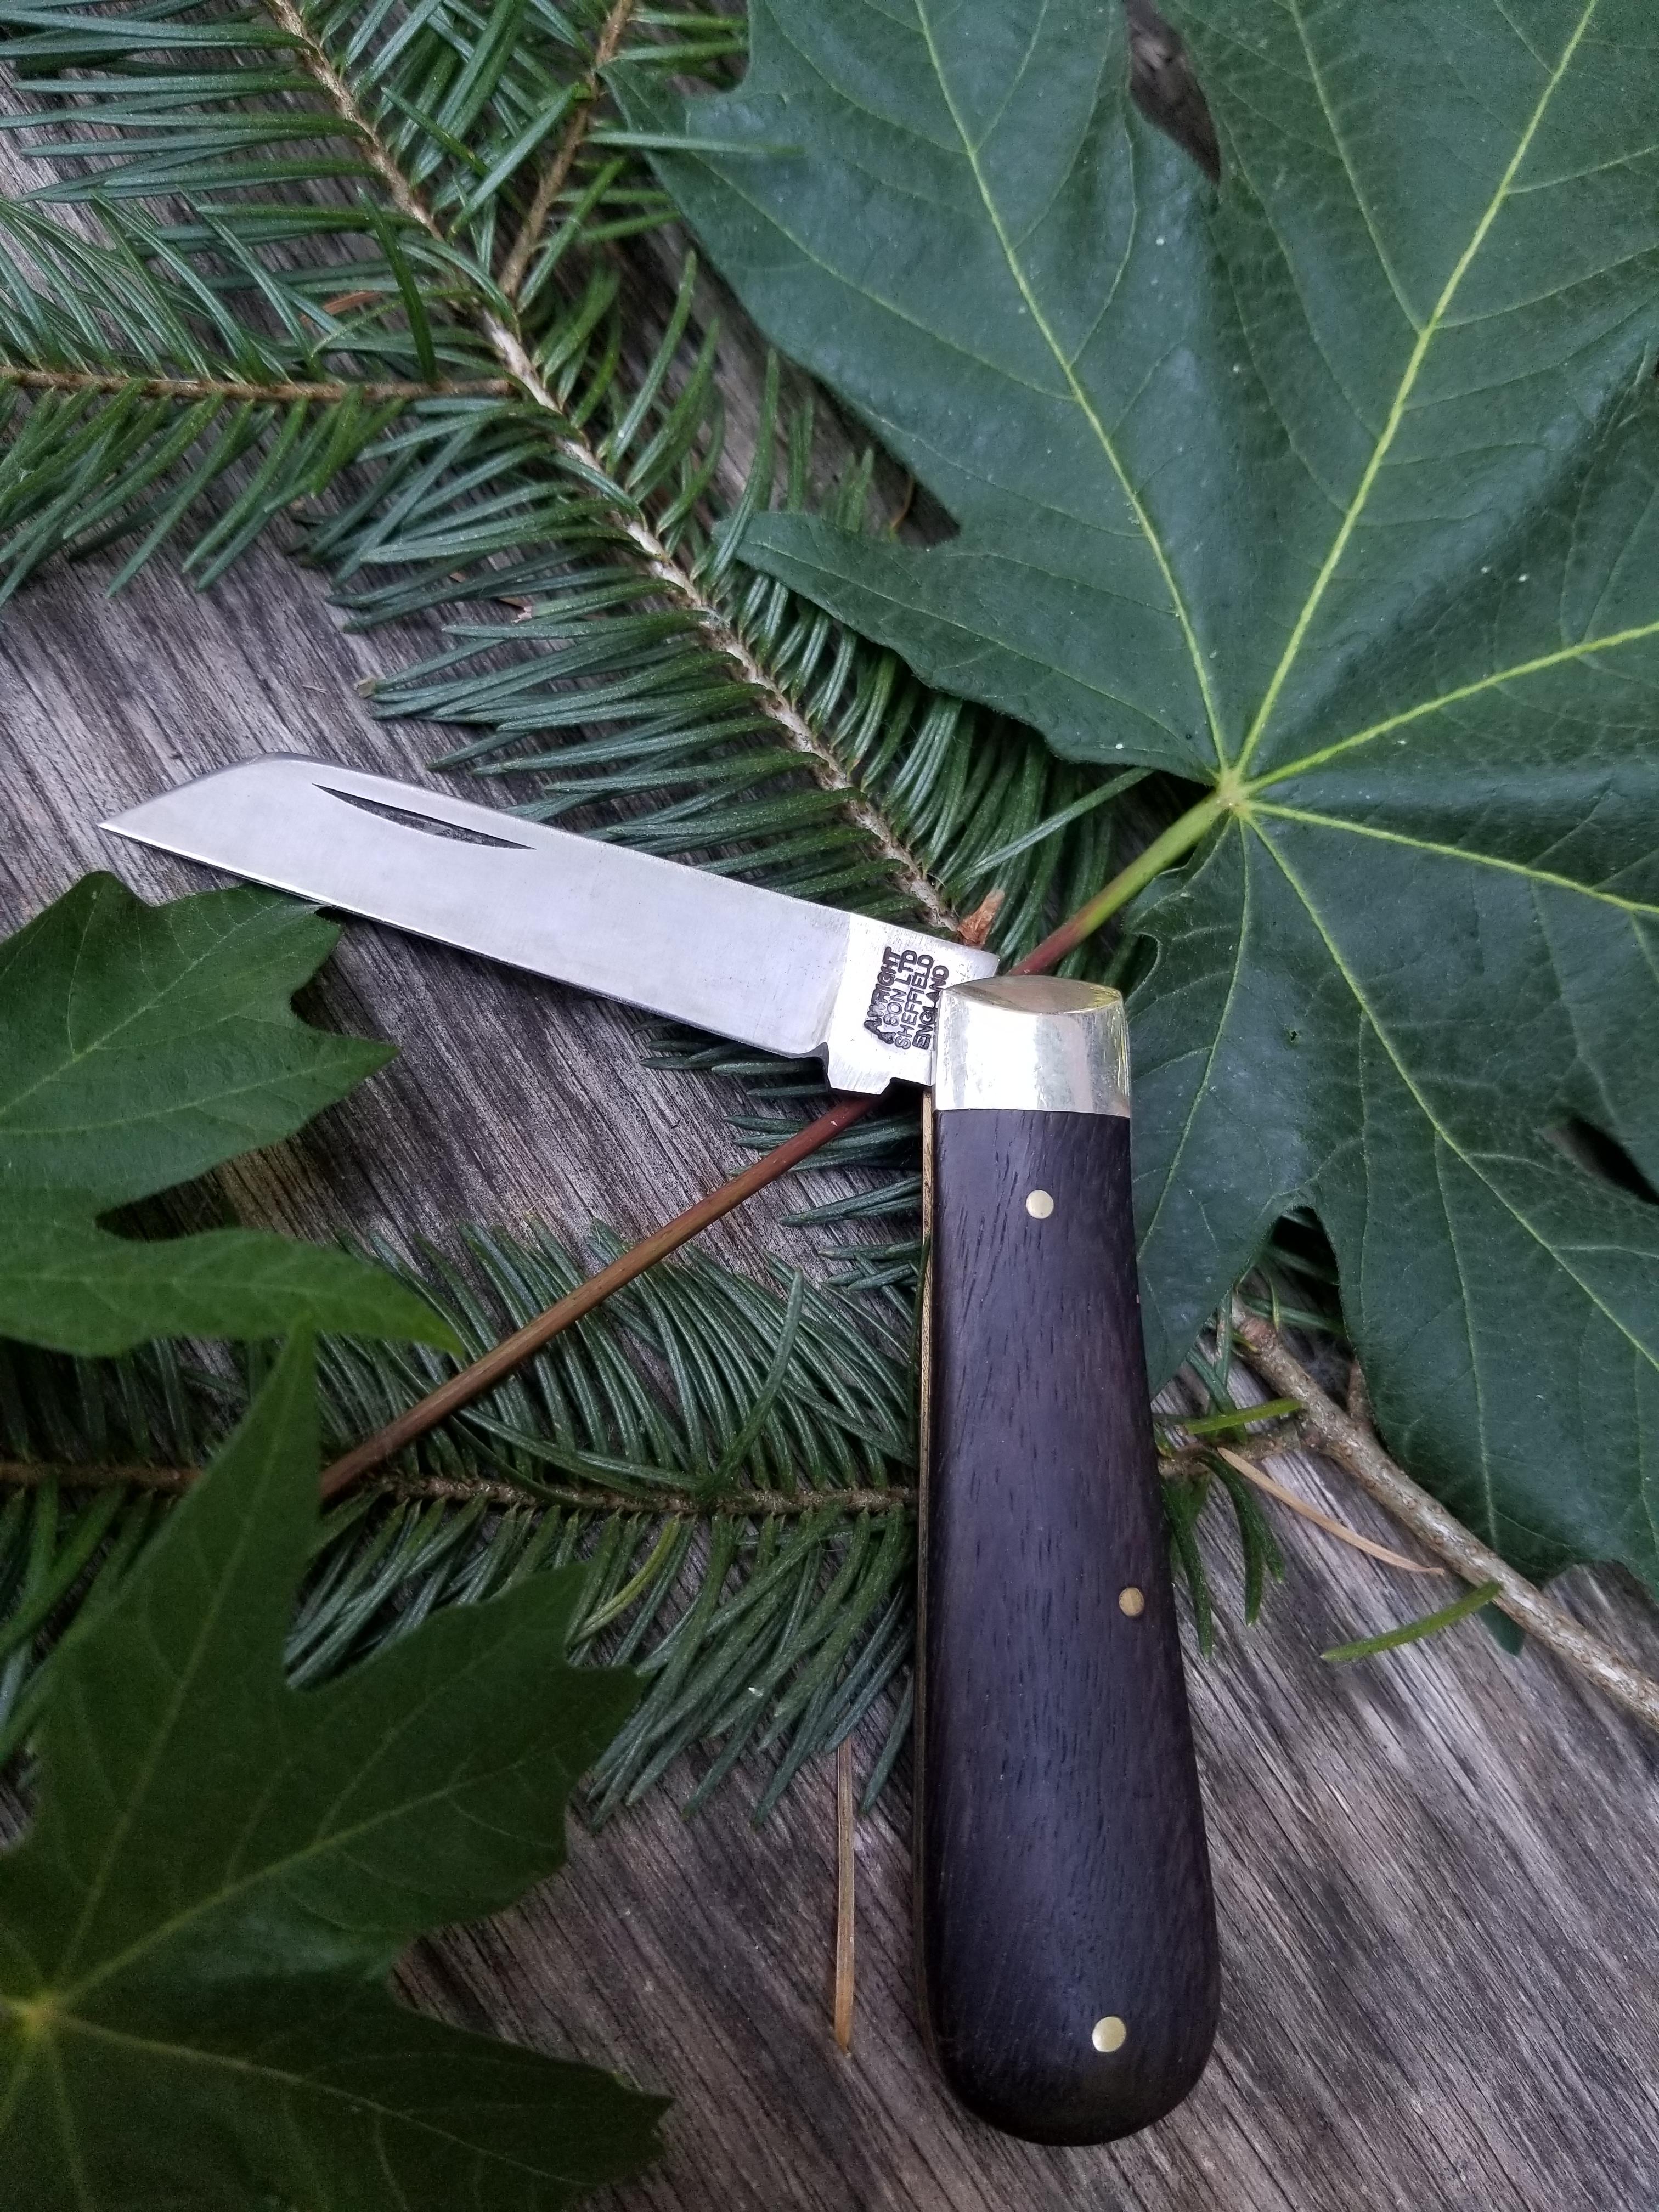
So, after using a little bit of abrasive paste or compound in the action area of your Lambsfoot knife, and flushing it clean again, let's take a closer look at this pivot area.
View attachment 736836
The curved camming surface at the back of the tang is nice and polished now. We can't access the underside of the backspring, which it bears against when opening and closing, but the abrasive we applied should have smoothed that contact area out.
Next, we have the bearing surfaces between the sides of the tang and the brass scales. I try to keep excessive abrasive paste out of this area, so it remains tightly fitted. What you can do is just strop the sides of the tang area, without the blade flats or edge really touching the strop. I tend to do this every time I resharpen the knife.
View attachment 736834
Bear in mind that even though the steel may seem smooth to the eye and touch, under high magnification it's a different story.
This is a scanning electron microscope (SEM) image at 5000x magnification, of a high carbon steel edge apex and bevel, which has been finished on a 4000 grit Shapton Glass stone.
View attachment 736835
This image is included (from the excellent
scienceofsharp blog), as I find it helps to be able to visualise what the actual steel surface looks like, even though it may seem smooth and uniform.
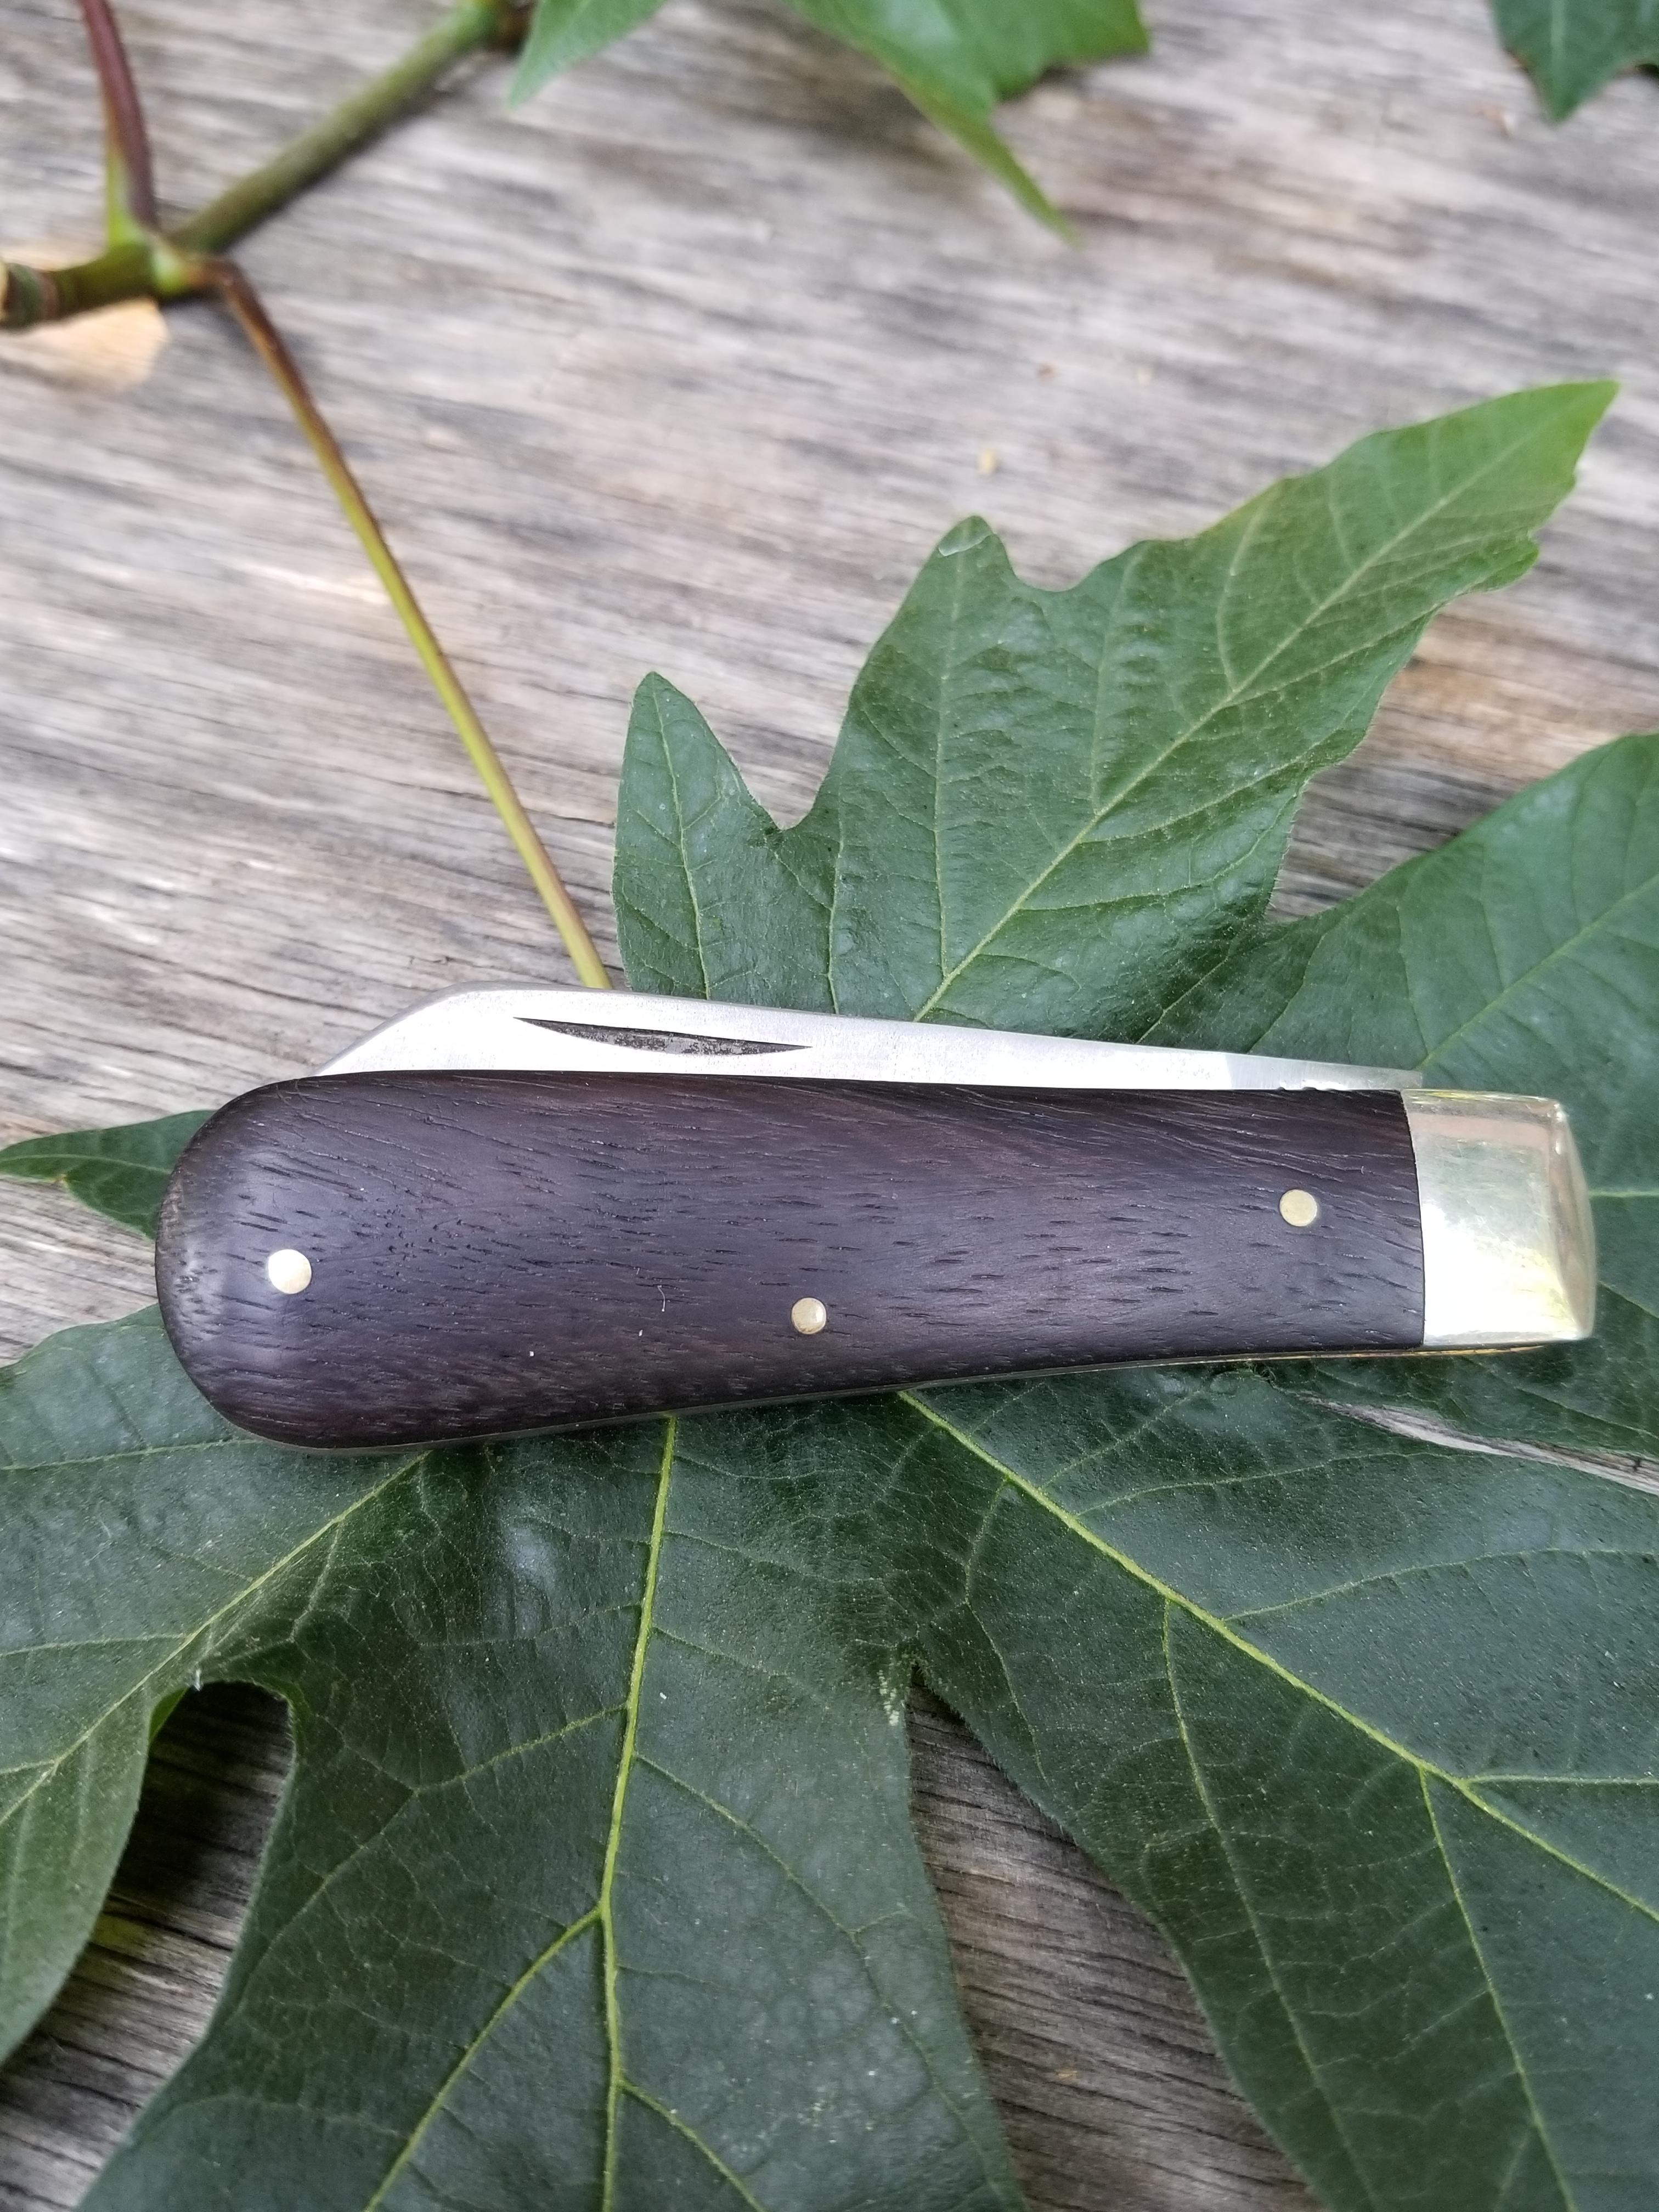
Now, the next point to address at the back of the tang is the corner which is exposed within the blade channel, when the knife is open.
View attachment 736832
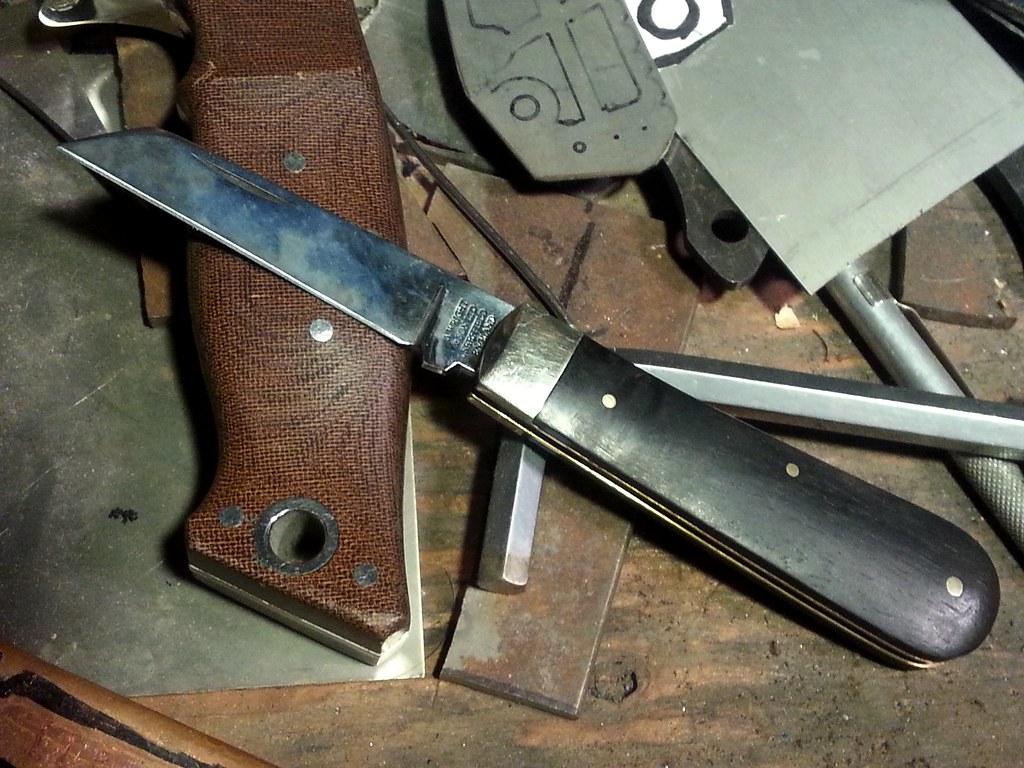
This is what this corner looks like, fully broken in, on a well used Lambsfoot knife:
View attachment 736830
The above knife (my Unity) hasn't been worked over at all - that wear is just from extensive use.
When it is new, crisp and squared off, this is a point which will offer initial resistance to the opening pull. If it is burred, or roughly finished in any way, it will be quite noticeable in the 'walk' of the knife.
So I usually make a 'file' with a wood skewer or icy pole stick and a little piece of wet'n'dry sandpaper folded around it. You could use a SAK toothpick as well. I used 800grit, then 2000grit paper for this.
View attachment 736833
Get your 'file' into the blade channel, and gently break that corner a little, and smooth it out.
Remember the tang area on slipjoints is annealed so it'll respond quicker to abrasives than the hardened blade.
You'll find this has an immediate noticeable effect on the opening feel of the 'walk' of the knife.
Once you're happy with it, I usually slide a bit of scrap leather charged with stropping compound in edgewise to give that tang corner a bit of a smooth polish.
Clean and flush again, and you're done!
You might want to tape the blade edge while doing this.
As with filing the kick on slipjoints, work cautiously and slowly, checking often - you can't put material back, once it's gone!
The other tang corner which is accessible when the knife is closed, serves to offer initial resistance to closing the blade. For this reason, I generally leave it alone, unless it has burring evident, maybe just a light 'strop' with the edge of a bit of leather to clean it up.
View attachment 736831
These 'tools' are what I used, but you can easily improvise. If you don't have stropping/lapping compounds, you could use metal polish or even toothpaste.
View attachment 736829
I hope this hasn't been too off topic, but as A. Wright & Son are a mainstay of modern Lambsfoots here, I wanted to assist Guardians in future who would like to speed up the break-in process of these hard workin' knives. Of course, these tips will work with any slipjoint that needs a little 'tuning'.