PaulDiStefano
Knifemaker / Craftsman / Service Provider
- Joined
- Nov 14, 2016
- Messages
- 636
Whattup whattup boys, I havent posted for a while and wont really be able to work in the shop more then 2-4 days a month for the next 3 months because of my new job so I figured I would do a long WIP thread of my next piece. I always enjoyed going through all the WIP from other makers so i figured Id give it a go. Hopefully you guys enjoy.
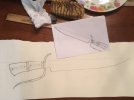
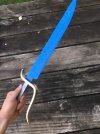
This is the new concept drawing named "Bronze age". It will have a 12.25" cutting edge of W2 with a no clay hamon. Long sweeping S guard made from bronze that I will do some carving on resembling patterns from old greek art/painting/sculptures. Then Ill have sheep horn handle with a mortised tang construction. then another bronze carved spacer with more sheephorn after. The bronze will be rusticated after the carving is done to make it look like old and like it was dug up out of the ground. This is only a rough drawing. I still have a lo of decisions to make on overall handle shape and whether or not I want to keep a lot of the rough sheep horn texture in the middle and do some pattern carving around the ground parts or grind most of it clean and then do some cool carving on the majority of the handle.
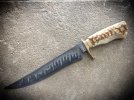
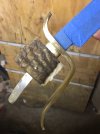
this is a picture of the first idea having some rough texture in the middle and then i'll do some carving around the ground parts. Let me know your thoughts. leave some texture and carve or grind clean and carve.
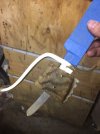
Im going to attempt to dye the sheep horn goldish to stick with the bronze theme of the whole piece.(hopefully it'll accept some dye. I have no idea but the plan is to try it)
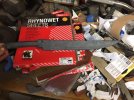
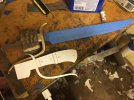
Here is the blade all forged out. havent forged in a while so im a bit rusty so the ricasso doesnt look to clean. I forged in a slight upsweep to the tip so that when I oil quench it will drop down in line for a straight back like the drawing. I also kept the tang a little wide because at this point I handt finalized the handle shape so i wanted the extra room to reshape the tang if I changed the design.
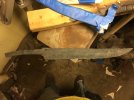
this is after profiling.
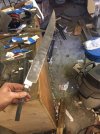
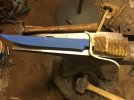
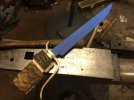
Heres the rough grind right before throwing it in the oven for to quench for the no clay hamon. I dont usually care to much about having the plunges and ricasso squared off and perfectly even until after heat treat.
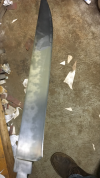
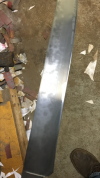
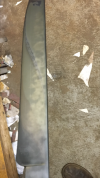
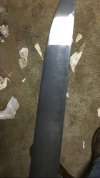
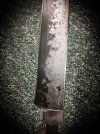
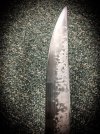
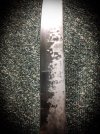
Then in the oven it goes and it is soaked for around 8 min at temp then quenched in parks 50 oil. here are the pics after wiping the oil off after quench.
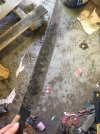
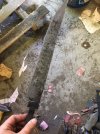
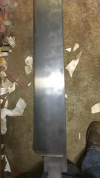
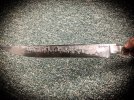
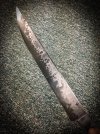
These two pics right here are the money shots. They show how the hamon will act. Notice how the black isn't solid and its more splotchy with dots all over. That is means there will be a ton of smoky little specs all over. If it the spine was solidly black and then near the edge was solidly grey then there would likely be no smoky dots and fun stuff going on all over. I don't know the technical terms for the hamon activity but when I do the finish grind ill show a better view of it before etching. I forgot to take pics after I ground off the decarb to reveal the hamon with 36 grit before I tempered it and completely hid it.
There was my first day of work. Hopefully I can get in the shop next week for at least a day to show more soon.
Let me know what you guys think!!!

This is the new concept drawing named "Bronze age". It will have a 12.25" cutting edge of W2 with a no clay hamon. Long sweeping S guard made from bronze that I will do some carving on resembling patterns from old greek art/painting/sculptures. Then Ill have sheep horn handle with a mortised tang construction. then another bronze carved spacer with more sheephorn after. The bronze will be rusticated after the carving is done to make it look like old and like it was dug up out of the ground. This is only a rough drawing. I still have a lo of decisions to make on overall handle shape and whether or not I want to keep a lot of the rough sheep horn texture in the middle and do some pattern carving around the ground parts or grind most of it clean and then do some cool carving on the majority of the handle.

this is a picture of the first idea having some rough texture in the middle and then i'll do some carving around the ground parts. Let me know your thoughts. leave some texture and carve or grind clean and carve.
Im going to attempt to dye the sheep horn goldish to stick with the bronze theme of the whole piece.(hopefully it'll accept some dye. I have no idea but the plan is to try it)

Here is the blade all forged out. havent forged in a while so im a bit rusty so the ricasso doesnt look to clean. I forged in a slight upsweep to the tip so that when I oil quench it will drop down in line for a straight back like the drawing. I also kept the tang a little wide because at this point I handt finalized the handle shape so i wanted the extra room to reshape the tang if I changed the design.

this is after profiling.

Heres the rough grind right before throwing it in the oven for to quench for the no clay hamon. I dont usually care to much about having the plunges and ricasso squared off and perfectly even until after heat treat.
Then in the oven it goes and it is soaked for around 8 min at temp then quenched in parks 50 oil. here are the pics after wiping the oil off after quench.


These two pics right here are the money shots. They show how the hamon will act. Notice how the black isn't solid and its more splotchy with dots all over. That is means there will be a ton of smoky little specs all over. If it the spine was solidly black and then near the edge was solidly grey then there would likely be no smoky dots and fun stuff going on all over. I don't know the technical terms for the hamon activity but when I do the finish grind ill show a better view of it before etching. I forgot to take pics after I ground off the decarb to reveal the hamon with 36 grit before I tempered it and completely hid it.
There was my first day of work. Hopefully I can get in the shop next week for at least a day to show more soon.
Let me know what you guys think!!!

