- Joined
- Oct 28, 2005
- Messages
- 2,606
I know it's been posted before..but I can't find the posts or thread. I've got a 110 in pieces and want to re-assemble it. 1/8" brass rod is really loose in the holes in the frame. Is 1/8" the right size brass(just needing pressed or peened) or have the frame holes possibly been enlarged? The original pins aren't with the knife.
 ...Morning Scott...Jus' gettin' ready fer work...:yawn:...The 1/8th" rod is correct...The holes open up to around .131 when the old rivets are pushed through but when ya squeeze the .125 rivet in the hole...the rivet expands to fit the hole perfectly. Make sure ya let about 1/16th" of the rivet extend past the bolsters on each side when ya squeeze or peen the rivets, then just file or sand down the slight amount left on each side and finish it off on a buffer...
") :yawn:
:yawn: Please.
 ...What is it in particular you want me to check for Trax??...
")

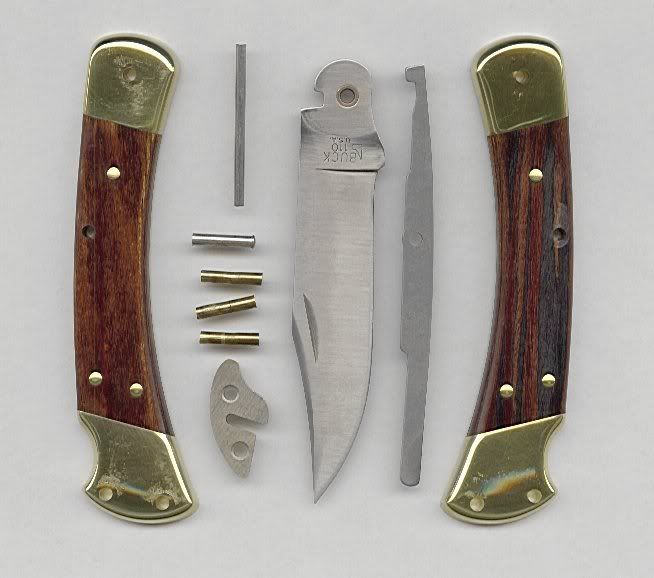
 ...Here's a pic courtesy of the trax man of the parts...You can almost see the distortion of the pins which opens up the holes to the .131 diameter...