wildmanh
Part time Leather Bender/Sheath maker
- Joined
- Jul 9, 2000
- Messages
- 7,764
Hey guys, Andy thought you'd like a Work in Progress thread on sheath making so over the next week or so I'll taking you throught the process of building a 4" Bushcraft sheath.
Prelude; After getting a hide, I check it for flaws like holes or deep cuts/scratches or anything that makes that part of the hide un fit for a sheath. I mark any flaws on the back of the hide so I dont use it. Sorry don't have pictures of that because this last hide didn't have any.
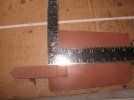
Step 1: Use my pattern to trace out the sheaths on the leather. Building sheaths in batches really speeds things up so I trace a bunch of sheaths into the leather at a time. Normally I lay out 10 to 20 sheaths to be cut out at a time:
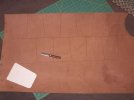
Step 2: After I mark the sheaths I cut them out with an Old Hickory pairing knife that I turned into a Warn Cliff blade for leather working. The Belt loops are first cut out as a 1" wide strip then 5" long strips from that. The main body is rough cut. Both of those steps go pretty quickly since I'm cutting straight lines.
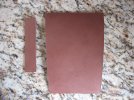
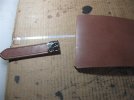
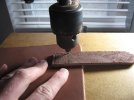
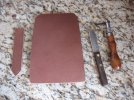
Step 3: Now comes the detail cutting, I round the bottom edges of the sheath and mouth, also cut the tip of the belt loop out with an End punch. Right now I only have a 1.5" English end punch for machete sheaths so thats what I use. In the near future I hope to get a 1" which will make this stage a little easier. After that I use a saddle groover to add some flair to the belt loop and I also round the mouth of the sheath on my belt sander:
-- Update 03/17/12 --
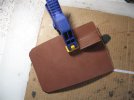
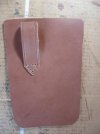
Step 4: On the back side of the belt loop I use my groover then stitching wheel to mark where I will be punching holes in the leather.
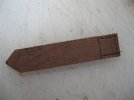
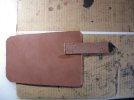
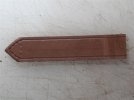
After marking the holes, I flip the belt loop over, mark a line at 1" in front of the end of the loop. Once I have that mark, I rough the leather up so that the glue stitchs to it better:
Prelude; After getting a hide, I check it for flaws like holes or deep cuts/scratches or anything that makes that part of the hide un fit for a sheath. I mark any flaws on the back of the hide so I dont use it. Sorry don't have pictures of that because this last hide didn't have any.
Step 1: Use my pattern to trace out the sheaths on the leather. Building sheaths in batches really speeds things up so I trace a bunch of sheaths into the leather at a time. Normally I lay out 10 to 20 sheaths to be cut out at a time:

Step 2: After I mark the sheaths I cut them out with an Old Hickory pairing knife that I turned into a Warn Cliff blade for leather working. The Belt loops are first cut out as a 1" wide strip then 5" long strips from that. The main body is rough cut. Both of those steps go pretty quickly since I'm cutting straight lines.

Step 3: Now comes the detail cutting, I round the bottom edges of the sheath and mouth, also cut the tip of the belt loop out with an End punch. Right now I only have a 1.5" English end punch for machete sheaths so thats what I use. In the near future I hope to get a 1" which will make this stage a little easier. After that I use a saddle groover to add some flair to the belt loop and I also round the mouth of the sheath on my belt sander:

-- Update 03/17/12 --
Step 4: On the back side of the belt loop I use my groover then stitching wheel to mark where I will be punching holes in the leather.

After marking the holes, I flip the belt loop over, mark a line at 1" in front of the end of the loop. Once I have that mark, I rough the leather up so that the glue stitchs to it better:

Last edited:

