Eduardo Berardo
Eduardo Berardo JS
- Joined
- Jan 26, 2009
- Messages
- 331
Hi Guys.
As bladesmithing is essentially solitary, each bladesmith ends up developing some own methods.
Although we have learned from professionals with more experience, it is normal to adapt the way to do each step of the way we understand to be the easiest.
What will be posting here is my working methods.
I'll be regularly updating this post with all the steps from beginning to end of production process of a custom knife.
In no way pretend to present them as the most correct or the most efficient. It's just like I do!
All the best!
1. Forging
For this forging, used the alloy steel SAE 1095 and 15N20 steel.
This is an exceptional alloy in terms of cutting power and excellent results in terms of heat treatment because the tables of both steels have almost identical temperature ranges for each step.
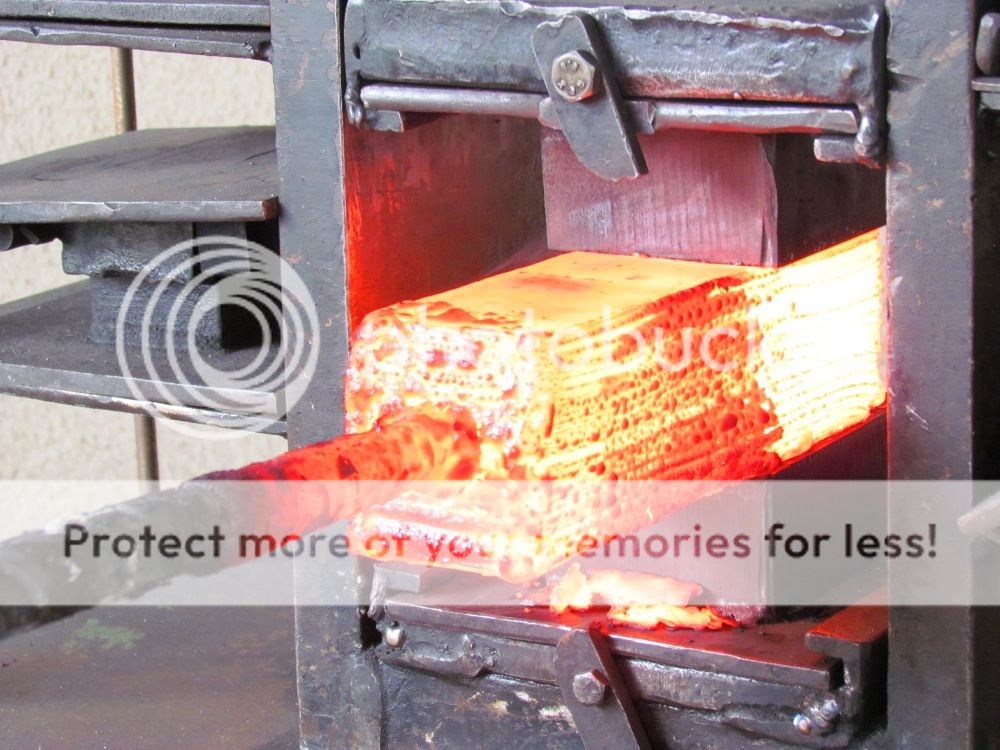
I started my initial billet with 42 layers, 21 of each steel, interspersed with each other.
The bars of SAE 1095 steel measured 150 mm x 50 mm x 3 mm.
The bars of 15N20 steel measured 150 mm x 50 mm x 1.5 mm.
This resulted in exact proportion to 1/3 of 15N20 steel.

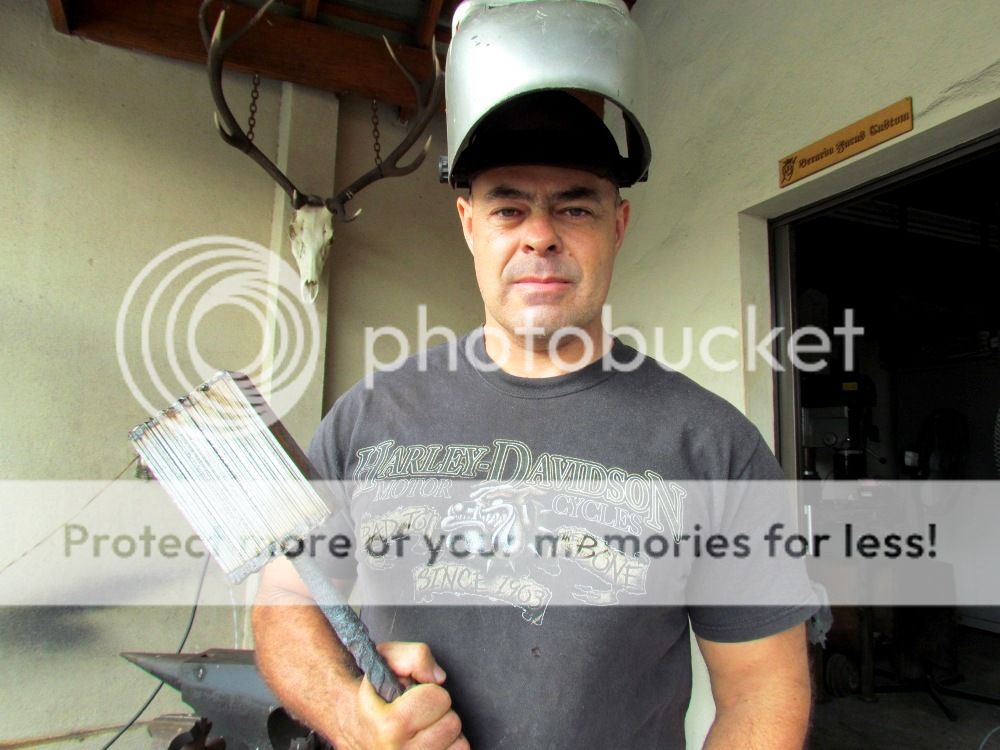
Ready to start the forging
Heating the billet and tinking of my life!

Adding borax (sodium tetraborate). It should be placed before the steel acquires color. Pictured is the second time I had added.

Billet to 1100 ° C (2012 ºF), ideal temperature welding, evidenced by boiling of liquid borax.

Compressing without excessive force and gradually, so that the layers do not slide each other and makes the molecular exchange that results in fusion.

Welding layers.
42 tons press power!

After welded and stretched, I discard the tip of the billet. This eliminates contamination of electric welding between steels layers.

On the other side.

As bladesmithing is essentially solitary, each bladesmith ends up developing some own methods.
Although we have learned from professionals with more experience, it is normal to adapt the way to do each step of the way we understand to be the easiest.
What will be posting here is my working methods.
I'll be regularly updating this post with all the steps from beginning to end of production process of a custom knife.
In no way pretend to present them as the most correct or the most efficient. It's just like I do!
All the best!
1. Forging
For this forging, used the alloy steel SAE 1095 and 15N20 steel.
This is an exceptional alloy in terms of cutting power and excellent results in terms of heat treatment because the tables of both steels have almost identical temperature ranges for each step.
I started my initial billet with 42 layers, 21 of each steel, interspersed with each other.
The bars of SAE 1095 steel measured 150 mm x 50 mm x 3 mm.
The bars of 15N20 steel measured 150 mm x 50 mm x 1.5 mm.
This resulted in exact proportion to 1/3 of 15N20 steel.

Ready to start the forging

Heating the billet and tinking of my life!

Adding borax (sodium tetraborate). It should be placed before the steel acquires color. Pictured is the second time I had added.

Billet to 1100 ° C (2012 ºF), ideal temperature welding, evidenced by boiling of liquid borax.

Compressing without excessive force and gradually, so that the layers do not slide each other and makes the molecular exchange that results in fusion.

Welding layers.

42 tons press power!

After welded and stretched, I discard the tip of the billet. This eliminates contamination of electric welding between steels layers.

On the other side.

Last edited:
")


