- Joined
- Dec 28, 2014
- Messages
- 332
G'day all,
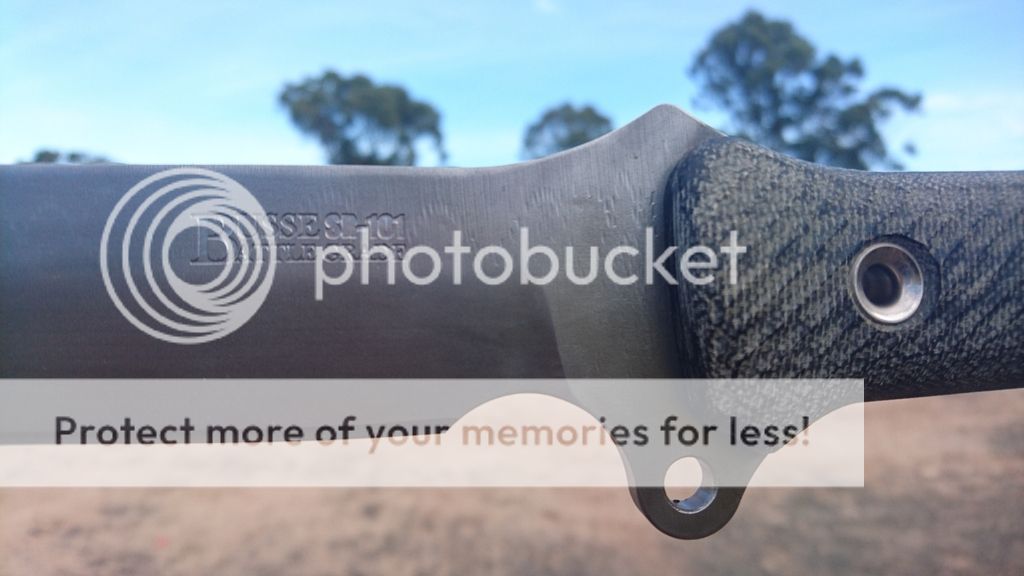
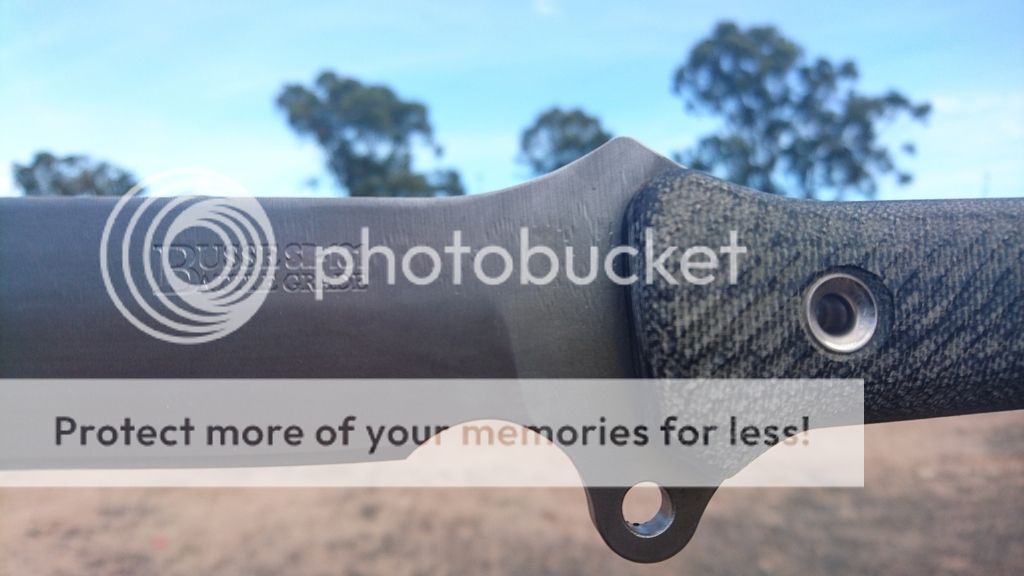
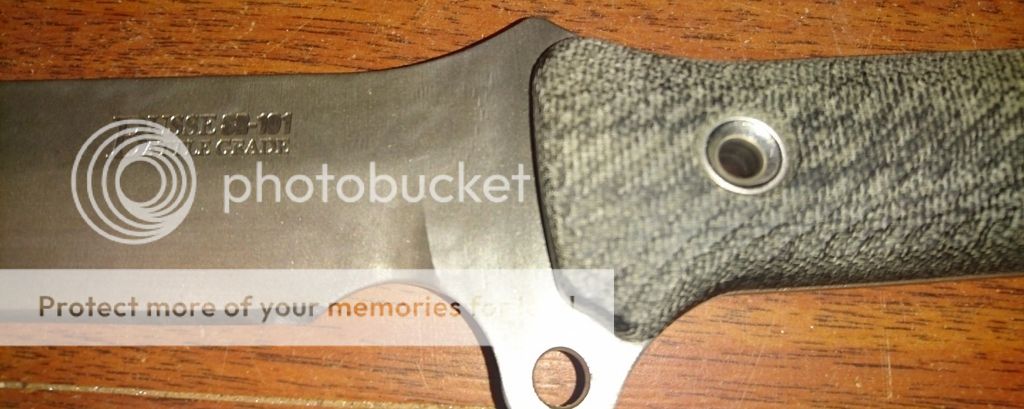
When I stripped and etched my Ratweiler I had quite a few questions as to how I did it. Well I did the same to my Battle Grade AK47 the other night and took some pictures and videos (if they work).
I pretty much just taught myself through good old Google! :thumbup:
All you need is salt, ear buds (I think you mob call them q-tips??) and a battery charger. I am unsure if it can be done with a 'smart' charger.
1 - first thing you need to do is make up a saturated salt solution.

2 - Next, plug in your battery charger.


3 - Positive lead clamped to blade. Negative to a saturated bud, taking care to ensure the steel of the clamp is in contact with the solution to unsure the electric-trickery is conducted. I found that 24V resulted in a quicker etch.
4 - gently move the cotton bud across the logo that you want etched, regularly changing the bud to a clean oneand keeping the whole area wet. I found it beneficial to also keep the logo area clean and flushed with the salt solution.
I will let the pictures and videos speak for themselves. The whole process including setting up takes about 10 minutes.
*not sure why the pictures aren't showing the correct orientation, sorry*.


Videos:


5 - and that's pretty much it! There are probably other things I should be doing and I'm happy to take some advice.
When I stripped and etched my Ratweiler I had quite a few questions as to how I did it. Well I did the same to my Battle Grade AK47 the other night and took some pictures and videos (if they work).
I pretty much just taught myself through good old Google! :thumbup:
All you need is salt, ear buds (I think you mob call them q-tips??) and a battery charger. I am unsure if it can be done with a 'smart' charger.
1 - first thing you need to do is make up a saturated salt solution.

2 - Next, plug in your battery charger.


3 - Positive lead clamped to blade. Negative to a saturated bud, taking care to ensure the steel of the clamp is in contact with the solution to unsure the electric-trickery is conducted. I found that 24V resulted in a quicker etch.
4 - gently move the cotton bud across the logo that you want etched, regularly changing the bud to a clean oneand keeping the whole area wet. I found it beneficial to also keep the logo area clean and flushed with the salt solution.
I will let the pictures and videos speak for themselves. The whole process including setting up takes about 10 minutes.
*not sure why the pictures aren't showing the correct orientation, sorry*.


Videos:
5 - and that's pretty much it! There are probably other things I should be doing and I'm happy to take some advice.


