Full Integral Camp Chopper WIP

Joined
Sep 4, 2012
Messages
416
Well after completing the La Brea Bowie back in February I have been looking for my next skill building project, something as challenging to me as the La Brea Bowie but in a different way. After much thinking and scrapping of designs I cam up with the idea of doing my first full integral in a complex damascus. I am thinking of doing a multi-bar with black ash burl and six silver pins. There is still something slightly off with the pin placement so if anyone here has any suggestions of change I am all ears. Let me know what you think!


I'm thinking for the damascus to make two high layer tightly twisted Crushed W's, the bars would have opposite twist directions so as to flow into each other. Then the next would be a 3/8" thick piece of 1095, then 1/8 inch 15n20 (or pure nickel) I haven't decided yet. With the edge bar being 400 layer random. So it will be a fairly intricate pattern, but I think it will go well with the black ash burl and silver. What do you think?

I'm hoping to start work on the damascus this month, but I won't be able to finish the knife until July.

Thanks for looking!

-Robert Burns
 
Last edited:
Okay so the first real update on this build. I can only devote some of my time to this pet project as I still have to finish paying orders, but I hope to have the back bars forged by next week.

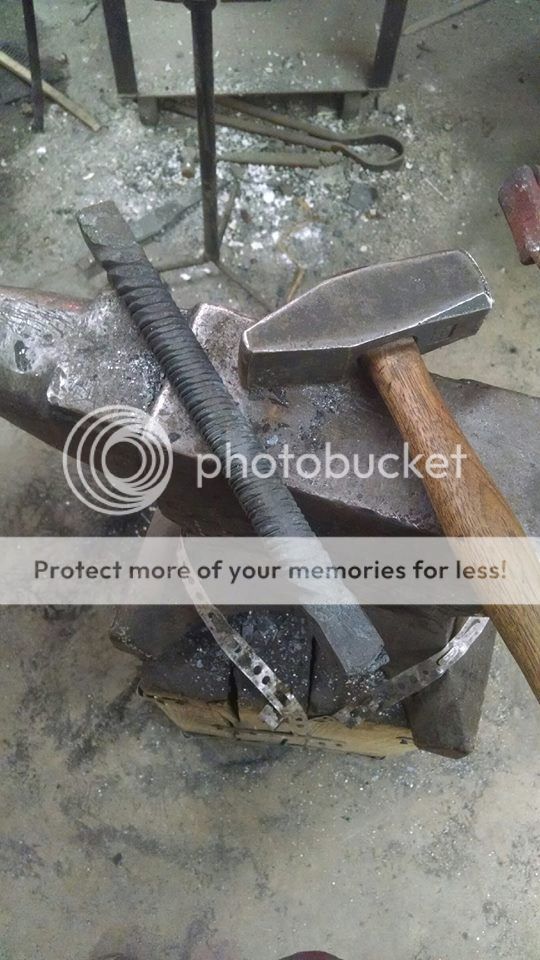
I started with a twenty layer billet of 1084/15n20 with three layers consisting of 20 layer damascus evenly dispersed throughout the billet. This billet will be twisted crushed W's:


Welded together, forged on the bias, and drawn out to a bar:


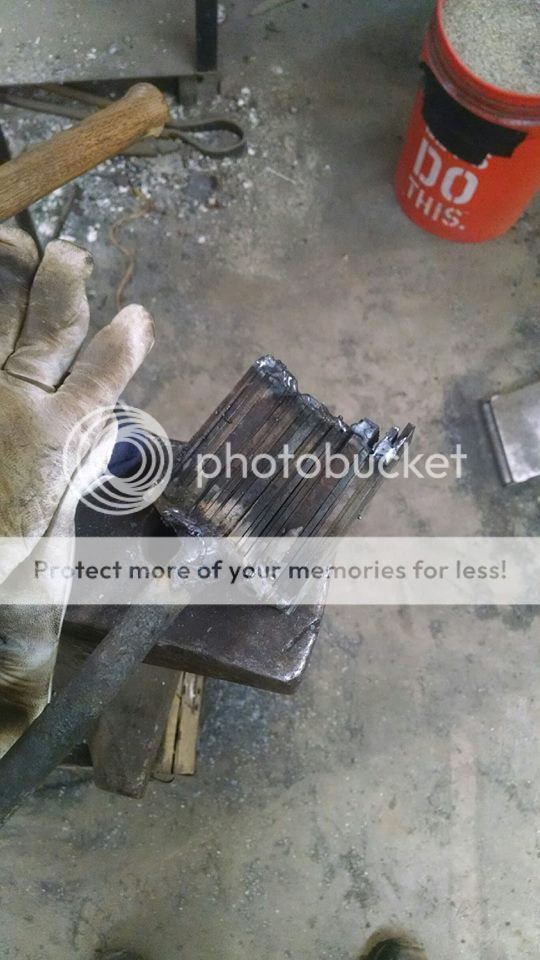
Cut into four pieces and re-stacked:


And drawn down to a bar.


Later today I will cut this into four pieces, stack, and weld to give a layer count of 16 W's and see whether the pattern is dense enough. If not I will go for one more fold.

Thanks for looking!

-Robert
 
Looks like a great design. I look forward to watching you make it. The pins? Maybe they could move towards the centre a bee's freckle? Then again not sure if I would have look so hard if you hadn't mentioned it. Probably look fine in 3D .
Cheers
Craig
 
I'm definitely subbed! The design of the knife looks great, can't wait to see the process unfold! :thumbup:

ETA: Regarding the pin placement, to my eyes they look good, except I would maybe bring that bottom right one (on the butt) just a little bit further back, to be more centered in the "beak" area.

~Paul

My YT Channel Lsubslimed
... (It's been a few years since my last upload)
 
Last edited:
Thanks for the comments everyone. Paul, now that you point it out I think you are absolutely correct on the pin placement and that is what was throwing it off for me.

So today I was able to finish up the first back bar. Here is the progress:

Here is the billet from yesterday after having stacked and welded it. When forging on the bias during the initial forging I did not forge it as drastically as I normally do in order to achieve a "softer" W pattern. Really this is just me experimenting with the pattern, since this is a pet project I can play around with patterns a bit more than on a commissioned piece.


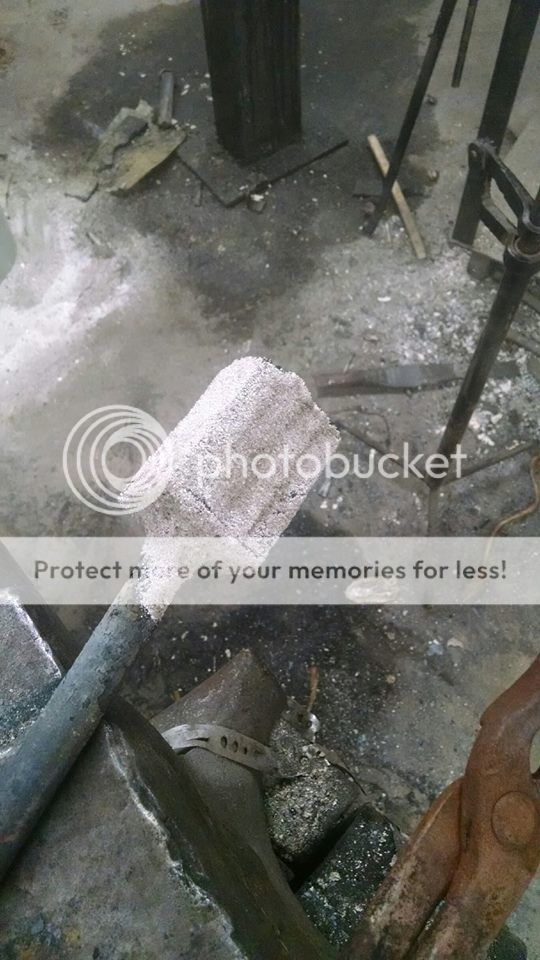
Then I cut into four pieces, stacked, and welded. I' have been moving towards using less and less flux lately. So while this looks like a lot I simply sprayed the billet down (after tack welding) with WD-40 (or kerosene preferably) and then sprinkle the borax on to cover. This is the only flux application in each welding phase.


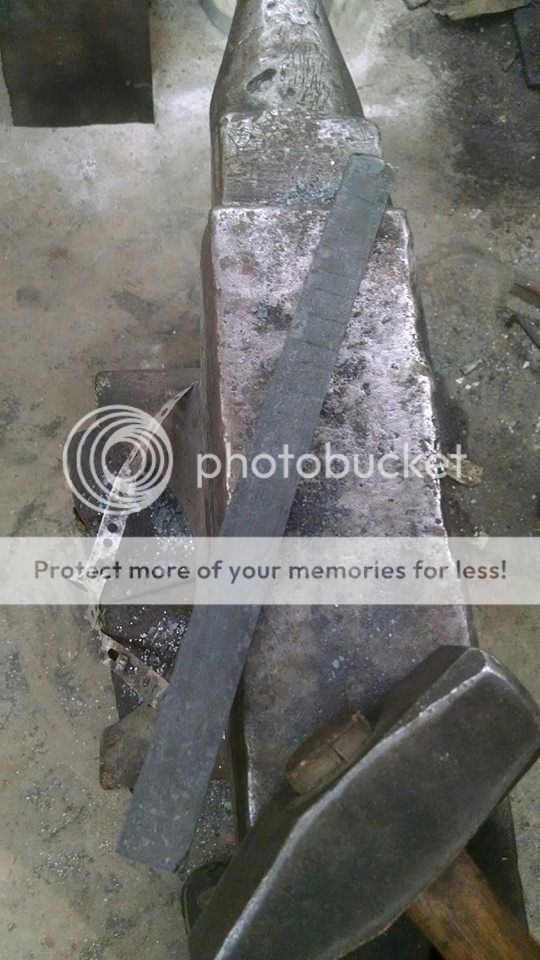
Then I drew it out into a 1" square bar x 12 inches


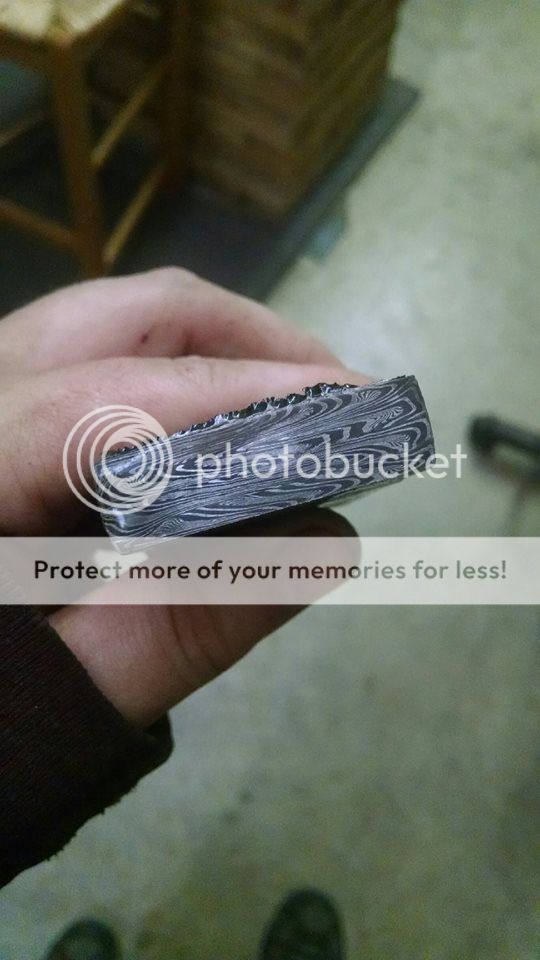
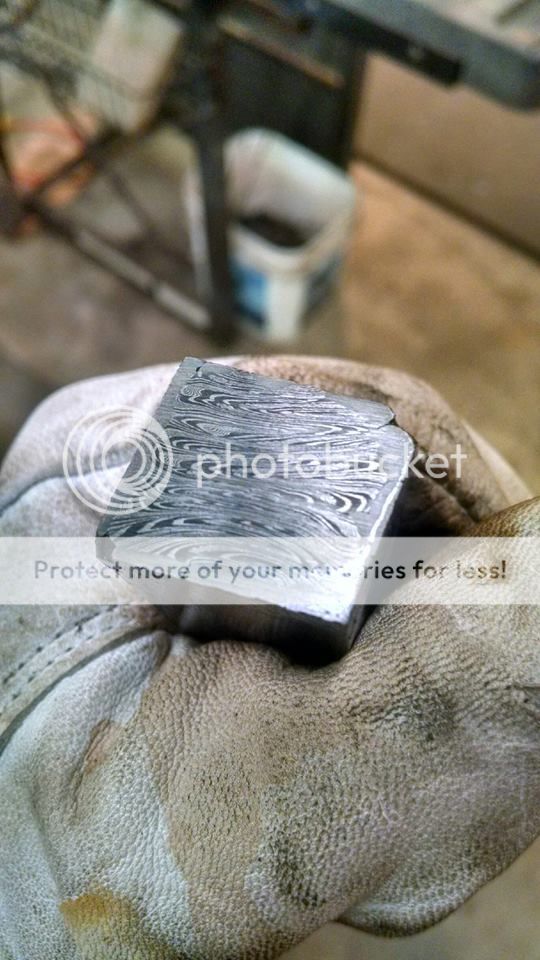
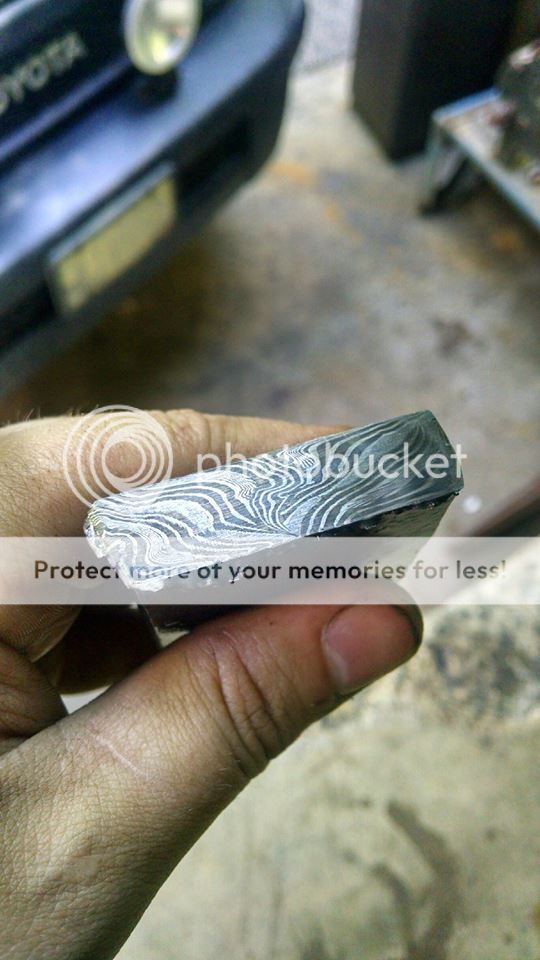
And did a quick check of the pattern to make sure it was where I wanted it to be.


And it looks right so ready for twisting. I was at about seven twists per inch on this bar.


Then I prepped the next billet:


And began the process over again, although on this one I am going for a slightly different W effect. In the end after all the stacking and twisting I doubt there will be a noticeable difference, but this is what experimentation is for right? Here is where the pattern sits right now after one welding pass. Tomorrow I will re-stack and weld it, hopefully getting it to the same point as the twisted bar today.


Thanks for looking.

Robert
 
Thanks for the comments guys. Sorry to disappoint everyone but since this is a live build things do happen and with this being such a complicated build things are bound to go wrong. In this case today while forging the guard section I ended up forging parts of the guard too thin leaving no room to shape them properly while having them be structurally sound. While disheartening it is a learning experience and thankfully I still have some beautiful steel to make a knife from, so I will just have to give this integral knife thing another shot later on in the summer when I have some more time. What I have decided to do instead with the current billet is to forge the same blade, pattern, and knife as in my initial design but simply do a take down build instead. Especially since on the last bowie build I did I opted for not doing a take down for aesthetic reasons this gives me the chance I was looking for to get that skill down as well. I will keep posting via this thread so maybe if we could get one of the admins to change the title to take down instead of integral it will help prevent confusion.

But all of that being said here is where the project is at:

After cutting and stacking the second billet four times, it is prepped for welding:


Once welded it is drawn out to 12 inches long:


Resulting in this pattern:


This is then cut, stacked, and welded one more time to achieve the 1 inch square bar which is then twisted:


One bar ended up being a bit longer than the other, but there is still plenty of material to work with since each bar is nearly 1 inch square:


The mating surfaces are ground clean and square, followed by another round of welding:


Thankfully I don't have any photos of when disaster was striking ;P But ultimately I cut off the "bad" section of the billet with the guard that was too thin and turned that into a small bar. Next week I will add a couple of edge bars to it to make a small knife from. But I thought I would give it a quick etch to show what the steel it doing.


Also just for fun here is what I was finishing up at the same time, a simple little ring with silver liner, gave me something to do in between welding heats.


Thanks for looking:

-Robert
 
yeah, good stuff!
 
Thanks Dozier and Lorien. I wish I had more of the hot working photos, but it's pretty tricky when working solo. Here is the most recent update, a minor one but the exciting part is just around the bend.

A couple of days ago I added the bar of 1095 to the two twisted W's bars (which unfortunately I forgot to photograph. But today I began work on the edge billet. It is composed of eighteen layers of 1084/15n20 and two pieces of high layer twisted crushed W's spaced equidistant in the billet to add some extra interest.

This was then welded and drawn out to 1 1/2 inch thick:


Part of the billet was drawn down to make the edge bar for the knife while the remainder has been drawn out to be handle and guard material. After drawing out the edge bar to 1/2 inch square I re-twisted it to a much tighter degree to achieve greater activity. after being drawn square the mating surfaces were ground clean and it was attached to the main billet. If you notice I also added a piece of 3/16 15n20 in-between the edge bar and the main billet, this should help give a nice point of contrast.


And that is all for now, sorry for the lack of photos, I will make sure to take a lot more during the final welding and forging tomorrow. Thanks for looking!

Robert
 
You have some mad skills there Mr. Burns, love the wip by the way. Keep up the good work and keep hammerin, lovin it so far.
Rob
 
How wonderful!! I look forward to see the progress of this knife! I LOVE that ring. I can't wait to see more.
 
Thanks for the comments Rob and T.K.C. here is some progress from today:

We have a successful weld, at least so far. You never do fully know if a damascus has some small flaw in (or a large one) until it is ground to final thickness and after heat treatment on course. But so far it is looking pretty good. Today was pretty killer in the shop humidity wise so I will keep this post brief and then go lay down for a bit and re-hydrate.

The billet at this point it now one solid piece and has been forged on a taper to accommodate the widened front section of the blade.


Then the tip is cut off and the edge of the blade bent back to allow the edge to run through the whole length of the blade. Then curve is put in place.


Then a quick and light profiling to clean things up. Still a couple of adjustments to make at this point especially with the harpoon point.


Then I needed to make sure my grinds were solid so I did a pass at 36 grit and after seeing it looked good I gave it a quick dip to make sure the pattern was looking like it was supposed to.


And a closer shot near the tip:


Over all I am pretty pleased with the pattern, although the lines could have been cleaner, but I will chalk it up to learning. It should still make a beautiful blade. More to come tomorrow. Thanks for looking.

Robert
 
Back
Top