- Joined
- Sep 26, 2005
- Messages
- 3,516
I know a lot of guys here like to keep the old finishes, but this works great for things like cold steel tomahawks too. Found it over at Canadiangunnutz, basically the canadian gun lobby that helped us get a right wing majority government elected and ended our long gun registry, pretty cool, eh? ")
I posted this over at http://bushcraftusa.com I got to thinking maybe some members here might be interested as well.
I have been thinking about putting up a simple overview of how I modify axes/hatchets/hawks. This is a super simple way to work with minimal hand/power tools, a scrap of 2x6 and a clamp.
I have done about 6 hawks now and I have posted the pics here in various places, this post will focus on several fire axes that I have been restoring for a friend.
For tools I use a simple electric drill, this is a cheap one from WalMart, and automotive sanding disc adapter for use with a drill, sandpaper, files, a 2x6 for mounting the head down to and a large clamp for attaching the 2x6 to my work bench.
Here is the drill with attachment, it has give to it like a mouse pad so it works well contouring to the head

They started out like this... Head on average

Handle before/after

This handle got sanded and stained 3 coats, then 3 coats of clear coat and turn out like this, I didn't take pictures of the handle process, simply sand and stain.

The heads take a lot of work, I start with 40 grit grinding discs and remove all the paint and rust.

I continue with 40 grit getting all the pits and paint off

Here is a before and after of the first two axe heads


The top and bottom of the axe head require clamping the head to a board, a vise would work too, I just don't have one.

From this position I grind then draw file then sand the top and bottom until the lines are nice and even
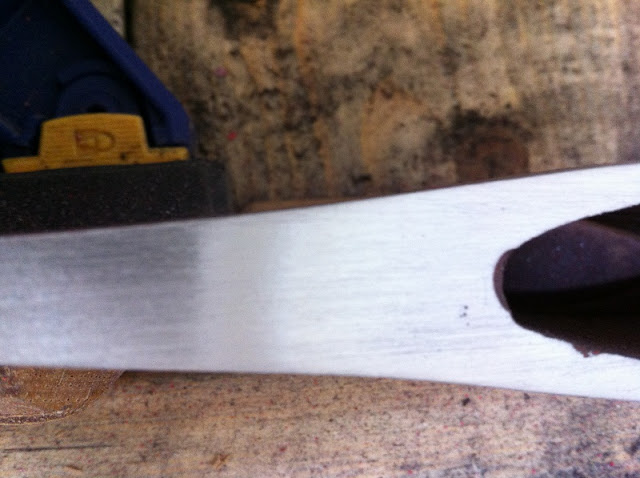
Once the top and bottom are nicely finished I go back to the axe faces increase grits going from 40 to 120 to 180 then it is all hand sanding and polish

I then cut and carve my own wedges and mount the heads back on the finished handles.
Stained handle

Charred handle

Overall shot

Here is a video showing how I use just the edge of the sander to create straight lines going from hammer to edge. This shows how the head is attached down to the 2x6 so I can grind on it.
[video=youtube;fgsy2SusaO4]http://www.youtube.com/watch?v=fgsy2SusaO4&feature=player_embedded[/video]
Nothing in the post is super ground breaking, for me, what is impressive is how easy it is to do with very few tools. The drill sander/grinder works extremely well. It is a 4.5" circle and I have found that I can force that shape into the taper of the axe head resulting in a head that cuts very well, is well balanced and looks good as well.
One of the greatest things I have learned here is that it is ALWAYS better to try a project and possibly fail then to never try at all. Occasionally a project turns out WAY better than expected.
An update with a newly finished axe...
This was the standard head from above but taken to as mirror a finish as I could get.
Getting a high polish on an axe head by hand is no small feat. I started with the power sanded head, then hand sanded from 100 grit to 600 grit. Then Mothers Polish with scotch brite pad, then more polish and a buffer attachment for my drill.
End results:
Left

Right

Overall

Attempt to show finish

I am still amazed that with basic hand tools and just a drill a head can go from absolute rust bucket to something with a nice finish.
If you have any questions fire away.