Hengelo_77
Basic Member
- Joined
- Mar 2, 2006
- Messages
- 6,295
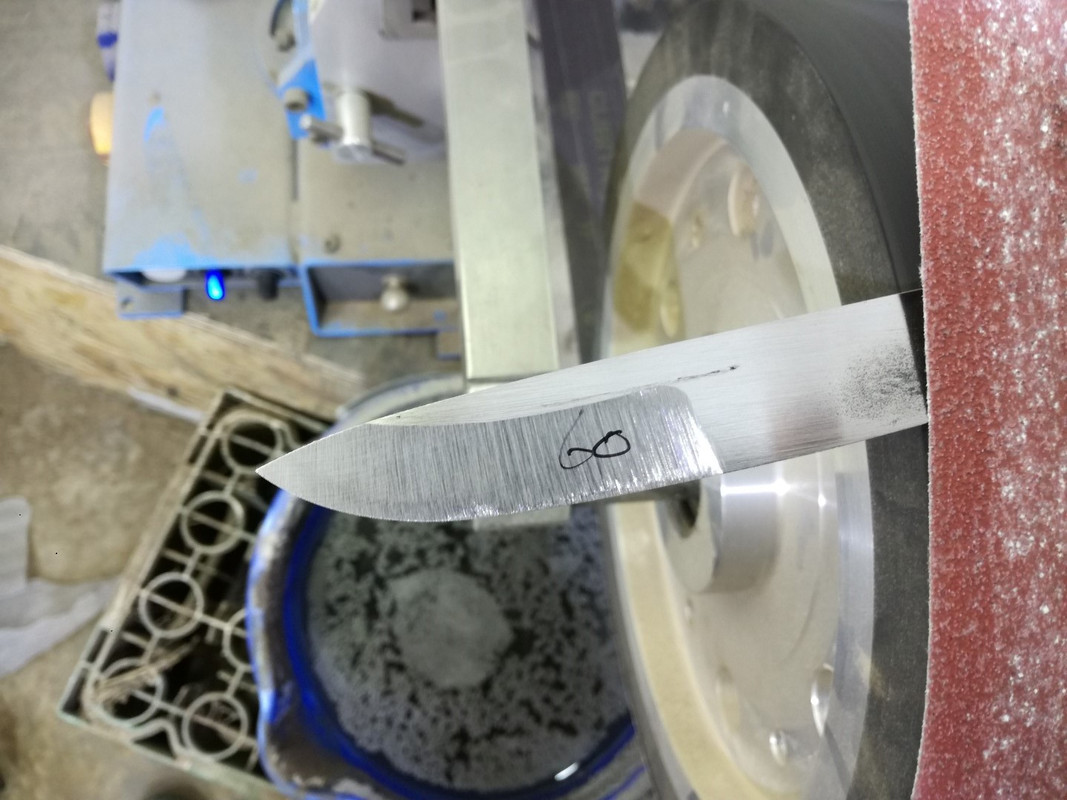
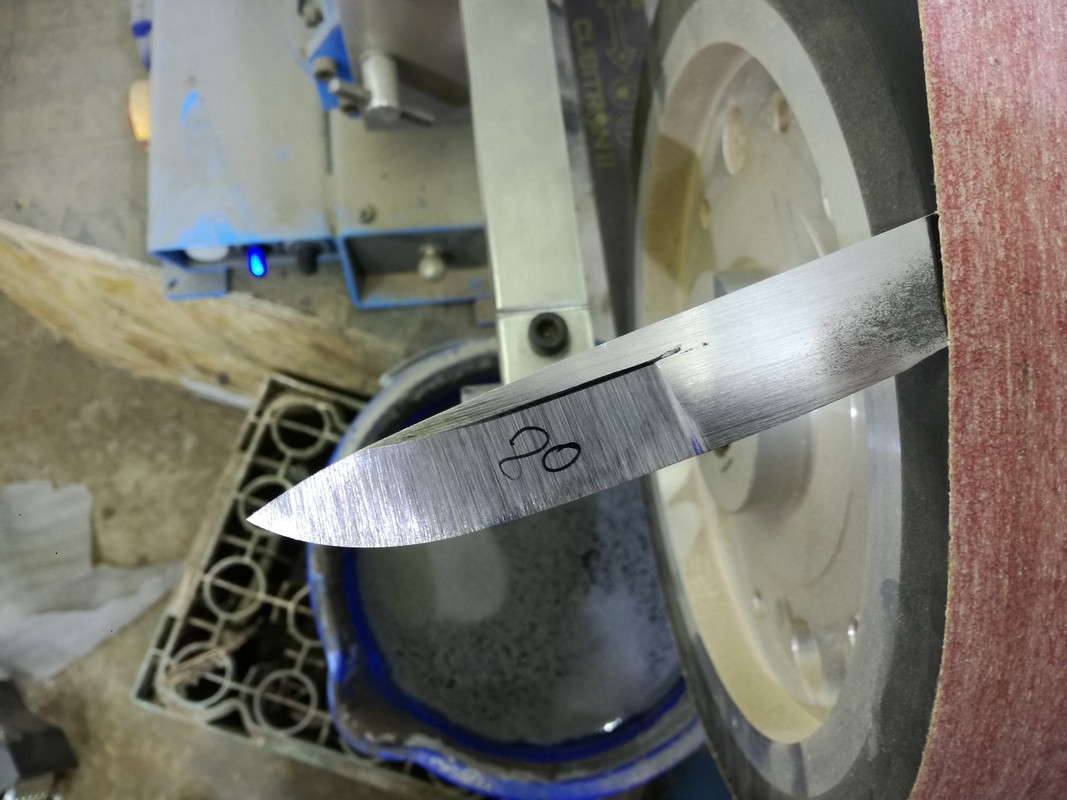
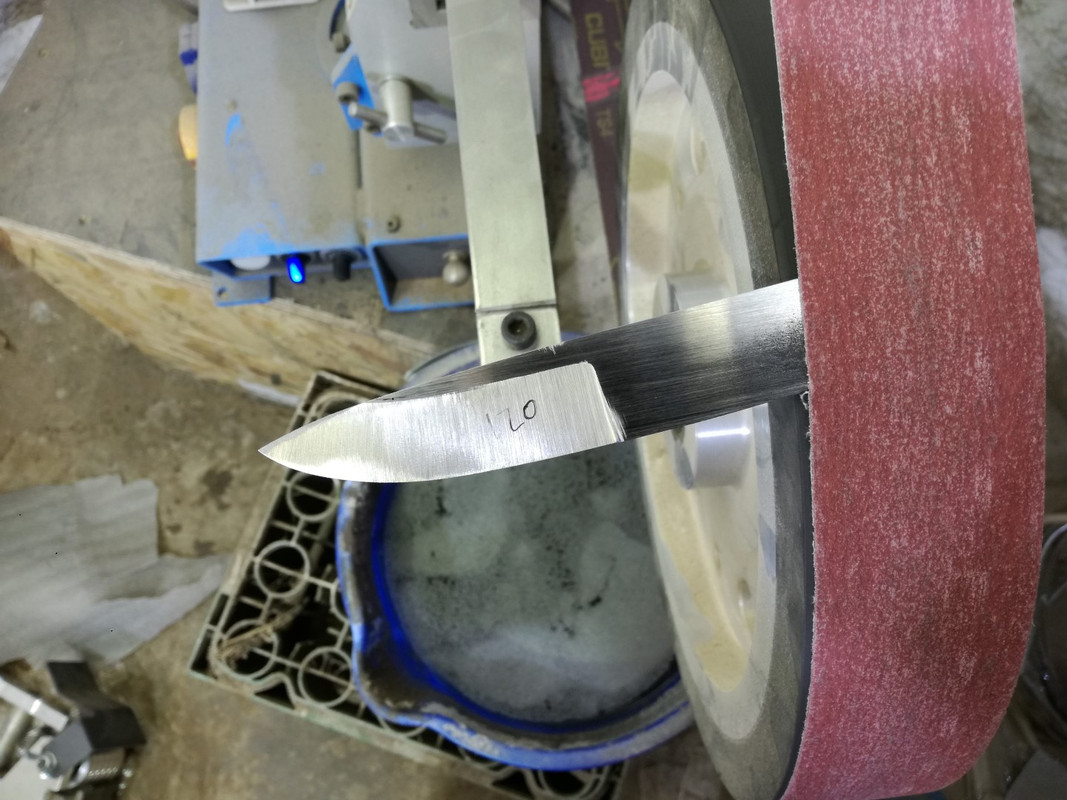
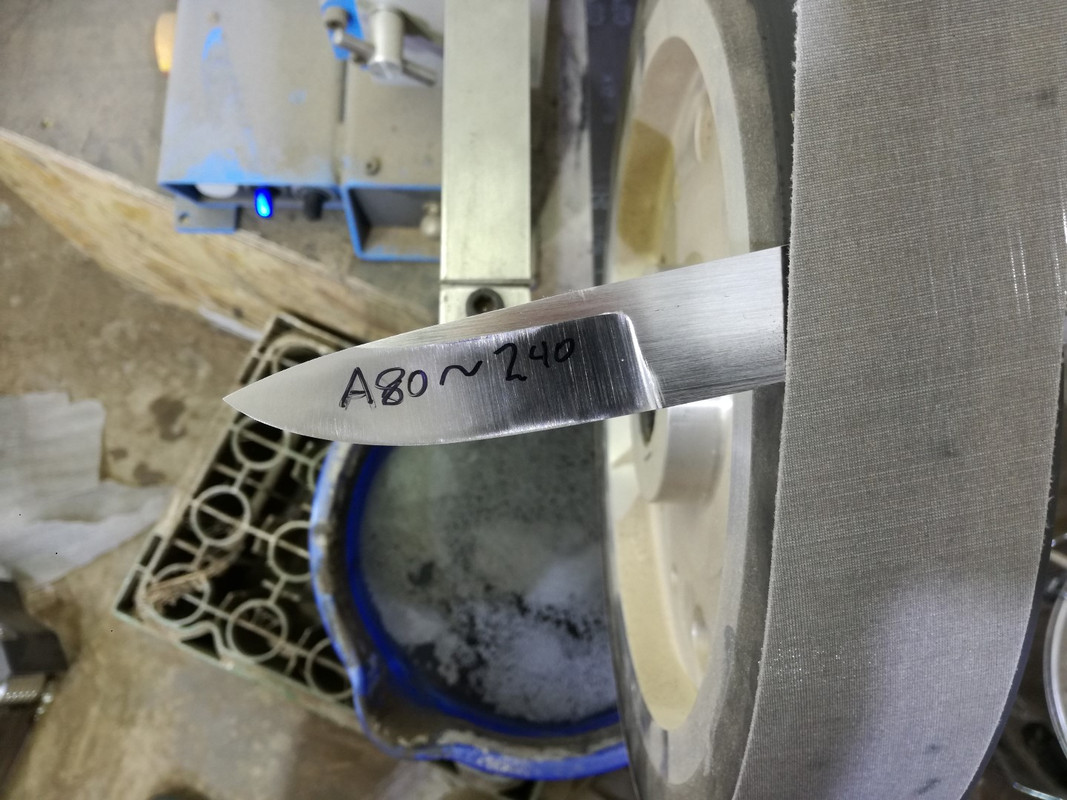
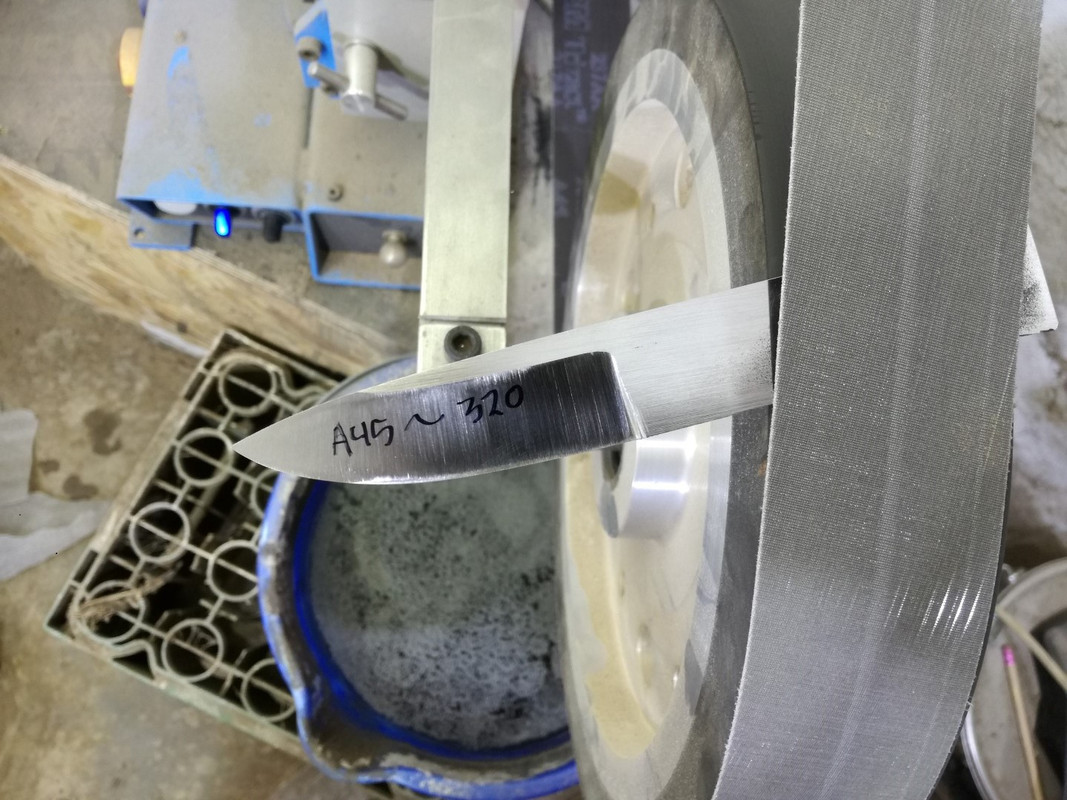
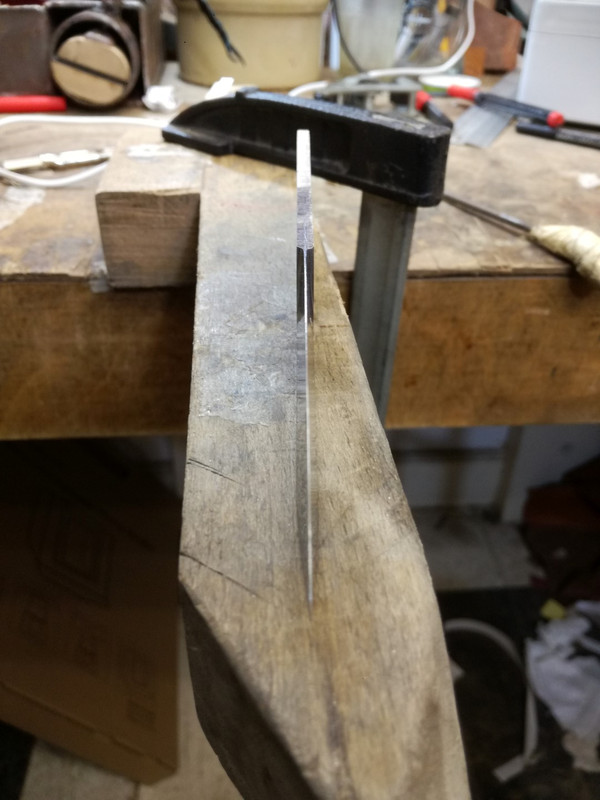
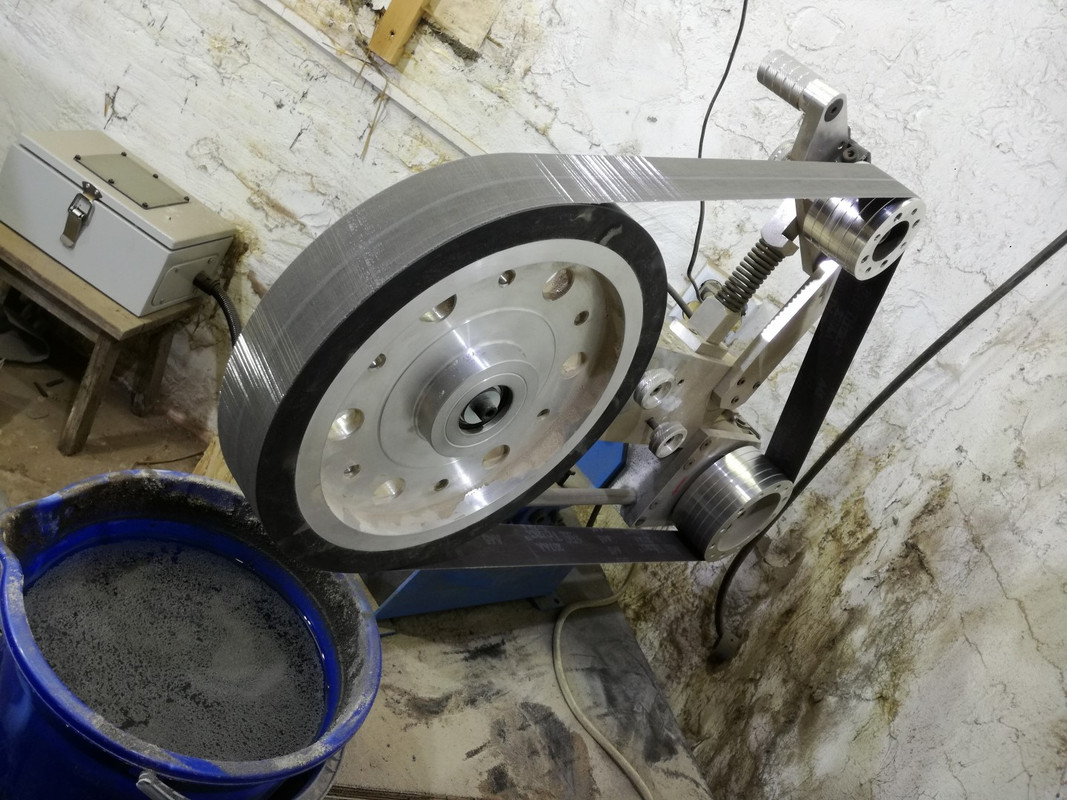
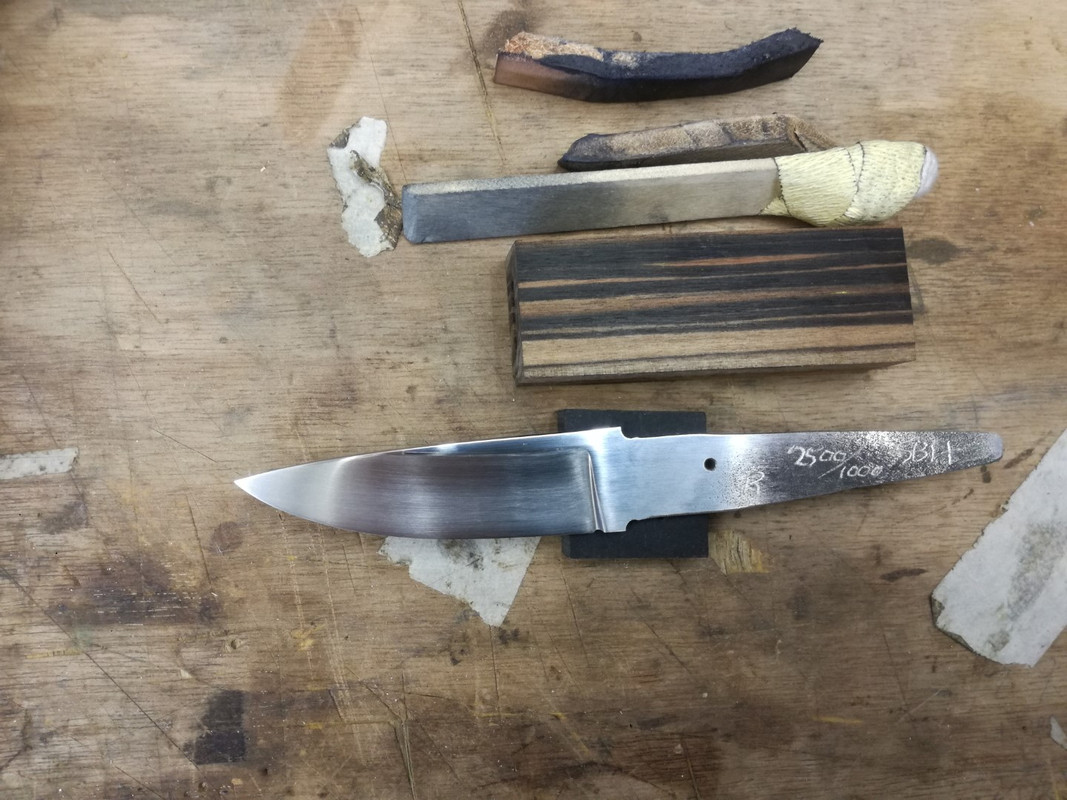
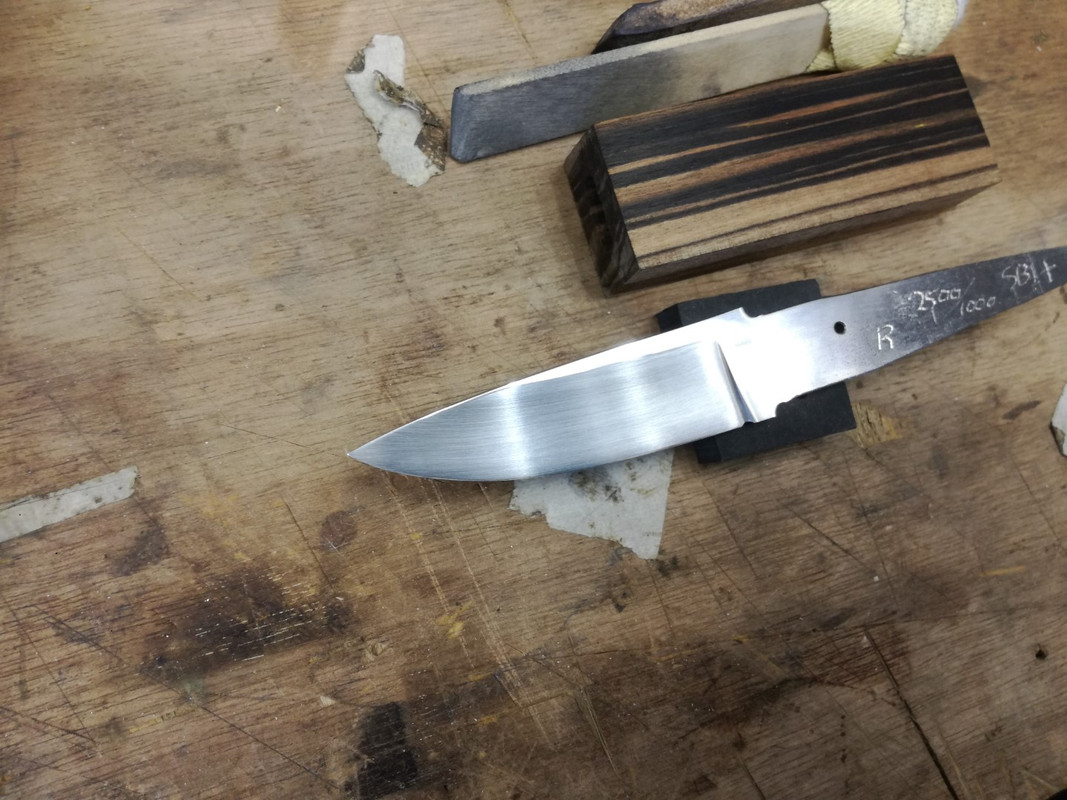
I'm practising hollow grinding and I actualy like it. (11,5"wheel, 25% speed)
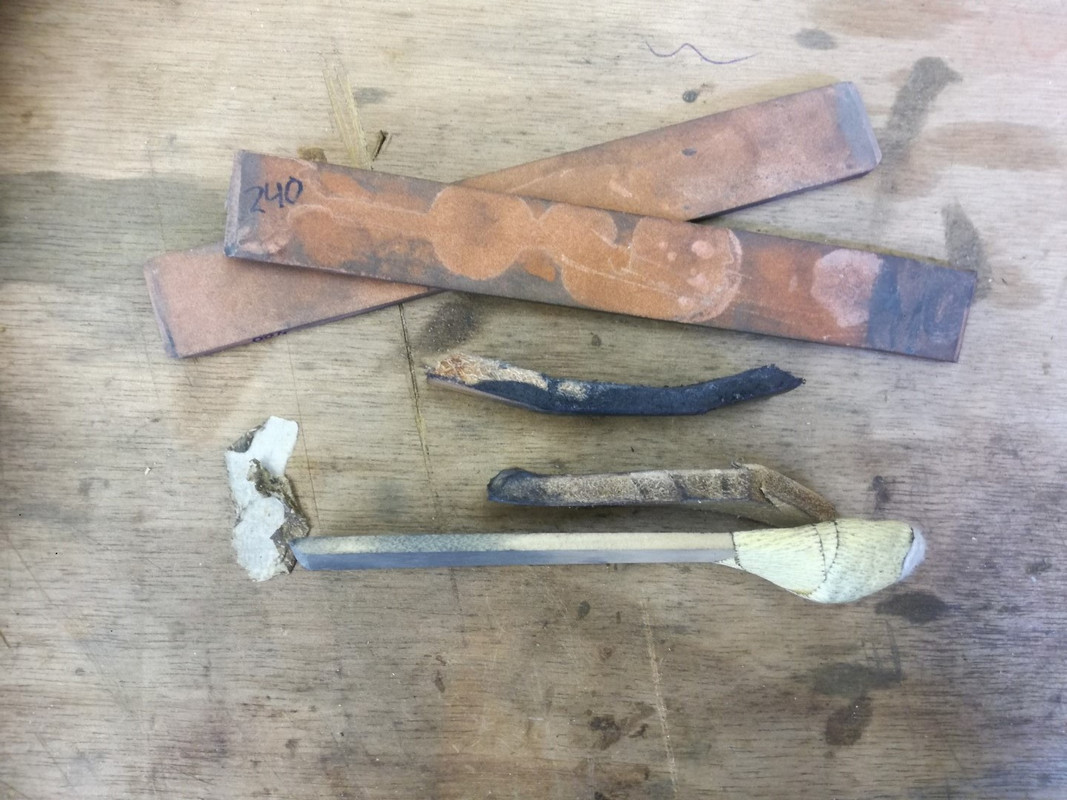
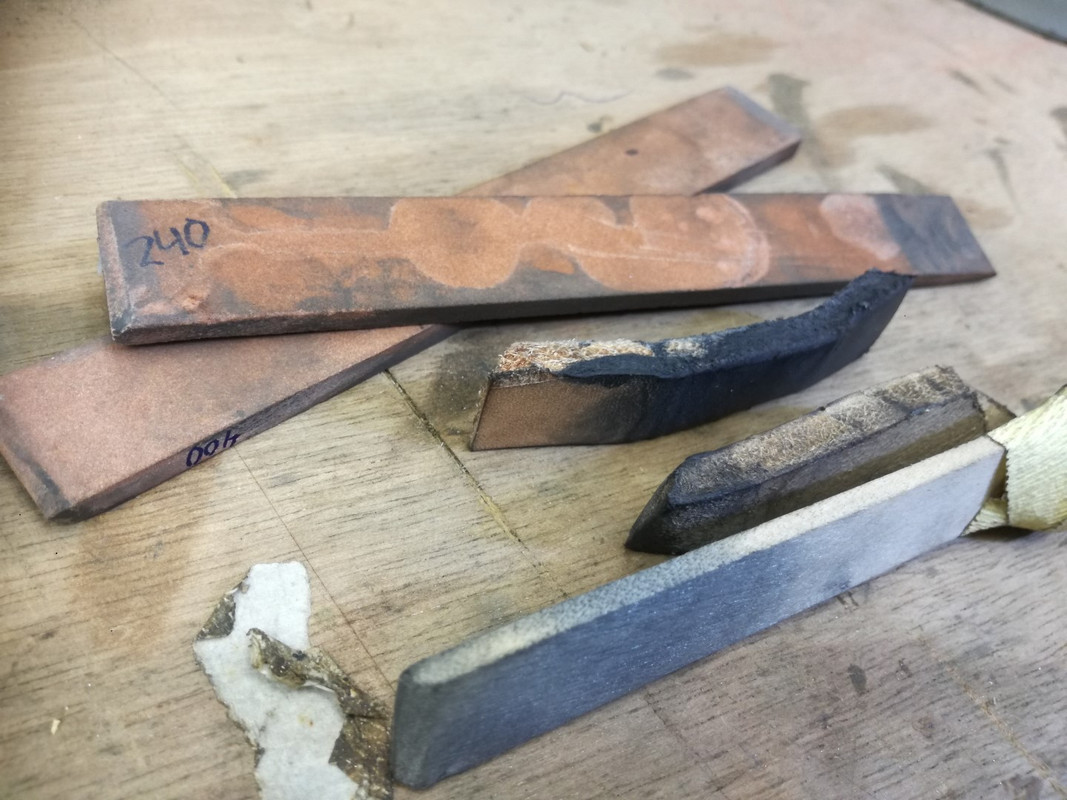
I also like hand sanded blades, so I'll be needing a sanding block in the same diameter as my wheel is.
What do you guys use for hand sanding a hollow ground blade?
Can you show me a pic of your sanding block/stick?
Any othe general tips?
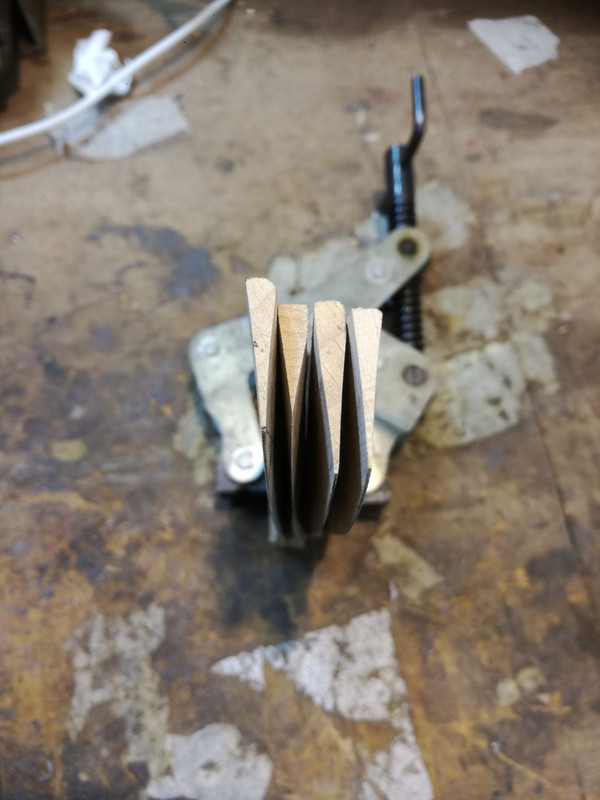
I did these on a 80 grit belt followed by a 120 grit belt:
I also like hand sanded blades, so I'll be needing a sanding block in the same diameter as my wheel is.
What do you guys use for hand sanding a hollow ground blade?
Can you show me a pic of your sanding block/stick?
Any othe general tips?
I did these on a 80 grit belt followed by a 120 grit belt: