Hi,
I know this is a more advanced topic, but I would really appreciate if someone could help.
I’m working on a build here, https://www.bladeforums.com/threads/help-me-with-this-knife-design-and-build-take-2.1641810/ and I could use some help.
I thought this would call for a stand alone topic/thread.
Could someone please describe the process of making a handle that contains a throat and where the handle is proud of the throat. Kind of like the pic below. Please note that the handle in the pic is not shown as being proud of the throat, just inline, so just ignore that.
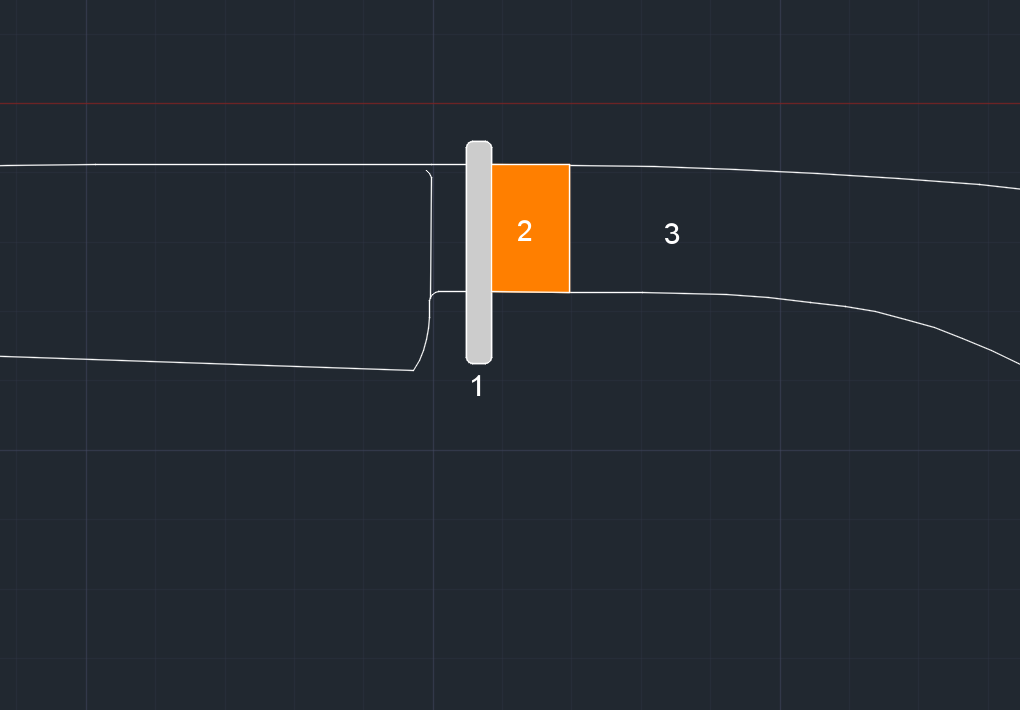
I’d like to understand the steps involved, as in, first glue in the guard, then construct the throat by itself, then glue in the throat or perhaps not. Maybe the handle is shaped before being attached to the knife, maybe alignment pins are used, and how, etc, etc. The world is already starting to spin...") .
.
Thanks in advance,
Constantin
I know this is a more advanced topic, but I would really appreciate if someone could help.
I’m working on a build here, https://www.bladeforums.com/threads/help-me-with-this-knife-design-and-build-take-2.1641810/ and I could use some help.
I thought this would call for a stand alone topic/thread.
Could someone please describe the process of making a handle that contains a throat and where the handle is proud of the throat. Kind of like the pic below. Please note that the handle in the pic is not shown as being proud of the throat, just inline, so just ignore that.
I’d like to understand the steps involved, as in, first glue in the guard, then construct the throat by itself, then glue in the throat or perhaps not. Maybe the handle is shaped before being attached to the knife, maybe alignment pins are used, and how, etc, etc. The world is already starting to spin...
.Thanks in advance,
Constantin


