Harden and tempering axe heads-Do it yourself.

Joined
Sep 17, 2014
Messages
120
Has anyone on BladeForum hardened and tempered their axe heads? I need to know because I have done so by(1) observing the proper colors(pinkish red) and quench for hardness. The metal is non magnetic at this color. (2)Then left in a oven at 385 degrees for one hour and then quench for tempering.

Anyone else have any experience with other methods such as oil, etc. I use water for my hardening process and tempering.

What about electric induction furnaces. Where do I get such a furnace. All help and experience I will very much appreciate. I have purchased two axe heads that show no heat treatment after the vinegar bath. It will be nice if some has a very nice method to do all of this.

I initially heat my axes in my charcoal grill using my hair dryer and charcoal. All ideas are welcome.

ripshin lumberjack
 
I've re-tempered a few axes. I began with using some bunged up cracked no-name heads and I found water to be way too aggressive of a quenchant, used motor oil and BLO worked fairly well for quenching, and for tempering I did an hour at about 375 and had fair results. Being at University right now that sort of limits my time I can fiddle with it, but it's fun to turn junk heads into something useful!
 
I retempered a several dozen over the years, and made a few hundred trade axes too.
Being mystery steel, textbook heat treating is not possible, even were it known steel, would not put forth the effort as most end users are clueless or dont care either way, I just gave them a generic heat & temper. Running colours to dark yellow. Quench was usually in canola.

Charcoal briquettes & hairdryer forge will work, but its pertty miserable way to go about heat treating something size of an axe.
Induction forge would be very nice, but not easily homemade and quite expensive if getting on to a size to make axes.
 
Last edited:
I re-tempered my masting axe. I'd had a repair done by a more skilled smith. Brought it to non magnetic,

Forge%203.jpg

Forge%204.jpg


quenched in canola.

Forge%205.jpg

Forge%206.jpg


I tempered it in the kitchen oven. I cleaned one portion of the bit so I could see the temper colors when it came out of the oven. I let it cool completely before file testing. I started with 1 hour at 450°F and found it to be too hard to file. I gave it another hour at 475°F. This produced the purple/brown temper color I was looking for.

Purple%20temper.jpg


Still, I found this too hard to file even with a good sharp file. So I gave it another hour, this time at 500°F. When I brought it out I saw blue at the tip and thought I had ruined it.

Temper%20color2.jpg


This turned out to be perfect, fileable but still quite hard. That blue temper color would represent about 560°F in some other steel.

The thing is, if you don't know what type of steel you're working with you can't know what the proper temper should be. But if you start low and test after each temper heat you'll eventually find the temper you seek. Patience.

Temper%20charts.jpg
 
Square_peg,i think that your process is sensible,and sound in principle.
But,if i may,i'd like to add to this some elements that in my opinion someone doing this for the first time needs to know:

Normalising.

After ANY thermal cycling(or just for good luck),one is better off doing 3 Normalising cycles.It NEEDS to happen as it Minimises the Grain Size.(Very important,for it multiplies the number,and the surface area,of bonds between the individual Grains.Incresing Toughness of the hardened alloy.Given the incorrect(overly large)grain-size,the properly quenched and tempered alloy will still be very brittle,prone to chipping,and cracking).

To Normalise,the axe-head is brought to the Transformation (or Austenising)Temperature*,and then just a touch higher.
Then the forging is taken out of the fire,and is allowed to cool in Still Air(no waving or messing with it in any way).Till ALL Visible heat is gone(won't take very long).

Now again,to just the TT,and ditto,still air cooling.

And the third time,maybe just a smidgeon under TT.And ditto.

Only now you're ready to quench.(But,hey,great practice heating your axe!:)

Quenching:Bring the axe to TT(you know exactly where it's at by now).Hold it at TT for 1,to maybe 1 1/2 minutes...No more!!!As now you're Un-doing what the Normalising has achieved-growing the grain-size out to possibly unacceptable**.
(Right here we're off any firm ground:All alloys have different requirement as to this timing.Some,like O1, need 30 min. at heat...We don't know what this axe is,and so assume that it's plain-ish carbon steel...But obviously nothing is certain from this point,or even before...Them's the brakes).

OK,you've hardened the head.I'd do self-tempering while tou're at it,but won't go into it to make this post more brief(and hopefully to the point).

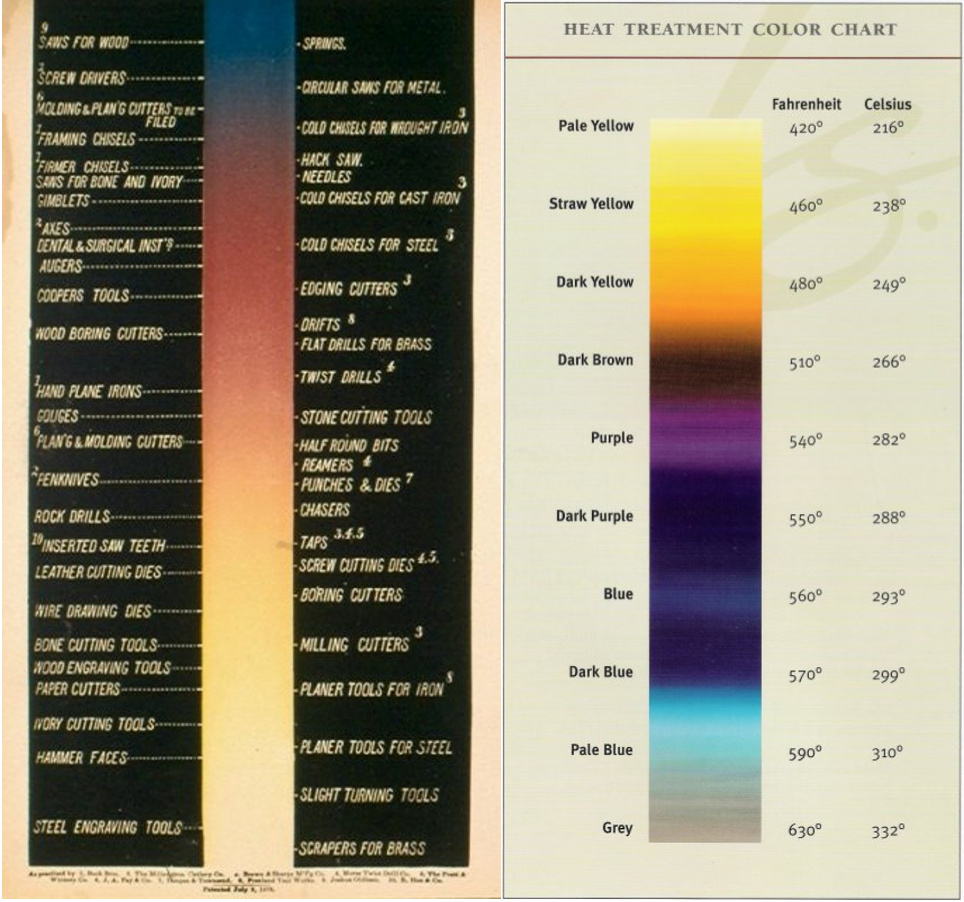
Tempering as above i could also add to,but again,won't.Just one point:The "Tempering",or the "Oxidation" colors are a film of oxides that break the visible light.What makes for the different colors is the Thickness of said film.Therefore,multiplied by Time(and a good thing to do is Two tempering cycles,say 2 hours each(or even 1 hour),with cooling to room T in between).So that the film grows overtime,making you think that you reached say,550,where in actuality-you haven't...).

* The Transformation Temperature is different for each and every alloy.Some have it close to Non-Magnetic,some-not,usually Non-Mag is below TT.
So,speaking Very rudely,heat to non-mag and Then SOME,a "few deg.more":)
(And if you REALLY Care,look up "Decalescence",or "Recalescence",and try to learn to see them...that'd be very commendable).

**Proper grain-size for tools and other,tough(hopefully),durable things is Invisible with the naked eye.
Break an old file,and you'll see a Gray,"velvety"-looking surface(the minute crystalline grains break the light,thus-unreflective velvet).
If you can actually distinguish the indiv.crystalls,it's too coarse....(we won't go there,but the grain is designated nominally by "grit" number,measured in microns,et c.,as in it's not a joke,or an old wife's tale!!!:)

All the very best of luck,respect,and do save them nice old axes!Right on!
 
P.S.

Heating itself must be done in such a way as to bring the very thin cutting edge,and the Much thicker blade away from it(however far back from the edge you plan to harden),to T at the SAME time....
One of the ways to do it is to heat the axe well back of the edge,keeping the edge clear of the heat-source till very late in the process.
This is important,however it is accomplished.
(Normalising IS indeed very convenient for practice in this very skill).
 
Square_peg,thank You,sir,for the neat,concise photos + instructions.(alas,i seem to totally lack any gift to speak Plainly...it's painful to read back over my own text...).

The IDEAL thing to happen would be to KNOW,exactly,the alloy,as then one may(and ought to)use the existing tables,the rather concrete values in them...
And maybe such info is available,through some historic source or another...That'd be way cool.

Barring that,we're lucky in that most often,only the simpler,carbon alloys were used in axe manufacturing.
Nowadays,we see some AISI 5160,which is a Chrome-rich alloy,but we're lucky even with it,as it acts close to the 10xx series,and the Chrome(among other things)is making it a so-called "through-hardening",meaning that the larger thickness of it will harden during the process.
(The plain Carbon alloys are poor at that,and the hardening is often fairly differentiated through the mass of the blade;something to keep in mind with some old,deeply worn axes).

Personally,i've had good luck with cheap,Chinese axes.I found them to respond well to normalising(form a decent grain structure),and also respond well to the simplistic quenching in warm oil,good,reliable hardenability.

But often we're just out on the limb.I've turned down a job once,drawing out and re-HT a very old,beautifully shaped broad-axe.I was afraid to mess it up in HT,in part if only because the blade had such a large area,and very complicated blade geometry...The heating of it evenly would have been extremely challenging...

BTW,it won't hurt to dull the cutting edge,before quenching,to about the thickness of a dime or so.Sharp edge has a tendency to act as a stress-concentrating feature.
Remember,that the most violent re-structuring is taking place inside the crystalline structure of steel during HT.

(And yes,of course i've been there,too:Standing there with the sinking heart,actually feeling,through the tongs,(and hearing!),the loud fracturing of the steel....going on,and on,for many seconds....

The biggest danger is not even the visible cracks,but the micro-fractures,that cannot be seen(that's why they use Magnaflex and such....).

And,lastly,some would be sorry to hear that the "ringing" does not translate to any structural information,it's lack of fractures/voids,or the state of hardness,nor anything else...(mild steel is actually great for forging bells out of,and i actually once shot a video of an adze,with hilatious weld-flaws,UN-heat-treated,ringing on and on,for over a minute,with the clarity of a tuning-fork....).
 
Back
Top