HOW???? - the wonder of those complex & beautiful laminated blades.

RayseM

Platinum Member
Joined
Feb 18, 2010
Messages
8,259
There are at least 2 extraordinary laminated blades in recent posts in this CUSTOM & HANDMADE KNIVES forum - https://www.bladeforums.com/threads/yatagan-sword.1533866/ and https://www.bladeforums.com/threads/dark-knight-dagger.1533489/ Have you all seen them???

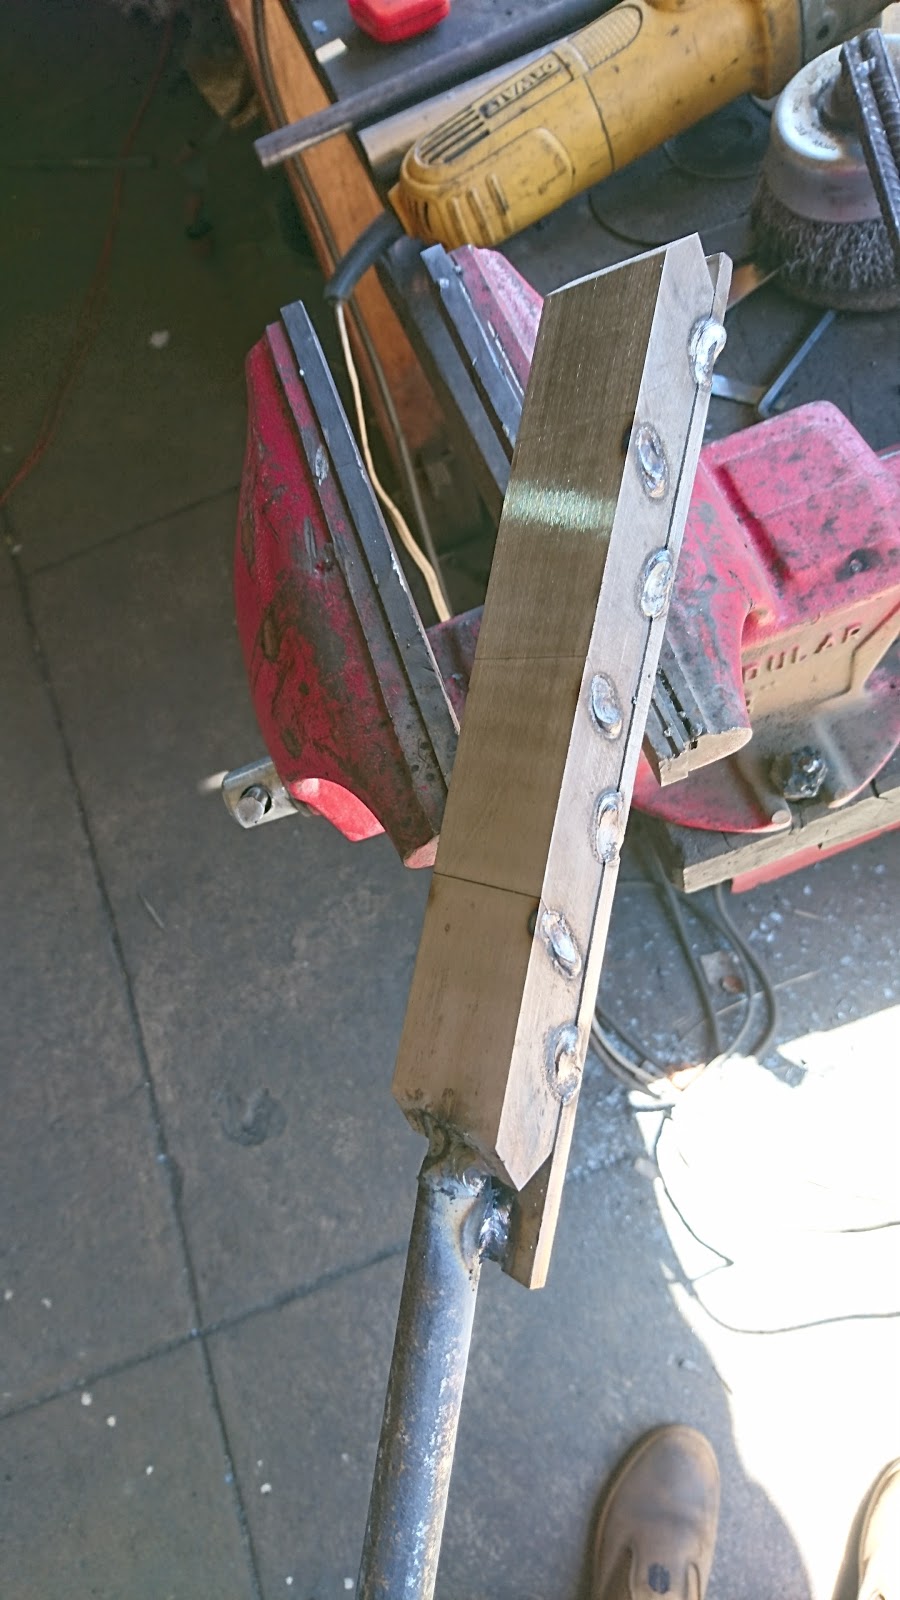
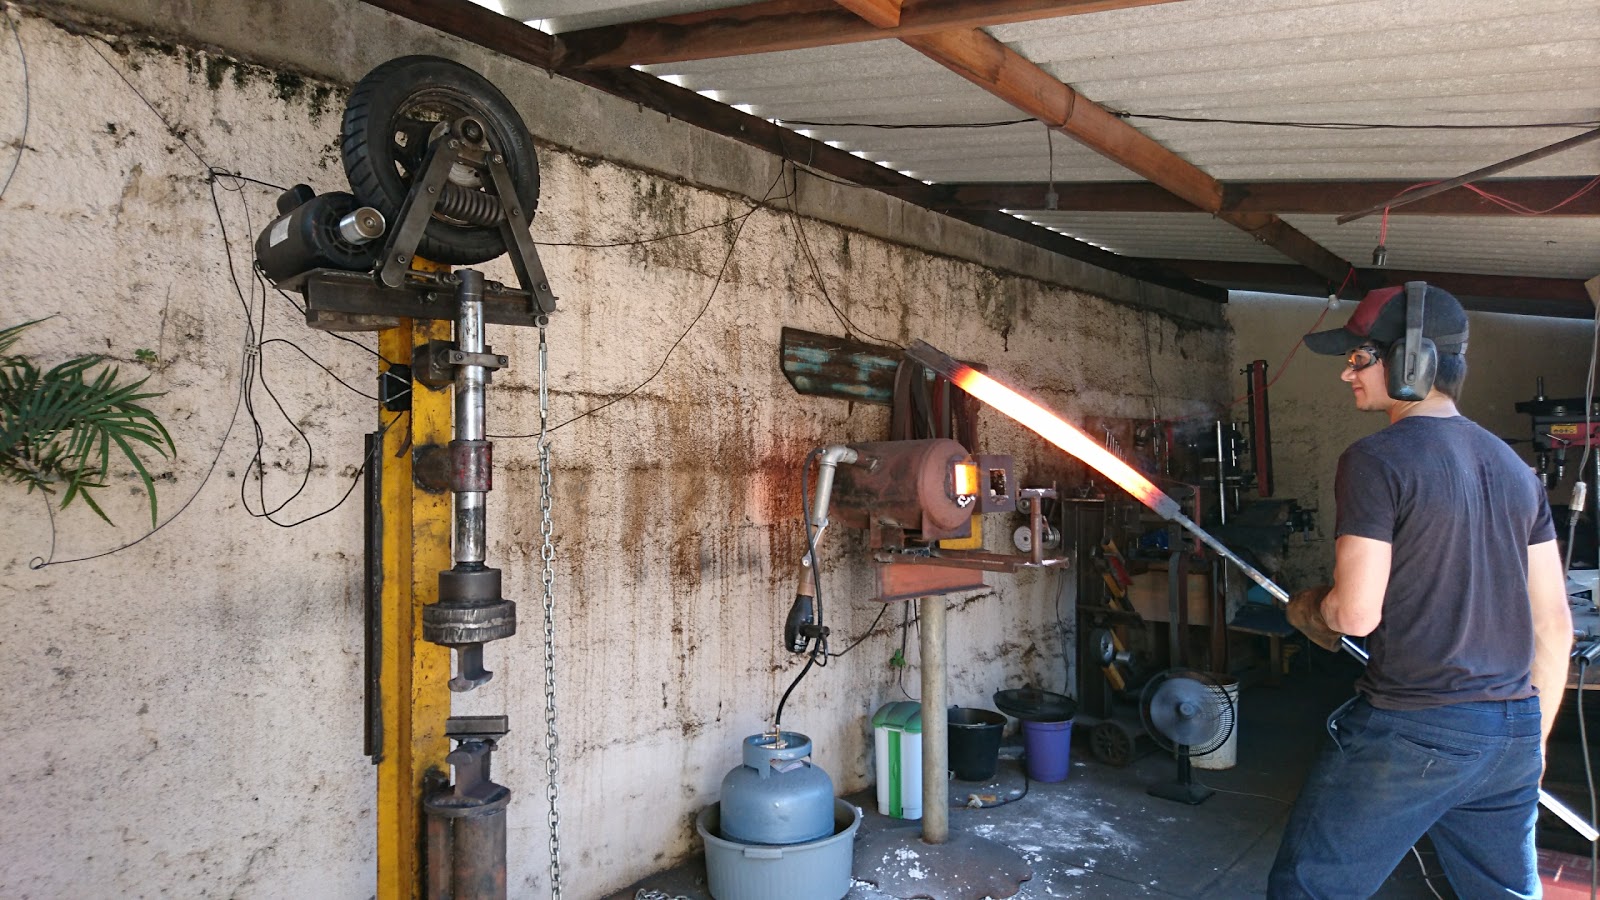
I have understood (a bit) the process of laminated blades but I am now utterly perplexed as to how these very intricate and consistent patterns are developed in a blade. I am not usually taken by the average "damascus" blade. In fact I think they are often over the top, garish and distracting, but these 2 examples take my breath away.

How are these made? Yes, I can google but I thought first to ask you all so that in the discussion we can enlighten those of us on BF who haven't a clue. Is it magic? It surely is a beautiful, even awe inspiring, result. The two examples in any case are Tour de Force blade art/craftsmanship IMHO. The entire package(s) are stunning.

Thanks for sharing & enlightening.

Ray
 
If Mr. Antunes, the artist responsible for the works you cited, sees your post he may offer an explanation of his process. My guess is that a lot of it has to do with advanced understanding of how pieces need to be manipulated in order to achieve the different patterns along with meticulous surface preparation and extremely consistent forging of the bars. Throw in a lot of experimentation and hard work, exceptional grinding skills and prodigious natural talent, maybe some magic and there you have it. Easy peasy.
 
About the links you provided to two examples :

THAT'LL WORK ! ! !
I'm sitting here with my mouth open but speechless (for a change).
 
I'm sure that Mr. Antunes can give more details, but I'll give you a little something to google in the meantime. The sword seems to be a multibar twist damascus (where multiple twisted bars are welded together, also note how the edge bars run all the way down to the tip) and the dagger seems to be a mosaic pattern of some sort (this is multiple iterations of the endgrain of a bar of damascus you are seeing, welded side by side in a ferry flip). Hope that gives a little clue as to how these are made, as for the exact details, especially on the mosaic piece, I hope Mr Atunes will chime in and enlighten us!
 
Hello guys thank you for all your comments, I'm very happy by them. The Yatagan pattern is rather simple, you basically make a billet of laminated layers usually can vary from as few as 7 and as much as 60 for this tipe of pattern, on that case I used about 40 layers. I stretched the billet into rods with 1/2" square, and twisted them tide, 3 right hand and 3 left hand. After that they are squared up again and the contact surfaces are cleaned, so they can be welded, alternating the lefts and the right so we can create that zigzag effect, after welded you can start to form a blade and that is the greater difficult of this pattern, any misplaced hammer blow can destroy your pattern. The tip is cut in a "v" and welded again so the pattern will follow the profile, I like to forge to the very final shape so I don't have to grind more than a millimeter or two out of the pattern. The mosaic of the dagger is much more complex than that, involves manipulation of the w pattern in ways they will create stars and " mosaics", but you do that in a way that is the end grain of the billet that shows, after you create the pattern you liked you cut the billet in 45 degree slices and flip them to forge them together, this is called ferry flip or Filicietti, after that you can start making your blade. Both of these patterns are very time consuming and incredibly steel consuming too, that sword has 2 pounds with the ivory, and took me about 15 pounds of steel to make it, the dagger blade took me about 9 pounds. The mosaic may need some photos, maybe I do a WIP sometime, but both of these patterns can be learned with online research, that is how I have learned almost everything I know, Like Salem said I did a class with Rodrigo in January of this year, but we focused only in the keyhole handle techniques, He is a great inspiration nonetheless. For the new makers out there it is possible to do this in a self taught way, it's not easy but the try and error will teach you so much. Hope I cleared a little bit. Thank you guys.
 
Thanks for the explanation Julian. Your work is outstanding. A WIP would be much appreciated if you decide to do one.
 
Here is some photos of the process..
This is a photo of the called ferry flip..
DSC_0473.JPG

The pattern was formed on the end of the billet, if I just forged down it will look like just a bunch of lines, so is necessary to cut like that in pieces of 45 degree angles, and forged welded to achieve the size of a blade, so now the pattern is shown on the surface of the blade.
The following picture is from the massive billet of the Yatagan, it was 25" long.

DSC_0428.JPG

Here I'm forge welding it..

DSC_0430.JPG
DSC_0434.JPG
 
Thank you so much Julian :thumbsup:. This was a start to opening my brain (more dense and complex than a Yatagan pattern :D) to visualizing the process. I will see if I can find some more details with photos or videos. Great that you have been willing to share.

All the best,

Ray
 
Great pics there. I really enjoy that you're doing this caliber of work in a shop you've obviously cobbled together out of what you could find with a lot of hard work, not a state-of-the-art facility packed with all the machines money can buy. I think it illustrates well that what really matters is drive and focus rather than having a bunch of toys.
Also I like that you refer to the flip as the "Filicietti" which I may do as well, considering that he was doing that way back to conserve steel when most guys were accordioning billets still. Love that guy's knives.
Thanks for the glimpse at the billets there, they look as clean as I'd have supposed. Tight twists.
Thank you Salem. I basically did almost all of my equipment, and what you see in the pictures is all I have, my shop is in the back of a rental house that has only single phase energy, haha, but I'm proud of it, and slowly I intend to invest in it, not in many tools but a place I can call mine and just enough tools that will allow me to do this for life.
 
Thank you Salem. I basically did almost all of my equipment, and what you see in the pictures is all I have, my shop is in the back of a rental house that has only single phase energy, haha, but I'm proud of it, and slowly I intend to invest in it, not in many tools but a place I can call mine and just enough tools that will allow me to do this for life.

Super cool, and great work, truly. *Hey* what's wrong with 1-phase? :D Hat's off to your endeavor, I don't think you'll have trouble doing this for life!
 
I'll just leave these here.

cropped-knives-new-backgroud.jpg

04aa4a7df3dc400576dc10bbad22ae7c--explosions-johan.jpg

Dragons
31573fdb35b938a10bbc1f128be8f01c.jpg


That is not an etch on the blade, it is the layers of steel pattern welded together to make these. It is called "mosaic damascus"

Man - these are sick :confused: :cool:. A big WOW from me. I had no idea of the potential. Thanks for sharing.
Now answer the question of the title :D

Ray
 
There was a wip in the stickies in shop talk, but the pics were lost with the forum upgrade.
 
Back
Top