- Joined
- Dec 6, 2011
- Messages
- 244
I've searched and haven't found anything. Can anyone point me to a thread or tutorial on how to disassemble a Buck 110? I want to replace the factor scales on one.
The BladeForums.com 2024 Traditional Knife is ready to order! See this thread for details:
https://www.bladeforums.com/threads/bladeforums-2024-traditional-knife.2003187/
Price is $300 $250 ea (shipped within CONUS). If you live outside the US, I will contact you after your order for extra shipping charges.
Order here: https://www.bladeforums.com/help/2024-traditional/ - Order as many as you like, we have plenty.
") )
)
")


You didn't state how old your knife was... If it is an early model, the scales could be pinned AND glued. If that's the case... Good luck! If it's a newer model then no worries...
It's Shedua wood...one of my favorites...Very nice work, Sitflyer. What wood did you use? It's beautiful.
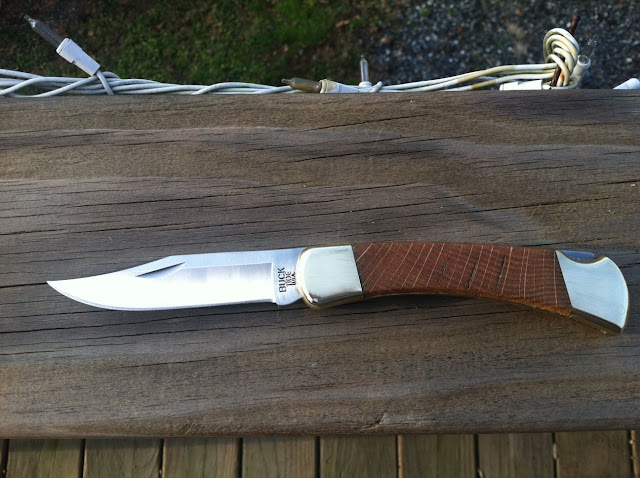
I was messing around with a new 110 that I ended up not really needing, and put some oak on it, end grain out.
I didn't worry about the checkering cracks because I was experimenting. I might redo it though.
Now that I'm dangerous I've bought another new 110 and want to put some quarter-sawn oak on it for my BIL for xmas. I've also got walnut, cherry, and even some hickory I might like to try.
I was wondering, if I wanted to pin the stocks, where I might find the pins as I haven't figured out how to remove them without destroying both the pins and the stocks. I don't mind ruining the current stocks but think it would be a sin to do that to ebony should I decide to try an older 110. The methods I've read on removal of the pins, ie sawing the top off with a dremel or drilling them out didn't work for me. Thanks for any tips you guys might have.
Kiln drying is just a faster and more controlled environment for bringing the moisture content down. Unfortunately it does not stabilize the wood, as it will continue swell and shrink based on the surrounding humidity. Stabilizing wood as madmath mentions involves impregnating the wood with resin under vaccuum conditions. This renders the wood unable to (or significantly lessens the wood's ability to ) absorb water from the surrounding air. Or a sweaty hand.The wood I use is kiln dried. I'm thinking that's what you mean by stabilized? It has been brought down to a stable moisture content. I finished mine with linseed oil, but a Polyurethane might be better.
Here's a 112 apart to the point where it's ready to be re-scaled...rocker pin re-peened ( they are virtually twins the 112 and 110,