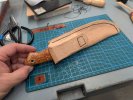
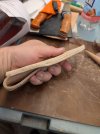
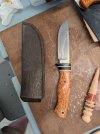
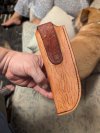
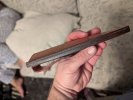
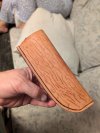
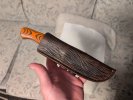
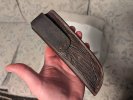
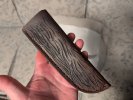
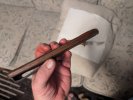
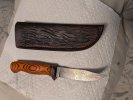
I got a scholarship from a local Blacksmith Guild to take a leather knife sheath class this past weekend! I had tried in the past, but the sheaths were pretty horrible.
Step one:
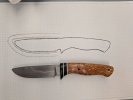
Trace the knife and then mark and trace another line around the blade, 1/8" away from the blade. This will be the inside of the welt. Then trace another line 1/4"-3/8" away from that for the outside of the welt.
Step 2:
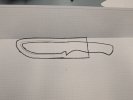
Figure out how far up the handle you want the sheath to go and draw it out with marker. This is a simple pouch style sheath.
Step 3:
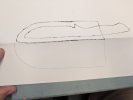
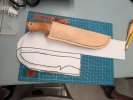
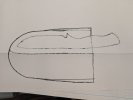
Fold the paper at the spine of the knife and trace around it to get the pattern shape for the sheath. I ended up bumping the sheath out near the guard for more clearance:
Step 4:
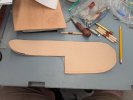
Time to cut leather! We figured out where the fold over belt loop would be located and added it to the pattern before cutting out the leather. We used a regular utility razor knife, but I did order a round knife to try for my own attempts.
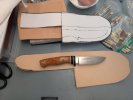
In the background of the above pic, you can see a piece of leather. We practiced using stamps, clay modeling tools, craftaid transfers, etc to provide texture to the sheaths. I ended up choosing a wood grain pattern for my sheath.
Step 4:
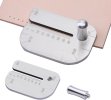
We used the stitch groove tool to mark our groove line to punch for the holes. Since my outer edge of the sheath was a bit wonky, my line is wonky (and runs off the edge). Hopefully more practice and a round knife will give me cleaner edges to work off of! Or I may cut, fold and shape before grooving in the future to avoid this.
Step 6:
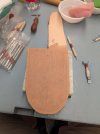
Using the craftaid template and a burnisher tool, I transferred the wood grain pattern to the damp leather and then used a swivel knife and modeling tools to trace the lines and a texture stamp in the knot areas:
Step 7:
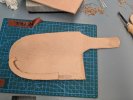
We traced the welt onto damp leather with a modeling tool and then cut it out. Rubber cement to one side of the sheath and then shaped and trimmed the fold over belt loop:
Step 8:
Skive the belt loop a bit to thin the end down, then get out the punches and start punching holes! I used the 5 pin punch for the top and bottom of the square and then the 4 pin punch for the sides, keeping one of the punches in to hold everything in place as I went.
Step 9:
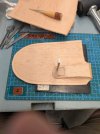
Sew the loop closed! This needs to be done before sewing the remainder of the sheath. We did a 2 needle saddle stitch and did several holes with one end of the thread, then did the double instead of trying to do both needles at once to avoid tangle ups.
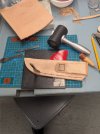
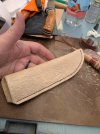
Here is the loop sewn down and starting the punch the holes for the sheath stitching. I was working from the back due to the belt loop and the line got wonky, so I had to fix a lot with the Awl to get the stitches back in the groove.
Part 2 coming soon!
Step one:

Trace the knife and then mark and trace another line around the blade, 1/8" away from the blade. This will be the inside of the welt. Then trace another line 1/4"-3/8" away from that for the outside of the welt.
Step 2:

Figure out how far up the handle you want the sheath to go and draw it out with marker. This is a simple pouch style sheath.
Step 3:

Fold the paper at the spine of the knife and trace around it to get the pattern shape for the sheath. I ended up bumping the sheath out near the guard for more clearance:

Step 4:
Time to cut leather! We figured out where the fold over belt loop would be located and added it to the pattern before cutting out the leather. We used a regular utility razor knife, but I did order a round knife to try for my own attempts.

In the background of the above pic, you can see a piece of leather. We practiced using stamps, clay modeling tools, craftaid transfers, etc to provide texture to the sheaths. I ended up choosing a wood grain pattern for my sheath.
Step 4:
We used the stitch groove tool to mark our groove line to punch for the holes. Since my outer edge of the sheath was a bit wonky, my line is wonky (and runs off the edge). Hopefully more practice and a round knife will give me cleaner edges to work off of! Or I may cut, fold and shape before grooving in the future to avoid this.

Step 6:
Using the craftaid template and a burnisher tool, I transferred the wood grain pattern to the damp leather and then used a swivel knife and modeling tools to trace the lines and a texture stamp in the knot areas:

Step 7:
We traced the welt onto damp leather with a modeling tool and then cut it out. Rubber cement to one side of the sheath and then shaped and trimmed the fold over belt loop:

Step 8:
Skive the belt loop a bit to thin the end down, then get out the punches and start punching holes! I used the 5 pin punch for the top and bottom of the square and then the 4 pin punch for the sides, keeping one of the punches in to hold everything in place as I went.

Step 9:
Sew the loop closed! This needs to be done before sewing the remainder of the sheath. We did a 2 needle saddle stitch and did several holes with one end of the thread, then did the double instead of trying to do both needles at once to avoid tangle ups.

Here is the loop sewn down and starting the punch the holes for the sheath stitching. I was working from the back due to the belt loop and the line got wonky, so I had to fix a lot with the Awl to get the stitches back in the groove.
Part 2 coming soon!

