- Joined
- May 19, 2012
- Messages
- 2,265
I made my first kydex sheath!!
For those of you on here who make your own - and particularly for the pros like Buy Brown, Azwelke and Mashed Cat - I have a whole new level of respect for the art and craft of kydex sheath making! To do this stuff properly - I found out - it ain't easy!!
My good friend, custom maker Michael at Katchi Blades, showed me how, lent me his workshop, and did the hard bits --- but I'm willing to call it mine.
 ")
Thought I would show some pics of the process of making it....
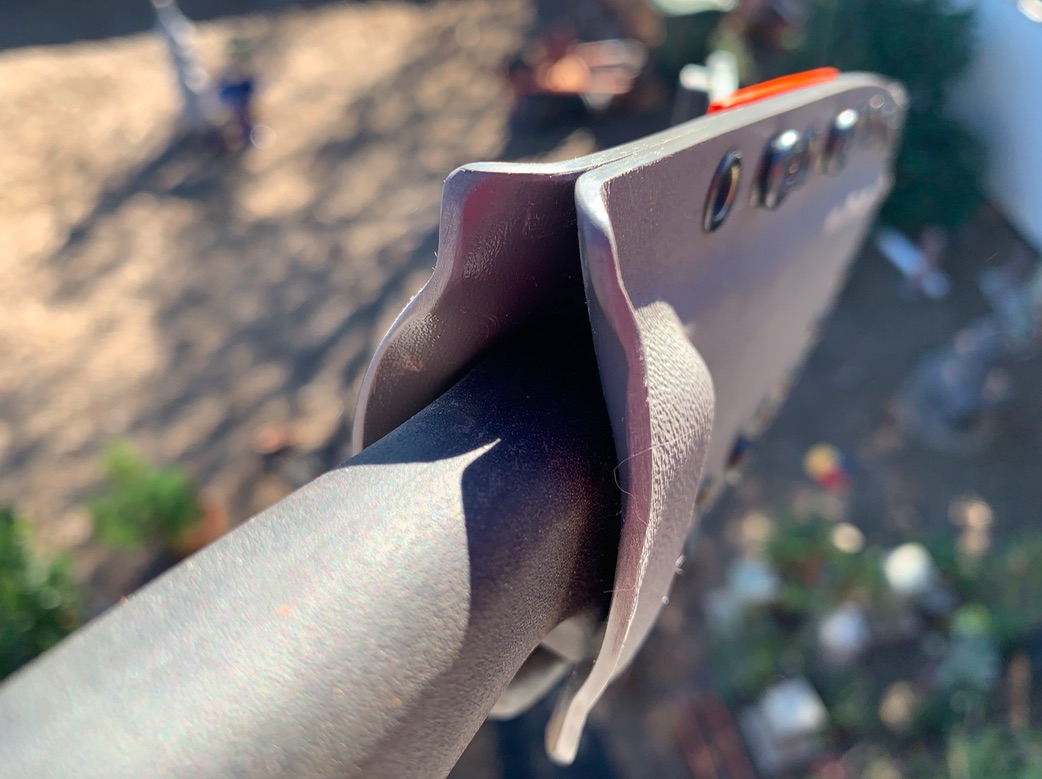
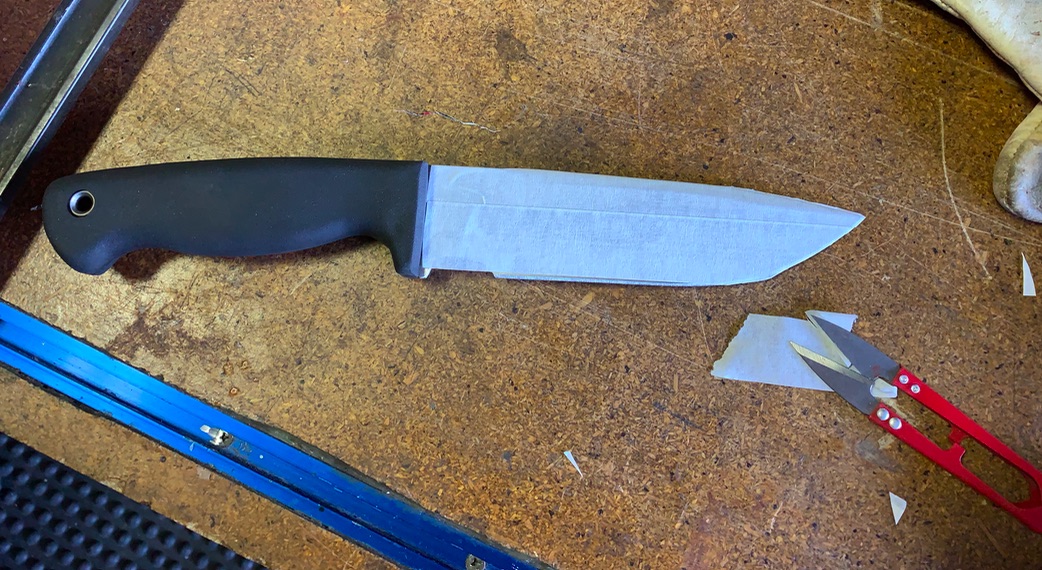
Three layers of masking tape go all over both sides of the blade (and spine) to create a small space inside the sheath to prevent rubbing and scratching
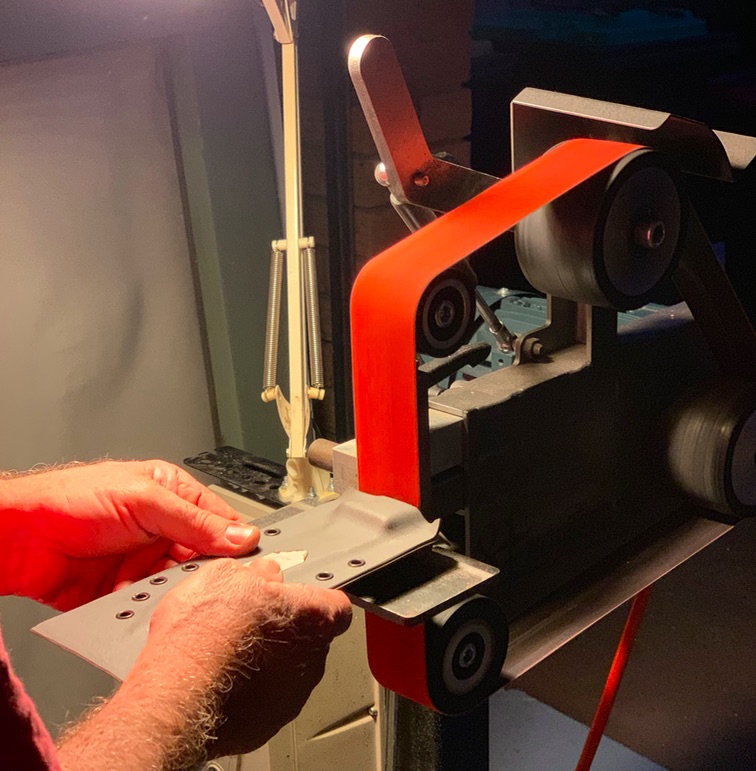
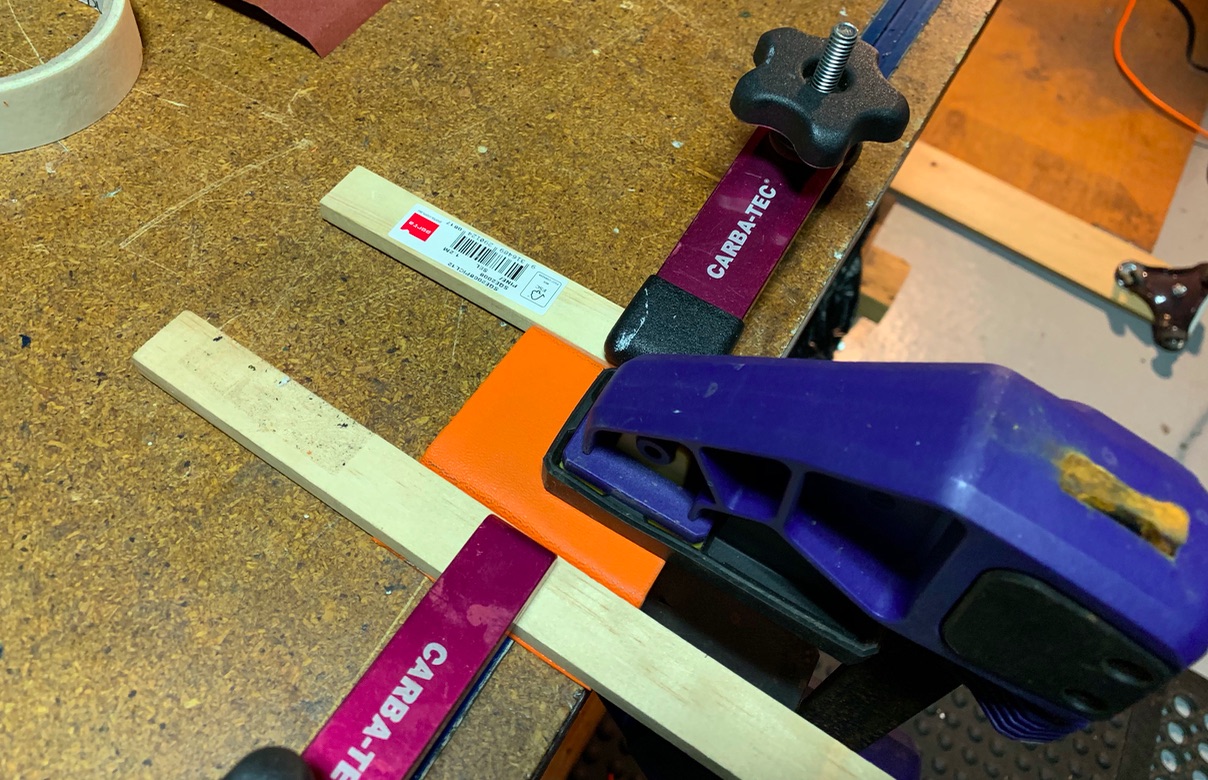
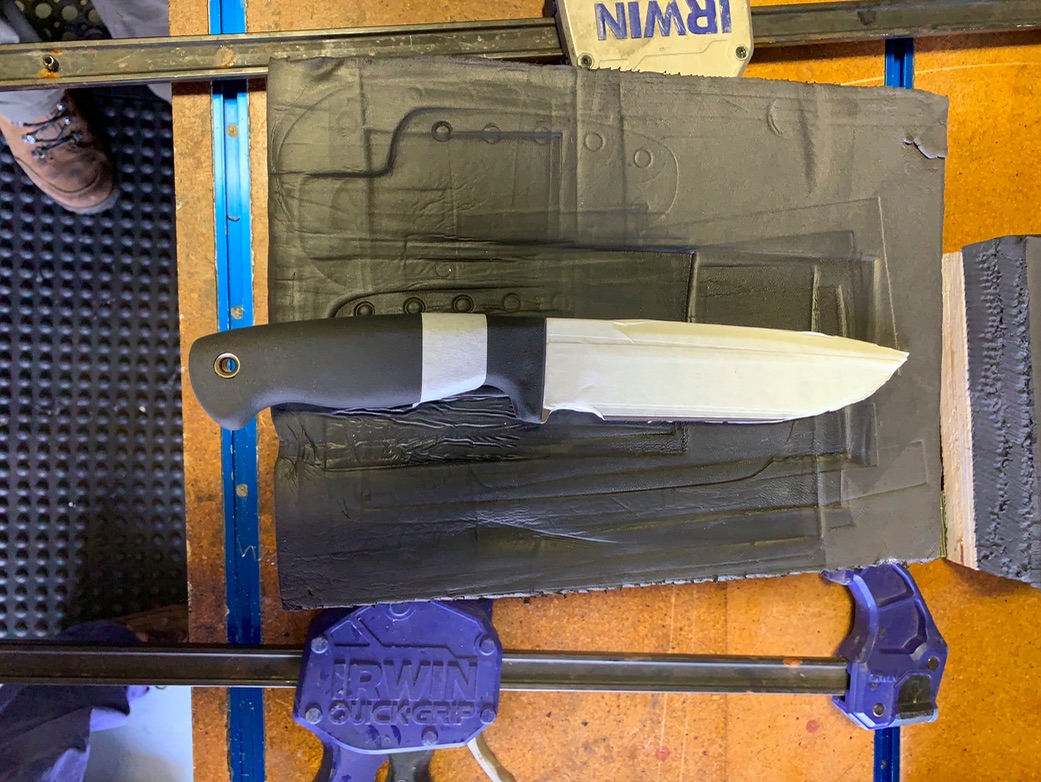
Sitting on the press, ready for the hot kydex
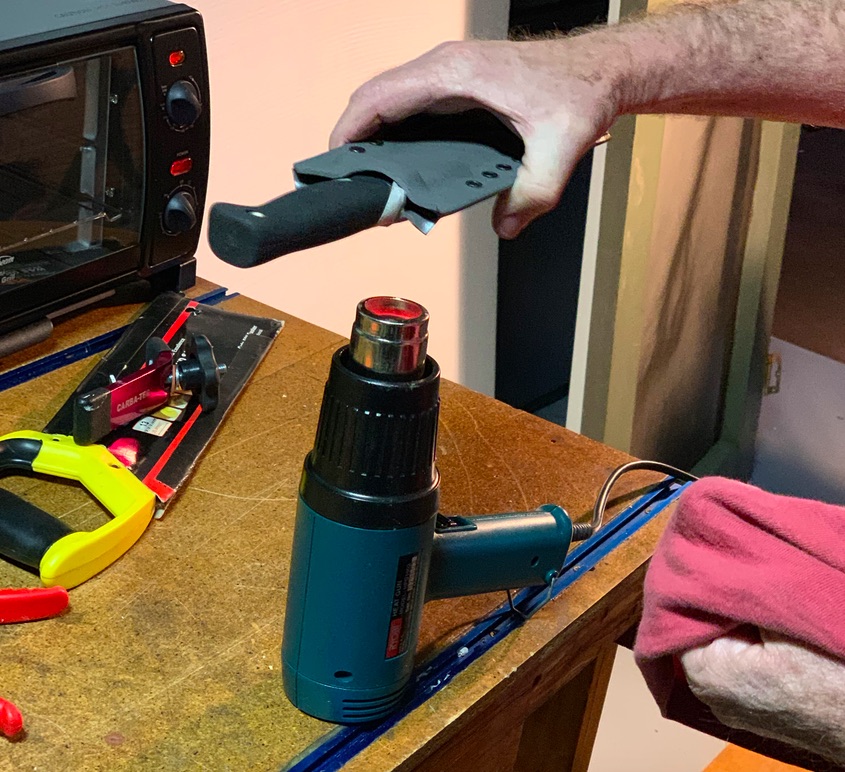
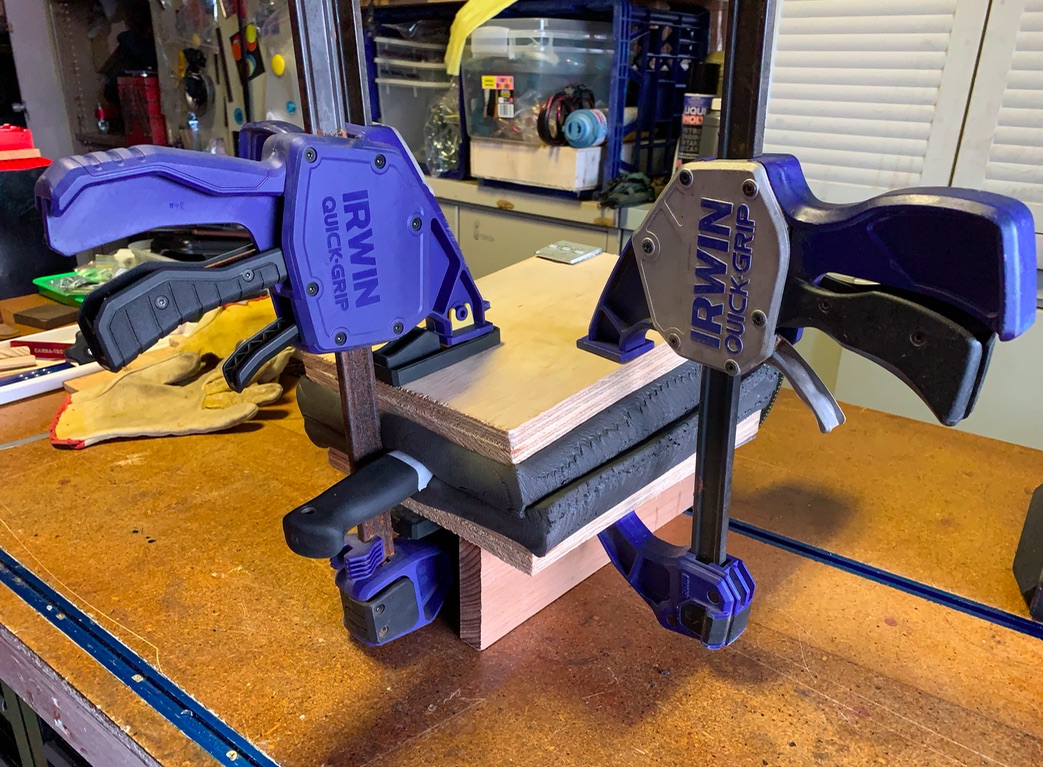
Both pieces of kydex get heated for a few minutes (until they are soft enough to be floppy) at about 100 degrees C (about 210 F).

Then quickly put the first piece of kydex on the foam, then the knife on top, then the second kydex on top of that, and clamp the top of the press down tight as fast as possible. The kydex cools and stiffens quickly! Leave it for five minutes until the kydex is cool and stiff.
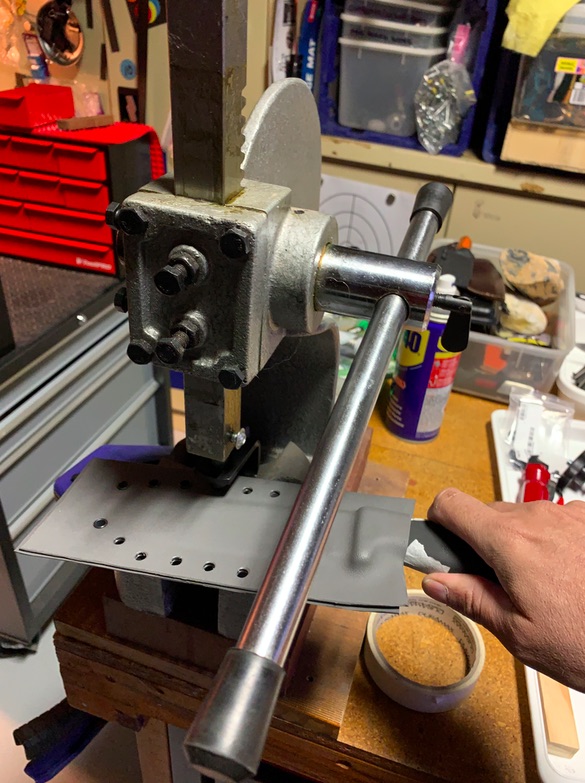
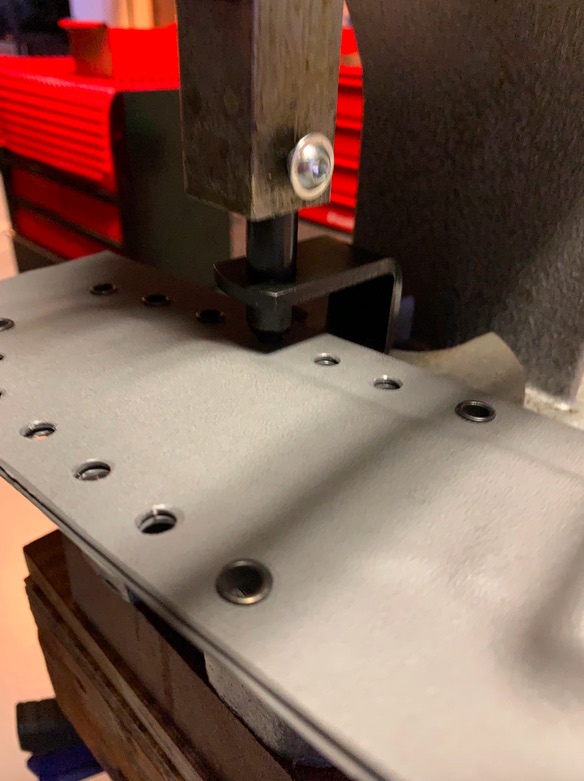
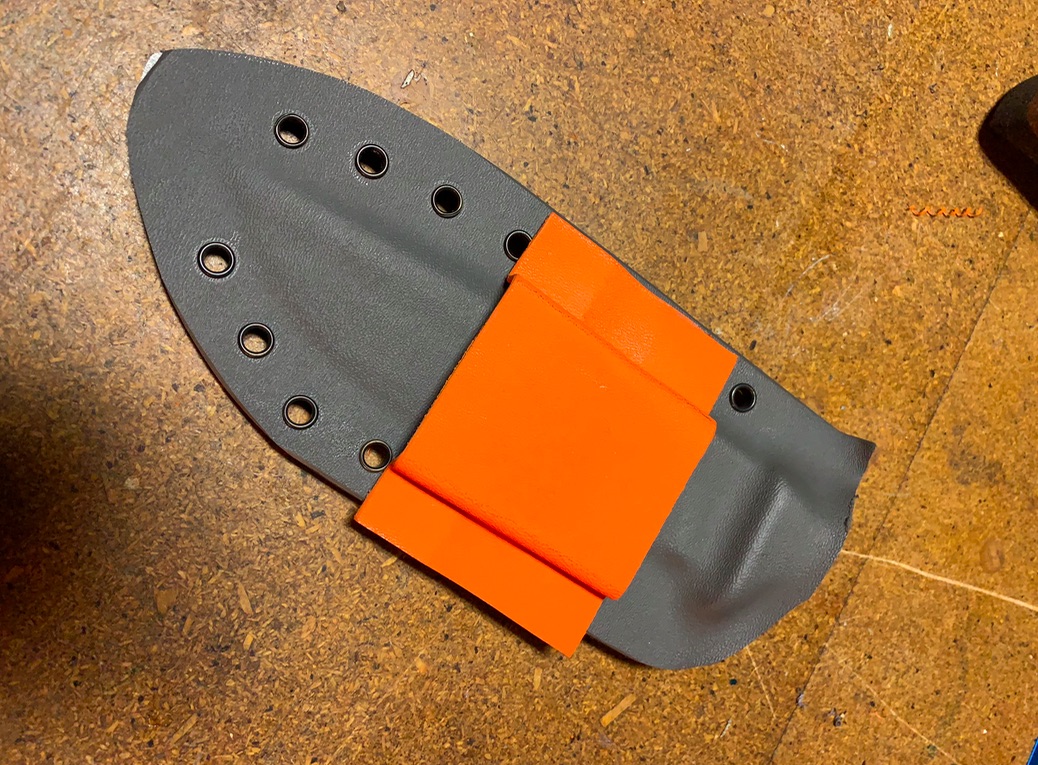
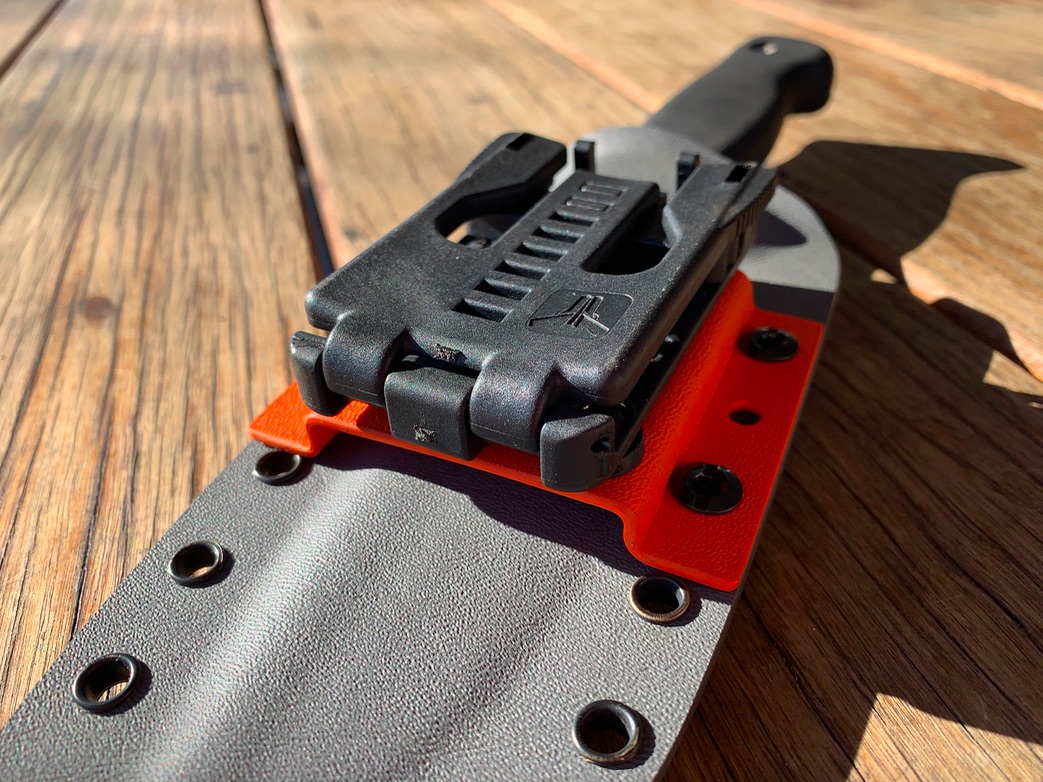
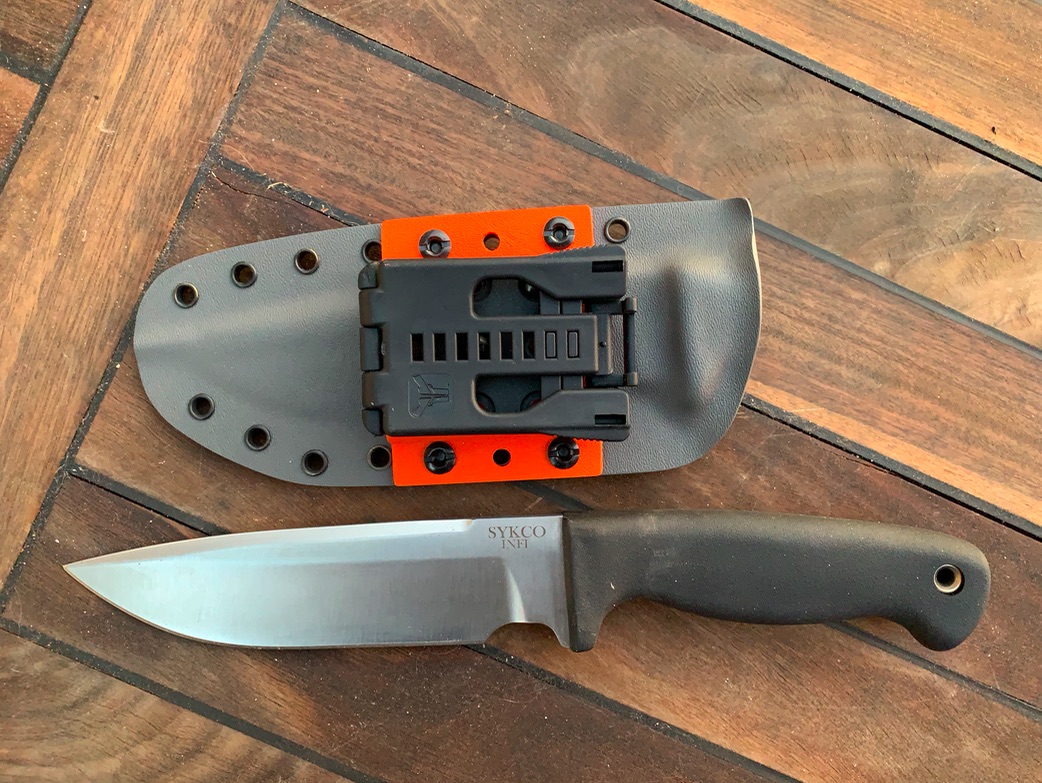
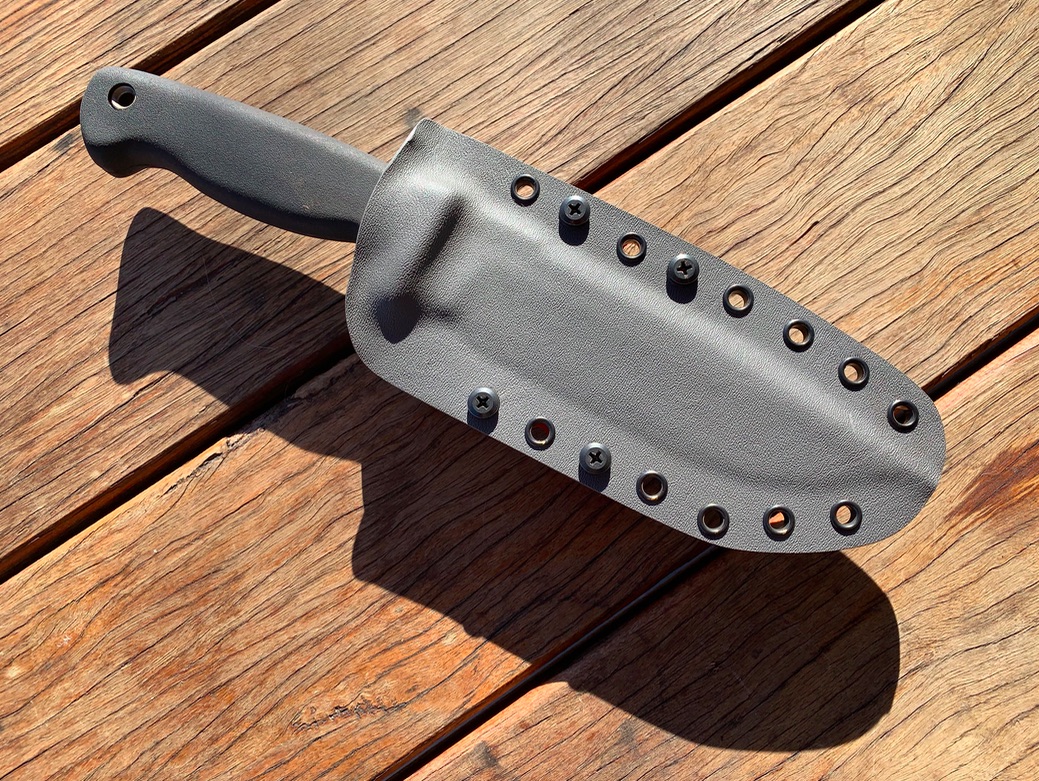
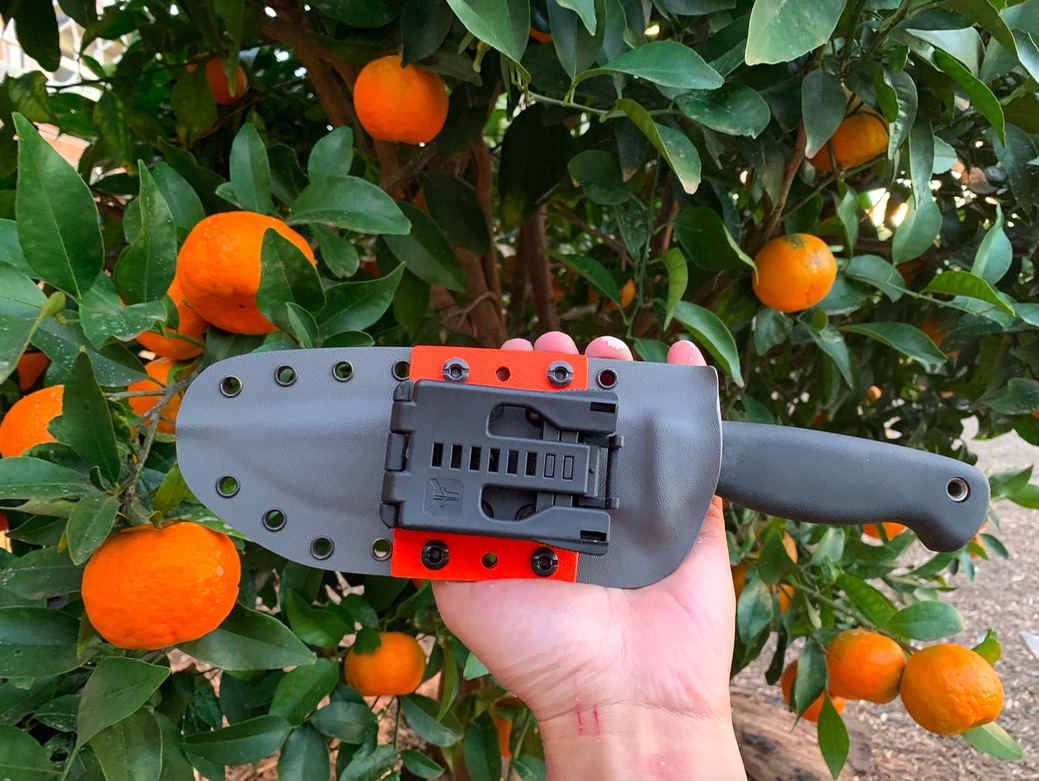
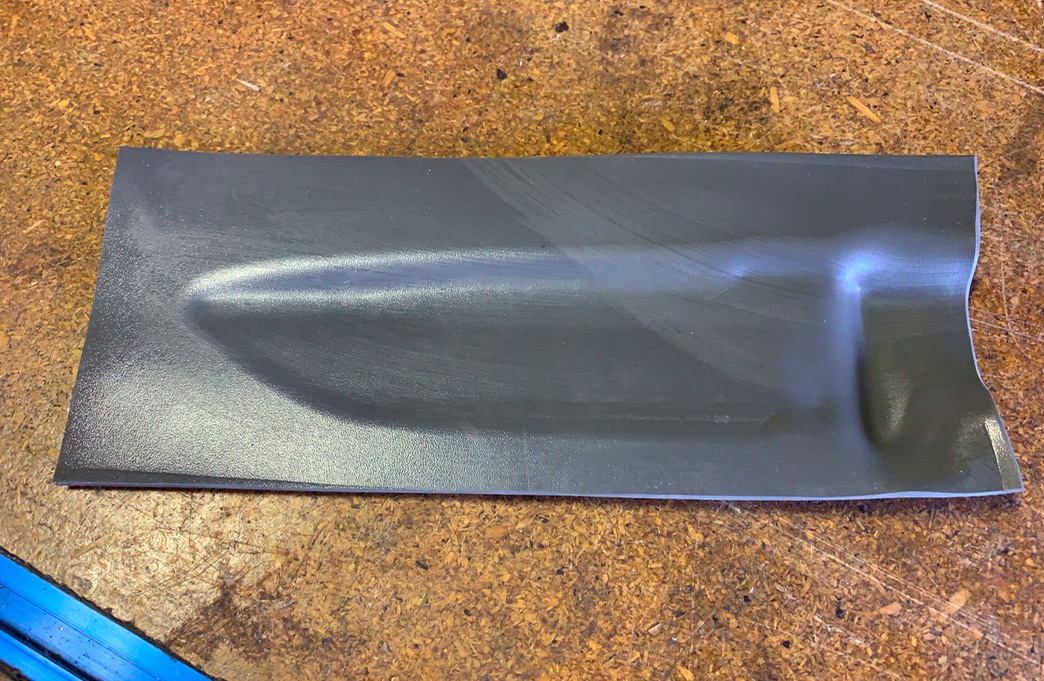
The result
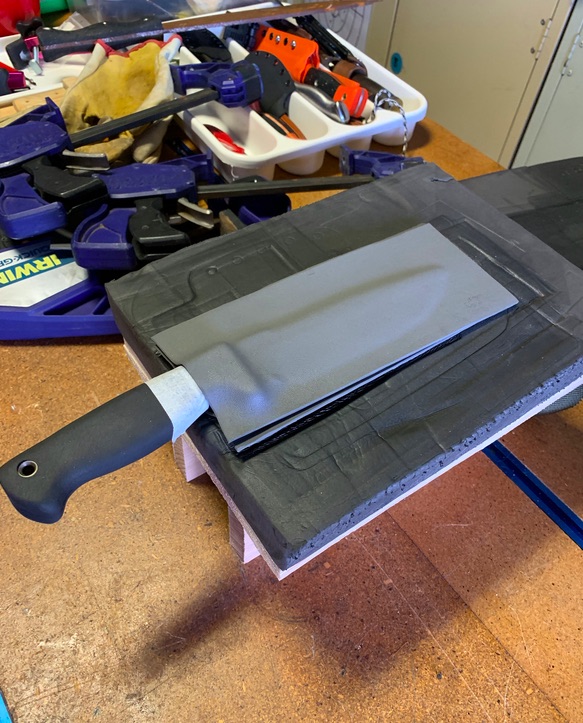
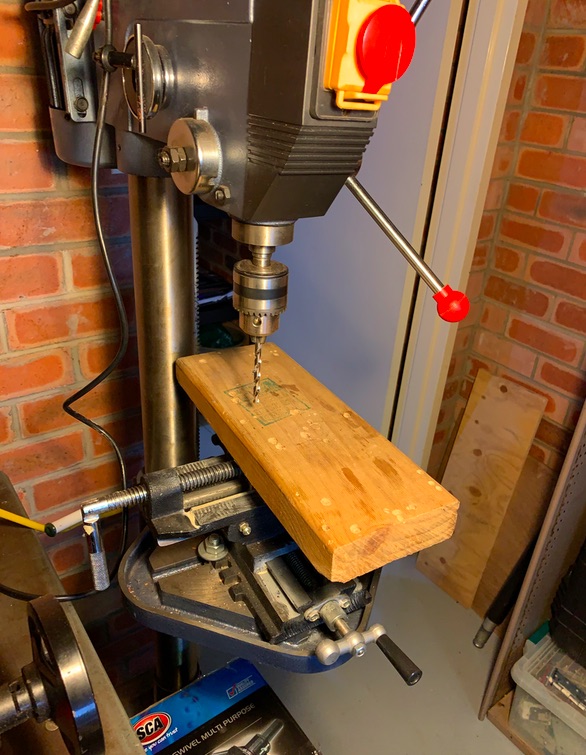
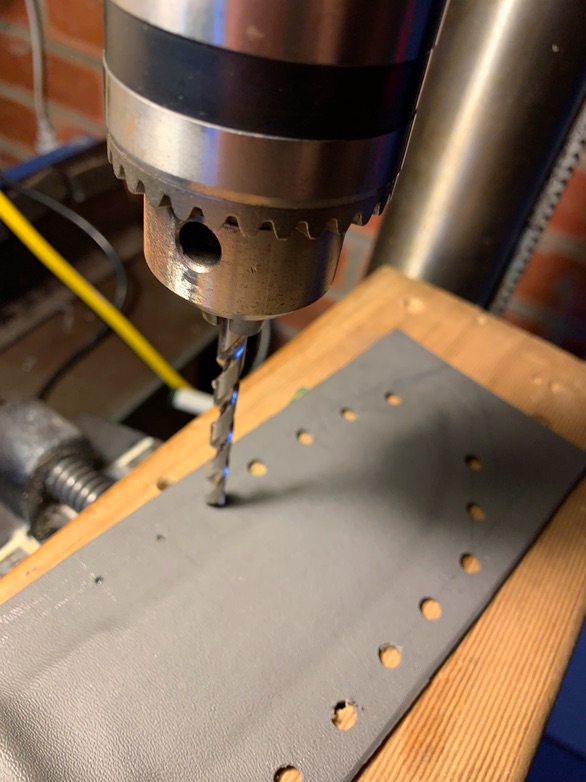
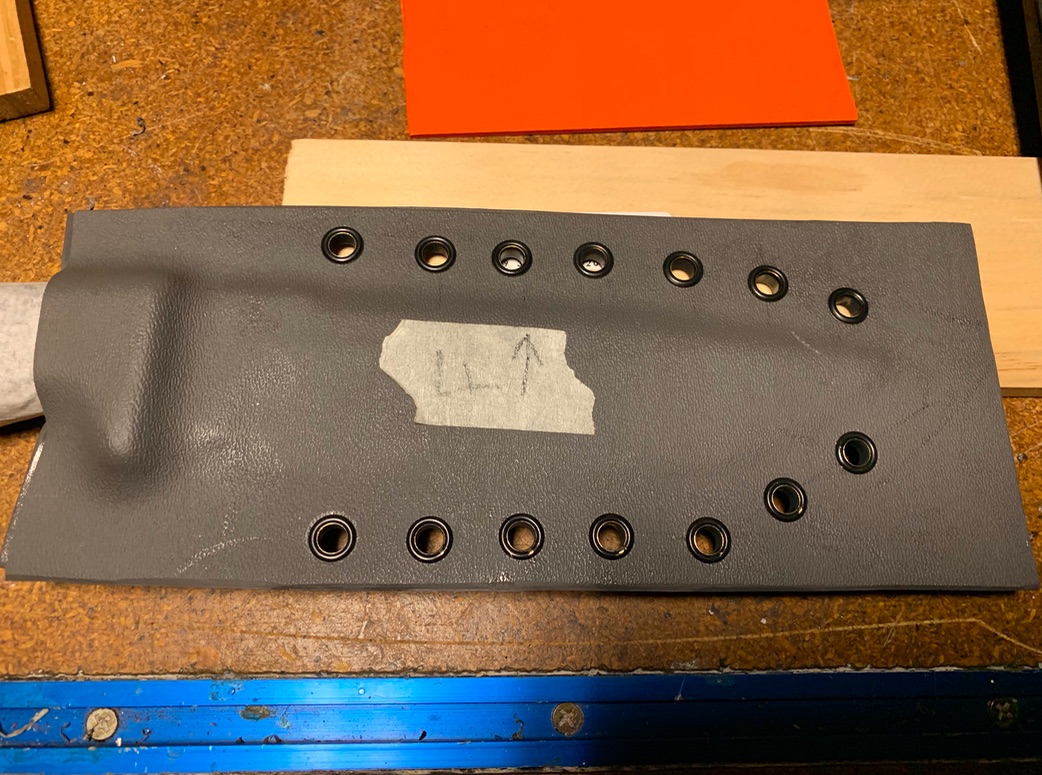
I got it wrong the first time. There isn't enough room below the blade edge for the rivets, so I had to do it again.
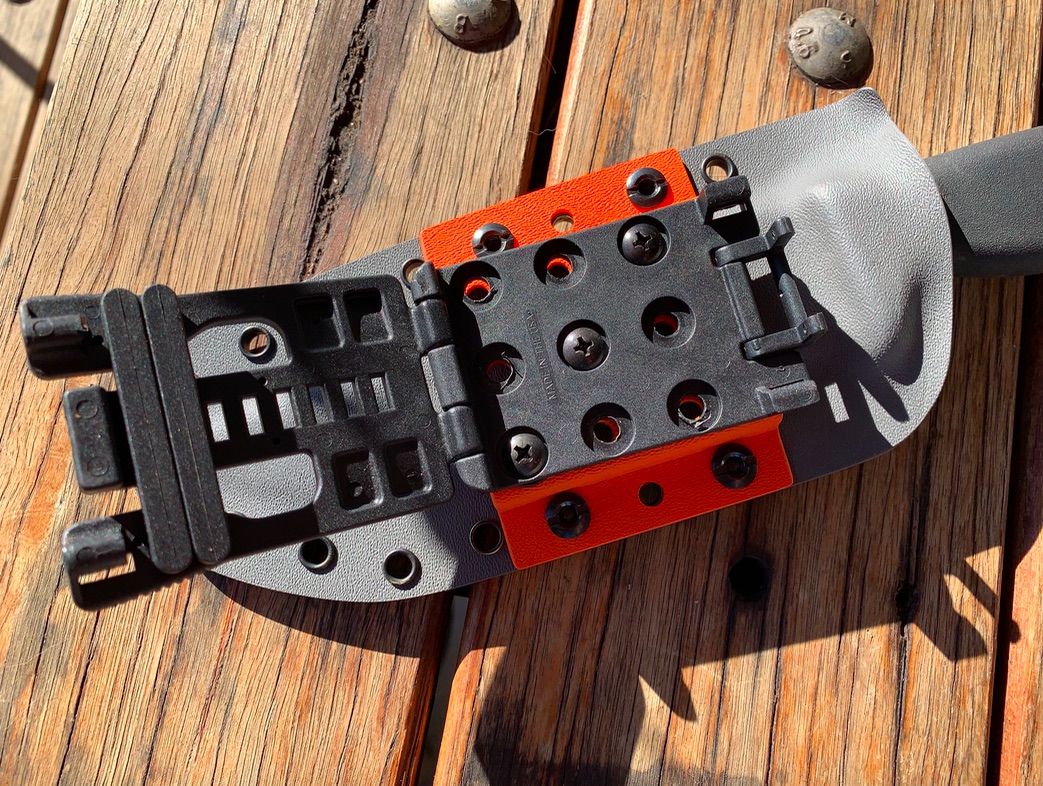
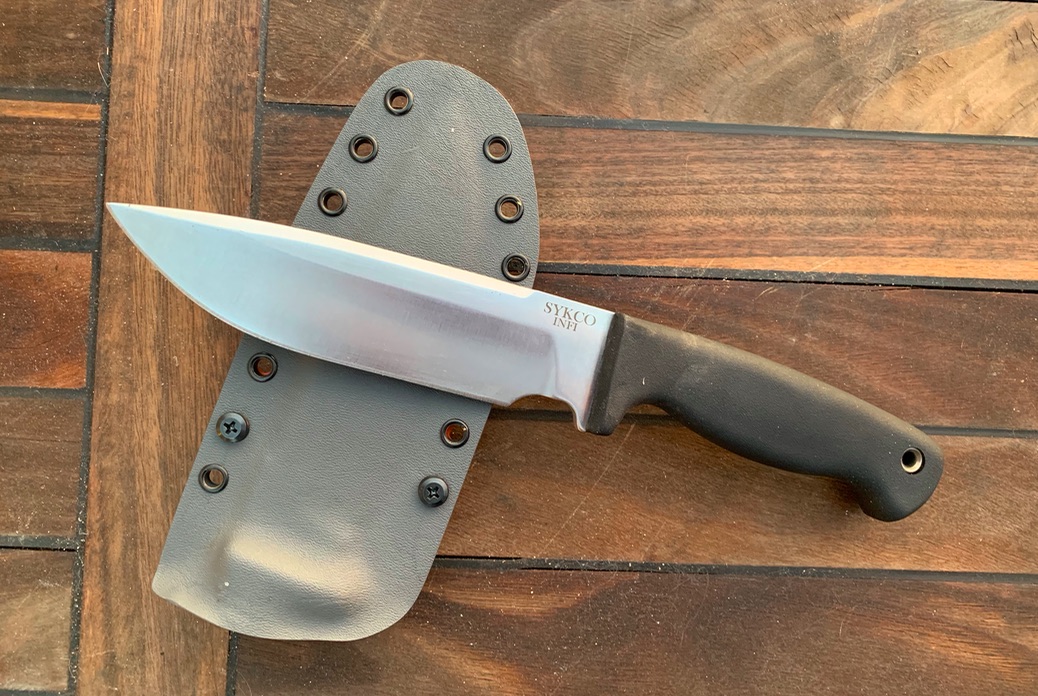
What it look like on the inside
Cont....
For those of you on here who make your own - and particularly for the pros like Buy Brown, Azwelke and Mashed Cat - I have a whole new level of respect for the art and craft of kydex sheath making! To do this stuff properly - I found out - it ain't easy!!
My good friend, custom maker Michael at Katchi Blades, showed me how, lent me his workshop, and did the hard bits
--- but I'm willing to call it mine. Thought I would show some pics of the process of making it....
Three layers of masking tape go all over both sides of the blade (and spine) to create a small space inside the sheath to prevent rubbing and scratching
Sitting on the press, ready for the hot kydex
Both pieces of kydex get heated for a few minutes (until they are soft enough to be floppy) at about 100 degrees C (about 210 F).
Then quickly put the first piece of kydex on the foam, then the knife on top, then the second kydex on top of that, and clamp the top of the press down tight as fast as possible. The kydex cools and stiffens quickly! Leave it for five minutes until the kydex is cool and stiff.
The result
I got it wrong the first time. There isn't enough room below the blade edge for the rivets, so I had to do it again.
What it look like on the inside
Cont....