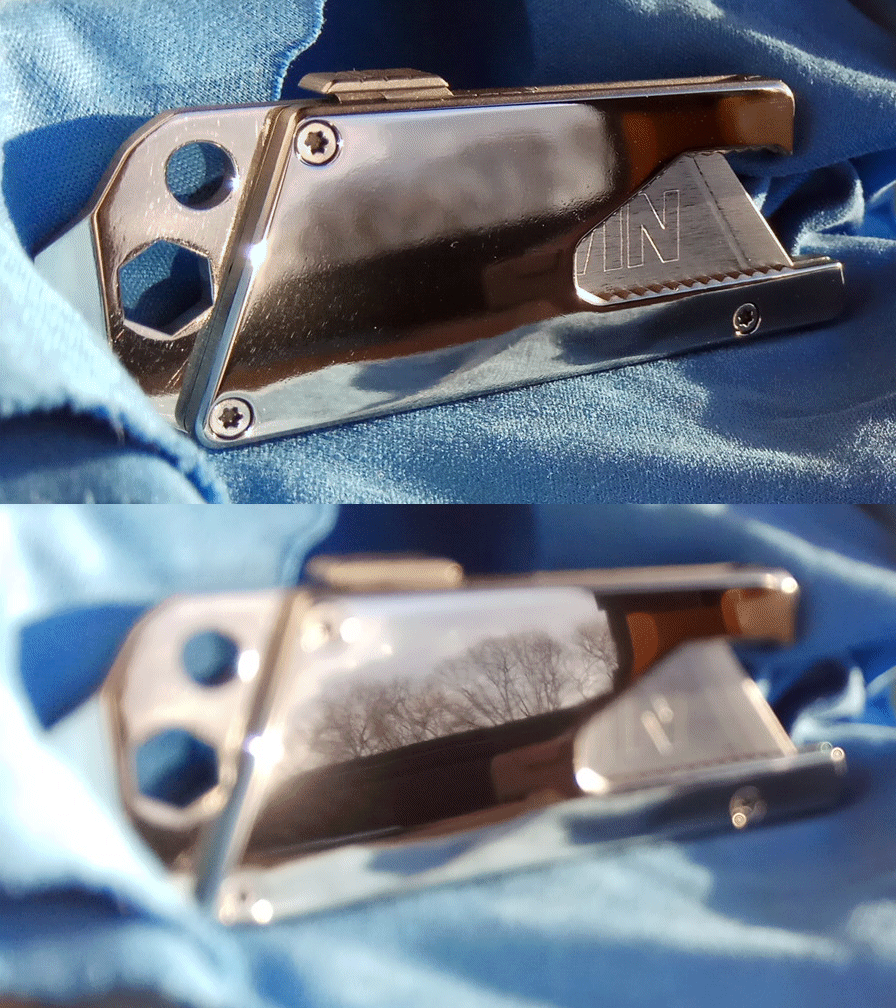
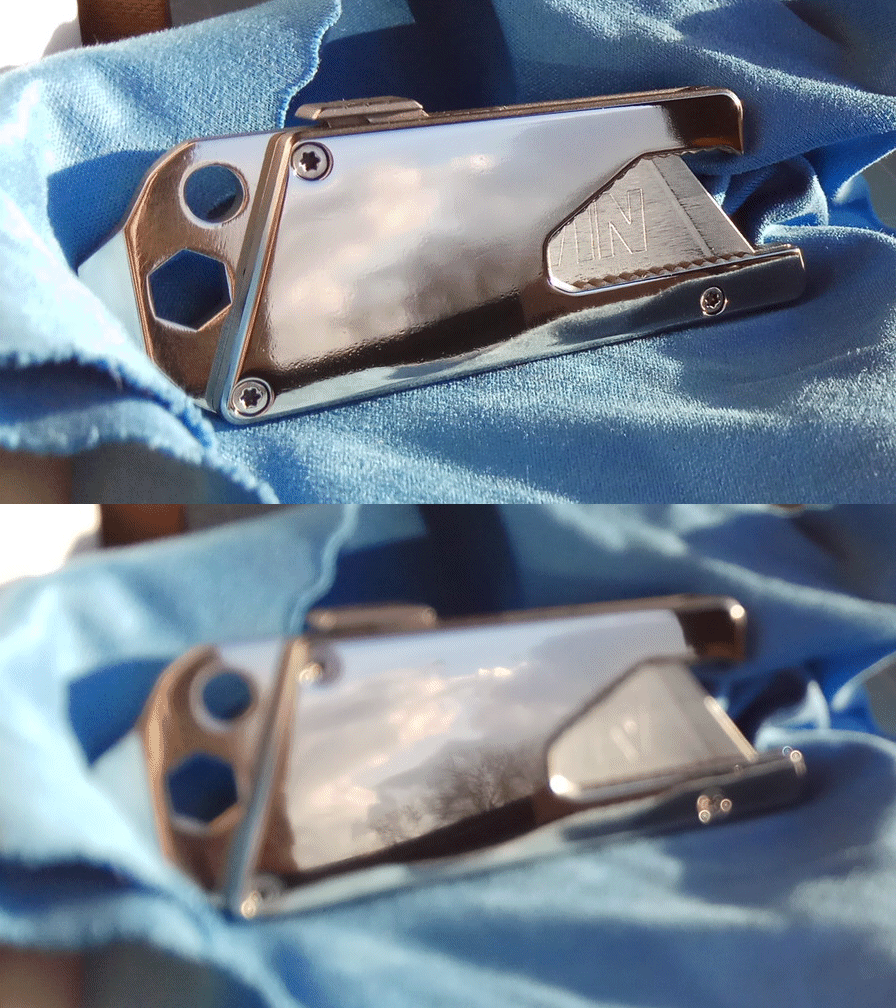
Is this a known phenomenon, have you guys experienced it too? I am clueless and frustrated:
The more i try to mirror-polish a 'full' macro area, say a perfect square of 1inch x 1inch, of any common blade or handle steel (or titanium) material, the more i am able to make all micro and nano scratch lines disappear on the one hand, leaving superpolished mirror-like micro areas. No matter from which angle you look, from which angle the light shines, all nano lines are gone. So far so good.
On the other hand, between those micro areas, there are tiny micro pits, tiny micro craters which have been forming and growing ("micro-pitting"). And with these micro pits (they can grow up to the size of macro pits!) in place, the mirror-polish effect of the surface degrades more and more. It's perplexing.


The micro-pitting phenomenon does not (seem to) occur when i mirror-polish tiny areas like a knife blade's bevel. One can get the best bevel mirror polish results with the help of a guided system. I've done that before and am pleased enough with the results. If the last guided strop was a 0.25micron diamond paste, then you can still see these 0.25micron scratch lines depending on lighting and viewing angles. That's definitely not like a real mirror, never mind.
Mirror-polishing a macro area like a knife blade's face seems to be a totally different beast. When you start grinding with a whetstone back and forth, the metal particles accumulating under the face scratch the face back, and some of these new scratches are so deep that they can't get polished away during the later polishing stages (1000, 2000, 3000, 5000, 10000grit). At the 5000 and 10000grit stages you realize that guided polishing a blade face is becoming nonsensical, inefficient, and that you'd prefer to do polishing movements, i.e. circular movements. But that doesn't work out too well either, so you advance to leather and or paper strops, try various compounds. At this point guided polishing is definitely a no-go and you rub with your loaded microfibre cloth in circular motions. You seem to make improvements, most of the micro scratches slowly disappear, leaving you with a sea of nano scratches from the 0.25micron diamond compound AND the abrased metal (in your microfibre cloth). Touching the surface with bare skin ruins that sea. Even trying to clean the surface ridding of the polishing paste becomes a huge challenge, without creating new nano scratches with your fingers, finger nails, toilet paper, tissue. At this point the polished surface looks very good under fortunate (lighting and viewing) angles but nothing like a real mirror which is totally independent from angles. Also at this point you don't realize that the surface has been growing hardly visible nano pits, very few ones. You keep polishing with a fresh microfibre cloth and the same last used compound (0.25micron), thinking that the result should remain stable, the same, if not better: if you kept polishing a real bathroom mirror for hours with a fresh microfibre cloth, the mirror won't degrade. Right? Wrong. The longer you keep polishing your steel (or titanium), the more of the hardly visible nano pits form, seemingly out of nowhere. And they keep growing in size (diameter). Under the el cheapo microscope you can see points, circular speckles, on the mirror surface forming while the hairline scratches (actually nanoline scratches) really disappear thanks to your prolonged polishing. So now you are fully aware of the sea of nano pits and start wondering. Shouldn't circular polishing movements (with any optimal compound) reduce the size and number of these speckles, like it reduced the size, depth and number of the scratch lines? So you keep polishing in circular movements and learn that the nano pits have grown to the size of micro pits. One can see them with bear eyes. And because of that sea of pits, the total mirror polish effect of your surface is getting worse. (...)
I am relieved to see that i am not the only one experiencing this issue: The famous Victorinox Spirit multitool (and the WORKPRO keychain folding utility knife 3-pack set) has a shiny-blinky handle finish, almost a mirror finish. When you look closer, you'll notice lots of speckles and macro pits disturbing the mirror finish. One may argue that these imperfections originate from the "mirror tumble finishing" process (Does such a thing even exist?) but that's imho rather half of the story. I've tried to mirror polish the handle with a Q-tip, rubbing/polishing in longitudinal direction, and while that does indeed reduce the size of the bigger speckles (as expected!, since you're removing metal from the surface to get to the ground of the speckles), it also creates new micro pits, longish ones, in direction of the polishing movement. Clearly a testament that, in general, one should avoid using back'n forth movements for polishing: eventually this would dig pits (carbide tearout??) in this direction.
I also tried the polishing wheels of my dremel, with various compounds. Same result. If you hold the rotary wheels long enough at one point on your near-mirror-polished steel — 15-20sec may be enough — you'll see micropits forming. So instead of improving the mirror polish with the dremel, it goes from near-mirror-polish to no-mirror-polish.
Sorry for the long blah tl;dr. I am sure that there is an official term for the observed phenomenon and that the topic has been treated in scientific books on The Art of Mirror Polishing. But i am no freak to go the library, look up the best tomes on Mirror Polishing, read them, study the topic like a college student, and go back to my workbench and try to solve the issue.
I just wanted to vent and share my actual observation and experience that this phenomenon is real.
And that mirror-polishing a smooth flat macro area is on a really different, higher level of difficulty/challenge than superpolishing a knife bevel.
Out.
The more i try to mirror-polish a 'full' macro area, say a perfect square of 1inch x 1inch, of any common blade or handle steel (or titanium) material, the more i am able to make all micro and nano scratch lines disappear on the one hand, leaving superpolished mirror-like micro areas. No matter from which angle you look, from which angle the light shines, all nano lines are gone. So far so good.
On the other hand, between those micro areas, there are tiny micro pits, tiny micro craters which have been forming and growing ("micro-pitting"). And with these micro pits (they can grow up to the size of macro pits!) in place, the mirror-polish effect of the surface degrades more and more. It's perplexing.


The micro-pitting phenomenon does not (seem to) occur when i mirror-polish tiny areas like a knife blade's bevel. One can get the best bevel mirror polish results with the help of a guided system. I've done that before and am pleased enough with the results. If the last guided strop was a 0.25micron diamond paste, then you can still see these 0.25micron scratch lines depending on lighting and viewing angles. That's definitely not like a real mirror, never mind.
Mirror-polishing a macro area like a knife blade's face seems to be a totally different beast. When you start grinding with a whetstone back and forth, the metal particles accumulating under the face scratch the face back, and some of these new scratches are so deep that they can't get polished away during the later polishing stages (1000, 2000, 3000, 5000, 10000grit). At the 5000 and 10000grit stages you realize that guided polishing a blade face is becoming nonsensical, inefficient, and that you'd prefer to do polishing movements, i.e. circular movements. But that doesn't work out too well either, so you advance to leather and or paper strops, try various compounds. At this point guided polishing is definitely a no-go and you rub with your loaded microfibre cloth in circular motions. You seem to make improvements, most of the micro scratches slowly disappear, leaving you with a sea of nano scratches from the 0.25micron diamond compound AND the abrased metal (in your microfibre cloth). Touching the surface with bare skin ruins that sea. Even trying to clean the surface ridding of the polishing paste becomes a huge challenge, without creating new nano scratches with your fingers, finger nails, toilet paper, tissue. At this point the polished surface looks very good under fortunate (lighting and viewing) angles but nothing like a real mirror which is totally independent from angles. Also at this point you don't realize that the surface has been growing hardly visible nano pits, very few ones. You keep polishing with a fresh microfibre cloth and the same last used compound (0.25micron), thinking that the result should remain stable, the same, if not better: if you kept polishing a real bathroom mirror for hours with a fresh microfibre cloth, the mirror won't degrade. Right? Wrong. The longer you keep polishing your steel (or titanium), the more of the hardly visible nano pits form, seemingly out of nowhere. And they keep growing in size (diameter). Under the el cheapo microscope you can see points, circular speckles, on the mirror surface forming while the hairline scratches (actually nanoline scratches) really disappear thanks to your prolonged polishing. So now you are fully aware of the sea of nano pits and start wondering. Shouldn't circular polishing movements (with any optimal compound) reduce the size and number of these speckles, like it reduced the size, depth and number of the scratch lines? So you keep polishing in circular movements and learn that the nano pits have grown to the size of micro pits. One can see them with bear eyes. And because of that sea of pits, the total mirror polish effect of your surface is getting worse. (...)
I am relieved to see that i am not the only one experiencing this issue: The famous Victorinox Spirit multitool (and the WORKPRO keychain folding utility knife 3-pack set) has a shiny-blinky handle finish, almost a mirror finish. When you look closer, you'll notice lots of speckles and macro pits disturbing the mirror finish. One may argue that these imperfections originate from the "mirror tumble finishing" process (Does such a thing even exist?) but that's imho rather half of the story. I've tried to mirror polish the handle with a Q-tip, rubbing/polishing in longitudinal direction, and while that does indeed reduce the size of the bigger speckles (as expected!, since you're removing metal from the surface to get to the ground of the speckles), it also creates new micro pits, longish ones, in direction of the polishing movement. Clearly a testament that, in general, one should avoid using back'n forth movements for polishing: eventually this would dig pits (carbide tearout??) in this direction.
I also tried the polishing wheels of my dremel, with various compounds. Same result. If you hold the rotary wheels long enough at one point on your near-mirror-polished steel — 15-20sec may be enough — you'll see micropits forming. So instead of improving the mirror polish with the dremel, it goes from near-mirror-polish to no-mirror-polish.
Sorry for the long blah tl;dr. I am sure that there is an official term for the observed phenomenon and that the topic has been treated in scientific books on The Art of Mirror Polishing. But i am no freak to go the library, look up the best tomes on Mirror Polishing, read them, study the topic like a college student, and go back to my workbench and try to solve the issue.
I just wanted to vent and share my actual observation and experience that this phenomenon is real.
And that mirror-polishing a smooth flat macro area is on a really different, higher level of difficulty/challenge than superpolishing a knife bevel.
Out.
Last edited:
