My first couple projects finished

Joined
Jan 15, 2012
Messages
1,209
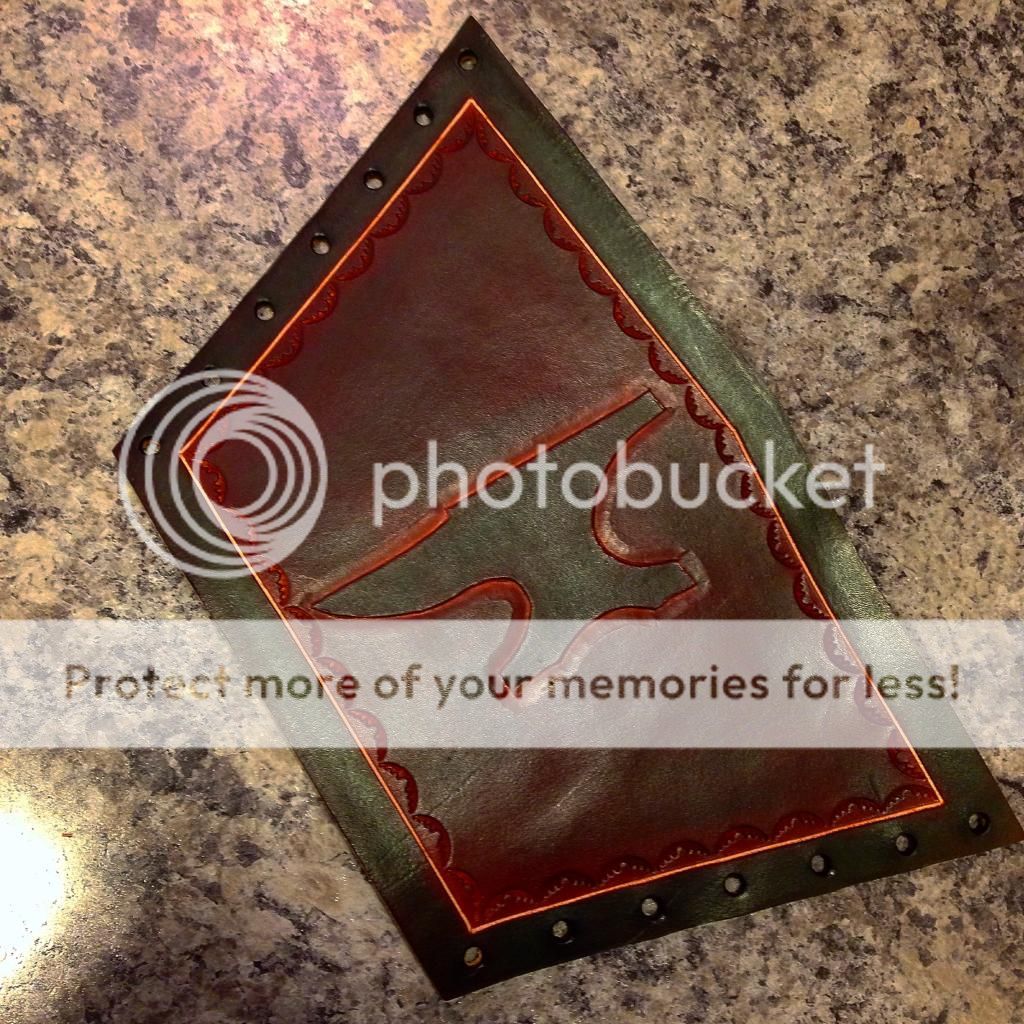
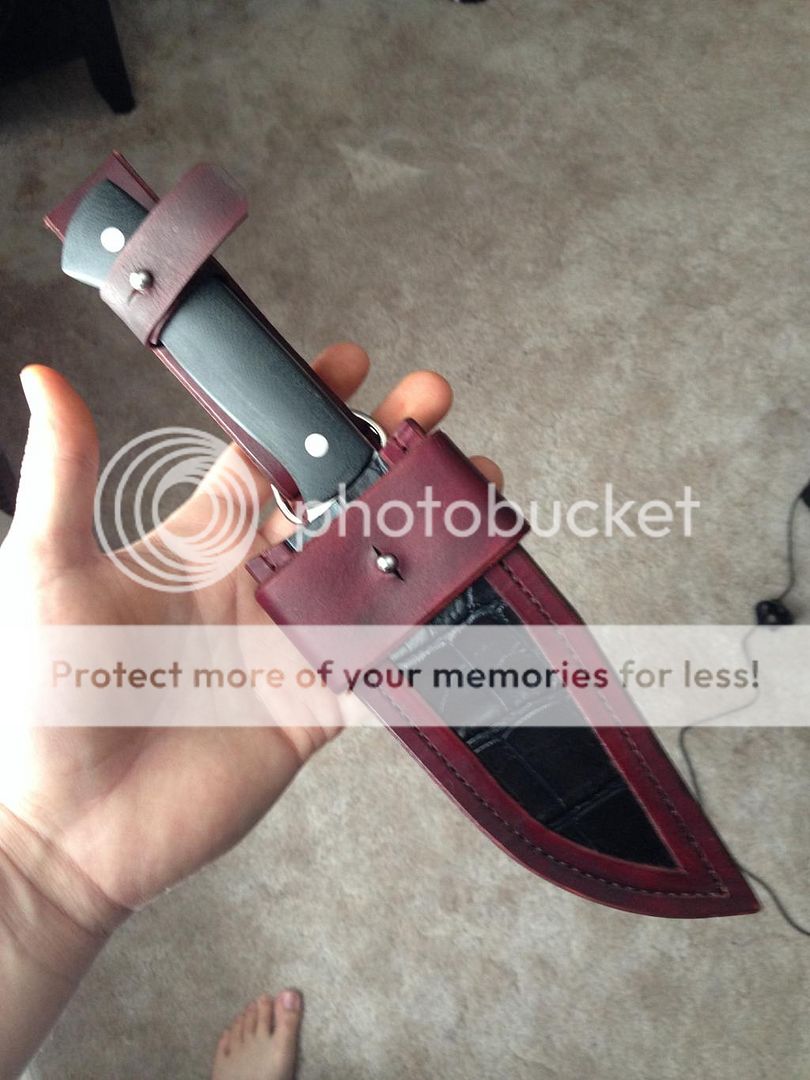
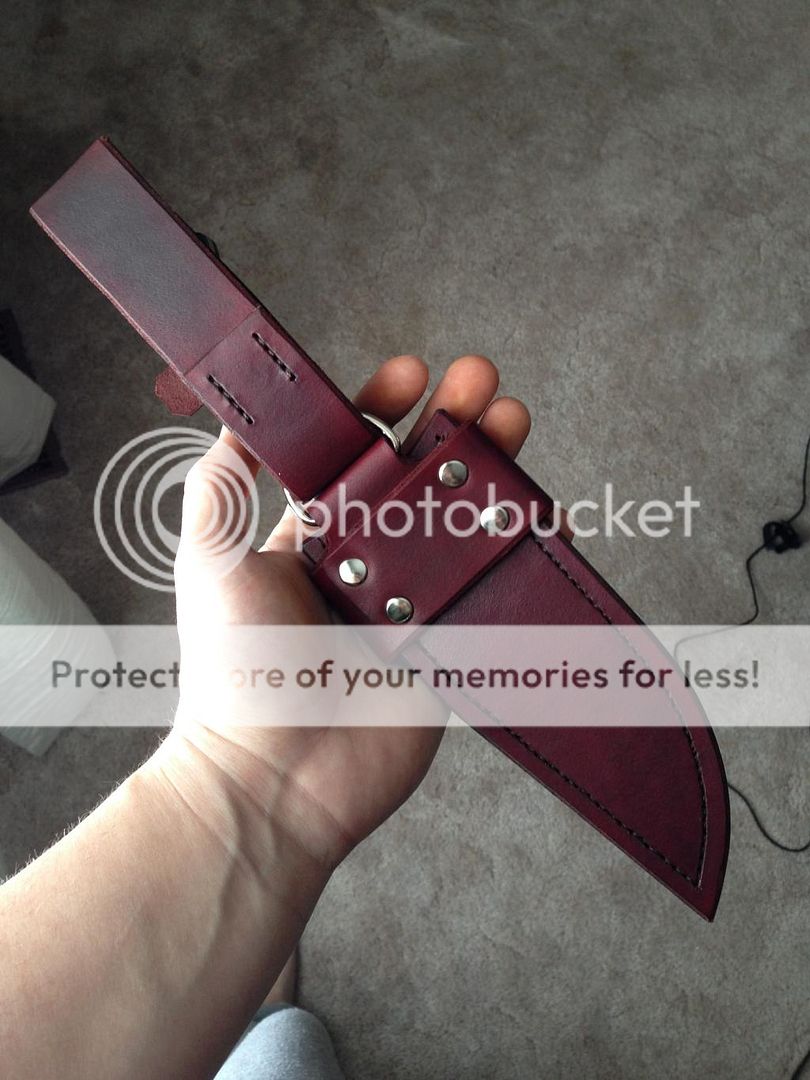
After getting tired of the look and feel of kydex, i decided to pick up a 8-9oz double shoulder, some dye and tools, and just dive in. The first picture is a blacksmiths arm bracer. I drew a simple anvil and tooled it in, then died the edge dark brown and the center light brown. I am fairly happy with it for a beginner. The second picture is a 5 layer sheath with black embossed gator print inlay, died mahogany, with removable frog system and dangler belt loop. It takes a lot longer than kydex but I really enjoy the process, and the finished products look so much better.


Welcome back- leather rules! Nice work! Considering that you have not upper frame for inlay how it looks from above?
 
Welcome back- leather rules! Nice work! Considering that you have not upper frame for inlay how it looks from above?

Honestly, it looks like i screwed up and cut the top of the upper frame out of the only thin piece of leather i had, which oddly enough is exactly what happened haha. I had to make a call to either use what i had, or make the frame over using 8-9 oz, which was too thick. I didnt have confidence in being able to thin it out, so i decided to finish it as is.
 
Very nice! That's a pretty complex design. Is the gator stitched under the welt stitching? Does it go to the edge, or is it trimmed before?
 
If one of those five layers is a veg. tan leather full backing for the Gator print, then you will have no problems. All inlays should have a full backing, especially if they are true exotic skins and not embossed cowhide. The fact that the inlay window is not stitched makes this even more important.

The work is neat and very valuable for your learning curve. Your next one will amaze you …..and so on.

Paul
 
Thanks guys. the gator section is just embossed leather, its quite thin, so it is fully glued and stitched to a piece of 8-9oz veg tan. Basically the back is 8oz, then the welt, then another full piece of 8oz with the inlay glued and stitched to it, then the frame on top which stitches the whole sheath together. The inlay piece goes right to the outside edge.
 
Excellent work! Really looks nice. Keep posting more pics of your projects.
 
Back
Top