Slipjoint #2 Complete...Critique

T.Knotts

Moderator
Knifemaker / Craftsman / Service Provider
Joined
May 14, 2010
Messages
517
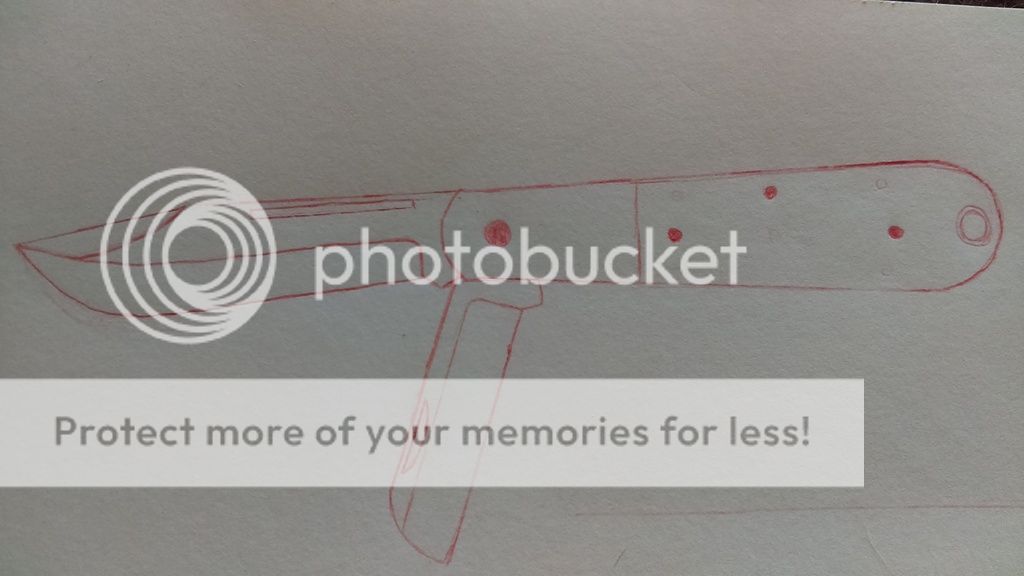
Hello all. Just finished Slipjoint #2 and thought I would post it here for the experts to have a look at and give me some critiques and feed back.

#1 was just a shadow pattern that walks and talks like a drunken sailor but it gave me the bug and I started on #2. I guess it should be 2.xx because I used enough steel to make a really nice Bowie before I finally got this one finished.

Blade and spring are 3/32" O1
Bolsters, liners and pins are Nickel Silver
Scales are African Black Wood.

Blade length tip to bolster is 2 3/8"
closed length is 3 3/8"

Centers nice and I am happy with the walk and talk. I would put the pull at just about right for me...maybe a 6 and spring is flush in all 3 positions.

Whats wrong....well for some reason there is a small gap between the spring and liner near the bottom. I do not understand where that came from. I mocked this up MANY times before I pinned it and it was never there. Another thing is you can see some small seams in spots where the bolster and the liner meet up. I think I might have got the flux to hot?

All in all for #2 I'm happy but obviously not satisfied.

This one will be on its way to my Pops for fathers day. Being a dad of course he won't see anything wrong.

So here it is. I welcome your comments and critiques, I can never get better unless I know what is wrong.

Thanks for looking.


Very nice Tim, the double threaded bolsters remind me of some of SCHRADE USA Barlows in the early 80's:thumbup:
 
Very nice work. The craftsmanship looks top notch.

For my tastes, some of the proportions of the blade and long pull seem a bit off... the pull seems to short, and the blade too small for the handle size - maybe the ricasso area is too large?. But that could just be a function of the clip blade, which I always seem to struggle with (I had the same problem with the Canal Street Eric's Jack) . None of it would be a deal breaker - but since you asked for critique, that's where I am.
 
Last edited:
Overall I like it and would totally use it. The blade shape reminds me of the Everyday Barlow and I don't care much for that. I prefer a pointier clip point but that is my personal taste. The blockyness of bolster fits the pattern very well, I'll echo Paul say I really like the threading. The short long pull (don't think too much about that) seems to fit the bolster somehow. I like it. Very nice effort! :thumbup:
 
Thanks all for your comments.

Liamstrain...I agree about the blade length. I definitely have enough room to make it a little longer next time. Thanks.
 
Looks great Tim, the shape of those bolsters and that blackwood gives it a nice elegant look. Pops is gonna be happy.
 
Thanks Dr. Mabuse for your comments. I had a old Barlow laying around that I based it off of. I think next time I'll try putting more of a dip in the clip to bring that point sharper.
 
Looks great. I wouldn't make too much of the gap. That is a pretty piece.
 
Beautiful knife! Considering that I have never even begun to make one myself, I'm a little loathe to criticize too harshly, but in the name of improvement....

1. Clip blade proportions are definitely a bit off, to my eye. The long pull is a bit short, the blade is too wide for such a long clip, the clip itself is too straight, and unswedged (which contrasts with the elegant double fluting) ...in short, it could all work together better.

2. Pins are all different sizes. Optimally, they'd match.

3. The edge bevels and fit and finish seem like they are not as uniform as could be. It makes it look a little "handmade" rather than fully "custom."
 
Tim,
I think its a beautiful knife! Very impressive for the 2nd go around.
Do you use a surface grinder on your parts? When I was making folders I would say that it was the most useful tool in my shop. Especially when you really need to make things flat (no gaps).
 
I like the overall look of the knife. Like others mentioned, the blade seems a bit small as compared to the frame. The rear pin is large. Is it just peened that way, or did you intend for the pin to be that large?

I like the bolsters, they go well with the look. Not sure why there is a gap, except sometimes when things get peened together tightly, they can pull things in directions that you can't predict in mockup.

Regardless, really nice effort!
 
Very nice work and I think anyone would be proud to own it, but you asked for critique so here it goes.

1- different pin sizes look awkward

2- Blade looks too short?

3- I personally think that a spear point would look better

Very minor things. Beautiful work. I wish that I had the talent to make one half as nice!
 
Thanks all for the comments, I really do appreciate it. I'll take them into consideration on #3.

The pins are 3 diff sizes...1/16 for the scale pin, 3/32 for the spring pivot and 1/8 on the end. I thought that it might look good with 3 different stepping up instead but o agree. I'll definitely stay with 3/32 for the 2 spring pins.

@ CDS. No surface grinder yet but I can see one being very useful if I continue with slipjoints.
 
Thank you Ken, I appreciate the comments Sir. I learned a lot making #2 hopefully I can progress with #3 and on. It was a fun project.
 
Thanks Dr. Mabuse for your comments. I had a old Barlow laying around that I based it off of. I think next time I'll try putting more of a dip in the clip to bring that point sharper.

I like it a lot as a classic clip point Barlow, but if you do something different with the next one you could try a deep bellied Sabre clip or maybe just ad a little curve and swedge to this one
Also,here's a couple ideas if you ever try a 2 blades barlow
[/URL[URL=http://s300.photobucket.com/user/oldarmyhat123/media/Mobile%20Uploads/1462298276721-1861993365_zpssnbncps6.jpg.html]
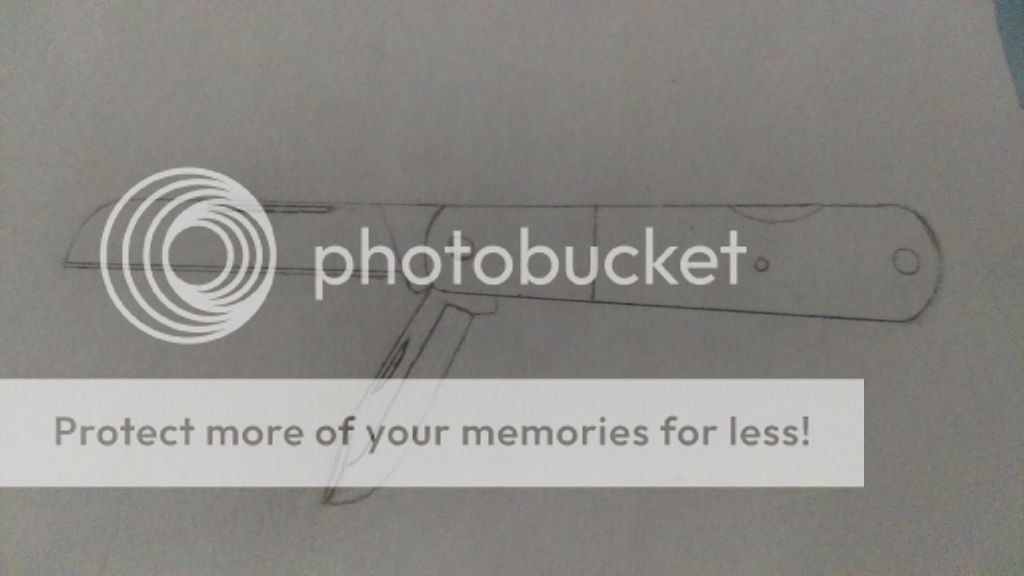
( excuse the lockback on the second one )
 
Last edited:
Pros: Scale material, choice and finish of bolster, use of NS liners rather than brass (it stinks!), general F&F sound very high.

Cons. Longpull far too wide, looks bizarre on the blade, rear pin far too big, they need to be the same size-why not have 4 small pins? Flush or domed pins.

But, second attempt is most promising!

Thanks, Will
 
I like it, being your 2nd i am sure you will improve the overall fit and finish very quickly.

You could post the pictures to illustrate the gap and the solder line you talked about, but for the soldering part:
yes you need to care not to scorch your flux, and i like pretinning the parts, scraping the surface with a SS rod to spread the solder/flux as i go. When you have the flux scorching ( near the borders usually) the solder will cover it and you can't see, but if you scrape with the rod you'll find out those spots and may also add a drop of fresh flux to melt them if they won't simply go away just by scraping. When you have finished, knock your wrist and it shall remain only the good thin layer of solder which adhere well. When you join the parts apply other fresh flux and be very careful not to overheat the borders.
Obviously now you can't scrape anymore, but if you have the flux inside you could push it out with extra solder, before it scorches again.
I am assuming you are carefully flat sanding on a granite plate your surfaces, if you use other means you could knock the edges (when you lift the piece) ever so slightly that the solder shows in that tiny gap.
The gap on the liner/spring could be everything from a not deburred hole or liner, too heavy pinning, or the same flat sanding on power tools that you can't stop before lifting the piece....or a not perfecly flat and parallel spring
 
Thanks all for the comments and critique. It's always good to get feed back from folks that actually know knives.

Hickory n steel. I really like your blade design in #1 looks very functional and useful. When I can get one blade down ide like to have a shot at that 2 blader.... But I think that might be a ways off haha.

Will Power. I'm more a fan of NS than brass also. You suggest using 4 small pins. Would you go with 3/32" all the way around or the 1/16"?

Stezzan. Thanks much for the advice. That sounds close to what I did but maybe I left to much solder on there. I didn't scrape it or flick it all off so slightly thicker than just tinned. I'll get those photos out later for you to see. When I soldered I had plenty (1/8" +/-) bolster hanging over the liner and the voids started showing up as I sanded the liner and the bolsters down to final size. So my thought was that i scorched the flux and it caused the voids? But that is just a wild guess. I made sure everything was flat and sanded to 600grit. Should the sides being soldered be smoother or rougher than that?

Thanks again all.
 
Last edited:
Back
Top