Invinoveritas1911
Gold Member
- Joined
- May 14, 2012
- Messages
- 705
******Under Construction. Please be patient as this will take some time to build this resource - I am working from phone and ipad.*******
**************************************************************************************************************************
Good afternoon! My name is Jared, and I am the Owner and Bender of Paw Paw's Knife Shop. It has become apparent that we need a definitive thread for the Sheaths and Such Forum on thermoform sheath making. I will do my best to provide a collection of information resources, and a step by step tutorial here.
I invite all makers to please join in and add your thoughts, tips, and tricks!!!
I was not able to find a lot of information when I started, so I had to teach myself through trial and error, and lots of practice. I don't believe that there is only one way to make a sheath. So, keep that in mind - I am outlining the way that I do things. It doesn't make them wrong, right, etc - it's just the way I do it. I support innovation, so please ask questions or make suggestions, it will only make this a better resource. Don't be afraid to try new things and post the results, good or bad, we learn from both.
What equipment is needed?
Don't get me wrong, having the right equipment makes it a lot easier, but it is not necessary. You can make a very nice thermoform sheath with very limited tools.
Oven***warning***Do not substitute with a microwave or clothes dryer!!!
Press - this can be very primitive, I will elaborate later
Drill, drill press, drill bit in dremel, or a hole punch
Eyelet setter - in an arbor press, or the little thing you whack with a hammer and then cuss a lot.
Electricians Diagonal Cut....blah - dikes. You will be using these to cut out messed up eyelets. See above.
Dremel (roto tool) - I guess in a pinch you could just whittle it into shape, but I suggest at least picking up a cheapo.
Razor knife - I don't use one, but if you don't have a saw, this is the way to go. Just think Sheetrock.
Scissors - for trimming tape
Lots of pencils and more erasers
Ruler (flexible is good)
Scratch awl - sharp
Clamps
What equipment would be nice? (**Add model numbers, prices, pictures**)
You can find most of this equipment on a budget at Harbor Freight. I will be using them as they are just about in everybodies neighborhood, and online. Are they the best? Of course they aren't, but they will serve the purpose quite well. If you have a unlimited budget, by all means deck out your shop - just know it is not a necessity.
Knifekits.com has some equipment and all of the materials you will need. These people do good business, and are a pleasure to work with! The only reason I shop anywhere else is if Knifekits doesn't have it. I have never received an incorrect order - ever! Tip: order by 1p eastern and use their Fedex 2 day delivery option. If you are ever on the fence about ordering eyelets, Tek-Loks, or another piece of Black Kydex, etc just do it - you will always need them and it really sucks if you run out and have to wait.
Harborfreight.com
Knifekits.com
Usaknifemaker.com
Digital Convection Toaster Oven- It is one of the bigger investments, one of the biggest headaches to find, but worth it. Finding a huge toaster oven is like hunting for Bigfoot. This is what I found, it was a blem for like $100. I love the digital controls, it's big enough for sheaths up to a Scrap Yard 1311 and then some. In retrospect I would have paid $400 for this oven and still been happy with it.
Oster

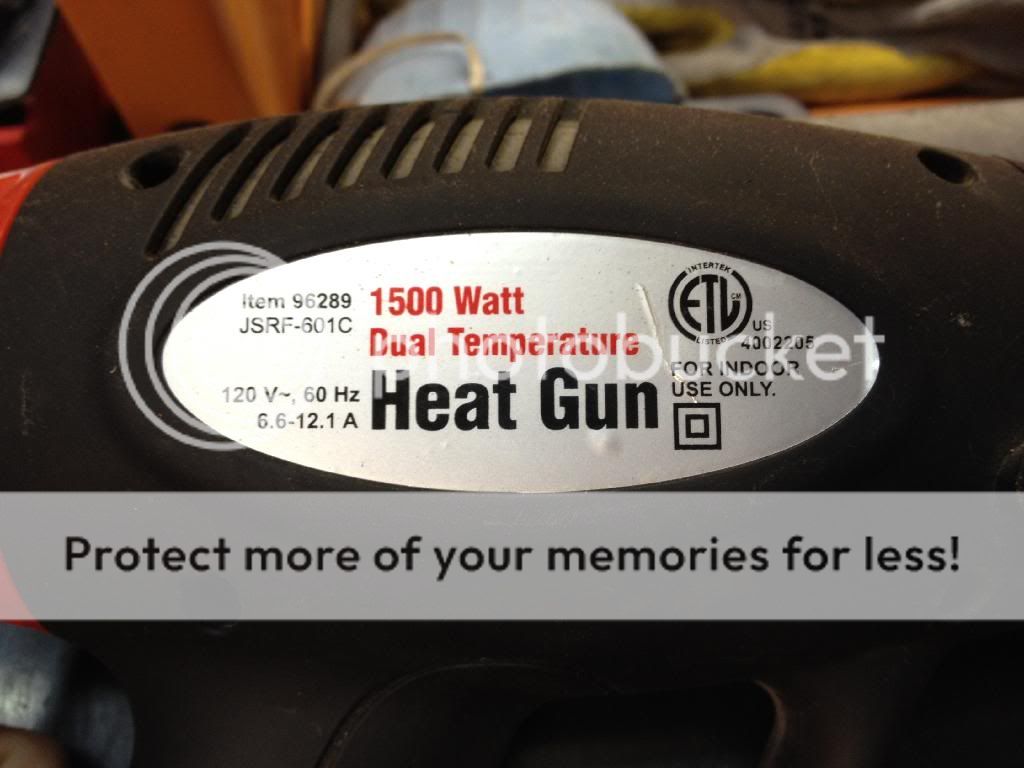
Heat Gun - these are junk. The switch has broken on both of mine, so they are hard wired, you have to bang it for it to come on.......but hey it hasn't left me stranded yet. But, if I were you I would maybe get a step up. Not talking deWalt, just up.
Harbor Freight $15
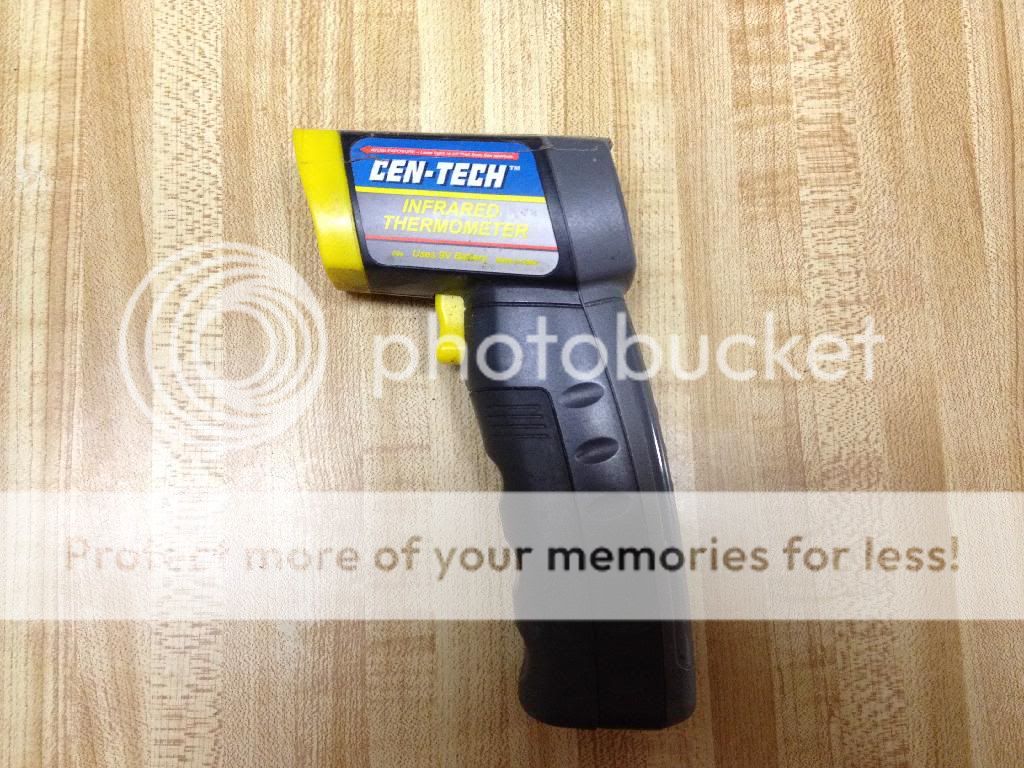
Laser thermometer - you need this, it is a lie detector!
Harbor Freight $20 - $38
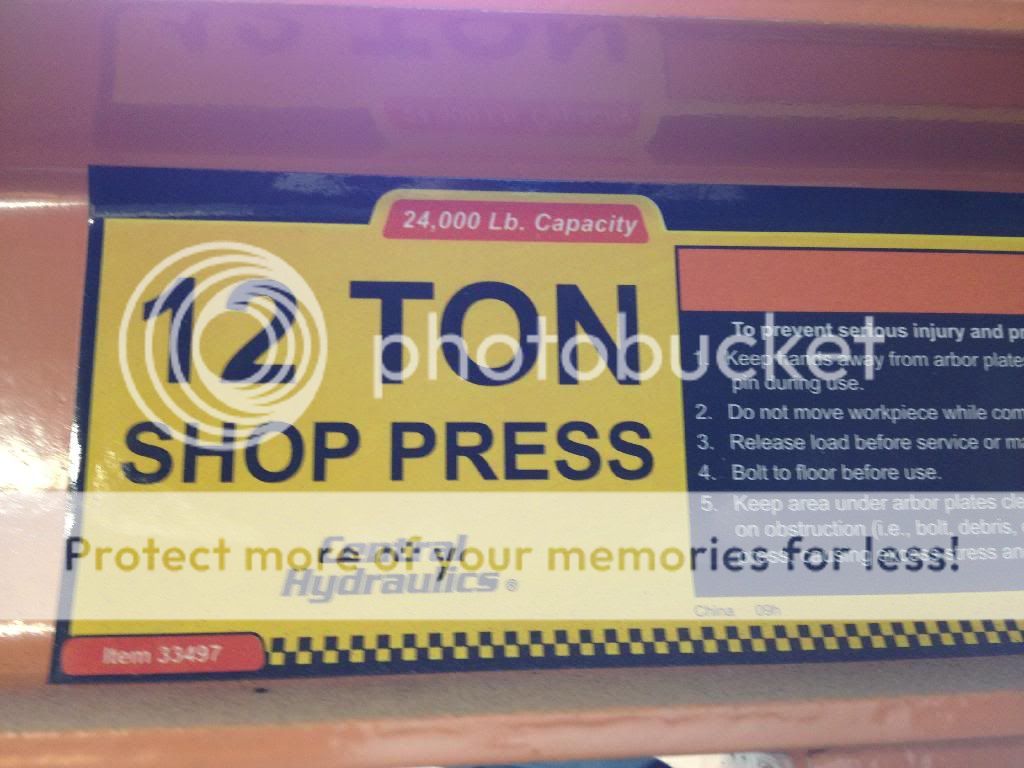
12 ton Shop Press - this is not exactly the "home" setup - but it's the way I do it and that's what I'm showing you. I will discuss other options later. There are tons of ways to squish the foam between two boards.......just let your imagination run wild.
Harbor Freight $129
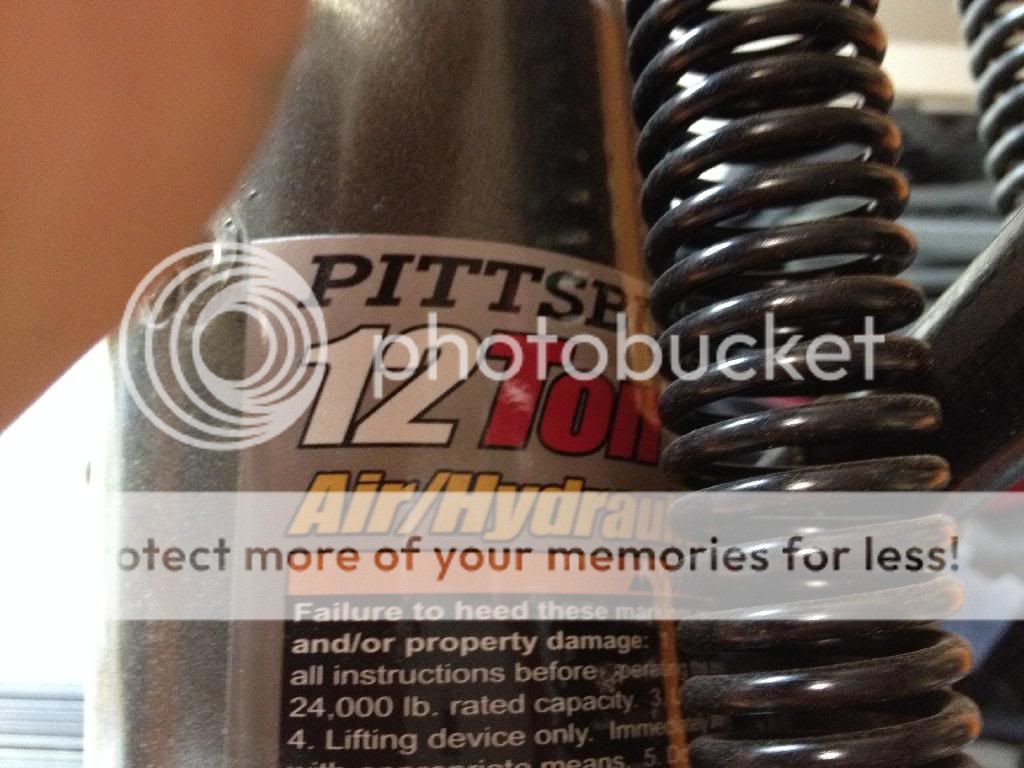
12 ton Hydraulic / Pneumatic jack - this is if you are going to be doing LOTS of sheaths, have physical limitation, or are really lazy.
Harbor Freight $80???
1/3 hp Air compressor - this is used to power the air jack, but is also invaluable in blowing out your sheaths
Harbor Freight $55
Foam
Holstex Xtreme Form - just trust me spend the $, one of the single most effective improvements in definition
Knifekits $18 per square foot
Dremel
Harbor Freight is ok, but you might want to splurge on this
Bits
Stone drum
Stone drum
Felt

Drill Press
Harbor Freight $70

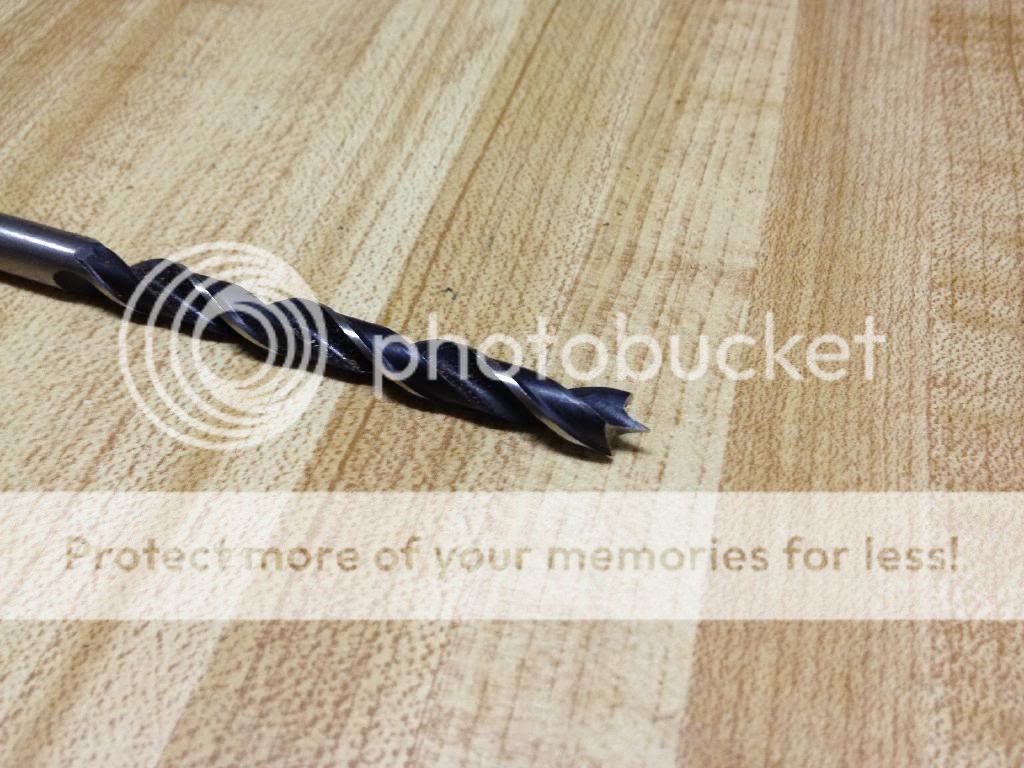
Kydex drill bits. Splurge on these
#6 & #8
Knifekits $9 each
Scroll Saw
Harbor Freight $70

1/2 ton Arbor Press - if the 1 ton has a bigger throat it is worth the extra $13($50)
Harbor Freight $37 or Knifekits $73 (pre drilled to accept the dies)
Eyelet Dies
Knifekits $35 per set. 1/4" first then 3/16" later if you need/want to

1x 30" Belt sander - you can add a bigger sander to the line up, but this is a detail shaping machine that can not be substituted with a bigger one.
Harbor Freight $40
Bench Grinder with buffing wheels. They have all different sizes, attachments, etc. I pretty much only use the buffer on the "mouth of the sheath.
Harbor Freight $30 - $50
2 1/2 gal Shop Vac
Harbor Freight $33
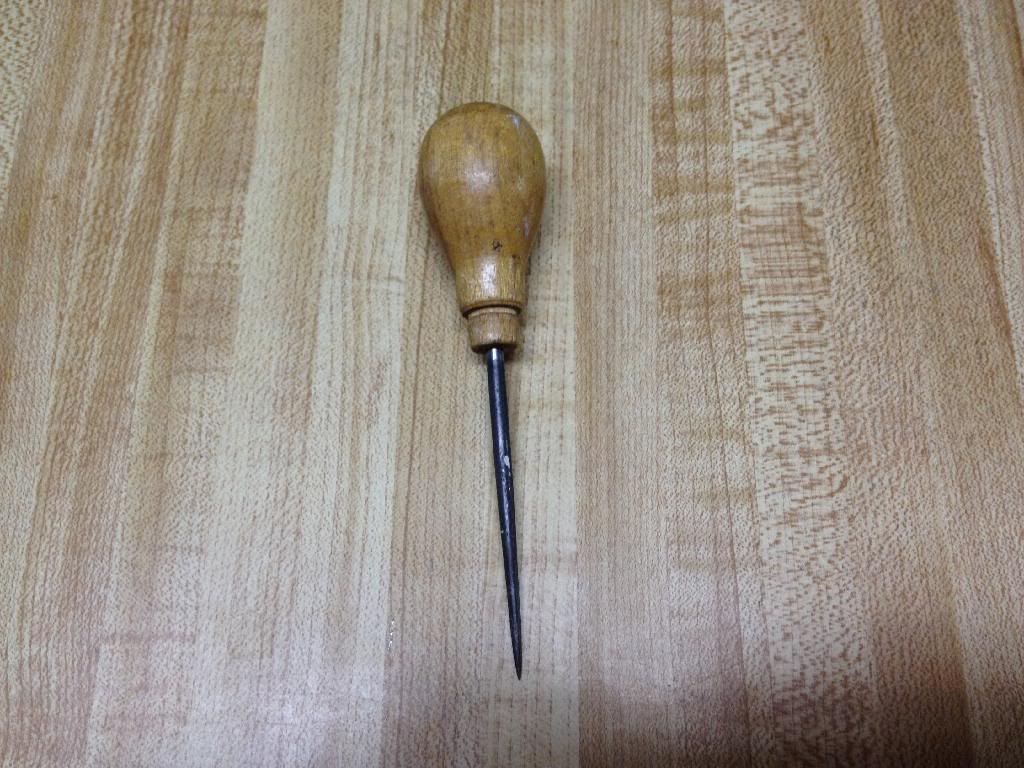
Scratch awl
Reamer

4" bar Clamps
Harbor Freight $2 each - get lots of them and put them within reach everywhere you are working.

What materials are needed?
Thermoform sheet (Boltaron, Holstex, Kydex - In order for my preference)
Knifekits
Blue painters tape
Try to find 2+" 3M or other Quality tape, most likely you will end up with 1.88"
About $8 per roll
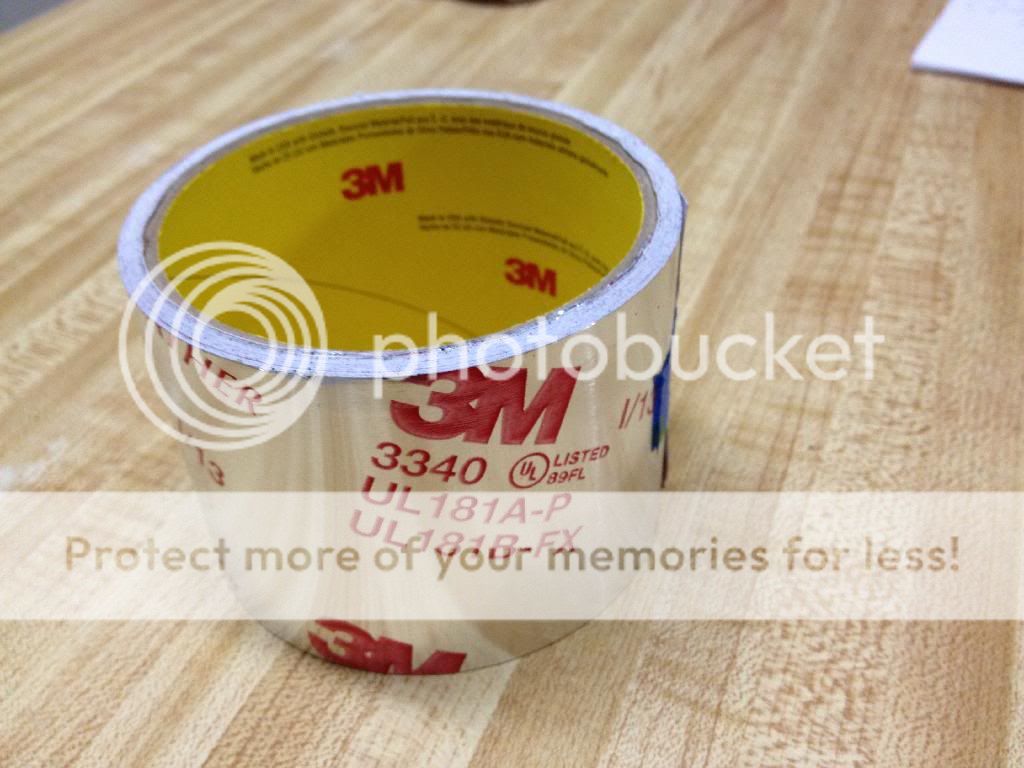
Metal/aluminum duct tape
Lowe's or Home Depot guessing $12 for the wide stuff (FBM/NMFSH) and I think I got the bottom roll at WalMart for $8 to handle most everything else.

Eyelets
#8-9 eyelets - for your standard 2 layer sheath
#8-10 eyelets - for 3/4 layers....probably wait for a little while on that, but order the eyelets anyway they are good to have around for when Murphy visits.
Knifekits $10.19 - $12.77 per bag of 100
If none of this is making sense, no worries, we will be covering it all in great detail as I start the tutorial. The above part is going to be a reference you can look back on when we get to the part where you say "what the heck is a flugelbinder?" Or "where can I find a can of BS repellant?"
That's all for tonight, more tomorrow.....
**************************************************************************************************************************
Good afternoon! My name is Jared, and I am the Owner and Bender of Paw Paw's Knife Shop. It has become apparent that we need a definitive thread for the Sheaths and Such Forum on thermoform sheath making. I will do my best to provide a collection of information resources, and a step by step tutorial here.
I invite all makers to please join in and add your thoughts, tips, and tricks!!!
I was not able to find a lot of information when I started, so I had to teach myself through trial and error, and lots of practice. I don't believe that there is only one way to make a sheath. So, keep that in mind - I am outlining the way that I do things. It doesn't make them wrong, right, etc - it's just the way I do it. I support innovation, so please ask questions or make suggestions, it will only make this a better resource. Don't be afraid to try new things and post the results, good or bad, we learn from both.
What equipment is needed?
Don't get me wrong, having the right equipment makes it a lot easier, but it is not necessary. You can make a very nice thermoform sheath with very limited tools.
Oven***warning***Do not substitute with a microwave or clothes dryer!!!
Press - this can be very primitive, I will elaborate later
Drill, drill press, drill bit in dremel, or a hole punch
Eyelet setter - in an arbor press, or the little thing you whack with a hammer and then cuss a lot.
Electricians Diagonal Cut....blah - dikes. You will be using these to cut out messed up eyelets. See above.
Dremel (roto tool) - I guess in a pinch you could just whittle it into shape, but I suggest at least picking up a cheapo.
Razor knife - I don't use one, but if you don't have a saw, this is the way to go. Just think Sheetrock.
Scissors - for trimming tape
Lots of pencils and more erasers
Ruler (flexible is good)
Scratch awl - sharp
Clamps
What equipment would be nice? (**Add model numbers, prices, pictures**)
You can find most of this equipment on a budget at Harbor Freight. I will be using them as they are just about in everybodies neighborhood, and online. Are they the best? Of course they aren't, but they will serve the purpose quite well. If you have a unlimited budget, by all means deck out your shop - just know it is not a necessity.
Knifekits.com has some equipment and all of the materials you will need. These people do good business, and are a pleasure to work with! The only reason I shop anywhere else is if Knifekits doesn't have it. I have never received an incorrect order - ever! Tip: order by 1p eastern and use their Fedex 2 day delivery option. If you are ever on the fence about ordering eyelets, Tek-Loks, or another piece of Black Kydex, etc just do it - you will always need them and it really sucks if you run out and have to wait.
Harborfreight.com
Knifekits.com
Usaknifemaker.com
Digital Convection Toaster Oven- It is one of the bigger investments, one of the biggest headaches to find, but worth it. Finding a huge toaster oven is like hunting for Bigfoot. This is what I found, it was a blem for like $100. I love the digital controls, it's big enough for sheaths up to a Scrap Yard 1311 and then some. In retrospect I would have paid $400 for this oven and still been happy with it.
Oster
Heat Gun - these are junk. The switch has broken on both of mine, so they are hard wired, you have to bang it for it to come on.......but hey it hasn't left me stranded yet. But, if I were you I would maybe get a step up. Not talking deWalt, just up.
Harbor Freight $15

Laser thermometer - you need this, it is a lie detector!
Harbor Freight $20 - $38
12 ton Shop Press - this is not exactly the "home" setup - but it's the way I do it and that's what I'm showing you. I will discuss other options later. There are tons of ways to squish the foam between two boards.......just let your imagination run wild.
Harbor Freight $129

12 ton Hydraulic / Pneumatic jack - this is if you are going to be doing LOTS of sheaths, have physical limitation, or are really lazy.
Harbor Freight $80???
1/3 hp Air compressor - this is used to power the air jack, but is also invaluable in blowing out your sheaths
Harbor Freight $55
Foam
Holstex Xtreme Form - just trust me spend the $, one of the single most effective improvements in definition
Knifekits $18 per square foot
Dremel
Harbor Freight is ok, but you might want to splurge on this
Bits
Stone drum
Stone drum
Felt
Drill Press
Harbor Freight $70
Kydex drill bits. Splurge on these
#6 & #8
Knifekits $9 each
Scroll Saw
Harbor Freight $70
1/2 ton Arbor Press - if the 1 ton has a bigger throat it is worth the extra $13($50)
Harbor Freight $37 or Knifekits $73 (pre drilled to accept the dies)
Eyelet Dies
Knifekits $35 per set. 1/4" first then 3/16" later if you need/want to
1x 30" Belt sander - you can add a bigger sander to the line up, but this is a detail shaping machine that can not be substituted with a bigger one.
Harbor Freight $40
Bench Grinder with buffing wheels. They have all different sizes, attachments, etc. I pretty much only use the buffer on the "mouth of the sheath.
Harbor Freight $30 - $50
2 1/2 gal Shop Vac
Harbor Freight $33
Scratch awl
Reamer
4" bar Clamps
Harbor Freight $2 each - get lots of them and put them within reach everywhere you are working.

What materials are needed?
Thermoform sheet (Boltaron, Holstex, Kydex - In order for my preference)
Knifekits
Blue painters tape
Try to find 2+" 3M or other Quality tape, most likely you will end up with 1.88"
About $8 per roll
Metal/aluminum duct tape
Lowe's or Home Depot guessing $12 for the wide stuff (FBM/NMFSH) and I think I got the bottom roll at WalMart for $8 to handle most everything else.


Eyelets
#8-9 eyelets - for your standard 2 layer sheath
#8-10 eyelets - for 3/4 layers....probably wait for a little while on that, but order the eyelets anyway they are good to have around for when Murphy visits.
Knifekits $10.19 - $12.77 per bag of 100
If none of this is making sense, no worries, we will be covering it all in great detail as I start the tutorial. The above part is going to be a reference you can look back on when we get to the part where you say "what the heck is a flugelbinder?" Or "where can I find a can of BS repellant?"
That's all for tonight, more tomorrow.....
Last edited:


 (& prlly once I move & upgrade the shop)