The Worksharp and rounded points

Joined
Mar 18, 1999
Messages
9,966
Got my Worksharp in yesterday and went to work on some kitchen knives that we stopped using because they were so dull and beat up. I got a razor sharp edge on all of them in about ten minutes time. The Worksharp really works!

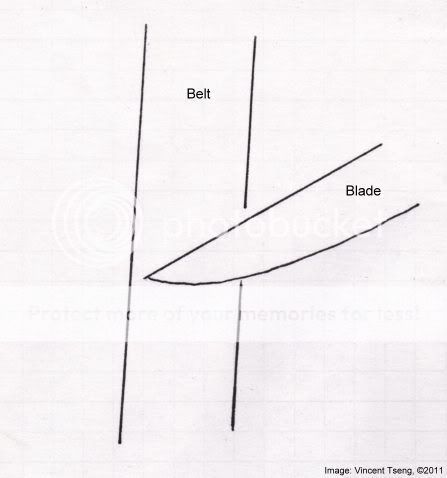
BUT, no matter how careful I was, I still got some very slight tip rounding. I watched the video showing to stop pulling through before reaching the point, but then how do you sharpen the final 1/4" of the blade?

For now I am only using it with the guide on, don't know how much that will affect the point issue. But as I get better at using it I plan on trying it freehand. Anyway, any other tips or tricks would be appreciated.
 
The guide is pointless because it just holds the blade vertically when you use the 20 degree side, which is not hard to do on your own. I found that the the angle guide just makes it more difficult to control the knives and make it far more likely to damage the knife. I actually decided to get rid of mine because even at high grits, there's still a good chance of damaging your knife. I was unable to find a way to sharp the tip effectively without damaging it, and with the amount of steel being removed, it's going to limit the life of your knife more so than stones will.
 
Best tip is to only use it for an initial convex edge, imo. I found that using the belt freehand helps to ease the rounding, invest in an Old Hickory, or thrift store knife and get to know freehand with the Worksharp you will thank yourself.
 
Here's what worked for me, depending on the curve or belly of the knife you're using, you need to lift up slightly to address the tip. Do as the instructions state and don't pull it all the way through but as you are getting into the belly of the knife, you have to start lifting so the belt keeps contact with the edge...all the way through to the tip. Once you reach the end, power off. Some knives you will not lift as much some you will, such as on a drop point with alot of belly. Go to the dollar store and spend 10 bucks, get you a couple of different knives and practice. This is the same technique used on a conventional low speed belt sander. Whether vertical or horizontal, to address the tip and keep from rounding, you have to either pull straight back (horizontal sander) or lift up (vertical sander) once you are approaching the tip to keep from rounding. And stop with tip still on belt. Practice and you'll see.
 
Good tips, thank you. The knives I am practicing on are some kitchen knives that we were going to throw out because of how banged up they were, and also some Old Hick paring knives. I have been practicing more freehand and lifting through the belly of the blade and am getting better with it.
 
Re: grinding off the tip:

A light touch is the key - with or without the guide one can see how far the blade is pulled through - slow down when nearing the tip, and stop once the tip is fully on the belt (ie: stop when the blade tip reaches the position shown in diagram below) -
do NOT under any circumstances press or push the blade or exert any pressure into the belt.

GrindTip.jpg


Yes, one should try to keep the edge perpendicular to the belt at all times - this means when reaching the belly and eventually the tip the blade should be lifted at the back so that the "sight picture" (for want of a better term) should look kind of like the drawing above.

A light touch (no exerted pressure) and care toward the tip moving the blade so that it presents the edge perpendicular to the belt - will help remove any danger of grinding off the tip.

From Post #80 in thread:
Review - Work Sharp (belt grinder) Knife Sharpener

Hope that helps,

--
Vincent

http://picasaweb.com/UnknownVincent?showall=true
http://UnknownVincent.Shutterfly.com
http://UnknownVT.Shutterfly.com
http://UnknownVT.multiply.com/photos
 
Back
Top