USB Microscope

Joined
Oct 25, 2016
Messages
125
Hi,
I'd like to get one. Any suggestions?

I would use it mainly to look at scratch patterns of VERY polished edges on knives and razors and check what it does when i sharpen.

I can see many other uses for a microscope so if it would be worth it i wouldnt mind paying a little more. Nothing crazy though.

Thanks.
 
View attachment 842395 I have an Opti-Tekscope that has an adjustable light (brightness) source right around the lens. It magnifies to 200X. I don’t use it for knife photos because it doesn’t attach to my ipad. It is well made and delivers sharp pictures to my desk top monitor.
 
At first i thoght you are showing only a picture of the stand. What an odd design.
The pictures in the GOOD reviews on amazon look great though. There are so many bad reviews complaining about it though.
Its about 80$, ill try to find it at some other source too.
Found it cheaper on banggood, it seems that there are many scopes called opti tekscope so thats not a very good thing to go by. Ill keep looking, but this looks like a good tip as everyone praises the pic quality.

https://m.banggood.com/Andonstar-50...ase-Pen-Endoscope-p-1041488.html?rmmds=search
 
Last edited:
They’re sold under various names and at various prices. They all look exactly the same. Mine works like a top, but who knows if there are lesser copies. Bonus: you can use it as an otoscope, ophthalmoscope, colposcopy tool, sigmoidoscope, Al Capones Vault probe, etc.
 
Last edited:
yeah i am interested too

i only use nonusb microscope and it is a hassle
So i have ordered the steel tube model that was suggested first from the source at aliexpress.
Reviews everywhere were pretty solid. Pictures show it has a decent magnification but it doesnt seem to magnify like a microscope. More like a good loupe. I will see what i can get out of it.

Anyway after ordering i figured since its basically a webcam in a stick with manual focus i could dig out my old manually focused webcam and repurpose it.
I kept focusing and it worked. I taped a stick to it to keep the same distance from the object. The cam itself has very bad quality but i was able to get close and see better than with my phone. The focus ring is right infront of the lens so its difficult to focus while watching the object so i tried to create one focus point only so i wouldnt have to do that.
The other issue is that the camera is slightly deeper in the housing and when taking close shots its not easy to get proper lightning from my flashlight.
If you have a higher quality webcam i suggest trying it out, if the results were decent with the crap i have, im sure a HD one would do great.


Another thing i found are smartphone accessories. If you unlike me have a good smartphone then there are clippable and stickable loupes you can use. They start at 2$ so its something to consider. There are also pro versions, i have found a proper microscope that attaches your smartphone as a screen and has a serious microscope like magnification for about 20$ on amazon. Those are serious options since you already have a great camera, why not use it...
 
If and when you're in the market for a high-end USB 'scope, I highly recommend Dino-Lite. The image quality is super, the software is powerful, and the support is top-notch -- both from the US distributor, and from the manufacturer (AnMo) in Taiwan.
 
View attachment 842395 I have an Opti-Tekscope that has an adjustable light (brightness) source right around the lens. It magnifies to 200X. I don’t use it for knife photos because it doesn’t attach to my ipad. It is well made and delivers sharp pictures to my desk top monitor.

That's exactly what I've got, at least in appearance. Optically, it's pretty nice in the pics it'll produce. I had issues with it's included software not working with my computer (Win7 64-bit); luckily, my laptop's own pre-installed webcam software was able to work with it. Setup to take pics is pretty tedious & slow, so I only break it out if/when I've got something worthy of the trouble. Video streamed to the computer gets very slow in updating the image on-screen as focus/light is adjusted, the higher resolution that's used. So, in doing those adjustments, I temporarily set the resolution lower, which updates the on-screen image more quickly. Then, when it's set up & ready, I'll select a higher res for taking the pics. That's the tedious side of setting it up, and it takes some patience.

Short on time now, but I'll attach a pic or two a bit later, to show what I've gotten out of it.

Edit: Here are a few pics. The first two are of a burr I worked up on a Victorinox paring knife. By naked eye, the separated portion hanging away from the edge looked like a fiber or piece of lint to me (I was using a microfiber towel to wipe the blade). The greenish particles seen are bits of leather from a strop with some green compound on it, which I'd been using on the blade, prior to seeing the burr hanging from it. The 2nd pair of pics are of a broken tip on a Kershaw Leek's blade (ZDP-189). The bevel seen on the edge is roughly ~2 mm wide, for some scale perspective. The last of those two pics is the cross-section of the broken tip.

(Victorinox paring knife, with burr)
mIacPbu.jpg

B047BIR.jpg


(Kershaw Leek in ZDP-189, broken tip)
Rl1NKOp.jpg

S6G5Llg.jpg
 
Last edited:
If i had seen these prior to ordering it might have stopped me.
The lighting is all over the place and it seems that the cam cant handle that at all.
All the details are washed out and blurry. I really hope i can think of a way to push it to its limits, otherwise i wont be able to see anything of value on my highly polished edges.
One good thing i see is that it has much less chromatic aberration than my webcam.
 
i've been posting high res pics from my plastic microscope in my 2 threads d, but why don't we compare photos of our magnified rulers? I don't know how specs such as "200x magnification" are measured/confirmed but this is my pic showing 1.00mm on my ruler:
img2018010319071425od1.jpg


The distance in between is ~50 DIV. So 1 DIV equals 0.02mm distance, as claimed by the overlay in the ocular. We could detect micronicks of 0.02mm actual size. To me, that's better than a loupe. And by rotating the micrcoscope i can make the finest polishing scratch lines visible, e.g. originating from 0.5micron diamond paste.

Let's share pics of magnified 1mm of your rulers, that would be helpful thanks!
 
i've been posting high res pics from my plastic microscope in my 2 threads d, but why don't we compare photos of our magnified rulers?
That is a great idea!
Very nice pictures you have in the threads. I use a similar setup with the other CN paste set that goes to 0,25 micron.
Though i got the same set as yours now too as i wanted the rougher grits to help me restore a razor.
Using a tape is very clever, i stropped directly on leather and balsa wood and they are never completely consistent. I dont think i can get that exact tape in my country though. Can you tell me what it is used for so i can get one for a similar purpose? I have only seen those basic yellow paper tapes around, perhaps those might work just as well?


Anyway let me show you what the base for me is right now. I am not a math expert but i would say that you get about 10 times higher magnification than me :)

I'll start with a Picture from a phone through a cheap jewelers loupe that i use.
WP_20180206_19_23_05_Pro_LI.jpg


Now i can go a little bit further with the phone and slightly enlarge the object but it creates a lot of movement and dimishes the quality quite a lot. I don't see any point in doing it, the magnification gained is harly noticable.
WP_20180206_19_25_36_Pro_LI.jpg


Next is the old webcam method described above. The phonetook me about a minute to set up (autofocus is a great thing for something as simple as a ruler) The cam took me about 3 minutes with the focus already set up from yesterday. Most of the time is fiddling with the light.
Picture_2018_02_06_19_31_05.png


I could go slightly closer but at that point the camera hides itself in the housing and i can't get light anywhere.
Picture_2018_02_06_19_32_18.png


You can clearly see that both of them have a miserable quality and a lot color aberration where the light hits the lens from side.

None of these proved to be useful to me since the webcam has no details and washes everything out and the phone only shows nicely the perfect center and blurs everything else. (caused by the bad lens)
Im sure if you have a better webcam/phone/loupe you could get very nice results.

I tried combining the loupe and the webcam and it was useless.

Clearly getting to your magnification level would be a big improvement. What miscroscope are you using? I havent found it in any of the pictures.
 
T TigFur thanks for sharing all those pictures, very interesting! While my magnification seems better than yours, there is still some chance that USB microscopes —that's what you're looking for— beat my magnification ... even though i am still very pleased with it. As mentioned, i can see light breaking at 0.5micron polishing scratch lines. Even without a microscope, with naked eyes, one can see the scratch lines of a 0.5micron polish .. it all depends on how you hold the object and from where the light is coming from and getting reflected by the scratch lines. But it extremely difficult to tell the difference if an object with a 0.5micron polish is finer polished than a 1.0micron polish; the difference of scratch line reflections is ever so slight and etc etc. And even with a microscope it is hard to tell.

re tape. I tested various tapes (all expensive ones!) and, even though you might get acceptable results with your generic tapes, the best tape for this purpose i've come across is the 3M Micropore product made in the usa. One could even tell the superior performance to Leukopor which is seemingly an identical product. It is tape used in hospitals, called surgical tape or surgical paper tape or paper tape or medical paper tape. Nurses are familiar with this kind of tape, doctors too. But there are alternative medical tapes which the nurses and doctors use, in EU they are called Leukoetc ... and these are not paper tapes. If you do manual stropping (not guided-rod stropping), then forget about PTS method. The PTS method works only well with guided-rod systems, i dunno why. It's just from my experience.

re my microscope. It is a 8US$ shipped value plastic portable microscope, 200x magnification with integrated scale. It's very cheap build quality China ****:poop: 
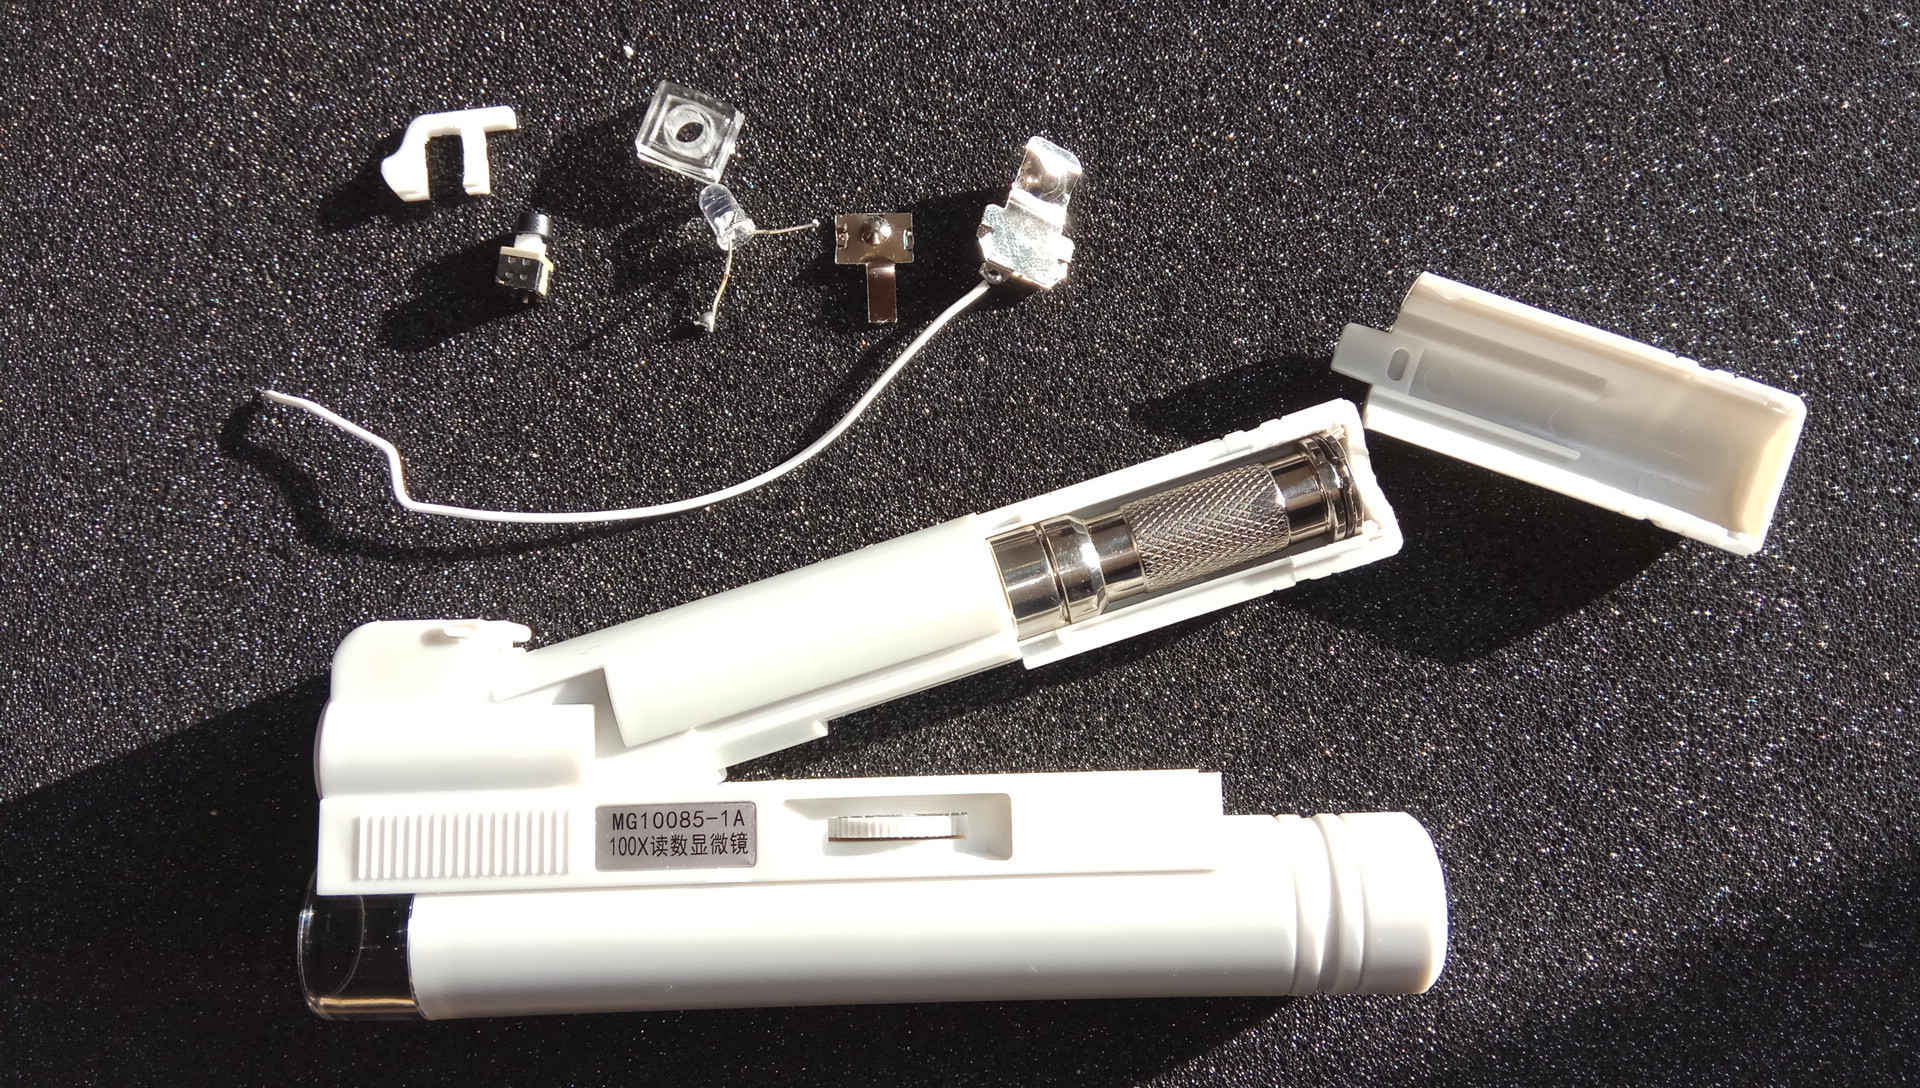
and not worth the money tbh, even though it does serve its purpose. Yes it works. But 8bucks for this cheap plastic stuff? Too much imho. The model number is "MG10085-1A", unbranded, and you can find it/its cousins on Aliexpress Banggood Gearbest (i haven't checked) etc by entering the search term <portable microscope>. Some models have 100x magnification or no integrated scale. I wanted one with integrated scale.

This is my specimen:
micro4j0uoq.jpg


I use it. And i like the fact that it works. But i will NOT recommend it. I only recommend good build quality stuff, stuff which is worth every penny fwiw. Paying 8bucks for a pile of plastic is just overpaid and regrettable. So i don't recommend that you buy this kind of microscope. haha
 
Thanks for the feedback.
For 8$ that is very good. Ive been checking microscopes in that price range all day and for that price there are many phone attachements that give just slightly better results than what i have. (Edit: I was searching usb microscopes and left many out. I found a clone of this one for 4.50$, seems worth it) I will not be pleased if the 40$ model wont do at least a 4 times better job :) Though the stand alone will most likely have a huge impact on the results quality as i hate having to hold my cam, the knife and a flashlight and press the button all at once.

I have made my strops for the ruixin from mdf and have the compound directly on it. It works well but once i cut into the mdf its a goner. (i do have spares)

For hand stropping i used to use a leather strop set i made for each of the pastes, works great but takes forever to get a perfect polish and the leather has a rough and smooth direction.
(only affordable leather for me)

Recently i have made a strop set from balsa and its so much better it blew me away. The feedback it gives tells me if im on the edge or not unlike leather which was very forgiving.
The problem i still have with both is that they are inconsistent, some parts of leather\wood take more material on the left, some on the right. Even if sanded flat. I can see it on the load up and it follows the wood\leather grain perfectly. I suppose its because of how the compound loads into the material.

Ill check the tapes out if i can get them and see if i like the feedback on hand stropping, it might speed it up the process since i wont be limited by grain and the entire surface will be used effectively.
Stropping on plain balsa worked better than the cheap leather. I have found a good piece of smooth leather the same day i bought the balsa and after cleaning and flattening it and taping it to a board it does work actually well.
Get very good leather or use balsa is my conclusion.
I also find sharpening on waterstones is much more comfortable for me and much faster.
Ruixin taught me a lot but at the same time held me back.
 
Last edited:
If i had seen these prior to ordering it might have stopped me.
The lighting is all over the place and it seems that the cam cant handle that at all.
All the details are washed out and blurry ...

Even with a great microscope, photographing knife edges at high magnification is challenging. To reveal details in a nearly specular surface requires precise control over the direction and intensity of sample illumination. Even a tiny change in the size of the light source, or its distance from the sample, can make or break getting a good image.

The challenge is even greater if your goal is to reveal details in several nearly specular surfaces in a single image, where those surface are meeting at arbitrary angles (e.g., a microbevel on a main edge grind.)

So before you conclude you've reached the limits of what your 'scope can do, you may wish to up your game in sample illumination.
 
Using my Dino-Lite USB 'scope, here's how its calibration target appears when photographed on a white background, using auto-exposure, and default illumination from the 'scope's built-in lighting (a ring of LEDs surrounding the objective lens):

i-BQ4TQVg-L.jpg


With the lighting restricted to one quadrant of the ring, scratches and other surface details become more visible:

i-4ZHQbB9-L.jpg


Removing the white background and replacing the built-in lighting with an external light source aimed obliquely at the target from above, tiny scratches in the rulings are clearly visible, as are scratches in clear areas of the glass substrate:

i-b6LTDZf-L.jpg
 
Even with a great microscope, photographing knife edges at high magnification is challenging. To reveal details in a nearly specular surface requires precise control over the direction and intensity of sample illumination. Even a tiny change in the size of the light source, or its distance from the sample, can make or break getting a good image.

The challenge is even greater if your goal is to reveal details in several nearly specular surfaces in a single image, where those surface are meeting at arbitrary angles (e.g., a microbevel on a main edge grind.)

So before you conclude you've reached the limits of what your 'scope can do, you may wish to up your game in sample illumination.

That's what I've found, in using mine. Lighting is everything. The lighting intensity and angle, relative to the angle of view from the camera itself, is the most tedious and challenging part of getting a good picture, or at least a picture which clearly shows the details you want to highlight. There's usually some trade-off, giving up some overall detail in the pursuit of highlighting some other specific detail.

And depth of field is secondarily a challenge, being extremely shallow at such magnification. A little off-focus, and the lighting issues will flare or bloom and wash out the whole image.

The biggest drawback with my particular unit is the coaxial built-in light source. I usually rely on some secondary light source instead, turning the unit's own coaxial lighting down/off, because it's sourced too close to the center axis of the unit as a result of it's narrow design. It's basically like shining a penlight into a mirror, in trying to illuminate the bevels on a freshly-sharpened edge. Some sort of oblique lighting, coming in from the side, usually works much better.
 
Once the edge is perfectly mirror-like like a disc of HDD one will not see scratch patterns anymore no matter the lighting angle and the viewing angle.

Yeah I'm a wise a$$ hh
 
@Cyrano Very nice, taking the same Picture but 10 times closer and in a higher quality. Not bad.

I agree, lighting is everything, that applies for photography in general. When taking pictures of a tiny mirror this applies even more.
Here is a Picture of the same 6000# bevel with just a change of the light angle.
WP_20180113_15_49_03_Pro_LI.jpg

WP_20180113_15_49_39_Pro_LI.jpg


@Obsessed with Edges - I've read some reviews that mentioned the same issue, they said that in max magnification it becomes allright again. But none of them tried to take a Picture of a mirror, i think. Perhaps covering the leds with a paper of some sort could difuse the light enough to prevent contrasting white spots?

@kreisler - Yeah, but once the edge is completely mirror like it is the edge itself and its micro burr that i will be interested in. Or the damage it takes.
 
(...)
@Obsessed with Edges - I've read some reviews that mentioned the same issue, they said that in max magnification it becomes allright again. But none of them tried to take a Picture of a mirror, i think. Perhaps covering the leds with a paper of some sort could difuse the light enough to prevent contrasting white spots?
(...)

I've considered that. Problem with this one is, the camera/light fixture is so narrow, all within a tube about 3/8" in diameter, it'd be difficult to cover just the light without obstructing or altering the view of the camera lens itself.

But in general, a diffuse & bright light source would be better overall; even if that means diffusing whatever's used for the secondary/alternate light source, and just turning off the built-in coax source. Some sort of very bright light box arrangement might be the best option overall, I'd think. I need to put something together, along those lines, one of these days.
 
Back
Top