What have you learned lately?

I remind myself to finish the riccaso to handle transition Before doing my primary grinds..... That's a struggle for me because I just wanna get in there and start grinding.

*I still don't know the proper order of procedure?


Somehow a knife gets made......
*that Should be my new tagline
 
I remind myself to finish the riccaso to handle transition Before doing my primary grinds..... That's a struggle for me because I just wanna get in there and start grinding.

*I still don't know the proper order of procedure?


Somehow a knife gets made......
*that Should be my new tagline
I feel your pain Bro,

I have just gone through the same thought process regarding tapering the tang, I have had a frustrating day, gone three steps backward with this knife.

I think I will write a process for each card like a recipe to follow, but like you things will probably be in the wrong order!
 
I actually modified how I taper my tangs after watching Nick Wheelers video. I use a 10 inch wheel to hollow out much of the material then grind it on the flat platen, finishing at 120 grit and lapping on a surface plate with sand paper...I need to get a disc sander.
 
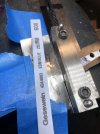
Today I learned that 0.002” hardened shim stock is wonderful stuff. Got a 6”x100” roll for like $8. I used it to protect the bevel while I was cleaning up and straightening a plunge line. I put the blade in the file guide, put a strip of shim stock against the plunge line and straightened it with edm stones (120-600 grit). No scratching or grooving on the bevel other than a shiny spot from the shim rubbing that took roughly 20 seconds to sand out on a P320 grit finish.
Setup:
IMG_0073.jpeg
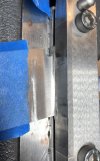
Without the shim. Notice the shiny spot:
IMG_0074.jpeg
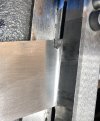
About 20 seconds of hand sanding later:
IMG_0075.jpeg
 
I learned that I need to sit down when I'm hand sanding. I also learned that die maker's stones don't work for shit, but it looks like them ones up there^ work pretty good
 
I learned that steels with a high tempering temperature could be a very good option, depending on type and use etc, where you can put up with a few pounds less than optimal Lb sq ft. All grinding can be done after HT with little/no chance of ruining temper. you could happily grind away without fear, and wear gloves to save fingerprints.
 
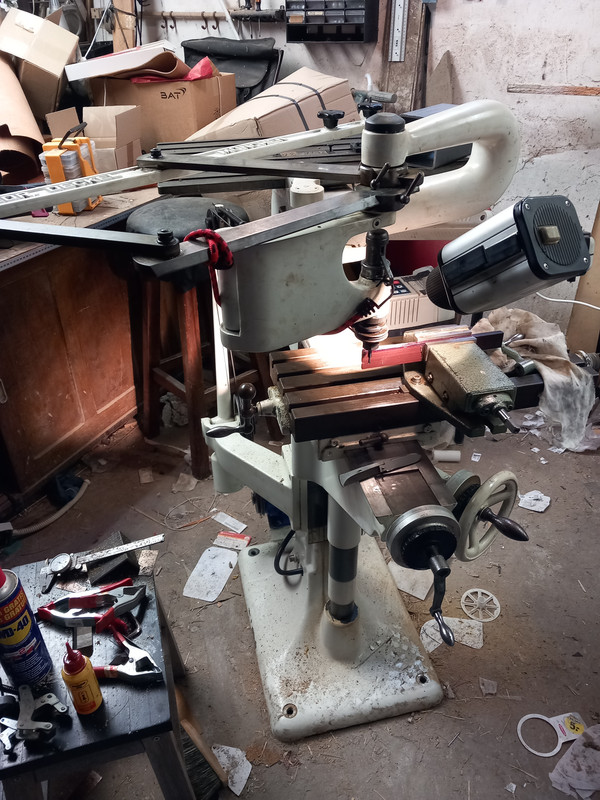
I'm learning to work with this his old lady and I've learned that different bits leave a different finish when milling.

20231028-133000.jpg
 
I need an inspection light slightly away from my grinder....

My grinder has the best light in the shop. *Also use spotlights.
Best thing I did switching bulbs. Almost too bright.

Anyhow, I accidentally bump the edge of the belt occasionally when I bring the knife up to look under this light. I've done it three times. :(
 
I learned that, when working from home, it's important to take a day off at least once a month. Just hoping I don't have to relearn how to ride a bike...
 
I learned that I need to sit down when I'm hand sanding. I also learned that die maker's stones don't work for shit, but it looks like them ones up there^ work pretty good
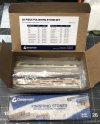
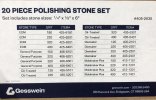
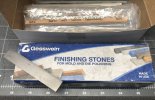
You might already know this but, in case others don’t, stones come in different compounds that will affect how they cut. I’ve included a picture of the reference chart that came with my set of small touch up stones below. Edm stones are hard and the ones I have cut really well. They laugh at you when you try to dress them on a piece of good sandpaper. Another option I’ve used to accomplish similar results is to wrap sandpaper around a carbide tool blank shown in the bottom picture. Only problem is with courser grits the paper doesn’t wrap as tightly around the corners which can cause some fuzz/haze around plunge lines. Below are the stones I have:
IMG_0079.jpeg
IMG_0080.jpeg
Carbide tooling blank is in this picture:
IMG_0081.jpeg
 
die maker stones, in my experience, are too hard and leave a terrible finish. I thought I was being smart, but buying them was a waste of money
 
They do leave a bad finish. I only use mine for touch up in tight areas. That’s why I used the shim stock to protect the bevel when I straightened up the plunge lines. I didn’t want to have to sand out all of the junk lines the stones left. I don’t use mine much anymore since I’m starting to get better on the 2x72. I used to struggle mightily within about 1/4” of my plunge lines.
 
Back
Top