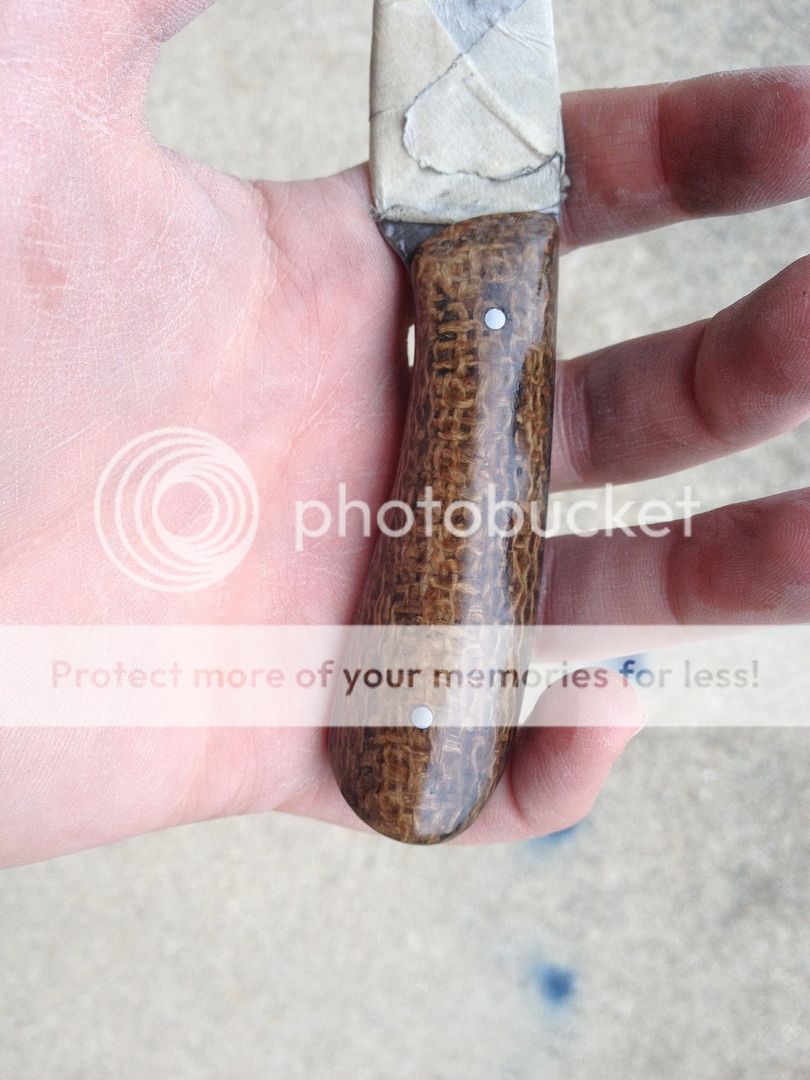
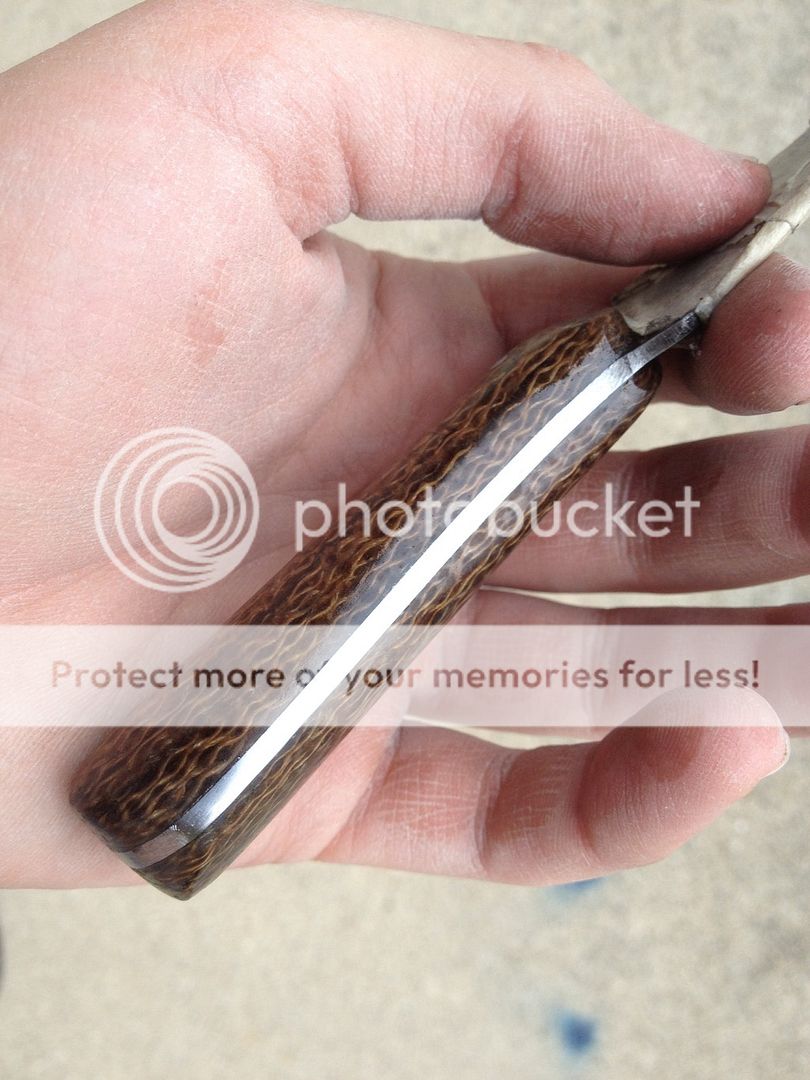
A few thoughts. I don't think pin placement was your biggest problem with this one. As Frank said it is your bevels. Think of the width of your blade as cutting potential. If you grind your bevels 20% of the way up the blade you're getting 20% of the cutting potential. The numbers aren't scientifically accurate. It's just to make a point. Why not grind the bevels all the way up? Also, whatever height you make your bevels, make them FLAT and SMOOTH. You left a lot of deep scratches there. Strive to make the grind line very evenly spaced from the edge. Your line seems to be a little inconsistent. Another observation is that you didn't finish the choil very well where the underside of the handle transitions down to the heel of the cutting edge. Go in there with sandpaper wrapped around a round file or a pipe and get that area clean and smooth. There is also a nick or scratch in the tang at the butt of the knife in the second picture. That should be easy to clean up. Overall it's a nice job and the burlap scales look nice. At this stage I wouldn't make knives in bunches. Concentrate on one at a time and really try to solve every problem the best you can. If you aren't learning and growing as a maker with each knife you make you're doing something wrong. Making 1 excellent knife is time better spent than making 20 so-so knives.


") Thanks for the advice.
Thanks for the advice.