- Joined
- Oct 8, 2001
- Messages
- 12,348
Modern products are available to everyone. Because of the propensity for online sales, there are many manufacturers who make pre-made 'light tent' cubes to clearly photograph objects.
Amazon, who DEMANDS clear photography on a white background helps their clients with this offering:
Amzdeal Foldable Photo Studio 24x24 Inch Light Box with 4 LED Strips 5000LM 5500K,Photography Cube Shooting Tent,with Velcro Design,4 Backdrops (Blue/White/Black/Orange)
As I write, it is less than $75. (Shipping extra unless you have AMZ Prime.) It's BIG.
MANY years ago I created a popular thread for the hobbiest to take clear knife images, by building and creating the: 'No Frills' $75.00 home studio tent/lightbox.
It's served MANY collectors and makers. However, the times have changed. Now EVERYONE has a great camera in their pocket, and LED lights have replaced Fluorescent daylight.
I wanted to instruct how to do it on your own again. It's NEVER cost me business. In fact....
I purchased one of these units and did a variety of tests. As I estimated, once I took some samples, the shortcomings for KNIFE PHOTOGRAPHY were readily apparent. Can I overcome them? Yes.
Here's the setup as it came with the components laid out:

Nice carrying case supplied! There is Velcro everywhere to stick it together. All the corners mate. (It's trickier to assemble than I thought, but follow the instructions!) Note the supplied vinyl backgrounds: White, black, tan, blue.
Inside here's how they designed it:

Note there are a ring of daylight LED's above, and portals to shoot straight down and from the side. Also see they INCLUDE a fabric diffuser (with a hole in it). It makes a difference if you need diffusion.
The BOTTOM two photos are MY addition. I will get back to that in a minute...
This is built especially for 'product photography', selling on Amazon, on Ebay etc. Here is an image I took of a knick-knack lit with NO diffuser. Really darn CLEAR! That's where it shines.

But.... Knife Photography is tricky. I know it. The shiny blades have careful grinds and show unnecessary reflections unless positioned in a specialized 'tent'. (My own 'Pro' setup is a custom PVC frame with diffuser I created.)
After I took a number of test shots with various knife subjects, I realized what I anticipated: That it would NOT provide GOOD knife images without more help.
Blades need diffused lighting, and although they provided some help with an included diffuser, there was STILL a big hole in the top showing the tent frame.
Let's look at some knife images as it came with their components, and THEN with the addition of the diffuser I hastily made and crafted to fit inside.

Yeah, those LED'S alone are harsh. Their diffuser really helps. However, the additional diffuser tames them nicely. (Knife courtesy of BF maker @TK Steingass )

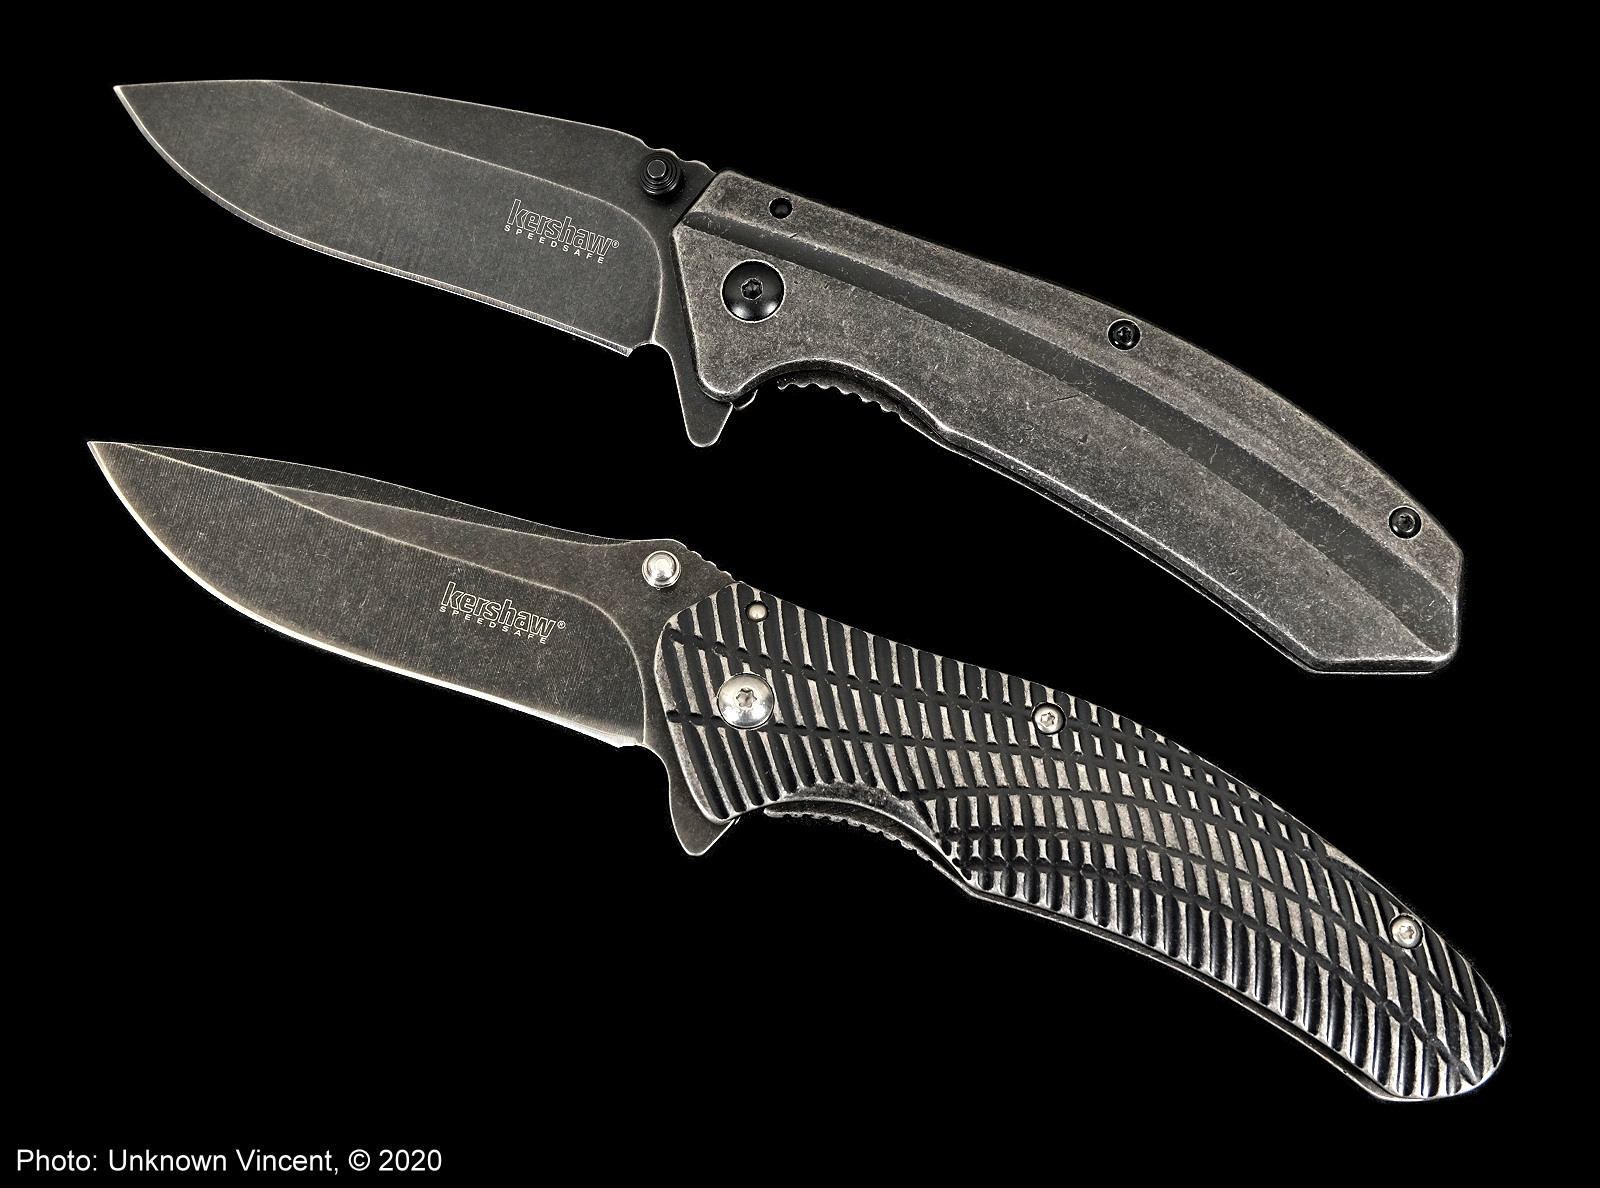
Not quite as poor on this version. The smaller the blade, the less 'need' for a BIG diffuser. (Knife courtesy of ME, built from a KnifeKits.com kit years ago.)

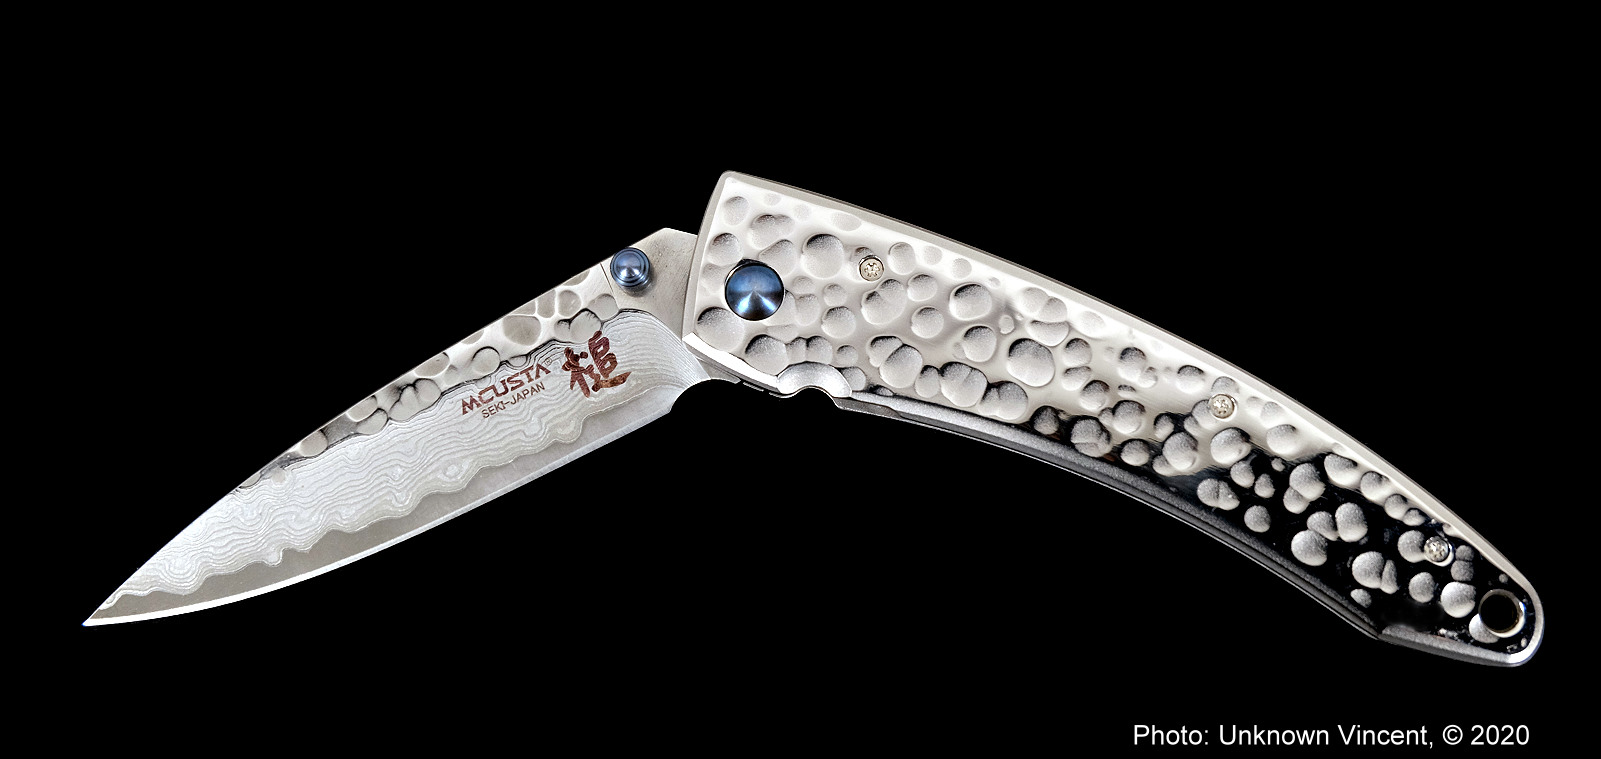
Now you can really see the lighting distinctions when a LARGE blade is captured. (Knife from my collection: A fighter by DeLeon)
I did ONLY some in-camera editing for brightness on these. You can see they vary in color cast. Not perfect at all, and I would want to tweek them more, but that would influence this test beyond instructional. So I didn't.
I created that inner diffusion panel with tracing paper/vellum, available online or at an Artist Supply Store. The frame was cut from a large piece of white poster board and I simply taped the paper to that. I used exact dimensions of 22" x 28" and taped tabs on the sides to support it on an angle. About 6" from the bottom at the rear and up to the top towards the camera. You can do better, yet I wanted to give an idea of the mounting simplicity.
So, it's your call. I think that this product is good and with a small amount of work you can make it VERY Good.
Amazon, who DEMANDS clear photography on a white background helps their clients with this offering:
Amzdeal Foldable Photo Studio 24x24 Inch Light Box with 4 LED Strips 5000LM 5500K,Photography Cube Shooting Tent,with Velcro Design,4 Backdrops (Blue/White/Black/Orange)
As I write, it is less than $75. (Shipping extra unless you have AMZ Prime.) It's BIG.
MANY years ago I created a popular thread for the hobbiest to take clear knife images, by building and creating the: 'No Frills' $75.00 home studio tent/lightbox.
It's served MANY collectors and makers. However, the times have changed. Now EVERYONE has a great camera in their pocket, and LED lights have replaced Fluorescent daylight.
I wanted to instruct how to do it on your own again. It's NEVER cost me business. In fact....
I purchased one of these units and did a variety of tests. As I estimated, once I took some samples, the shortcomings for KNIFE PHOTOGRAPHY were readily apparent. Can I overcome them? Yes.
Here's the setup as it came with the components laid out:
Nice carrying case supplied! There is Velcro everywhere to stick it together. All the corners mate. (It's trickier to assemble than I thought, but follow the instructions!) Note the supplied vinyl backgrounds: White, black, tan, blue.
Inside here's how they designed it:
Note there are a ring of daylight LED's above, and portals to shoot straight down and from the side. Also see they INCLUDE a fabric diffuser (with a hole in it). It makes a difference if you need diffusion.
The BOTTOM two photos are MY addition. I will get back to that in a minute...
This is built especially for 'product photography', selling on Amazon, on Ebay etc. Here is an image I took of a knick-knack lit with NO diffuser. Really darn CLEAR! That's where it shines.
But.... Knife Photography is tricky. I know it. The shiny blades have careful grinds and show unnecessary reflections unless positioned in a specialized 'tent'. (My own 'Pro' setup is a custom PVC frame with diffuser I created.)
After I took a number of test shots with various knife subjects, I realized what I anticipated: That it would NOT provide GOOD knife images without more help.
Blades need diffused lighting, and although they provided some help with an included diffuser, there was STILL a big hole in the top showing the tent frame.
Let's look at some knife images as it came with their components, and THEN with the addition of the diffuser I hastily made and crafted to fit inside.
Yeah, those LED'S alone are harsh. Their diffuser really helps. However, the additional diffuser tames them nicely. (Knife courtesy of BF maker @TK Steingass )
Not quite as poor on this version. The smaller the blade, the less 'need' for a BIG diffuser. (Knife courtesy of ME, built from a KnifeKits.com kit years ago.)
Now you can really see the lighting distinctions when a LARGE blade is captured. (Knife from my collection: A fighter by DeLeon)
I did ONLY some in-camera editing for brightness on these. You can see they vary in color cast. Not perfect at all, and I would want to tweek them more, but that would influence this test beyond instructional. So I didn't.
I created that inner diffusion panel with tracing paper/vellum, available online or at an Artist Supply Store. The frame was cut from a large piece of white poster board and I simply taped the paper to that. I used exact dimensions of 22" x 28" and taped tabs on the sides to support it on an angle. About 6" from the bottom at the rear and up to the top towards the camera. You can do better, yet I wanted to give an idea of the mounting simplicity.
So, it's your call. I think that this product is good and with a small amount of work you can make it VERY Good.
Last edited:

")
")


 in this thread?
 OK, I'll manage with a more careful read.