8" Brut De Forge Bowie

Joined
Apr 4, 2013
Messages
191
Hi Guys

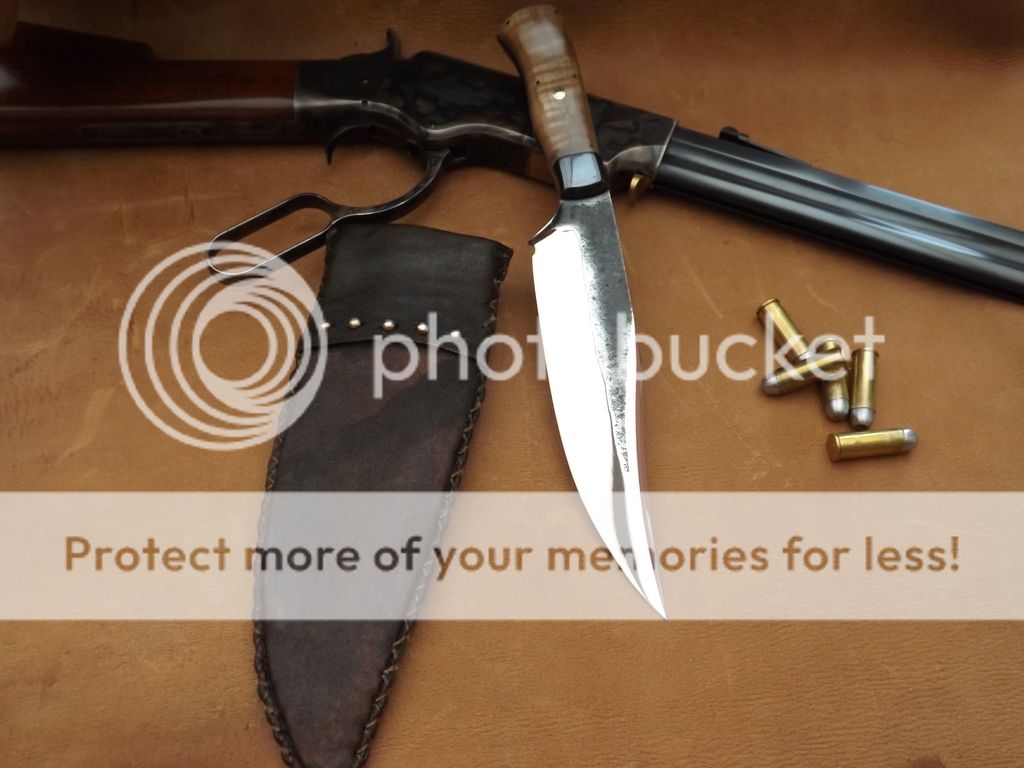
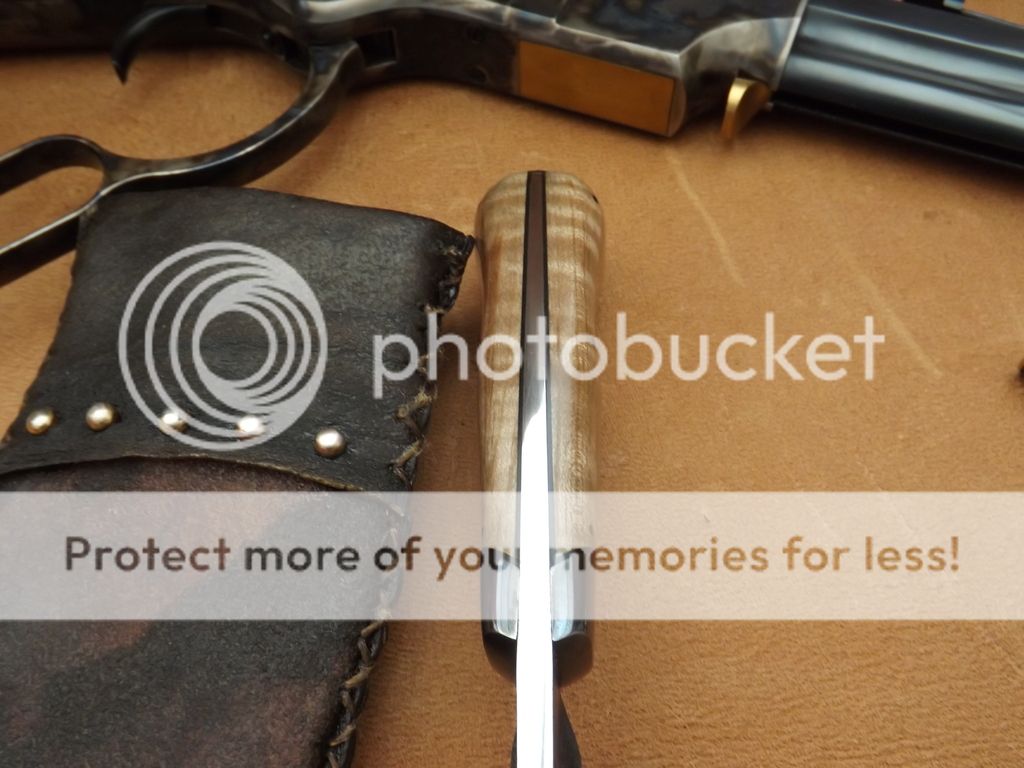
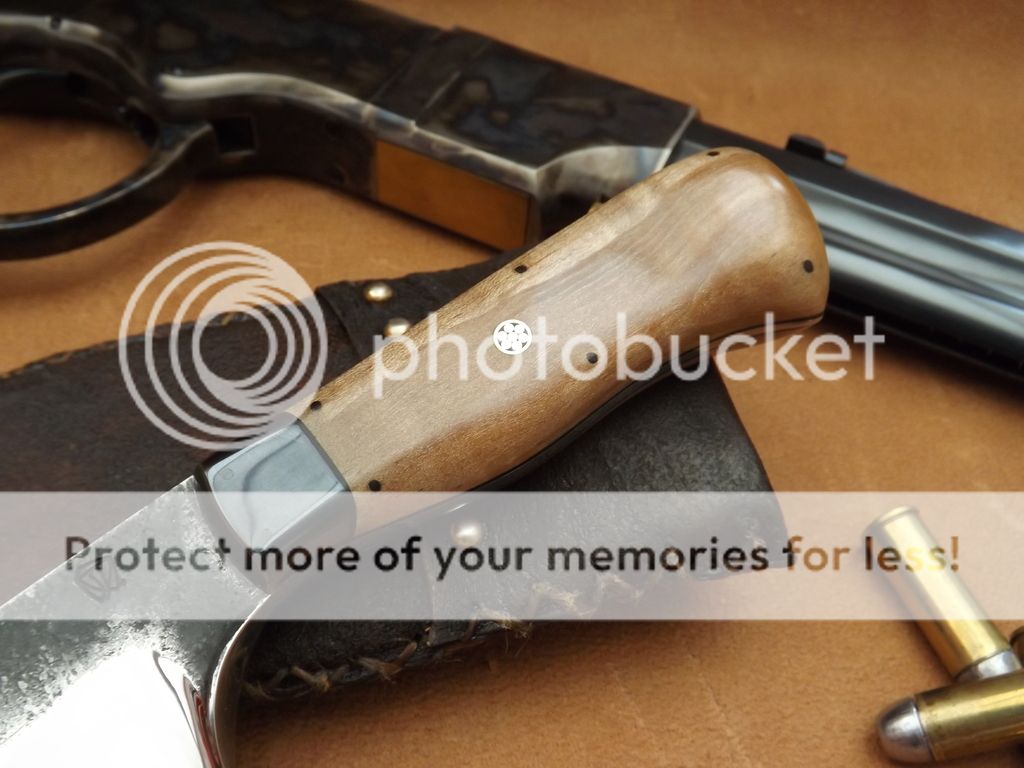
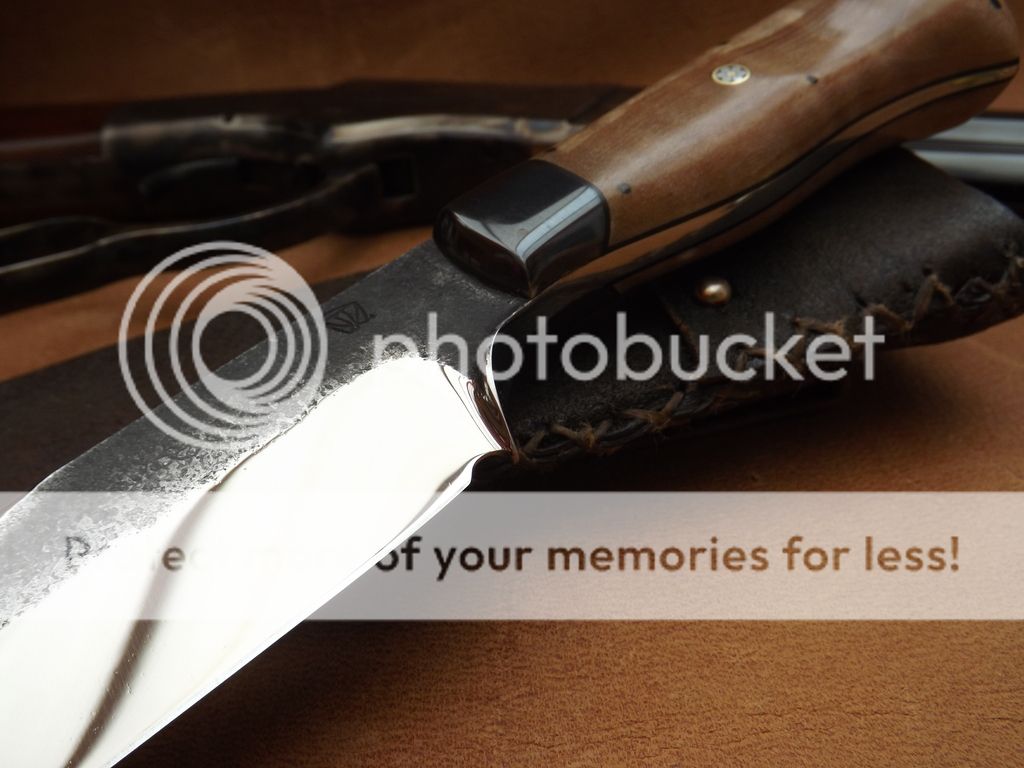
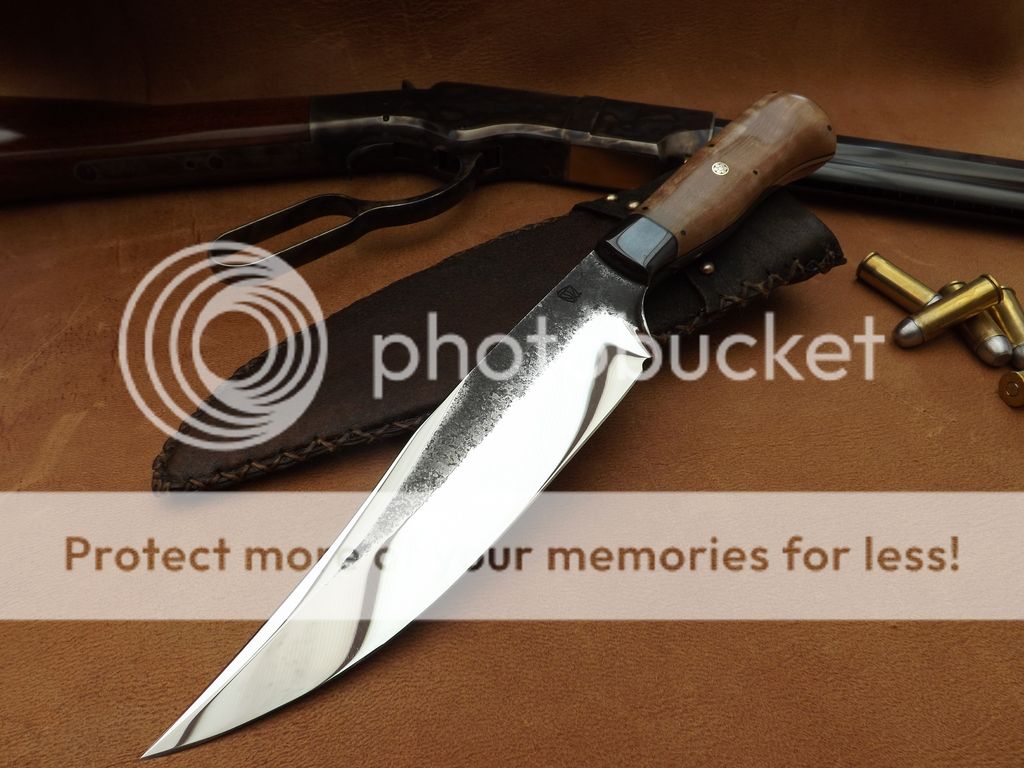
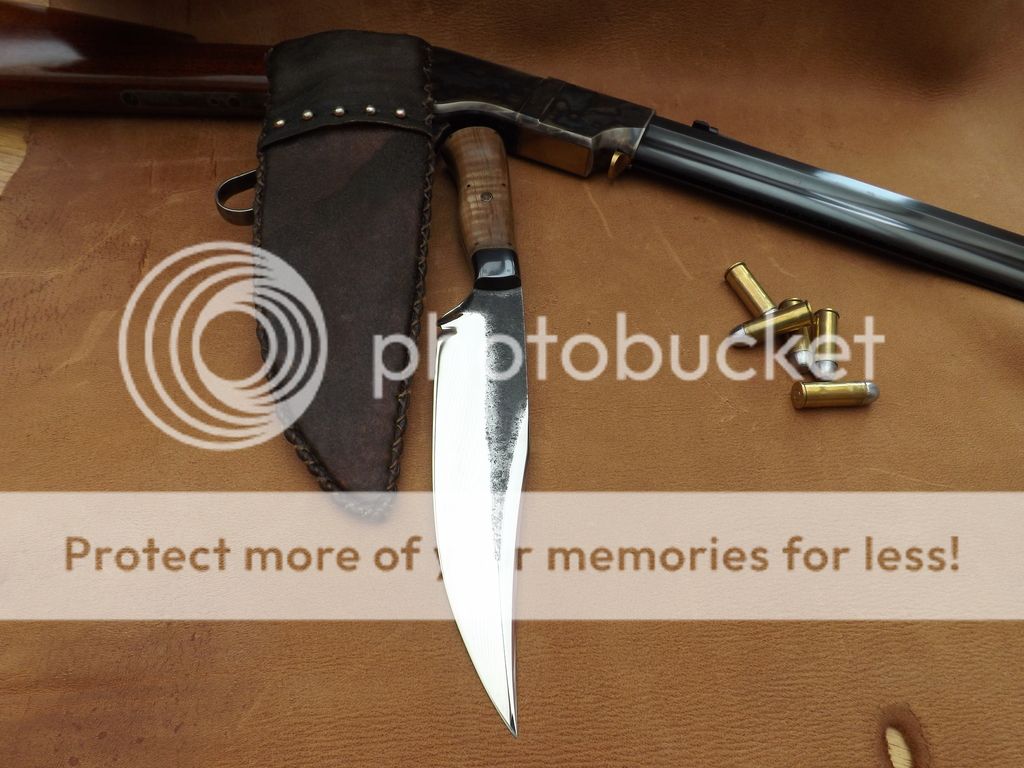
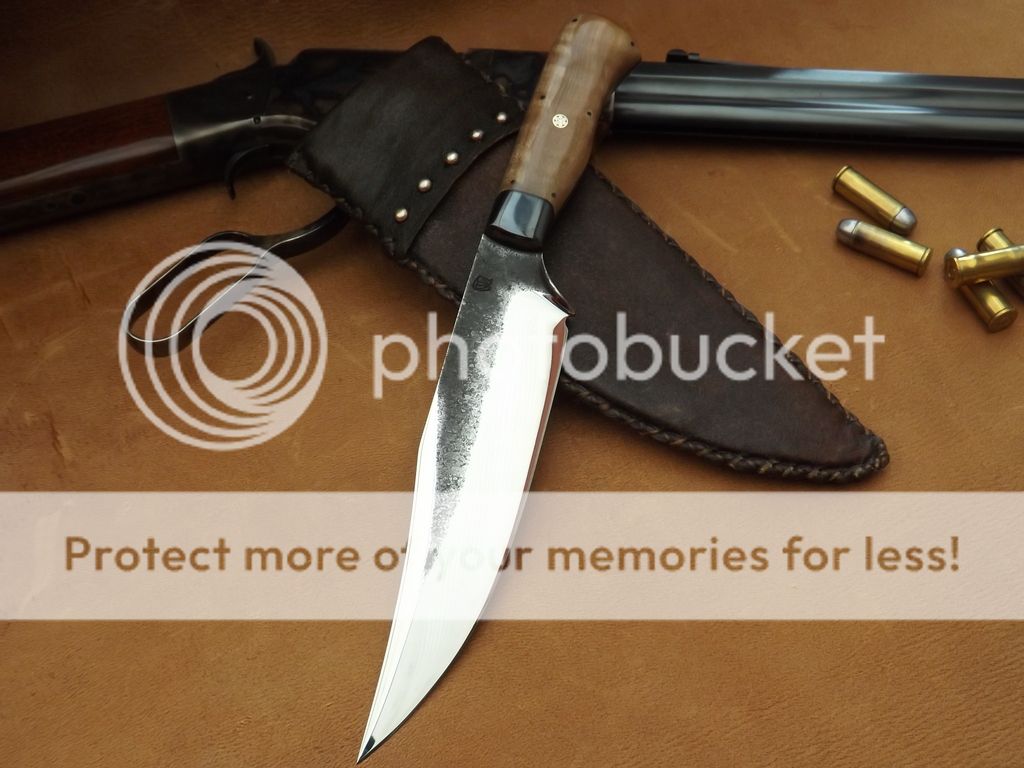
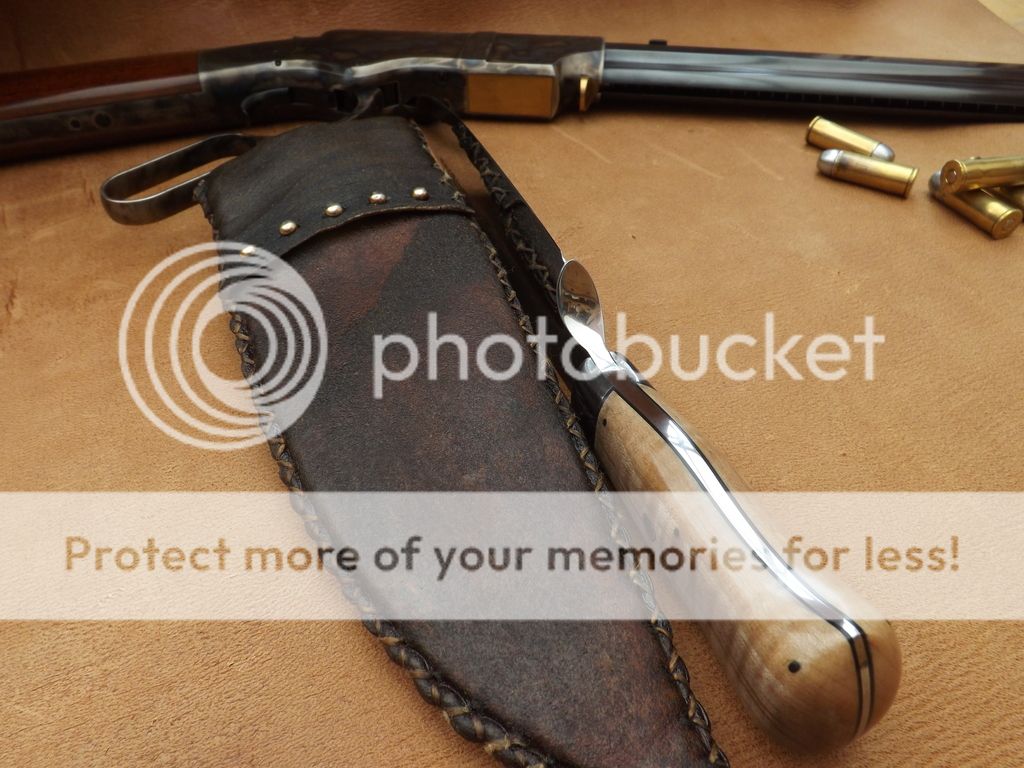
This Brut De Forge Bowie is forged from 5160, it has an 8" blade, is 1 3/4" wide, just under 1/4" thick at the spine and is 12 5/8" long. The gun blued bolsters are dove tailed to match the stabilsed curly maple scales which are held in place on the tapered tang with six gun blued pins and one hand made mosaic pin. The scales and the bolsters are lined with black fibre liners.
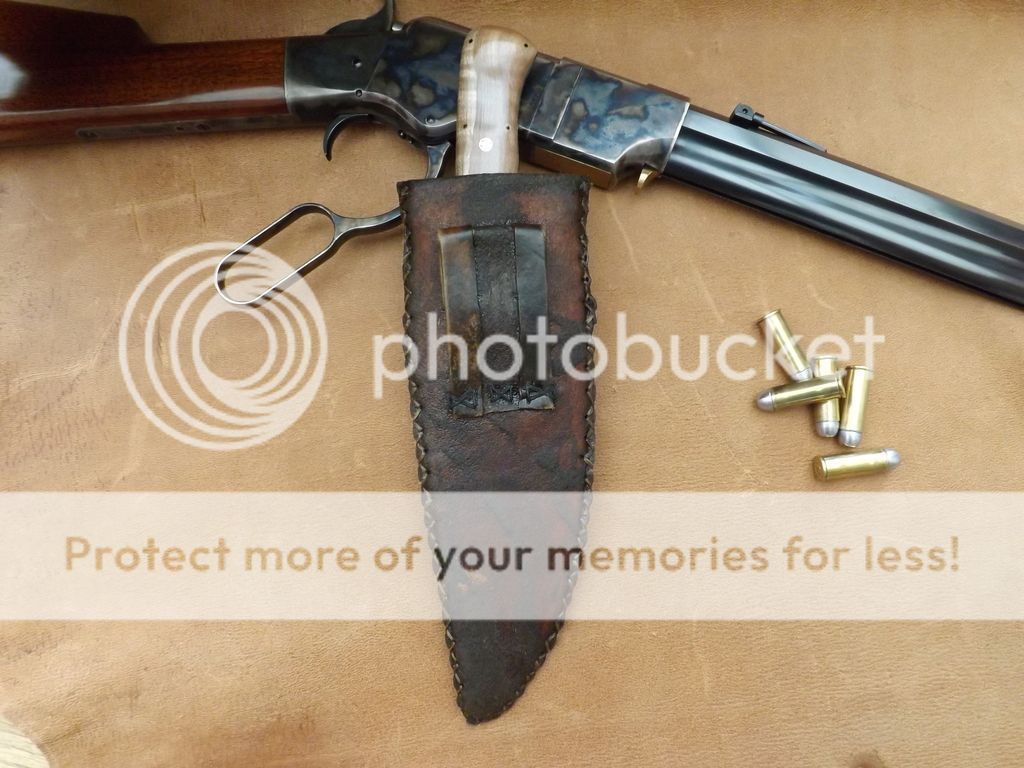
The sheath is leather lined and covered with rawhide. The customer wanted a plain style sheath so I have only put five brass dots on the throat flap. The rawhide has been dyed and roughed up to make it look worn.
Thank you for taking the time to look, all comments and questions very welcome.

All the best

Steve


A terrific example of why I like brut de forge bowies.

By the way - who are you? "white tiger" isn't very informative.
 
Cheers guys,

I don't know what it is about 5160 but it does take a ferocious edge. It's a pleasure to work with.
 
Steve, well done! Love every detail, the blued bolsters, pins and liners really complete that knife! And that clean integral finger guard is nice. Your simple approach with the sheath makes it, less is more!

Very nice!

Steve
----------
Member, W.F. Moran Jr. Foundation
ABS Apprentice Smith
 
WOW! :eek: That is a damn near, if not perfect, brute de forge knife! At least to my eyes! :thumbup: Absolutely beautiful job, everything flows great and goes very nicely together.

I'm curious... When you say, "gun blued", do you mean you hot blued those bolsters an pins using the blueing salts and all that correct? Because if not, you have GOT to tell me what type of cold blue you used and what technique you used to get such a beautiful dark & even finish on them.. please? :D . Also, you have me lost as to how you could have hot blued (again, IF that's what you did) those pins on the handle, being that they're perfectly flush as well as contoured to the shape of the scales...:confused:

I'm also scratching my head as to how you got the plunge to start just behind the integral finger guard without grinding that part of the guard's "flare" off. I won't be able to sleep until you inform me as to how you achieved these things lol. ;)


Thanks for sharing! :)

~Paul

My YT Channel Lsubslimed
... (It's been quite a while since I've posted any new vids)
 
Last edited:
I'm also scratching my head as to how you got the plunge to start just behind the integral finger guard without grinding that part of the guard's "flare" off. I won't being able to sleep until you inform me as to how you achieved these thing lol. ;)


Thanks for sharing! :)

~Paul
Thanks for asking, Paul, I'm intrigued.
I very, very rarely buy a guardless knife.
This could be a game changer.
The blade profile is killing me. :cool: :thumbup:
Very nice !

Doug

Doug
 
Amazing work, greatly enjoy seeing forged blade of such exceptional quality. All around great knife, sheathe and overall harmonious presentation. Thanks for posting this beauty!
 
That is a really, really great looking knife. I can hardly even write this post because I keep scrolling back up to the top to look at it. Beautiful work.
 
Good morning gents

I'll do my best to answer the questions that have cropped up in this post.
My names Steve, I'm a full time maker based here in the U.K. I went full time in June of this year. I'm a member of the Knife Makers Association here and I am an ABS Apprentice smith. I make knives under the name White Tiger Knives and my website is www.whitetigerknives.com

The handle pins are 1.6mm carbon steel Tig wire. In another life I was a coded welder. The handle is glued together in the usual way allowed to set and then shaped. I used G96 gun blue creme, applied to the head of each pin with an artists brush, left for 5 - 10mins and then wiped off. Because it's a creme it stays where you place it.

The bolsters were a bit more tricky. These were drilled, shaped, the fronts cleaned back to the desired finish and then riveted in place. I don't want to try and clean the front of the bolsters when they are fixed into position.
So I didn't gun blue the tang or the surface of the blade I applied clear nail varnish to these exposed areas. I then soaked a cotton swab in Phillips Professional Cold Blue and rubbed this onto the bolsters. I kept applying the bluing solution until I achieved the depth of colour I liked. I then removed the varnish with acetone and applied a little WD40 to the bolsters.

Ah, the plunge lines, you've got sharp eyes Paul. I try to get my plunge lines as equal as I can. Because of this I ground the primary edge in on the blade before forging the finger guard in place. In the standard way of making a Brut De Forge, I did this part arse about face :confused:, but in my defense this is the first forged finger guard I have made. I left around 1/4" of green steel, then heated this section of the knife in the coke forge, clamped it in the vice and hammered the guard into place. Because the primary grind was already there everything moved forward more than I had anticipated. I did have to clean back more carefully than if the plunge lines started in front of the finger guard, but with careful use of the 2" belt grinder and a small rat tailed round file I managed to salvage the blade :D
I have to admit that when I first noticed what had happend I nearly scrapped the blade, but with a bit more work it turned out really well in the end and makes it a little unusual

Guys thank you very much for your comments and questions.

All the best

Steve
 
Last edited:
Back
Top