- Joined
- Mar 4, 2014
- Messages
- 3,646
Thank you! These are good ideas.
I just now cleaned the titanium extremely well, so it definitively had nothing left from the sand paper and tried anodizing: Nothing was different. I also did the same with a part that never was sanded: Every thing was the same.
So, abrasives are not the problem.
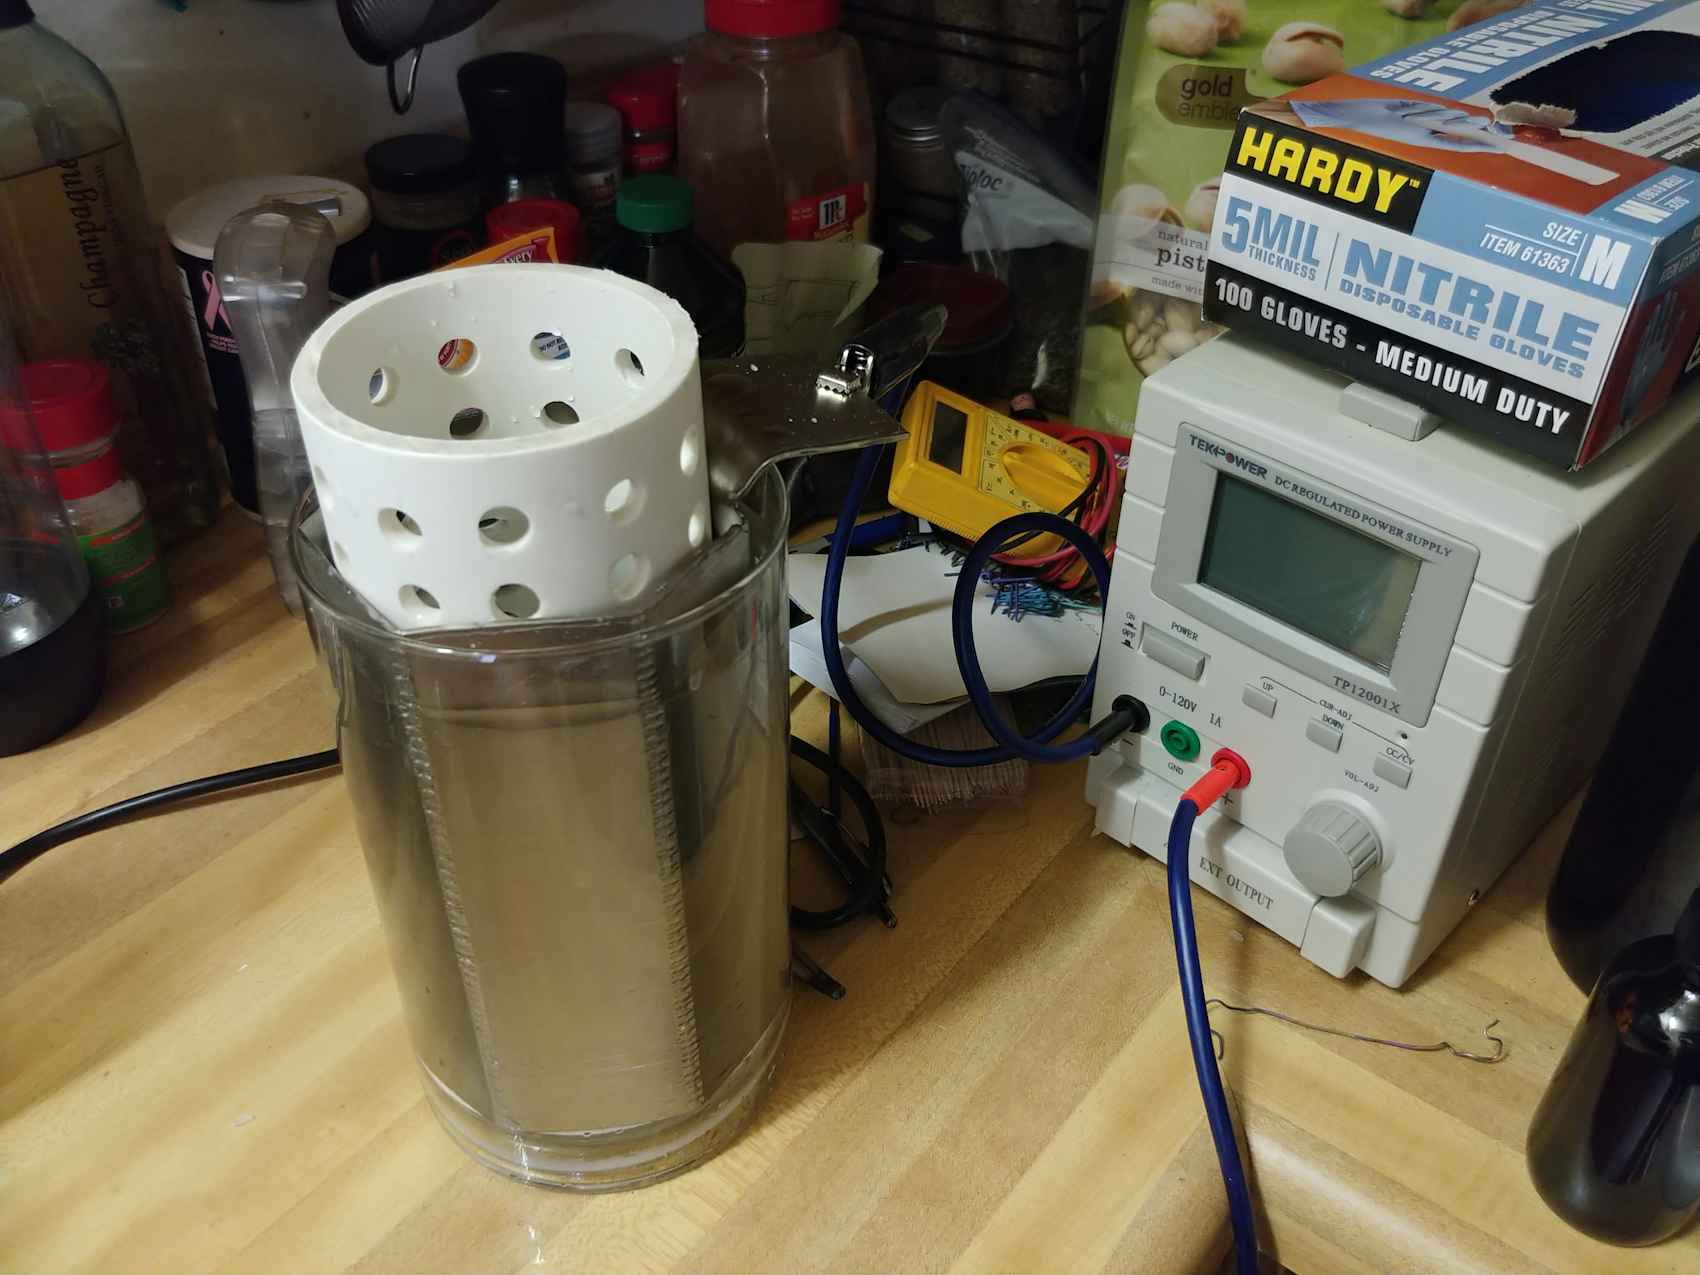
Can we see pics of the new work? Also, how are you setting your machine? It's been a while since using mine. But if I recall, I'd start with both primary dials off. Fine tune dials probably in the middle so you can tweak either up or down if desired. First set amps, maybe start about 1/4 turn. Then set the voltage to desired landing spot. This should set the machine to run in Constant Voltage mode (as opposed to Constant Current).
I usually use this chart to estimate voltage for target color.