Becker Skills and Information Thread 01 - October 2013 - Fire

DerekH

Handsome According to my Mother
Moderator
Joined
Nov 18, 2010
Messages
6,118
As posted here www.bladeforums.com/forums/showthread.php/1118392-The-return-of-the-monthly-challenges-with-a-twist we are bringing back the challenges, but this time with a little background about the subject before it happens, giving you time to get your skills tip top before it becomes time to use them.

This month we are going to be covering fire for our skills development. Everyone loves a good fire, it gives you a place to gather around with your best friends, your best drinks, and your best stories. It is also something that in most places is required to keep yourself kicking. What we want here is everything you know about making fire; tips, tricks, and pics, by the people, for the people! So let's get the ball rolling and see what you guys have!

Campfire_4213.jpg


Information from this thread will be used for the Challenge next month, so keep this one bookmarked, and check back often.

(Conversation pertaining to this thread topic is not only allowed but encouraged, however, if you want to chat and goof off, please take it to the chat thread. Thanks!)
 
Last edited:
cool, I was trying to build a fire in the rain today:foot: didn't work:mad: so hopefully I will get some good tips. good idea for a challenge darek :thumbup::thumbup::thumbup:
 
Last edited:
Here's one I've had subscribed for awhile, and it definitely works. Moose has the skill down.

Ok, I been trying to do this for a few days now, and so, now, I have done it. This is a basic firemaking bow drill, and I will try to cover the requirements of the bow drill, to make it functional. Once it works, embellish as much as you want to, and I recommend alot. Pretty wins points. Here we go

First, choose your tool. I have the choice of a BK6 Patrol Machete, a BK9 Combat Bowie, a BK2 Campanion, and a BK14 ESKabar. You can use as many Becker knives as you want to, but for this I will be using only one.

100_1672.jpg


I choose my BK14. Its with me all day, everyday. Sun up to Sun down. I figure if I can make a bow drill with this little guy, then I can take care of my needs for fire with just my little knife

100_1674.jpg


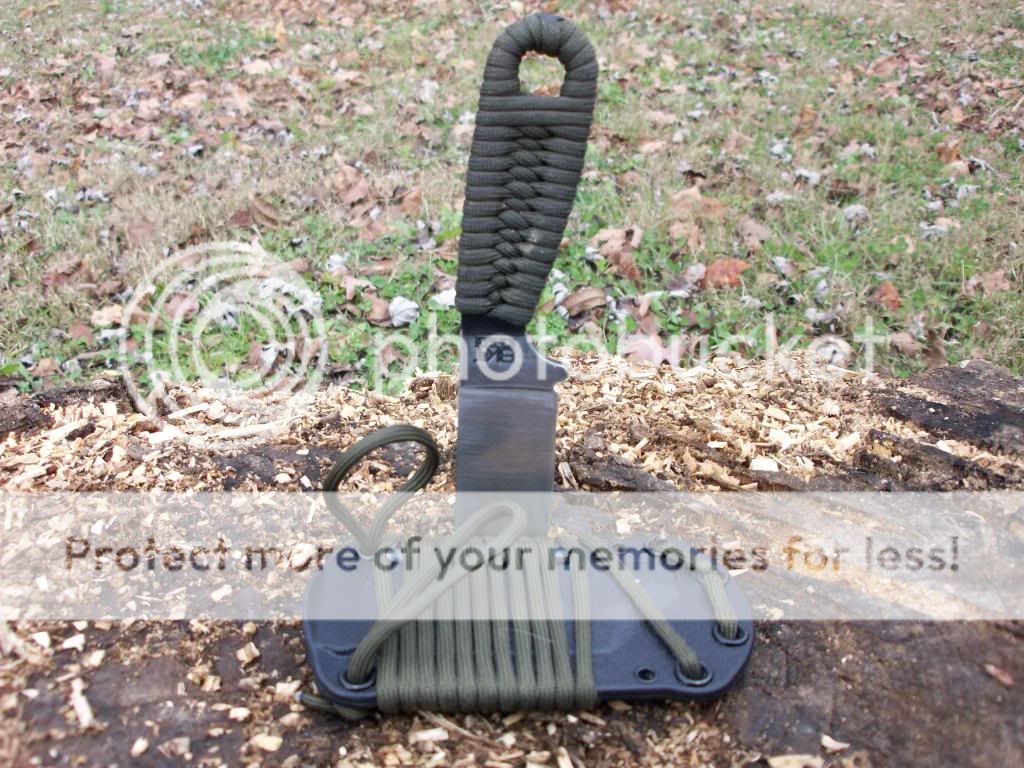
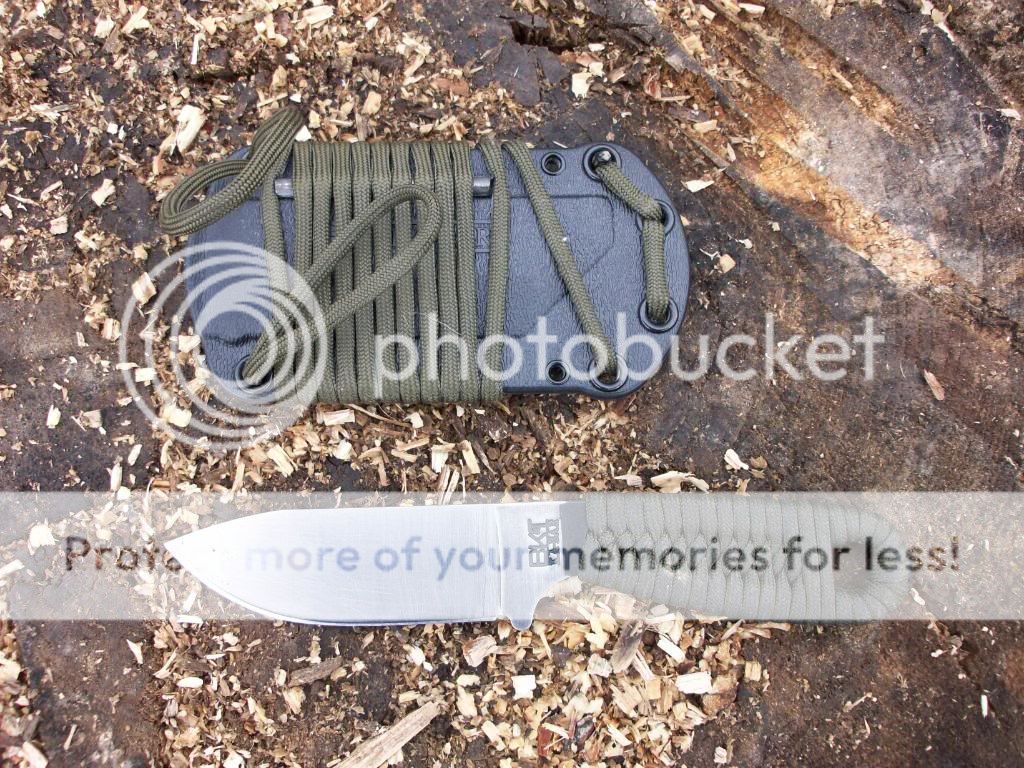
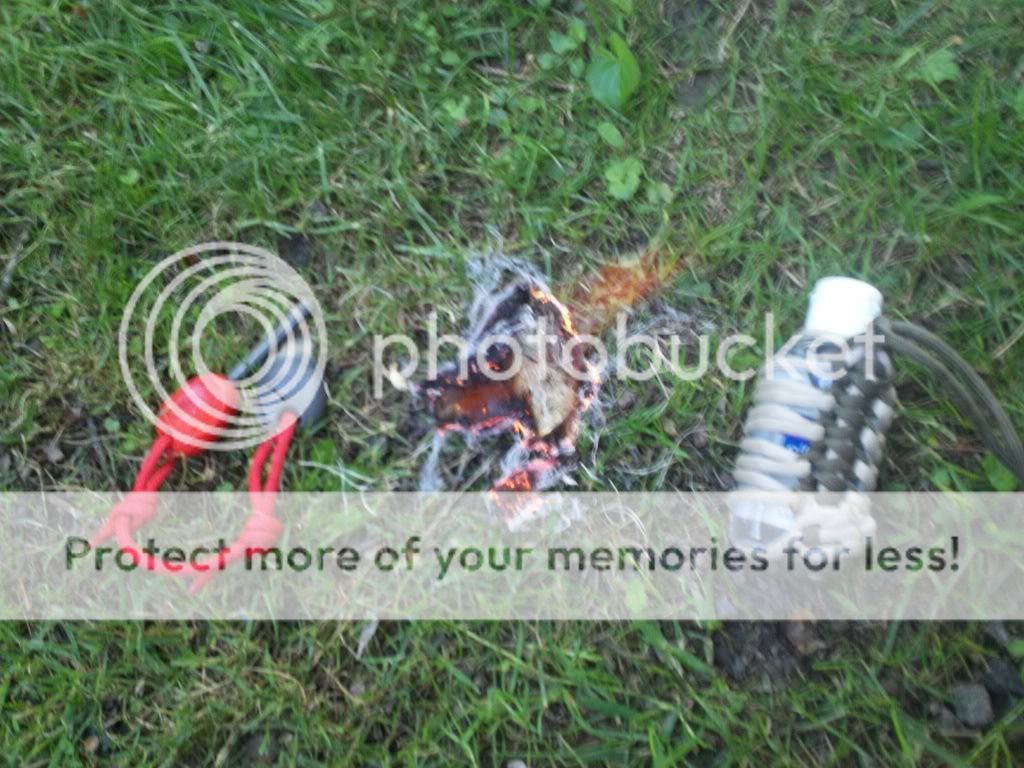
A little about my ESKabar and sheath. I stripped the blade (left he coating under the wrap:D), and squared the spine. Sharpened it a couple of days ago. The sheat is the factory sheath. I haven't replaced it yet, mainly 'cause I been busy and there really is no need at the moment. That is one 7' long piece of paracord and a 2 1/2" x 1/4" GG firesteel. The loops are there to secure it to my belt, because I wear this IWB at 3 o'clock, unless I have a gun on, which is most of the time. Either way, you can see by the pics, it works and carries my most "basic" of needs with me daily.

100_1675.jpg


100_1677.jpg


The wood I chose is a Willow branch I found around. I like willow, it works, not as well as cedar IMHO, but it will work. Use the fingernail, lip test to make sure any wood you find is workable. If your fingernail will leave a dent (not gouge) its got the right hardness, and the lip test. LOL The way I do it is pucker up and just give it a little kiss, no tongue though, weirdos. Your lips will tell you if the wood is wet, or dry. YMMV

100_1678.jpg


100_1679.jpg


Ok, wood processing time. You will need 5 pieces of certain shape and size. Hearth, spindle, bearing block, bow, and coal catcher. I make all of my pieces from one piece of wood.

First make a hearth board. From the edge of my knife to the end is my length of my hearth board. I typically go from 6-8", you will need enough room for your foot, so don't skimp on the length, unless you have not choice.

100_1680.jpg


I spine strike through the wood on all four sides, and just snap it from there

100_1681.jpg


Now we have a round piece of wood, we need to make it a board. Finger width wide.

100_1685.jpg


Baton of the edges where you finger ends. Be sure and move your finger first, please:confused:

100_1686.jpg


When you finish, you should have a "board" about a finger width thick, and flat on top and bottom. Mine has a little curve to it, as that's the grain, but it will work just fine

100_1687.jpg


100_1688.jpg


Ok, board done, set it aside, time to make a spindle. I like my spindles to be about 8" long, YMMV, the short they are the easier to control, but you string way walk up to the bearing block, and monkeywrench the whole works. From the edge of the blade to my finger is the straightest piece, and about the right length.

100_1682.jpg


Baton it off on both ends, and check it for cracks or breaks.

100_1689.jpg


I like to shave mine down, one, I use the bark to make my nest for the coal, and two, it tears up your cord faster. Skin it.

100_1691.jpg


Now, sharpen the ends, one like a pencil, the other like steep cone. You want a little tit (:DDon't we all) left, to help seat it in your hearth divot.

100_1692.jpg


100_1694.jpg


100_1693.jpg


Hearth board, spindle. Done. Now we need a bearing block. I use a side piece left over from making the hearth for my bearing block, find a piece that comfy in your palm, and cut it down to fit right in the palm of your hand.

100_1695.jpg


Now, I like to go right in the center of the grain, right where my knife tip is at. You are going to want a deeper divot here than in your hearth board, and it doesn't need to be as wide. This is where the pencil sharpened end of you spindle goes.

100_1696.jpg


100_1697.jpg


Ok, we now have our hearth board, spindle, and bearing block. The coal catcher is easy to get, find a sliver about an inch wide and thin, so you can put that under your hearth board. Next we need a bow. I used a stick I found in the yard. I think its maple, but I don't know. Doesn't matter. I like my bows to be about 3' and have a slight curve. You don't need a HUGE curve, but if that's what you want, go for it

100_1698.jpg


You will need a notch at the top, to keep your cord, and I have a special way of doing the other end, pics should tell you better but I bore a hole about 2" back, and then split the wood to the hole. Then I string it.

100_1699.jpg


100_1700.jpg


100_1702.jpg


Now, on to the good stuff. You will need to make a divot in the hearth board, about 3/4"-1" in. It needs to be shallow and wide, all the better to seat your spindle in.

100_1703.jpg


Now, a big SECRET, well not really a SECRET, but it is the first *TIP* for a successful bow drill, made from 1 stick. Green vegatation. Grab some green, any kind will do. Roll it up into a ball and stick it in the divot in the BEARING BLOCK. This will provide an extremely smooth lubrication for your bearing block and allow you to really get some RPMs up.

100_1704.jpg


100_1705.jpg


Ok, the really hard part here and a very important part, I can't show you. I'm solo on this and I don't have anyone to take pics, so, I will try to explain. There are youtube vids that you can search up, that will show you the correct posture. Now, we gotta burn the board in.

Take your hearth board, place it on the ground. Take left foot (I'm right handed, so leftys, reverse it), put it on the hearth board, on the end away from the divot. Get comfy, make sure you have your balance. Place the bearing block right in front of your toes. Take your bow and spindle, place the spindle between the cord and the bow, and twist the spindle so the cord wraps around it. If this is your first time, it may take you a minute. Don't worry, you will get lots of practice.

Once you have your spindle in the cord, I hold the bow in my right hand and place my right thumb against the spidle, and it will stay there. Place the blunt end of the spindle, in the hearth divot, and set our bearing block in place, BEFORE you move your thumb. Once you have the bow, spindle, and bearing block in place, you can take your thumb off the spindle, and grab further back on the bow. Lock the area right behind your left thumb, against your shin bone and keep it there, no matter what.

100_1713.jpg


Now, the secret is pressure and speed. When you start, start slow, with just enough pressure to keep the whole mess together. Once you find your rythym, increase speed and pressure. You should start to see smoke in about 10 secs. You will need to constantly monitor your pressure. Once you smoke the hearth for about 15-20secs, you should be burned in. Looks like this.

100_1706.jpg


100_1707.jpg


Mark 3 lines, once perpendicular to the edge of the wood, and 2 more at about 15 degrees off. You notch should be 30 degrees inclusive. It should also extend to CENTER of your burn in divot. Don't go past center, or you will have problems.

100_1708.jpg


OK, the Becker part of the Bow Drill. Now the counts as *TIP* number 2 of importance. I was over at Ethan's place, checking out his bow drill kits, and he told me about the back cut. Now, before this little tidbit, I was about 50% on getting a good coal from a bow drill. After I started doing this, I'm at about 95%. Make a back cut on the underside of the hearthboard, to allow carbon to fall into a pile, and not just get caught in the notch, it may be hard to see, but here it is. Not sure if Ethan created it, but he's the one that showed it to me, so, there ya go. Ethan's back cut.

100_1709.jpg


Now that all that is done, reassemble your kit, just like you did on the burn in but put your coal catcher under the notch. Start the same way, only increase your pressure faster, now, and smoke that baby until you see the carbon powder fill up the notch. Then, lighten just a little on pressure, AND GIVE IT ALL YOU GOT. ALL GO NO STOP. She should be smokin' like a housefire, and when you stop, take care to slowly disassmeble your kit. If the spindle flies wild, who cares, you priority now, it to take care of that coal. Take your knife and carefully poke the coal out of the notch onto the pile of carbon. Gently fan your hand over it and let it coalesce. From that point, you got fire, put it in a tindler bundle and blow it to life.

100_1711.jpg


100_1712.jpg


100_1714.jpg


I know I need pics of the postion of the body and a vid of the actual work. Maybe after my daughters get back from a party they went to, I'll go out and make one, and get som more pics. Here is a pic from when I was at Joezilla's place a couple of weeks ago, it should allow you to see what I am talking about.

DSC03918.jpg


I hope this helps, and remember, there are several right ways to do this. This is just mine. Others will likely chime in with other ideas and observations, and that is welcomed. Practice, and experience will tell you what you are doing is right, or wrong.

Have fun. Be careful. And get those Beckers out there dirty.

Moose
 
Man, I do love fire.

These 3 methods in this pic will be three that I want to share. They are old and new but fun and easy to do.

20131017_210552_zpsc94f5577.jpg


NuMyth.......nuff said.

Moose
 
The last time I started a camp fire I used one of these:

Is that cheating?


I also want to say that this sounds like a great idea. (if I can get off my lazy butt!)

Not at all. I've been thinking about putting a couple flares in my winter trekking kit should I ever break through the ice. Its times like those that you need fire NOW.
 
Not at all. I've been thinking about putting a couple flares in my winter trekking kit should I ever break through the ice. Its times like those that you need fire NOW.

If you use a flare make sure to have some larger (larger than about 1") wood on hand. I had a bunch of small stuff that burned up extremely quick with the heat from from the flare.
 
muahahahahaha.........
I know 2 different ways to chemically start a fire...
one uses a laxative, the other sugar.
 
Great idea for a thread. I think all of the fire starting methods will be covered quite well by others but I would add this: when an actual survival fire is called for, don't mess around with some tiny little twig thing that you have to wrap yourself around. Build the biggest damn fire you have the fuel for. It will provide more heat for a longer time and have a lesser chance of going out during the night.
 
This is one of the coolest fire methods I've seen in a while. Skip ahead to 1 minute, 50 seconds for the fire making.

[video=youtube;zWuL-VT_hRg]http://www.youtube.com/watch?v=zWuL-VT_hRg?start=110&end=222[/video]
 
In my fire kit, I keep a good amount of twine and Birch Bark. The twine takes a spark nicely and gets the Birch going. I usuallly cut about a 1"-2" piece of twine. A 1" square of Birch provides an amazIng amout of heat and flame. I unravel the three strands pull them apart and then roll them indvidually between my hands to form little balls. They work really well for catching a spark.


It was a rare dry week and this one took off fast,


Another thing that I try and do. Is insulate the fire from ground moisture. A rock, some sticks, something to form a barrier from the ground.

As a kid I read Jack London's "To Build a Fire". I was hooked there and then. I always wonder what happend to the dog?

Often I will go out with just my knife and steel in nasty conditions, which is about 70% of the time around here. Just to see if I can get a fire going from what I find. Most times I live, but sometimes I die!

This one was on a drizzly, snowy spring day. It started hard but some dry leaves I scavenged from under an eroded tree root system did the trick? You can see the ground is pretty damp.

I look for dry pine needles, leaves, hanging dead branches,


It took a few tries, but it caught,


If I have problems it's usually in the transitional stage.
 
Hmmm, I have a trip coming up. Maybe I can get something posted. Also, I'm gonna give that bow drill a shot.
 
I read the bow drill post a few times back when it first came up. Now while I don't have an eidetic memory, I can come pretty close at times if I'm lucky. I was out with our Troop and one of my Scouts decided to try. So when he failed, I did exactly like I saw Moose do in his thread, and within thirty seconds I had an ember. Surprised me as it was my first time to make one. It works!
 
I remember making a bow drill in E's shop, however there was some cheating involved, I believe someone busted out the power drill...

I don't really have any tips or tricks except what I've learned from here. I keep PCB in my go bag along with my camp bag.
 
We have campfire cookouts every weekend. One of my favorite tips that I picked up on the interwebs is building an upside down fire. Instead of the traditional teepee style, you start by placing 3-4 of your your larger logs parallel to each other as a base, then the next layer of 3-4 slightly smaller logs on top of those at 90 degrees. One more on top of that, then on top I build a small (6-12") rectangle with 4 smaller logs, and pile up a big ol' pile of small stuff and tinder inside the rectangle. The top rectangle acts as sort of a wind break. Once started it's pretty much maintenance free, and it burns down to a great cooking fire. Not new to most of you, but it works.
10386101183_8343b9b81a.jpg
[/url] IMG_20131020_104535_240.jpg by creakybonespics, on Flickr[/IMG]
 
Last edited:
Maybe some will find this interesting, I posted it a while back in the W&SS subforum here on BF.

It started off with this:

Went to visit the Royal Belgian Institute for Natural Sciences today. Interesting museum, one that I've visited quite often. There was an interesting temporary exposition on primitive tools and some DIY areas. Some of 'em "learned" how to make flint tools ("learned" between brackets because that isn't a skill you acquire in a 5 minute course). Others learned how to throw spears effectively, how to make leather flexible,... Most of 'em were somewhat aimed at children, but I thought they were most interesting.
The one I found most informative, was how to make fire with basic tools such as a rounded piece of flint, a piece of marcasite or pyrite and some fungus.
It really works like a charm, too. Definitely something I'll be trying in m backyard one of these days.

Basically, you crumble pieces of the fungus/spunk into a somewhat brownish and powder-like substance. Hold the piece of marcasite next to it, and strike it with the flint. The motion you do with the flint is somewhat in between knocking on the marcasite and stroking the sides of it, you get a hold of it rather quickly. The fungus catches a spark rather easily and with a few slight blows, the glowing spreads. If you have enough of the glowing fungus, just scoop it up, put it in a bowl of tinder such as dry grass, blow and it catches fire like a charm.
It really was a fire I was able to make in less than 2 minutes.

I loved to learn about these old methods, didn't know about the fungus as tinder either... Probably nothing new for many among you guys, but I thought I'd share it anyway.

I looked at youtube and found a vid that pretty much demonstrates what I'm talking about.

http://www.youtube.com/watch?v=zxNwNpXYFig
It takes quite some strikes for his tinder to catch a spark, but his marcasite doesn't seem to be generating a lot of sparks altogether. He also holds his stones rather high, we were tought to keep the marcasite on the ground next to the fungus. Less distance to travel for the spark, hence less time for it to cool and disappear.

Found a scientific article on the process too. For those interested, you can always mail me for the pdf. I was able to download it for free using my university's account.
http://link.springer.com/article/10.1023/A:1003802432463?LI=true

And then there was this post:

Well, I'm glad to say I tried it at home now. Finally!

I did run into some problems, but I'll tell when I develop this story.
Last fall and during winter, my dad and I collected firewood here and there. On some of the wood, some of the fungus/mushrooms that I might need were present so I broke some off and dried them. Now that they were dry, I was ready to give it a try.

Here's what I used: some dried out grass, the 'shroom, a piece of marcasite and a piece of flint (the eroded side is towards the camera, don't use this 'cause that won't work).
z5td.jpg


Step 1: Cheat. This is probably not how cavemen did it but anyway. At the museum, they used cheese graters to grate the spongy material off of the mushroom. Cavemen didn't have it. I didn't have one available with which I wanted to grate mushrooms, so I just sliced little slabs off of the mushroom with my Case jack knife. Mistake one: this is not ideal. A powdery substanse like the one you get when you grate it would be better. It catches the spark far more easily.
bstf.JPG


The spongy material catches the spark way better than the more dense foamy structure:
yhck.jpg


Ok, now for the hard part. Striking the piece of marcasite/pyrite with the piece of flint. Mistake 2. Since I didn't have an adequate piece of flint at my disposal, I used a not-so-good piece that I had in the house somewhere. (Why do you have that in your house? Well, for those of you that don't know it yet: I collect fossils, rocks...). Why is this not so good? Well, it didn't have very sharp corners so it wouldn't make sparks very well. The brownish flint doesn't spark as good as black flint. Next time I'll be bringing some black, sharp flint with me from one of my fossil hunts, that'll work better.:thumbup:
So I tried for quite a while without a lot of success. I did get sparks, but the 'shrooms didn't catch them. The problem is the motion you need to make and the distance between the 'shroom gratings/flakes and the pyrite/marcasite. The closer your piece of marcasite is to your 'shrooms, the better the reaction since the spark won't have time to cool. The problem is that you always knock the 'shrooms away with your flint...
FINALLY though, one of the sparks caught one of the pieces of shroom and it starting giving some smoke. I quickly covered that piece with other slabs of mushroom and started blowing some air in between the slabs very softly... Smoke!
k6fr.jpg


When I had enough smoke from the 'shrooms, I quickly made a small bowl with the dried out grass and poored the smoking 'shrooms in it. Close the 'bowl' and start blowing softly...
s893.jpg


And keep blowing... Well, that took longer than I remembered. At the museum it was more like "poof, fire!" whereas I was almost out of breath at this point.
zzfi.jpg


Awww yes! Fire, finally... Maybe mistake 3: the grass was quite thick and smoked for a good while before lighting up. Maybe other types of grass smoke less and burn more? I don't know...
oq72.jpg

szbm.jpg

fyk2.jpg

adx3.jpg


And that was that. A lot of prep and time spent for 10 seconds worth of fire. But it was worth it. I got a good idea of what works and what not, and what might work better in the future. Good practice :thumbup:

Of course if you'd need a fire when you're lost... you'd need dried out mushrooms of a certain type, flint, marcasite/pyrite and dried out grass at your disposal. And a container to collect your 'shroom dust into. And something to make the 'shroom into dust in the first place (sharp piece of flint? Some kind of makeshift grinder with a stick or rounded rock?):D
It's good to know that it could work, and hey it's fun to do too...

I hope you guys enjoyed it. I know I had a blast :thumbup:

Might be helpful to some. Not the easiest nor quickest way to make fire though. But it may work in ideal conditions.
 
I don't know if it is the right name, but I know it as a sweddish stove. It works best if you have a saw and can get straight edges on a thick log. Split the log in half, then halve the sections. Tie loosely in the original form with cord or vine and stuff tinder between the sections. Use your preferred fire starting method to light up the tinder, and you have a stove as the wood burns from the inside

DC44E474-orig.jpg


93A83BBA-orig.jpg


F733AA4C-orig.jpg


B5BE0A3B-orig.jpg


That chicken came out pretty good! As for fire making I like to keep firestraws and fatwood shavings close at hand, rods, lighters and waterproof matches. Recently bought a fire piston and still trying it out, will definitely try to do the bow drill with moose's tutorial
 
This is all pretty basic, but it bears repeating...

Ferro rods and magnesium blocks will dull your edge right now. If you don't have a dedicated scraper (see below), please use the spine or sharpening notch of your knife to scrape them. If need be, remove the coating from a section of the spine on your blade and dress it up with a file or coarse diamond "stone" (right in front of the handle or thumb ramp, that's where your best leverage and control is), so it's nice and square and crisp. Even with a carbon blade, an inch or two of bare steel on the spine that might get tarnished or rusty will not ruin your blade, and you may find yourself very glad it's there. ;)

It's quick and easy to cut/break off a piece of hacksaw blade to use as a scraper for magnesium or natural tinder. They take up basically zero space, already have a (lanyard) hole on the end and can be used as a saw for small stuff (doh!).

Just like gathering tinder and fuel, scrape off 3-4 times as much as you "think" you will need and gather all your makin's together before even starting to make sparks. There's nothing more sad than a cold, wet guy watching his little fire go out while he scrambles around for more tinder and wood.

The full-size mag blocks are nice, and will probably last a lifetime. But they are a little bit bulky and heavy. I have a few of these little guys, and should probably order more... they're easy to stash almost anywhere, and are plenty big enough to last through a couple camping trips or an "unplanned adventure"...

campingsurvival_2268_735369361
 
Last edited:
Here is some bits and pieces I snagged from a contest entry to one I had ran way back where BePrepared304 made an outstanding entry (and the pics still work!):

FIRE BUILDING

Fire is so important to survival, just think of where we would be today if we didn't have fire. For me practicing building a fire is different than making a flame. If your young scouts only practice firebuilding as having a flame you are only teaching them half the process of firemaking. I see a lot of scouts get the flame and not prepare the firelay or have the extra fuel needed for the fire only to have their flame quickly burn out leaving the scout without the feeling of complete success.

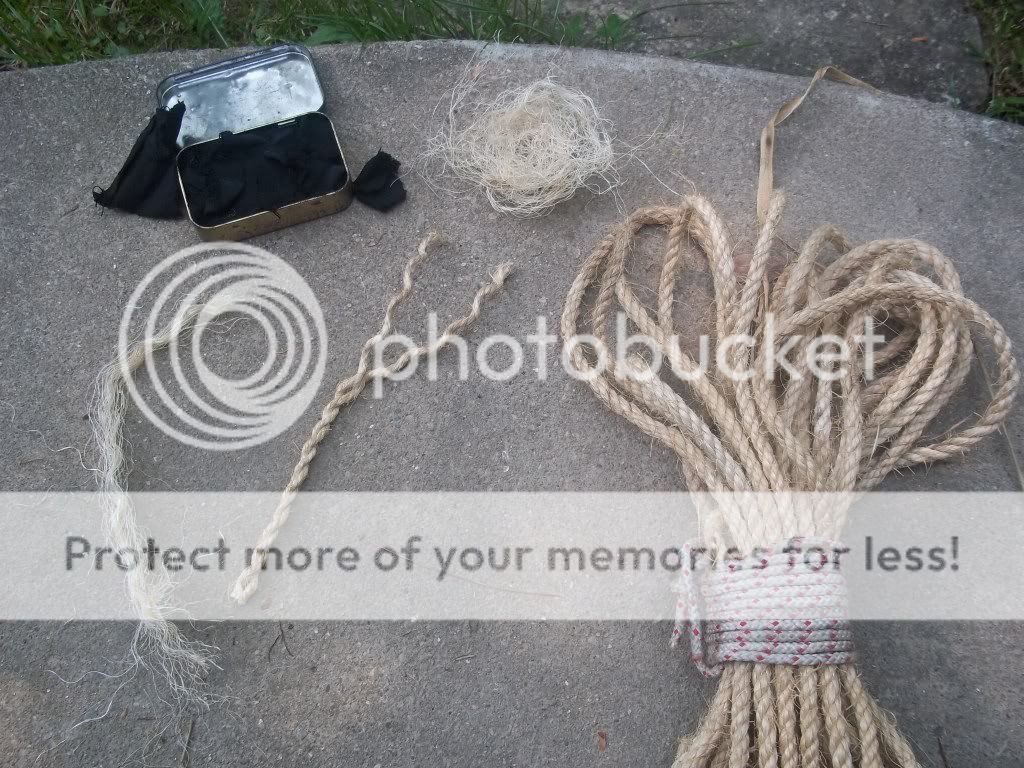
First to talk about ignition sources, ways to make a flame. In these methods you will see me use the frayed parts of a natural fibre rope and charred cotton cloth (charcloth).
111_0307.jpg


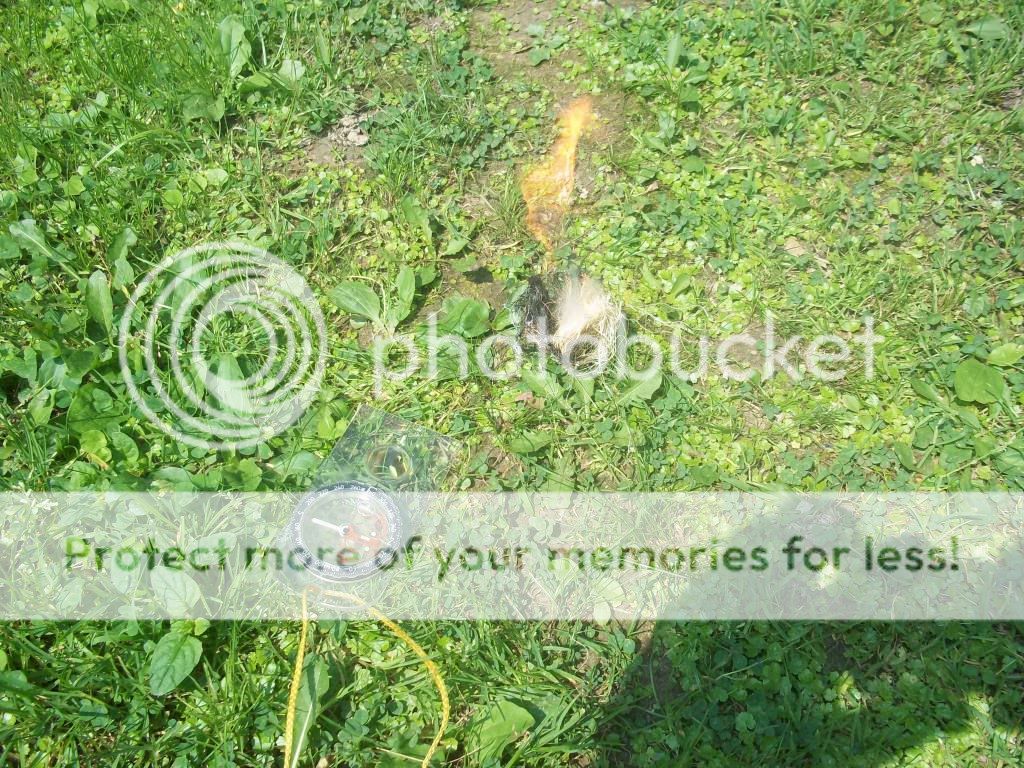
A type of magnifying glass - this one is part of a compass. Focus the light through the magnifying glass into a concentrated spot and you wll see it begin to glow.
111_0309.jpg


Wrap it in the nest loosly and give it air and you have flame.
111_0310.jpg


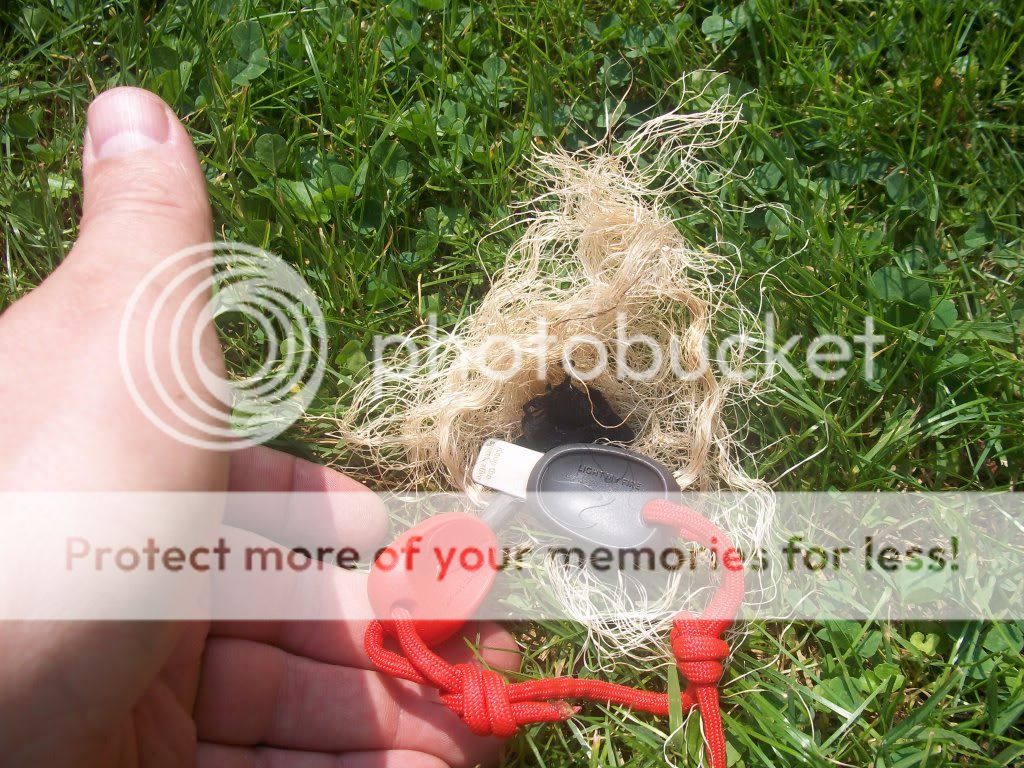
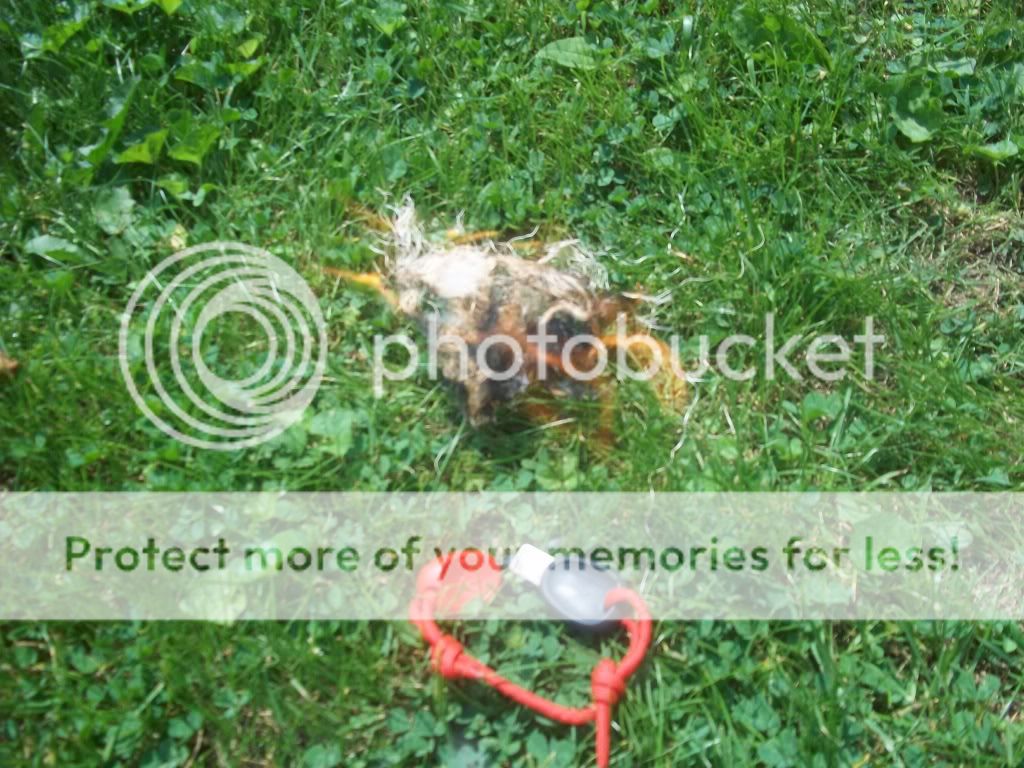
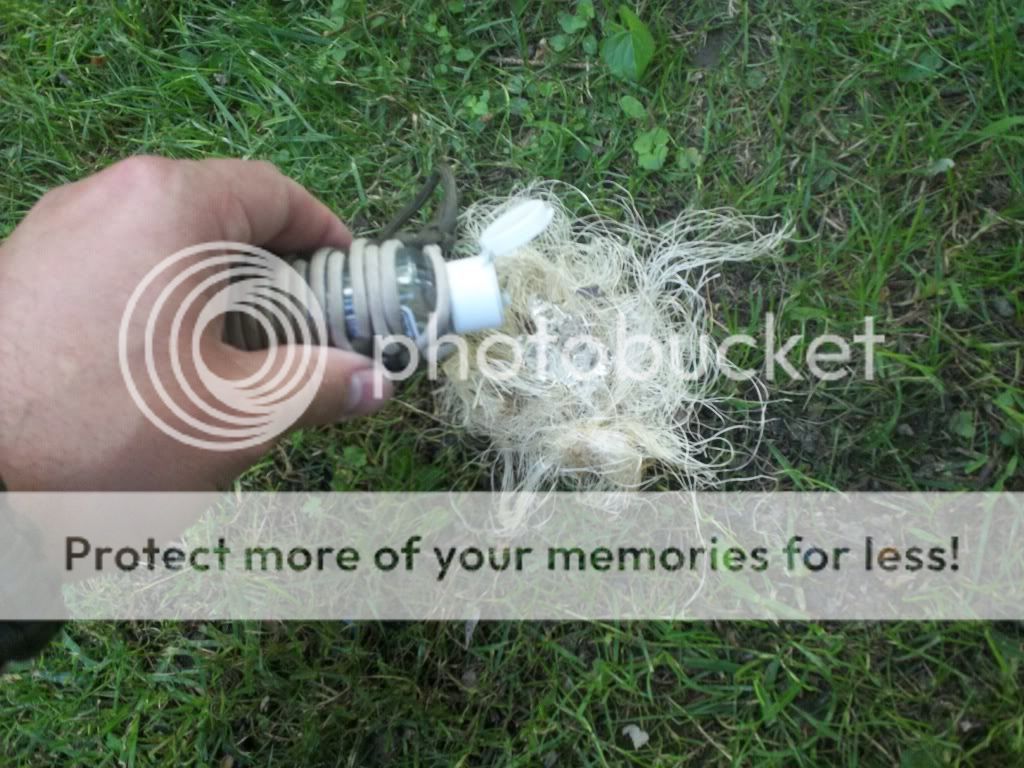
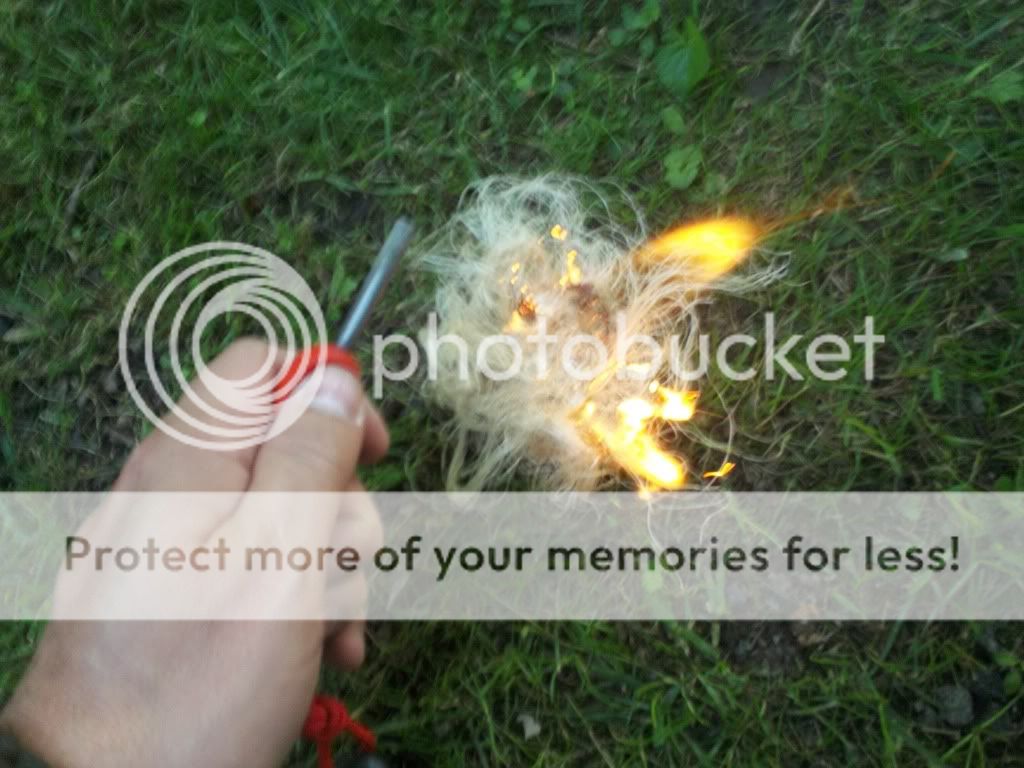
A modern "flint and steel" set. (The striker is also a whistle which you can use for SIGNALING). First set up your tinder bundle withe the nest and charcloth in the middle. Scrape the steel
down the flint rod to throw sparks on the charcloth.
111_0315.jpg


Watch for one of the sparks to develope into a glow in the charcloth. When you see the char cloth glow wrap it in the nest loosly and give it air and you have flame.
111_0316.jpg


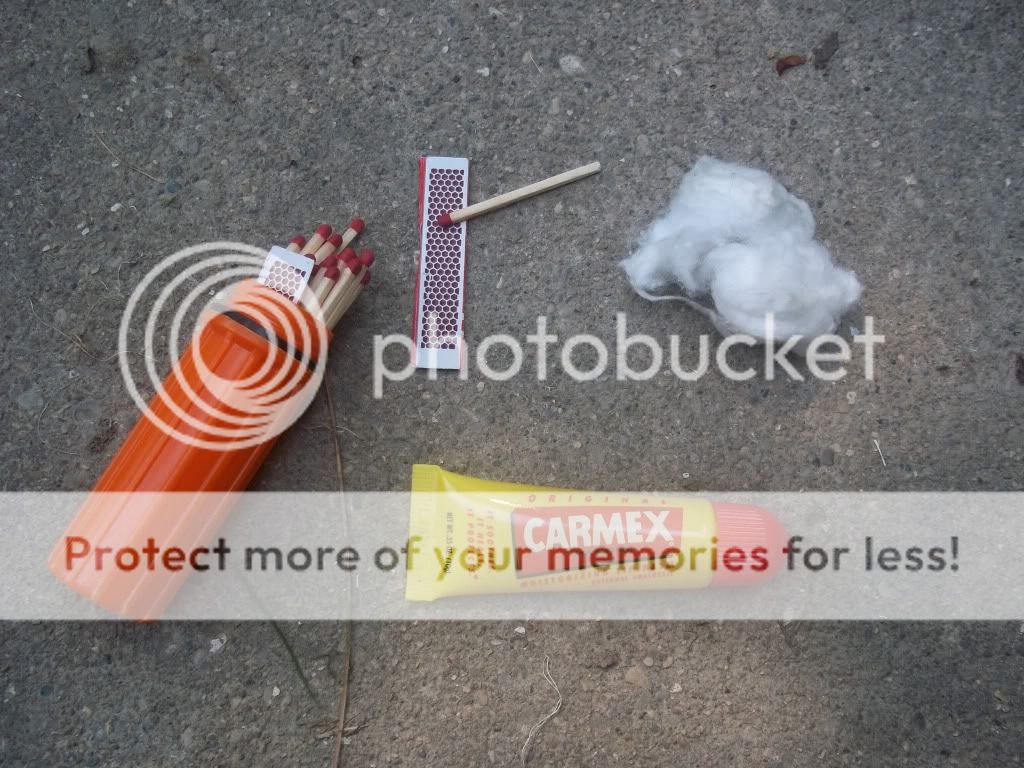
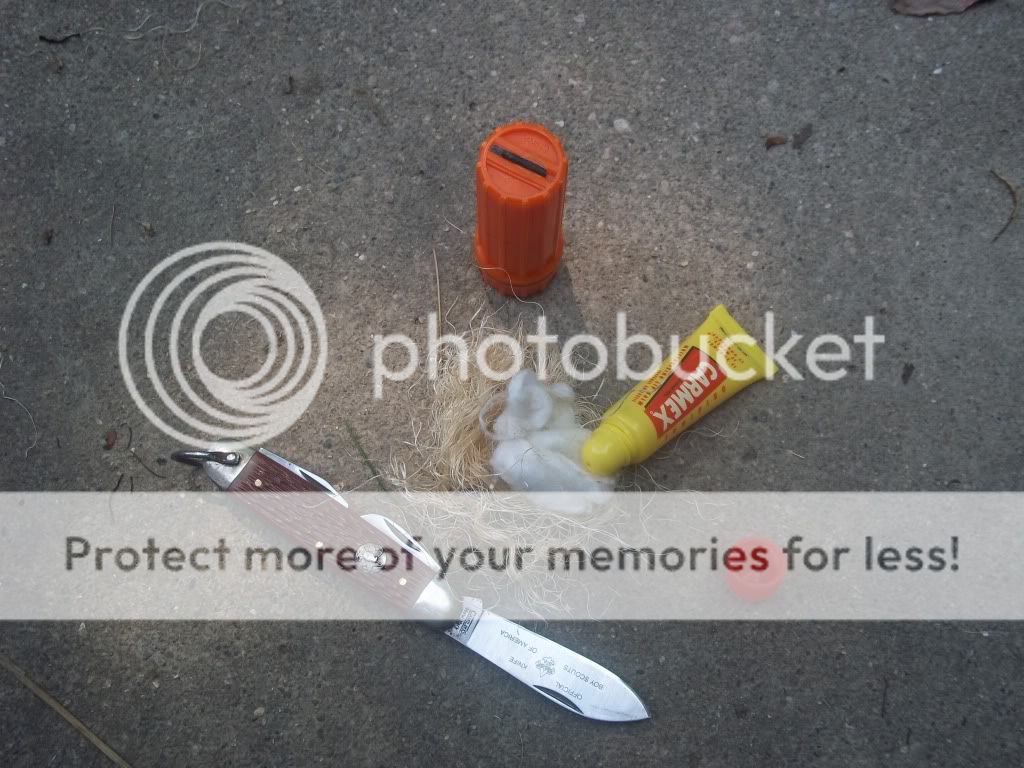
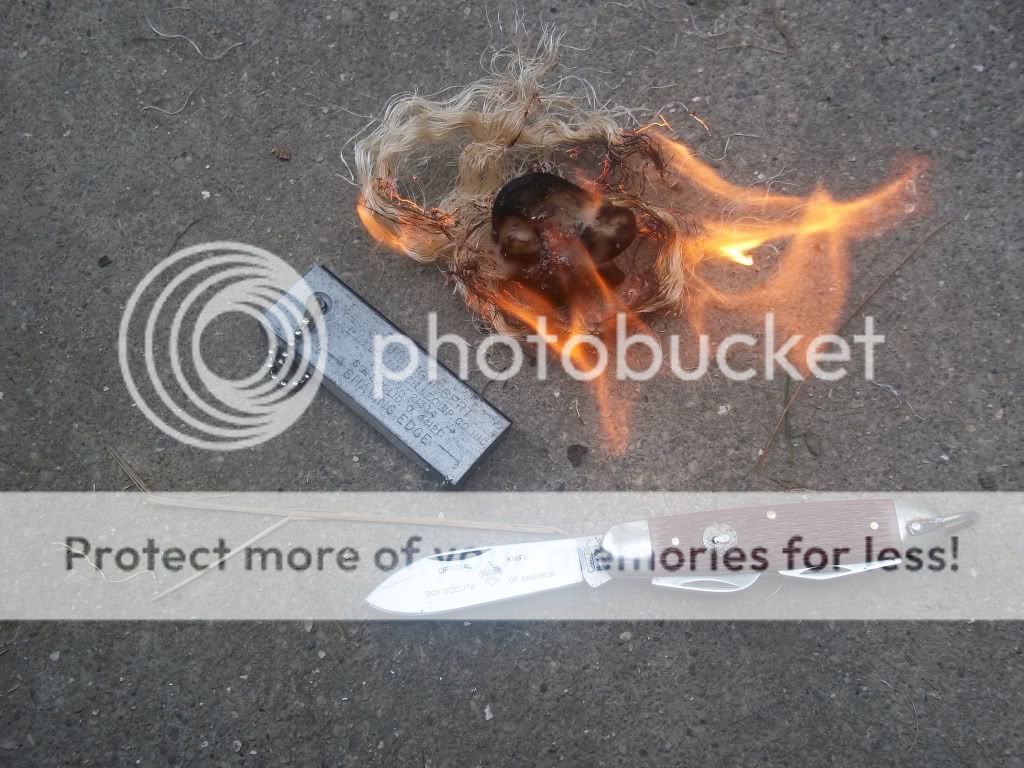
Matches in a waterproof case. For me this is two ways to start a fire. Inside the match case I keep matches, the strike plates (torn for the side of the match box) and some cotton balls. Also in my pouch I carry something for chapped lips. I carry the kind that is like vasoline because I can also use it to spread on the cotton balls to help them to burn longer. I'm not going to make a fire using the match because hopefully you guys already have this concept down.
111_0318.jpg


However what I am going to talk about is the matchcase. On the bottom of most of these waterproof match cases is a small piece of flint, when you also have a knife you can throw a spark into your catton ball with vasoline, wrapped in your nest.
111_0319.jpg


When you see the cotton ball begin to burn wrap it in the nest loosly and give it air and you have a nice flame.
111_0321.jpg


The Magnesium firestarter..a bar of magnesium with a flint striker on the other side. On the magnesium side use a knife to scrape a small pile of shavings (about the size of a fifty cent coin). The problem I always found was keeping the shavings together without bumping and scattering all the shavings...the trick is to spread some of the "chapstick" vasoline onto a cotton ball and the shavings will stick to it and not scatter into the four winds. Also magnesium burns hot....but real fast... so you have to be ready for the quick flame. The cotton ball also cures this problem because the magnesuim will light the cotton ball. Once you have the pile of magnesium, turn the bar over for the striker and strike it into the magnesium pile.
111_0322.jpg

111_0323.jpg


Don't forget to wrap it into your birdsnest. When the spark hits the magnesium you have flame.
111_0324.jpg


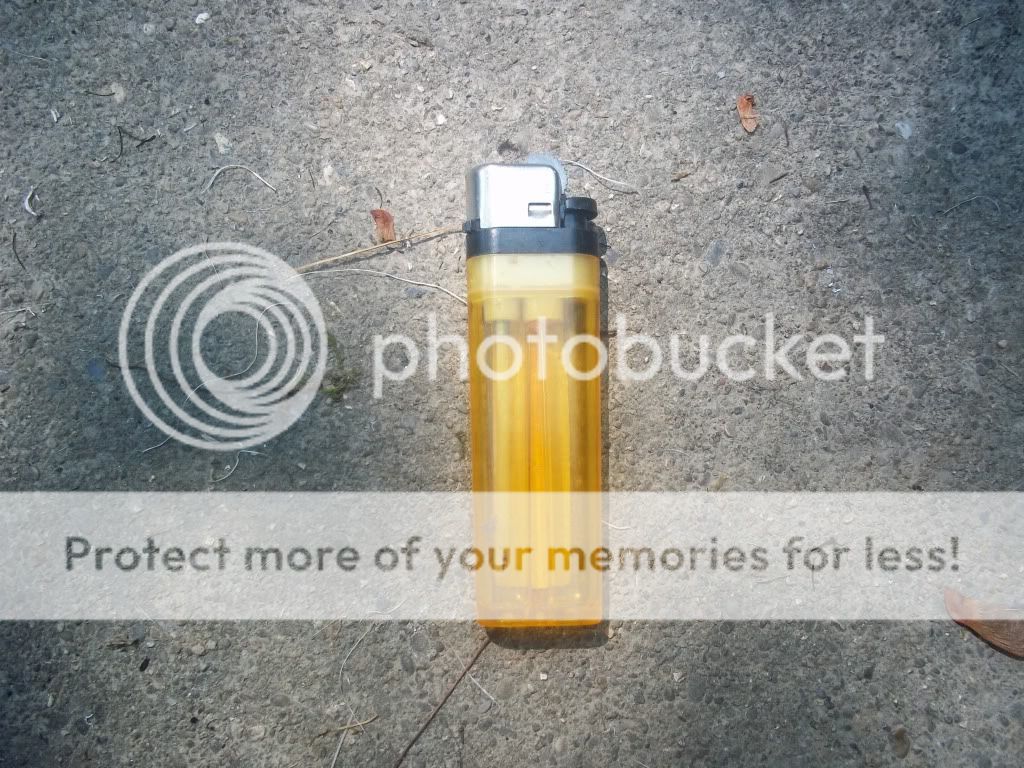
The disposable Lighter. Three points about the disposiable lighter. One- some of them come with a flame adjustment on the back, some don't and just produce a small flame. Try to get one that you can adjust into a larger flame. Point two - a lot of people try to light a campfire with a disposable lighter and the hold the flame on for a couple of minutes to light the fire only to find that the extended time they kept the flame on has melted the plastic workings of the lighter and now you may throw away of the lighter with the full amount of fuel left in the lighter. Third point is just because it runs out of butane it still can throw a spark, sparks as you know can start fires.
111_0325.jpg


One thing I tell my guys is carry a candle. A match may last 10 - 15 seconds but if you light the candle it will give you 20-25 minutes to get your fire lit. Also in the photo are some pop bottle cap firestarter. Place a cotton string in the cap and fill with wax. When it comes time to lite your fire lite your wick and place the whole thing in your firelay.
100_0187.jpg


Alcohol based hand gel is an excellent fire starter. Squirt some in your tinder bundle and all it takes is a spark to get it going.
100_0182.jpg

100_0184.jpg

100_0185.jpg


As we talked about previously, the flame is only part of the fire making process. The young scout should remember that before trying to get the flame they must have a shelter for their flame to live in to grow into a nice warm fire. Also to grow their flame will need to be fed small sticks then when it gets bigger it can have bigger sticks.

Just like people build a sheter for themselves they will need to build one for their flame. These shelters are called firelays.
By pushing a stick diagionally into the ground and then beginning to build the sides up with small sticks and then larger ones. The young scout will find a shelter much like the debris shelter he built for himself, only using sticks instread of so many leaves. Once built you make your flame place it in the shelter you have made for it and with care it will grow and help keep you warm and safe.
111_0352.jpg


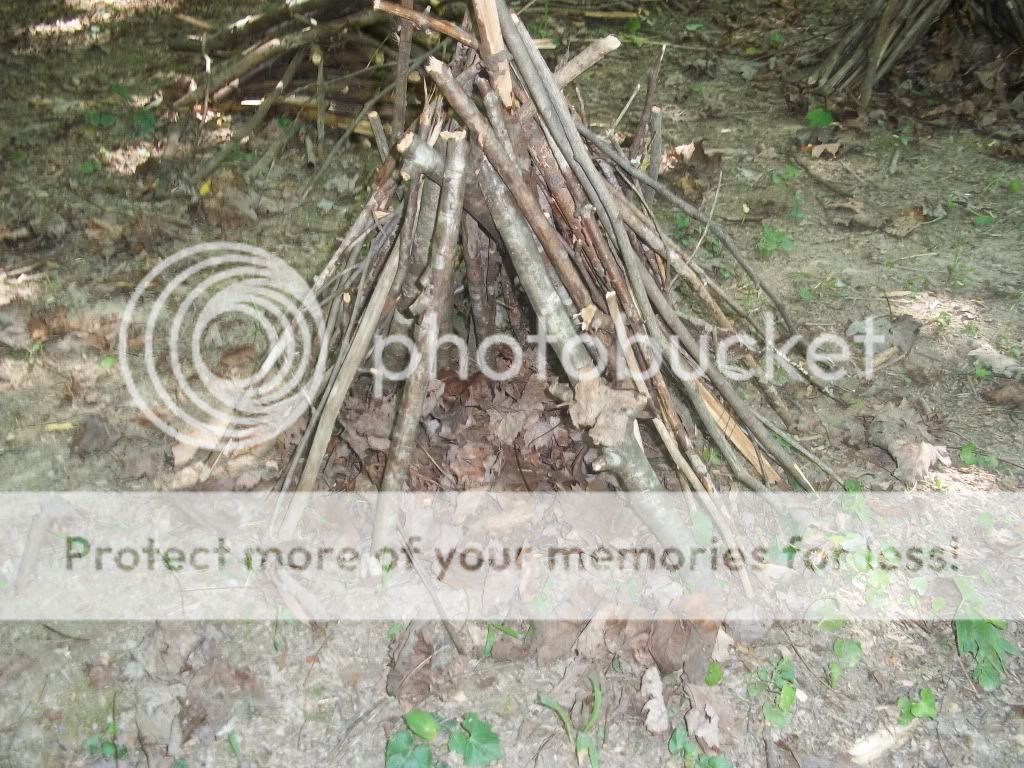
Another firelay is the traditional teepee firelay. Lean the sticks into each other like a teepee and you have another shelter for your flame to grow into.
111_0353.jpg


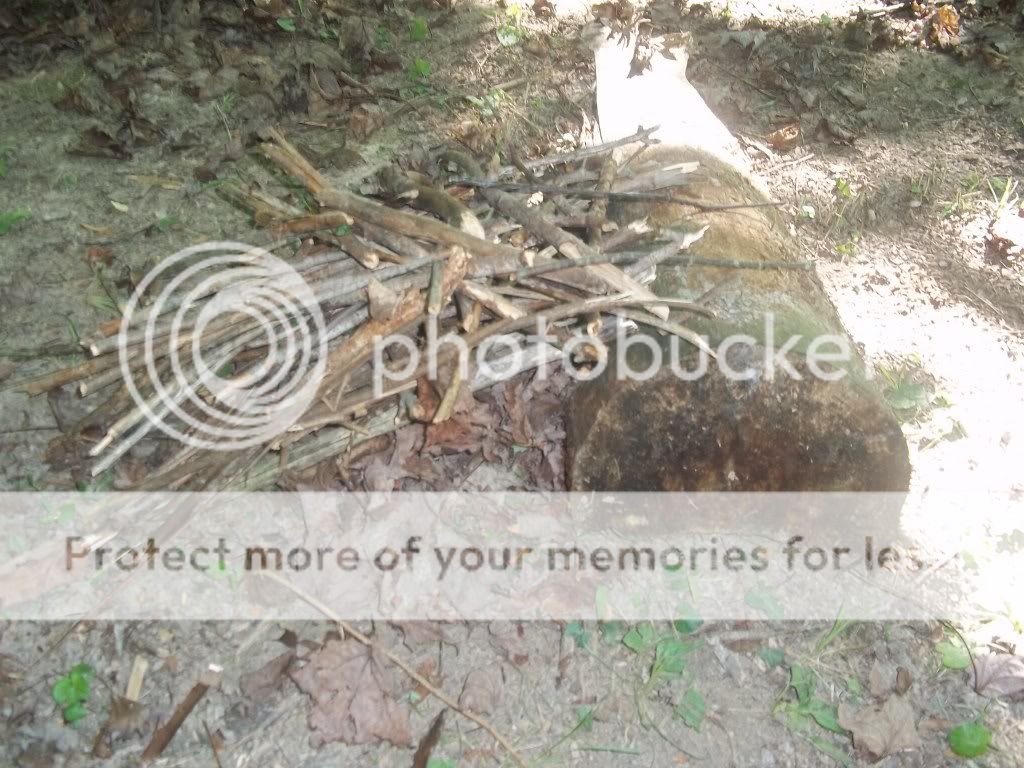
The third is the lean to type firelay. Find a big log and lay the sticks against it. Remember use small sticks first because a flame must eat small stuff first before it can grow and eat bigger sticks.
111_0340.jpg


Fires like to eat, just like we do. If you do not feed them they die so have plenty of sticks ready to feed your fire before you make a flame.
111_0354.jpg

FIRE

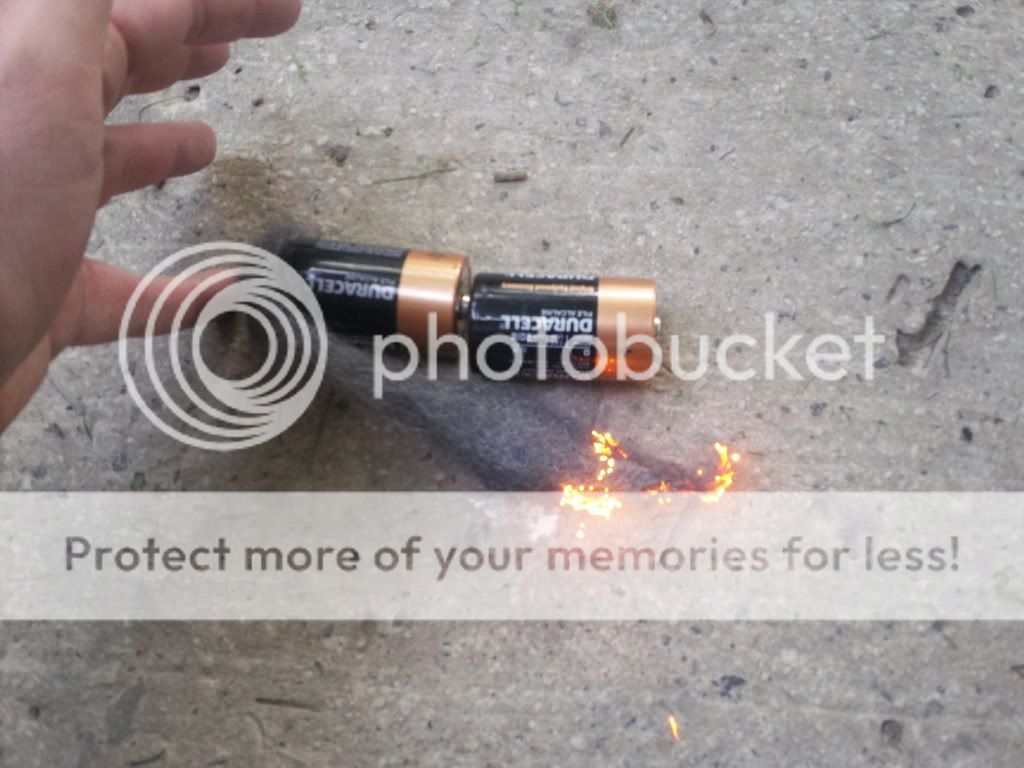
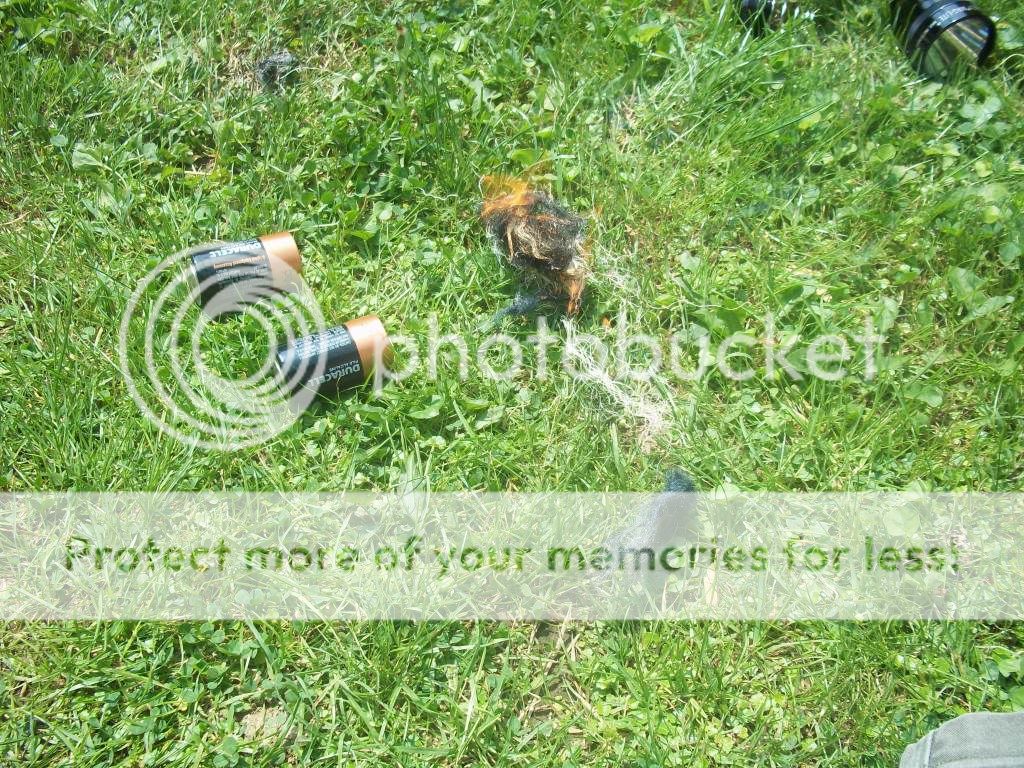
The young scout may also choose to carry one of the GI anglehead flashlights. This is a two "D" Battery flashlight. Using the steel wool from the pouch a fire can be started using the batteries. Hold the two batteries stacked like they would be in the flashlight. Touch one end of steel wool to the bottom of the battery stack and touch the other end of the piece of steel wool to the top of the stack. The steel wool will begin to glow and spred throughout the length of the piece of steel wool. Quickley transfer this to you tinder bundle and give it air and you will have a flame. This battery and steel wool methd can also be used with a 9 volt battery.
100_0179.jpg

111_0314.jpg


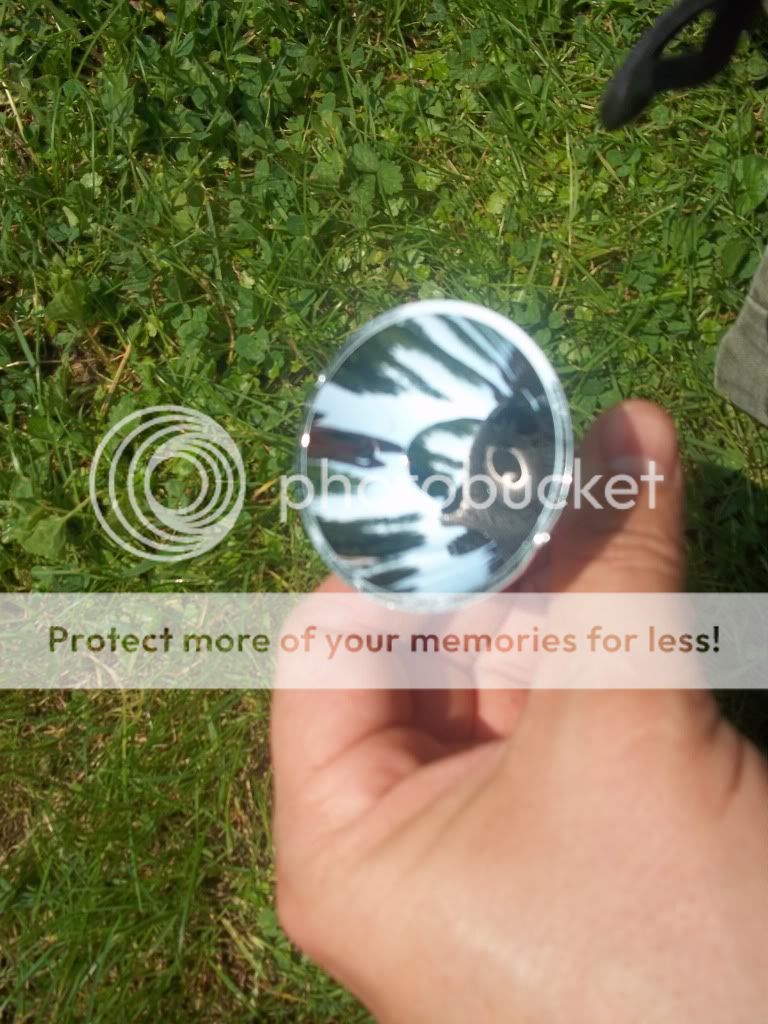
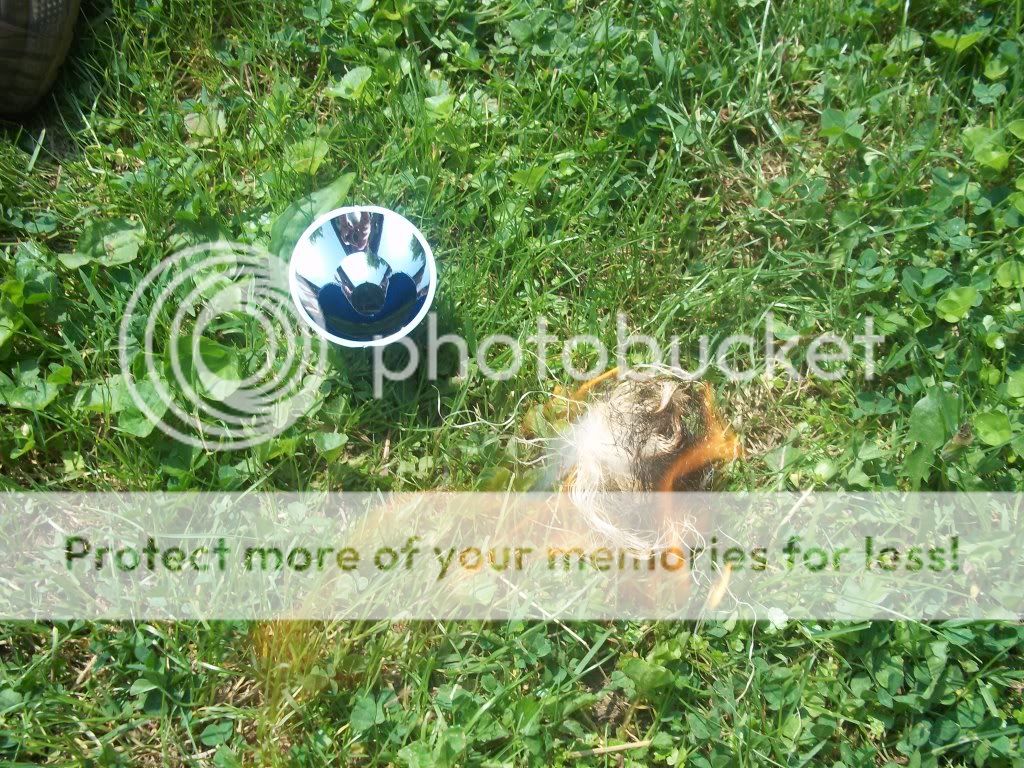
Another part of the flashlight that can be used to make fire is the reflector - where the bulb pokes through. Disassemble the top portion of the flashlight and remove the reflector portion. Take a small piece of charcloth and push if through the bottom of the reflector. Move the piece of charcloth forward and backward until you are able to focus the sunlight onto the charcloth. The charcloth will begin to glow. Quickly remove the charcloth and place it into the tinderbundle, give it air and it will flame.
111_0311.jpg

111_0312.jpg
 
Back
Top