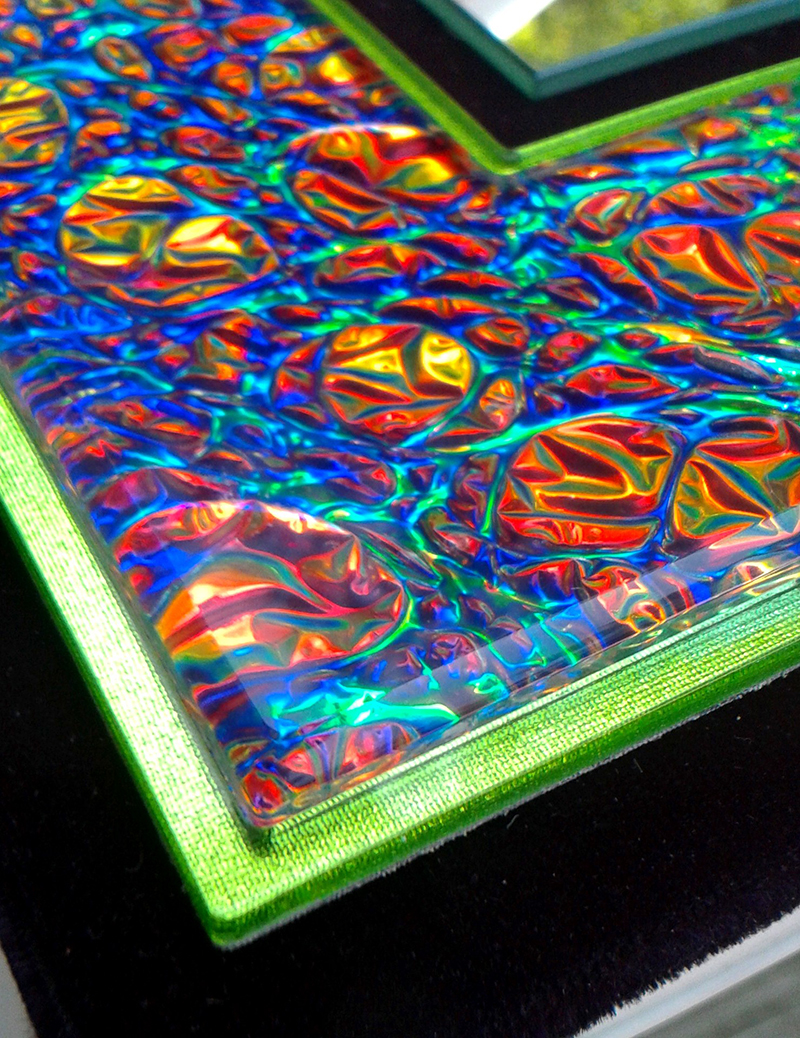
Yeah, well you just described my other product - Dichrolam. Used to make it in glass, but now acrylic and epoxy resins. Acrylic, because it buffs to high gloss, and epoxy for lower expansion / contraction. This stuff will be in the sample kits as well. Looks a bit like Timascus (obviously) but is less expensive and machines with a "lens" effect when polished with roundovers. Left edge of this photo is polished with a 1/8" radius "teardrop" edge. This is a photo of "White Burl", a little different than the "Fire Burl" in my opening post. I think the real potential is in the figured CF material. However, you should see my Dichrolam "Burls" inlayed into the figured CF. Might be a match made in heaven for you guys. Thats were my epoxy version comes in - it can be inlayed right into the CF.
View attachment 794845
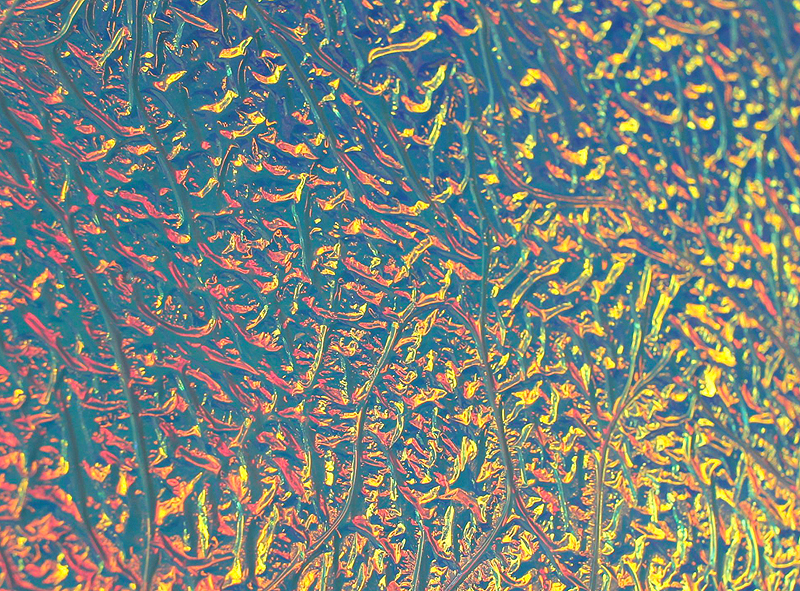
View attachment 794847
Red Burl inlays cast into the figured (not solid) curly CF.

")