Cutting in a nail nick

Joined
Sep 25, 2007
Messages
176
What is the best way that you guys have found to cut in the nail nick on a folder? I am having trouble getting the crisp lines and corners.
 
All kinds of files, 4x36 belt grinder w/ 6" disc, 1x42 belt grinder, bench grinder, drill press. What do I need? I always love an excuse to buy new tools. Do most guys use the edge of a contact wheel on the belt grinder?
 
When I was playing with the concept of making a folder before I got my little milling machine I got an X-Y vise for my drill press so I could do some very light milling. Doesn't work very well, but I found that I could do a little with flex shaft and dremel bits by locking the quill in place. It was definitely not rigid enough for using end mills. I did one slot type nail nick with a dremel diamond cutoff wheel, and I did one by using a round keystone shaped (like a dovetail or cone) cutter, tilting the table 30 degrees and very slowly and gently traversing lengthwise
If you are going to try it, practice on scrap!

-Page
 
I cut the pull in this blade with a 4"x.064" abbrasive cuttoff wheel mounted in the drill press.

http://www.bladeforums.com/forums/showthread.php?t=519965

Had the blade clamped in a vise and did it by hand. It works if you don't have access to a mill.

For a more professional looking crescent nail nick, a mill with a fly cutter on slow speed works the best.

vcm3blades.jpg
 
Oh BTW...those blades are for a 3.25" swayback jack. The main wharncliffe blade sits "in front" on the mark side of the knife. That's why the nail nicks are on opposite sides. You can see what one looks like when it's put together here: http://boseknives.com/gallery/main.php?g2_itemId=239

Well...mine PROBABLY won't look THAT good when it is together. :eek: :D
 
oh..and another thing you might be wondering... Generally speaking you want to cut the nick or pull when the blade is unground. Mark the blade where you want the nick to be with a vertical and horizontal centerline. If you use a mill, cut the nick in to a depth of half the thickness of the blade plus .005". That way, when you grind the blade bevels you won't grind away your dang nail nick. :p:thumbup::cool:

I'll shut up now. :eek:
 
Not to discount the advice from the more seasoned guys who've responded, but thought I'd throw in another option.

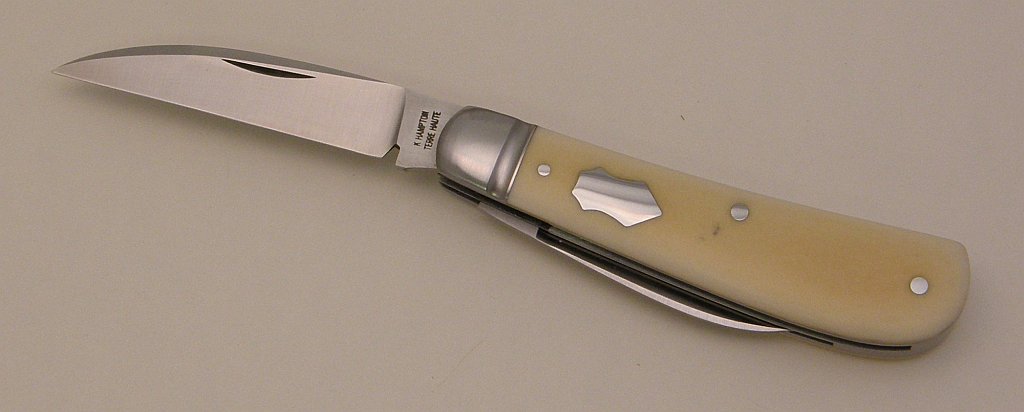
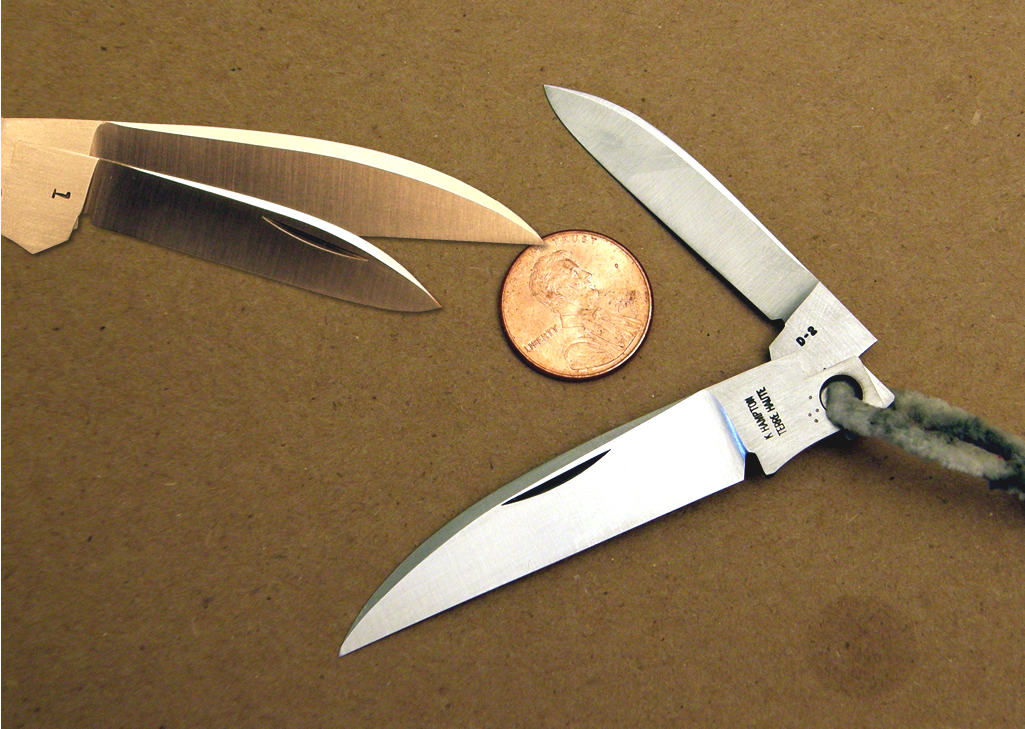
On my mini folders, I stamp in the nail nicks with a homemade chisel/punch.

Advantages:
The ends and corners will be as sharp and crisp as the punch they are made with. This is the main reason I use this method on minis, since the nail nick gets down to hairline width on the ends, and I haven't found any sort of abrasive/cutting tool compatible with my methods that can do that.

You can make your own punch or whatever quickly & easily from some scrap tool steel or broken file, etc.

You can easily make several different sizes and styles without investing much in the tools, allowing you to custom tailor the nail nick to that specific blade, rather than making them all look like the one or two cutting wheels you have on hand.

The low investment is nice if this is just a one-off type project.

I know factories have used this method (Case; not sure who all else), so it's not like you're treading in unexplored waters.

Potential Disadvantages:

If you're more the machinist type, who likes to have everything clamped down, perfectly measured, adjust the setup a couple times before actually cutting steel, etc., this method may require a little bit of practice. (practice on some scrap steel first.) It's easy to let the punch slip a bit, or not be perfectly aligned the way you want, and you only get one chance.

The force may slightly bend/warp your blade. This can be straightened of course, but it requires planning ahead, and perhaps could cause the same mental conflicts as above. (i.e., someone used to only stock removal vs. forging type stuff)

If ya do it too hard, you may actually cut off the steel above the nick. (you're basically a chiseling it, after all.) Might need to leave some extra "meat" over the nail nick before finishing the profile.

May cause stresses in the steel when done cold. Not sure it's worth worrying about considering the types of failures usually seen in traditional folders, depending on the alloy, but it might be worth revisiting what you're doing with thermal treatments before the quench or something.
 
Just in case anyone might been a interested in seeing the finished knife, here it is...

3.25" swayback jack, D2 blades/springs, 70's Westinghouse ivory paper Micarta handles. SS bolsers/liners/pinned shield/pins. There will be more images of it in the gallery shortly.

vm325sbj5.jpg
 
Sorry for the Hi-Jack
Kerry your knives are soooo Awesome now!

Bruce, thank you. I really appreciate you taking the time to comment on my progress.

As for the hijack...well...you hijacked my hijack so that's a double hijack and the thread had run out of gas so that really isn't a hijack at all now is it?.?.?.? :D
 
Back
Top