I use to use Speed Bonder 324 but gave up on it when joints would not cure. I believe it had been exposed to heat in storage or it was old stock. After the 3 bottle I switched.
I discovered JB Weld Clear Weld, which can be purchased at big box stores. It works very well, very strong and flexible.
I have used Bob Smith products such as Maxi cure. It is strong and works OK but it has no impact strength and is very brittle can release if dropped, don't ask me how I know that
")
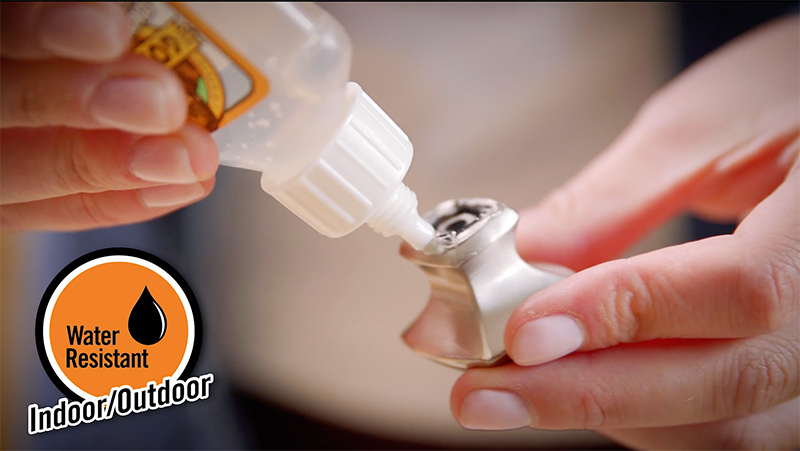
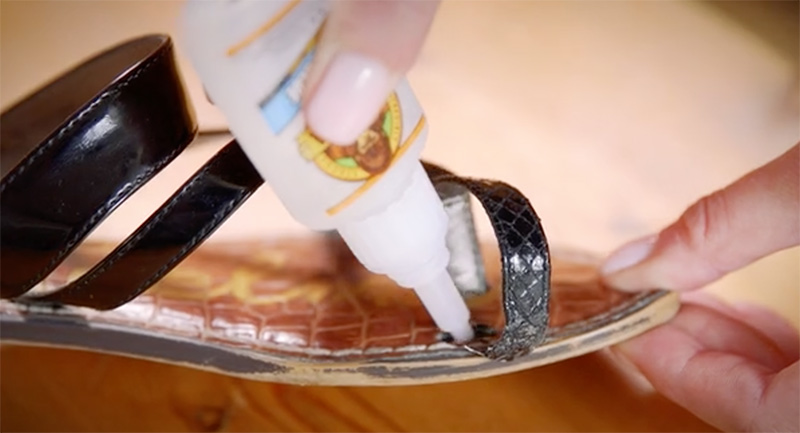
Currently I am using Gorilla Glue Hi Impact super glue. It is very strong, great impact strength, not brittle and gives enough time to get things right. I rough both surface with deep scratches with 50 Grit, apply the glue to one side and put on the other side and slide it back a fourth a couple of times. Then hold with finger pressure, insuring a flatness until it sets so the part will no longer slide. Then I put on a couple of spring clamps and let it cure.
I always time my glue up to let it cure fully and even with super glue that is 24 hours often.
To get a scale off I have to take a torch to the liner to get it off, nothing else will do it.