Update below
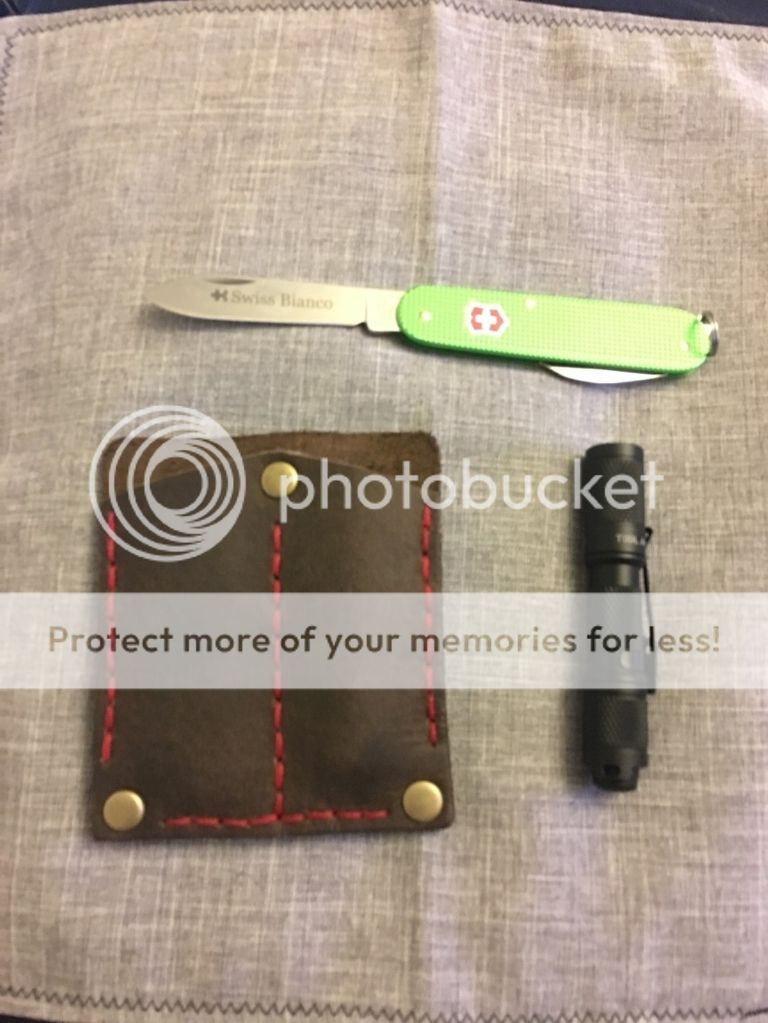
Hi everyone, I am looking into making my first leather sheath. I found a lot of good info searching so far but would like some more specific info. I recently picked up this pocket sheath, SAK, and flashlight combo. I have really enjoyed using and carrying it and I would like to replicate it and make my own.
For anyone reading this looking for info the thread link below has a huge amount of great info along with videos.
http://www.bladeforums.com/forums/showthread.php/1139038-Making-a-pouch-sheath-Apprentice-Thread
Sheath Pic, I will take the sheath with me and try to find a helpful employee for info as well
Its seems like a pretty simple design. I have a Tandy Leather near me and I was about to jump in the car and head over but I do not want to waste money on tools I do not need. If you could help me add to my list and if you have links for the Tandy products that would be great!!:thumbup:
Tools on list so far:
Ordered Douglas Tool Awl Blade - https://www.sheridanleather.com/ProductDetails.asp?ProductCode=DT-awl-blades
Rivet Kit
Waxed thread (will look at Tiger brand)
Diamond shape awl - Awl haft # 3318-01 ($20)
Edger
Some type of needle to sow with - Osborne needles, needle sizes 0 and 000
Leather
Punch for making rivet holes
Stitch marker
Stitch groover
Stitching pony (optional)
Weldwood contact cement
For making the holes I do have a dremel but no drill press so I will read into a diamond shaped awl. If you can think of anything else to add or if you see something I don't need please let me know. I will update the list and thread when finished the project. The dog is calling me, time for a walk")
Thanks for the help
***************************************************************************************************************************
Update:
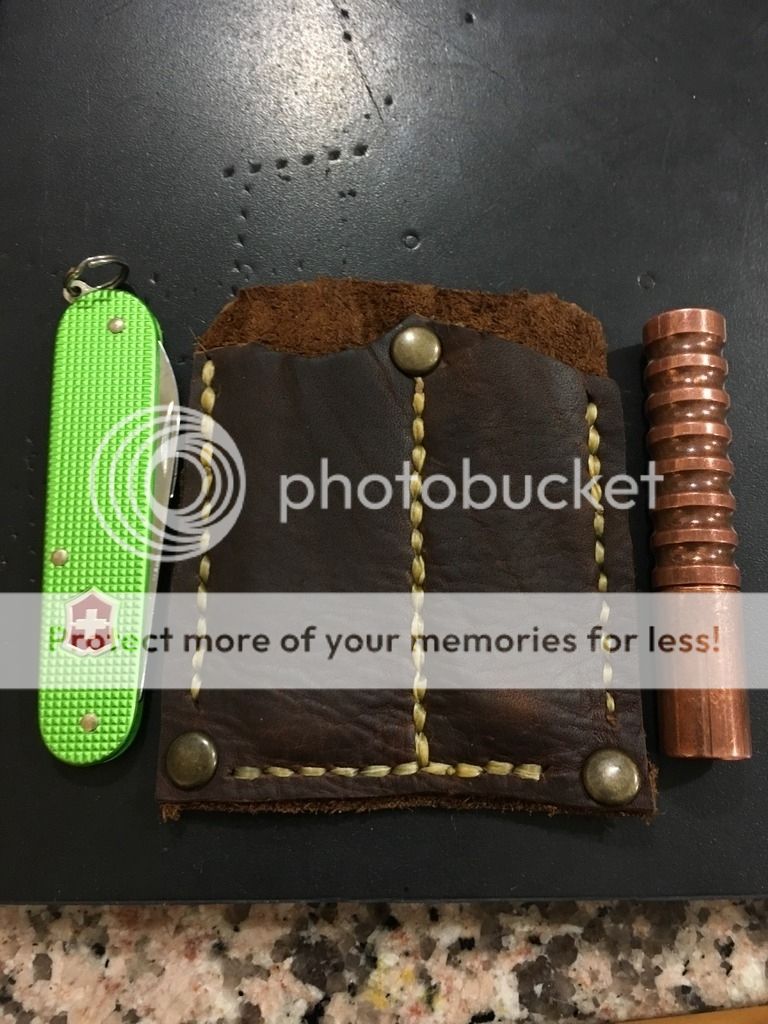
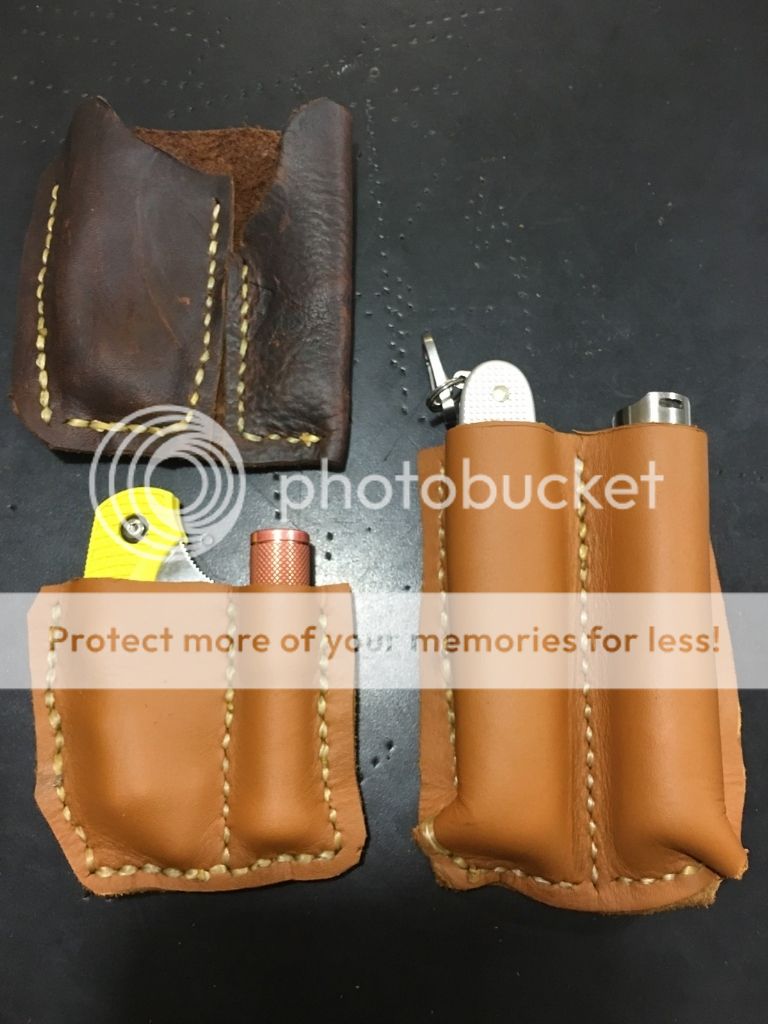
Made my first piece finally
Tools used:
6 prong diamond shape punch
2 prong diamond shape punch
Exacto knife
Waxed thread
000 Needles
Rivets with setting tools
Rubber Mallet
Rubber Mat
Leather pieces
I need to get an edger and a few other tools still but my lady and I really enjoyed doing this together and she is currently stitching up a holder for her vape. I look forward to making more and cleaner looking ones but it is functional and will be loved and carried. Too many beers during the UNC game last night so it will work for now. :very_drunk:
The diamond awl is very sharp all the way to the back, ask me how I know lol.

Before corner trim, the top of the Sak side was like that from the edge of the scrap and I slanted the other

***********************************************************************************************************************************
4.8.16 Update
I made a few more from the scrap pieces I have. I really need to get some veg tan but for anyone beginning like me Tandy had a few bins of scrap pieces to look through and I paid $6 a pound for them. Its great because I can practice and not feel bad ruining a piece of nice leather.
This was my first one of the morning the other day. It was originally going to be just a Dragonfly2 holder but I had enough left to roll up the side and fit an AAA light in there. I call her "Less the Beautiful" lol. If the seem matched more I would feel better but it can always be cut off and go with the original plan.
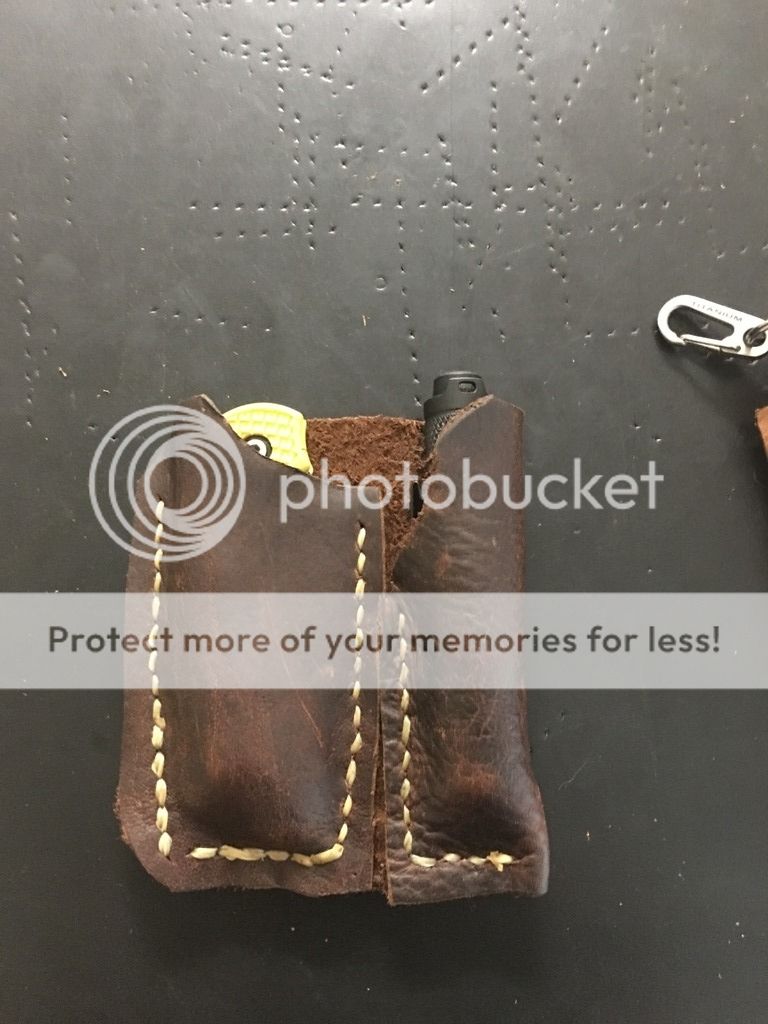
Using the flashlight to hide her shame
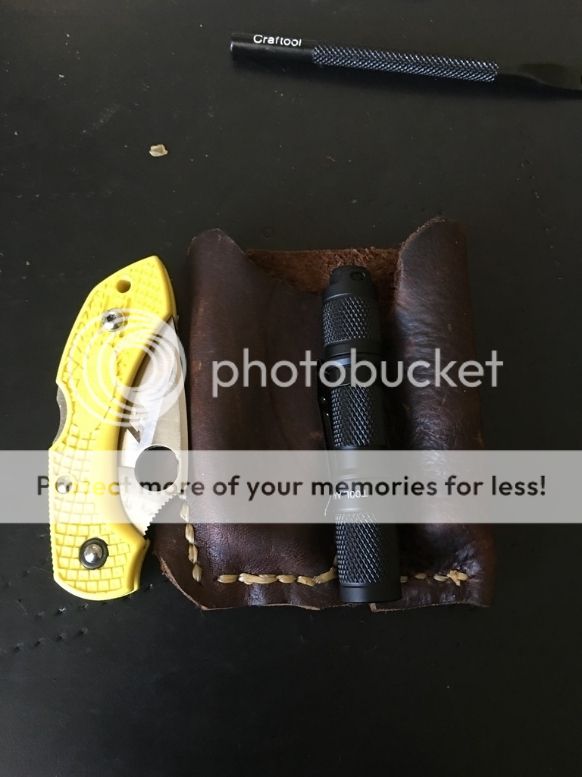
Up next I wanted to make something for my Pioneer X. My Thrunite T10T was about the same thickness so I went with that. This piece of leather was very stiff. I thought I would try wetting it but it would not absorb water (need veg tan). This one would have been nice but I had problems getting the corners right. None the less it is still functional.
Whats hiding under there?

Next pic is a combo photo of the rough corners and another shot at giving the dragonfly a better place to hang. The DF2 one is nice, its a tight fit on the flashlight side, a bit tighter then I would like but it looks nicer. There is a black mark on the back that came on the scrap but its ok.
Another shot of the DF2 and a second shot out of some softer leather that stretched a bit more and I could get a thicker click AAA in.
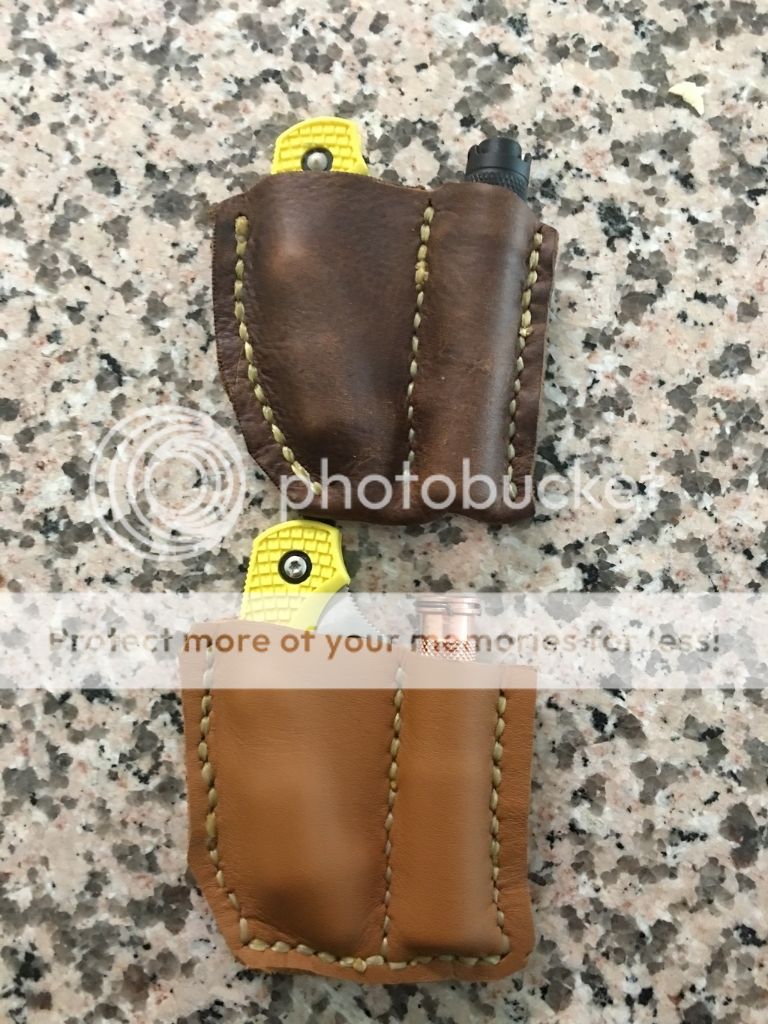
I am happy with these and they do look a bit better. I am a big fan of the DF2 and sometimes I do not like having it clipped and this is nicer then having it loose in my pocket. Im sure someone knows a cleaner way to do the corners on the SAK piece but getting some nicer veg tan and wet forming will be coming.
Hi everyone, I am looking into making my first leather sheath. I found a lot of good info searching so far but would like some more specific info. I recently picked up this pocket sheath, SAK, and flashlight combo. I have really enjoyed using and carrying it and I would like to replicate it and make my own.
For anyone reading this looking for info the thread link below has a huge amount of great info along with videos.
http://www.bladeforums.com/forums/showthread.php/1139038-Making-a-pouch-sheath-Apprentice-Thread
Sheath Pic, I will take the sheath with me and try to find a helpful employee for info as well

Its seems like a pretty simple design. I have a Tandy Leather near me and I was about to jump in the car and head over but I do not want to waste money on tools I do not need. If you could help me add to my list and if you have links for the Tandy products that would be great!!:thumbup:
Tools on list so far:
Ordered Douglas Tool Awl Blade - https://www.sheridanleather.com/ProductDetails.asp?ProductCode=DT-awl-blades
Rivet Kit
Waxed thread (will look at Tiger brand)
Diamond shape awl - Awl haft # 3318-01 ($20)
Edger
Some type of needle to sow with - Osborne needles, needle sizes 0 and 000
Leather
Punch for making rivet holes
Stitch marker
Stitch groover
Stitching pony (optional)
Weldwood contact cement
For making the holes I do have a dremel but no drill press so I will read into a diamond shaped awl. If you can think of anything else to add or if you see something I don't need please let me know. I will update the list and thread when finished the project. The dog is calling me, time for a walk
Thanks for the help
***************************************************************************************************************************
Update:
Made my first piece finally
Tools used:
6 prong diamond shape punch
2 prong diamond shape punch
Exacto knife
Waxed thread
000 Needles
Rivets with setting tools
Rubber Mallet
Rubber Mat
Leather pieces
I need to get an edger and a few other tools still but my lady and I really enjoyed doing this together and she is currently stitching up a holder for her vape. I look forward to making more and cleaner looking ones but it is functional and will be loved and carried. Too many beers during the UNC game last night so it will work for now. :very_drunk:
The diamond awl is very sharp all the way to the back, ask me how I know lol.

Before corner trim, the top of the Sak side was like that from the edge of the scrap and I slanted the other


***********************************************************************************************************************************
4.8.16 Update
I made a few more from the scrap pieces I have. I really need to get some veg tan but for anyone beginning like me Tandy had a few bins of scrap pieces to look through and I paid $6 a pound for them. Its great because I can practice and not feel bad ruining a piece of nice leather.
This was my first one of the morning the other day. It was originally going to be just a Dragonfly2 holder but I had enough left to roll up the side and fit an AAA light in there. I call her "Less the Beautiful" lol. If the seem matched more I would feel better but it can always be cut off and go with the original plan.

Using the flashlight to hide her shame

Up next I wanted to make something for my Pioneer X. My Thrunite T10T was about the same thickness so I went with that. This piece of leather was very stiff. I thought I would try wetting it but it would not absorb water (need veg tan). This one would have been nice but I had problems getting the corners right. None the less it is still functional.
Whats hiding under there?

Next pic is a combo photo of the rough corners and another shot at giving the dragonfly a better place to hang. The DF2 one is nice, its a tight fit on the flashlight side, a bit tighter then I would like but it looks nicer. There is a black mark on the back that came on the scrap but its ok.

Another shot of the DF2 and a second shot out of some softer leather that stretched a bit more and I could get a thicker click AAA in.

I am happy with these and they do look a bit better. I am a big fan of the DF2 and sometimes I do not like having it clipped and this is nicer then having it loose in my pocket. Im sure someone knows a cleaner way to do the corners on the SAK piece but getting some nicer veg tan and wet forming will be coming.
Last edited:

