I am going to try this again I had this all typed and my 1 year old grandson walked by and hit the keyboard and it all disappeared.

You will find out when you split the antler that it is pithy inside. If the antler is not a good fit sizewise to the handle you intend to use it for you will not be able to sand down a lot without getting into the pithy area. As for stabelizing most are fairly stable on its own except for cracks and fractures and those can be stabalized with CA (Superglue)!
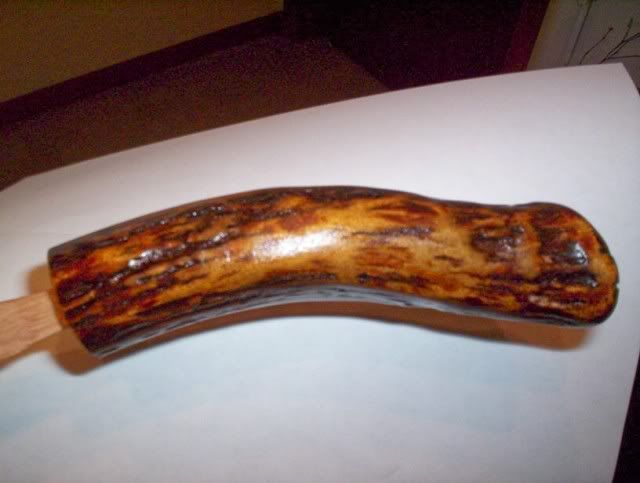
This is a whitetail antler, a white shed that had some fractures. It had a lot of texture/popcorn too it, in fact so much I was concerned that it would be very uncomfortable to the touch as a handle.
I begin its treatment with a thinned down solution of Black, Rustolem oil based paint. That is the darker areas that show up on the antler. I buffed it with a rag to lift the color from the raised areas.
Once I had knocked off the
popcorn I then sanded with fine paper and treated with potassium pergament. That is the brown you see on the antler. Then the entire antler was sealed with a coat of CA (superglue). The reason the CA was the last step is that I wanted to put some color back into the anter and once the CA hits the antler those areas will be sealed to coloration.
It is a process of working in reverse of how you want the piece to look in the end. The
low areas of the antler and the
cracks and fractures that give it character, will retain the first colors and the high areas the last colors. My intentions are that once it is mounted to the knife I will then buff again just enough to bring some of the white out again and reseal for a final time with CA.
Please click thumbnail for a larger view:


Hope this gives you some info you can work with.