Help with DIY machete handle

Joined
Feb 28, 2015
Messages
1,455
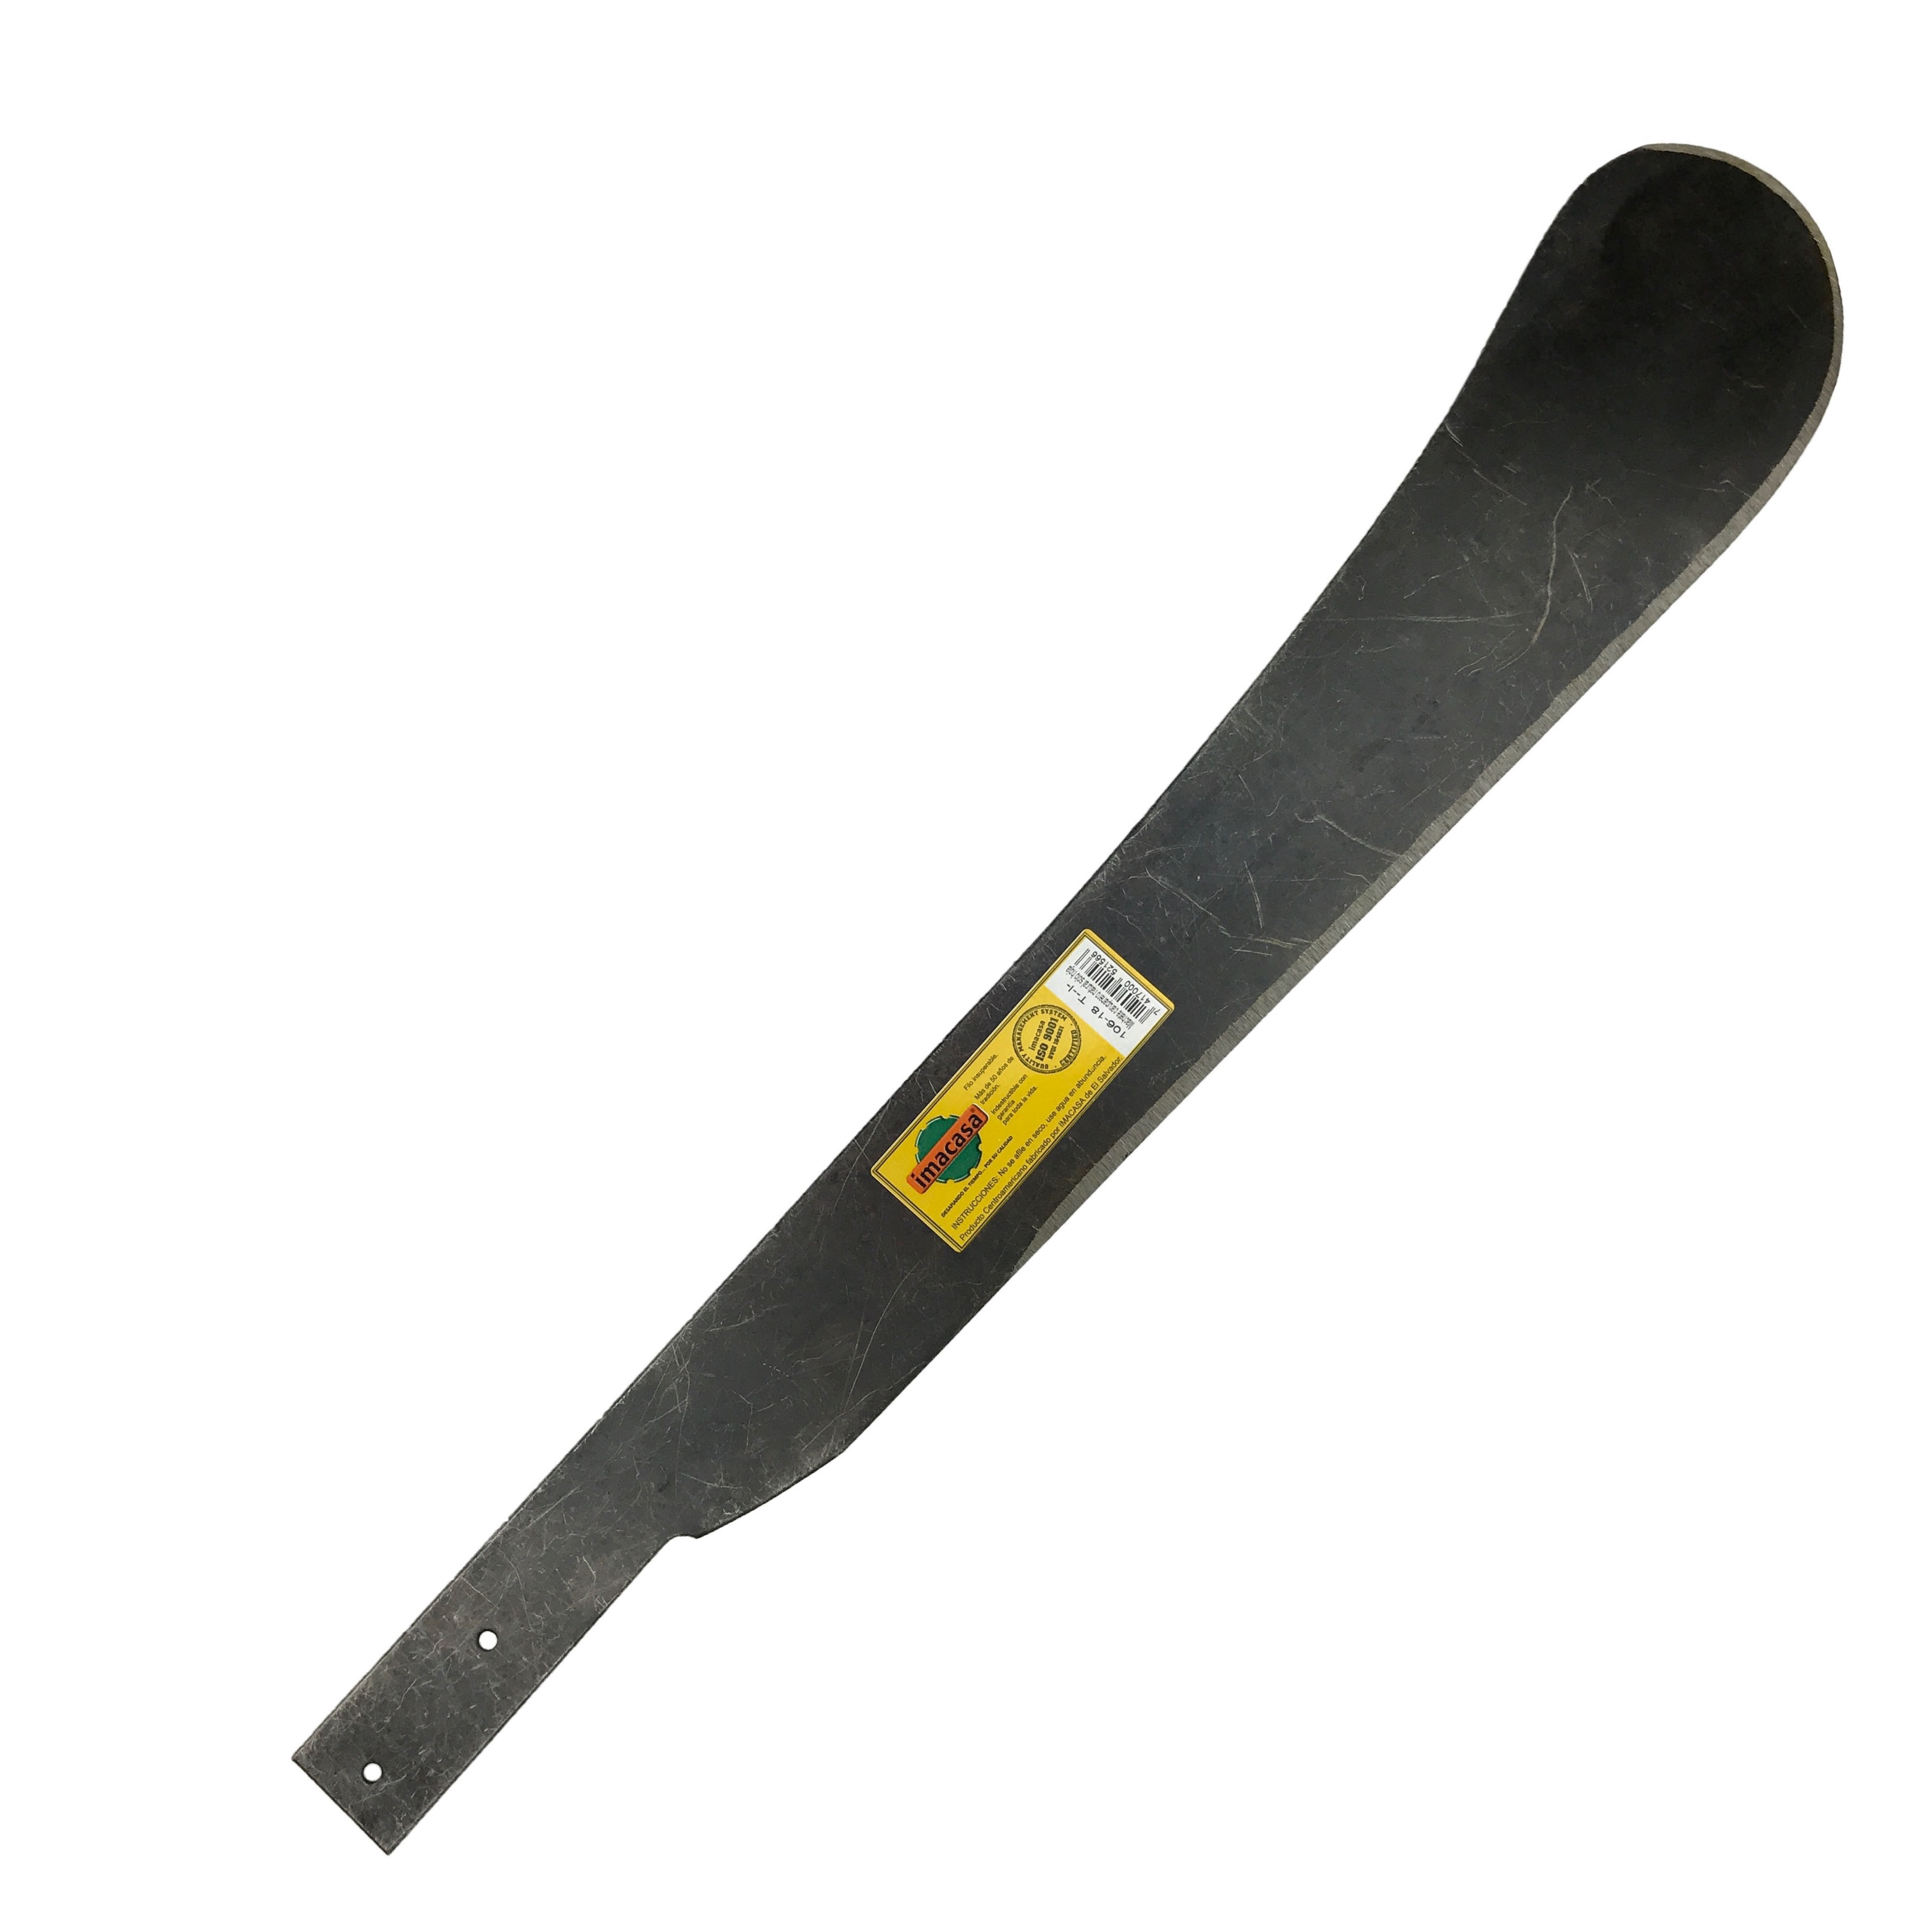
I bought a bare machete blade and I intend to make it a handle from veneer-core plywood.

I read two threads on glue, one old, one new, and I still don't know what to use. I need a handle that is tough, safe, and comfortable. I don't care if it is pretty. I have JB MarineWeld #8272, 3960 PSI version on hand. I also had Gorilla Super Glue (CA) but it hardened in the bottle as always seems to happen. Can I use the MarineWeld or will it fail under impact?

Can I make pins from framing nails of the right diameter or do I need another stock to have success peening them? Do I peen them before or after the adhesive has cured?
 
Nails have been used as pins many times. My first knife 60 years ago had nails as the rivets.
Any durable wood will work as a handle. Plywood isn't really very durable, but it will work. All veneer layer plywood is better. It is often referred to as cutlery plywood.
The JB marine should be fine as an epoxy for the scales.
TIP:
Don't clamp the scales too tight or it can squeeze out the epoxy. You need a thin layer between the scales and the tang.
Sand the scales and the tang under them with 80 grit sandpaper to get a stronger bond.
Let everything cure up for several days before shaping the handle.
Give it a coat of oil finish to protect the wood a bit. Apply the oil and sand it in with 400 grit paper. Wipe off the excess and let it dry a day. Repeat two or three more times. The trick is to work the finish into the wood, not on top of it.
 
Last edited:
Plywood isn't really very durable, but it will work. All veneer layer plywood is better. It is often referred to as cutlery plywood.

It is 11 ply in 12.5mm (including face veneers) void free birch. I know it will bruise or dent much more easily than exotic hardwood but otherwise it should be good I think?

Do I peen the rivets after the epoxy cures?
 
Last edited by a moderator:
It is 11 ply in 12.5mm (including face veneers) void free birch. I know it will bruise or dent much more easily than exotic hardwood but otherwise it should be good I think?

Do I peen the rivets after the epoxy cures?
I have a wooden dead blow mallet made from Baltic birch and the handle has held up fine so far. I think I made it 7 or 8 years ago and have used it a good bit.
 
It is 11 ply in 12.5mm (including face veneers) void free birch. I know it will bruise or dent much more easily than exotic hardwood but otherwise it should be good I think?

Do I peen the rivets after the epoxy cures?
I use long pins when I gluing handle and no glue on them .After epoxy cure I take them out and I use right length pins .Make some notches on them , apply epoxy and peen them........for easy peening taper ends of pins .
 
I mistyped the kind of plywood that is preferred for handles it is all veneer layer plywood. This has all the layers of very thin sheets. IIRC, it is like 40 layers per inch. The bonding resin is often phenolic.

Mr. Wizard. Fill out your profile so people know where you live. From what I gather by your previous posts, you are in Europe. Someone there might offer a good handle material.
I would send you a nice piece of handle material if you were in the USA.
 
I just wanted to say that I would send you a piece of good wood or micarta if you were in Europe/EU. Beach/oak/walnut should be available in your local home depot store or any local wood/cabinet maker will provide you with scraps for free. I stopped taking plain grain walnut/cherry/pear wood because i have enough of it for scales (unfortunately too small for bigger projects).
 
I use long pins when I gluing handle and no glue on them .After epoxy cure I take them out and I use right length pins .Make some notches on them , apply epoxy and peen them........for easy peening taper ends of pins .

What is the purpose of this?


Mr. Wizard. Fill out your profile so people know where you live. From what I gather by your previous posts, you are in Europe. Someone there might offer a good handle material.
I would send you a nice piece of handle material if you were in the USA.

Done, and I am in the USA. Thanks for the offer (FredyCro too) but I really don't need anything fancy, it's just a cheap blade that will get used hard.

 
What is the purpose of this?


Done, and I am in the USA. Thanks for the offer (FredyCro too) but I really don't need anything fancy, it's just a cheap blade that will get used hard.


Any piece of dry/cheap hardwood will do, doesn't need to be fancy. The reasoning is if you are going through the trouble of putting a handle on it you should make it worth your time.

Also looks like that is a partial full tang, which would make a sturdy material for handle a necessity. I would jump on Stacy's offer if i were you.
 
I would gladly send you some Micarta to make a really tough handle that will last forever. If you want them, I'd send some Corby bolts with it.
If interested, send me an email
sapelt@cox.net

I do appreciate this. If it is a standing offer I may accept in the future if this goes well and I do another handle. I need to get some experience first and it will be easier for me to cut and shape birch. I don't even know if I will like the result.

Also looks like that is a partial full tang, which would make a sturdy material for handle a necessity. I would jump on Stacy's offer if i were you.

I am planning a shape inspired by the Condor Duku and other parangs. The knob will be unsupported but also an inch thick. I don't see how it could fail in normal use, nevertheless I acknowledge that in ignorance "you don't know what you don't know."

image_COCTK426-105SS_1.jpg


my-parang.jpg


DSC01099.JPG
 
If you look at the curved Birds Head handle end in your first photo you will see the grain is running across it. The grain also goes through the lanyard hole. This will allow a fairly minor bump against the knob to break off the end of the knob on one or both sides. Micarta has no grain, so it will not break off that way.

Comment:
While everyone loves to put the lanyard hole at the butt, it is far more useful on a working machete if placed at the front of the handle where the first rivet is. Look at FIF shows and see where they tie on a lanyard when doing the heavy chopping. This may be the only realistic thing on the show.

My offer stands now or later. I have some brown canvas micarta that would make a great machete handle.
 
Last edited:
If you look at the curved Birds Head handle end in your first photo you will see the grain is running across it. The grain also goes through the lanyard hole. This will allow a fairly minor bump against the knob to break off the end of the knob on one or both sides.

That one has a full tang with steel all the way to the edge. Since I cannot duplicate that on this blade I chose the plywood to avoid that problem.

Thank you for the lanyard advice. I had not planned to add one to this handle because I hope the "fawns foot" will be secure without it. Do you recommend one anyway?
 
A fawn's foot handle is secure in the hand, but if it will be swung and strike objects, then a lanyard is wise.

A lanyard on a drop point hunter is mainly for looks. A lanyard on a machete is mainly for safety and security.
You can use a piece of copper or brass tubing for the thong hole tube. Another excellent choice is a micarta thong tube. The thong tube can replace a rivet in the handle construction.

If you take me up on the micarta, I'll send some micarta thong tubing as well.
 
Give it a coat of oil finish to protect the wood a bit. Apply the oil and sand it in with 400 grit paper. Wipe off the excess and let it dry a day. Repeat two or three more times. The trick is to work the finish into the wood, not on top of it.

Is Klean Strip boiled linseed oil good, or do you recommend something else?

N Natlek I am still hoping you will clarify the use of two different sets of pins.
 
Is Klean Strip boiled linseed oil good, or do you recommend something else?

N Natlek I am still hoping you will clarify the use of two different sets of pins.
I'm sorry, I missed that :thumbsup:Look , if you want to peen pins you need to shape to finish handle first .To do that you need pins to hold scale on tang .After you finish handle you remove that pins and you glue handle with new little longer pins and you peen them . I use longer pins when I am gluing/finish shape/ handle so I can remove them after Epoxy cure . If I use right size pins and I want to peen them after I assembly scale it is real mess ...This way after epoxy cure I use new pins and I can peen them clean , I mean there is no liquid epoxy all around , just epoxy in pin holes .If I peen them after epoxy cure I am afraid that stress from peening would peel off the epoxy from the pin . The only reason i use epoxy when I peen pins is to seal that part of handle from moisture.
I hope I explained it well, there are days when my English doesn't go very well :)
 
Last edited:
Is Klean Strip boiled linseed oil good, or do you recommend something else?

N Natlek I am still hoping you will clarify the use of two different sets of pins.
Klean Strip is fine, although it does have metallic hardeners in it, which you may or may not care about. If you're looking for pure boiled linseed oil without the hardeners, I recommend:


Despite it being called Danish Oil, it's pure boiled linseed oil.
 
my understanding is that historically things like machete handles were considered something that needed replacing occasionally. around here we are more interested in making things that are really cool, so we don't want to have to redo it. if you're happy with the idea that you might have to rehandle it in a few years/decades you can go with something less durable.

can you get Allback oil over there? that's my preferred 100% linseed oil
 
Alex Topfer Alex Topfer I am still learning to use a machete so it is possible that what I think is great now won't appeal to me in a few years. I will be shaping with files and sandpaper so something a bit soft is desirable. I started by reshaping a factory wood handle but I think I can do better from scratch.

How would CA be as an alternative to linseed oil? I found this description from Bruce Bump; it sounds like it might be just the thing to put a hard finish on birch? I would leave it matte rather than trying to polish it. Is this approachable for a beginner or "danger: keep out" territory?

I dont know if you have seen a super glue finish before but I think this wood needs a harder shell. I am able to mark it with my fingernail and suspect it will show some wear in a couple years. I like my knives to be used but not look abused.

I sand the handle and guard down to 320 grit and pour thin super glue on the wood. It soaks in deep and needs a couple more applications letting it dry for awhile in between coats. I put 3 coats on this one. I just flood it on and rotate the knife so it covers the entire handle. It is pretty thick by the 3rd coat and the surface is very bumpy and irregular so I sand the high spots off with the 320 and flood it with Debonder and use my finger to smooth it out. I do this 3 or 4 times before it starts looking good.

I do like this finish because it is rock hard and can be polished or satin finished all depending on the desired look. It may be slippery when bloody but the design of the handle and a finger guard will keep the hand safe from the sharp blade. The full beauty and depth of the grain is visible.
I don't think its as difficult to do on wood as most of the other finishes. There is some question whether it needs any added finish on a stabilized wood and I think with this particular piece with the stabilizing process used it benefited from the added hardness. I don't like the fact that my finger nail could leave an impression as it was. Some hardwoods are so hard they cant easily be scratched but this buckeye burl was light in weight and too soft for me.
 
A CA finish is similar to an oil finish. The CA is applied to the wood and let set for a while. Then it is wet sanded with nail polish remover or acetone. This is repeated as many as 20 times to build up a glossy coating that is in the wood more than on it. Once the surface is full impregnated, the finish is sanded up to a very high grit and polished. The negative for your use is that a CA finish will dull quickly on a user knife and need to be re-polished.
Boiled Linseed Oil will work, but it is a slow build finish. It takes several days to dry between coats. Raw linseed oil takes weeks between coats. The commercial oils like Tru-oil, Danish Oil, Watco, Brownell's, etc. have drying accelerators added. Even then, you need to let each application dry for 24 hours before the next. It takes about a week to get a really good oil finish on a handle.
Micarta merely needs to be sanded to the desired grit for a user handle.

What Natlex meant by removing the pins was to use a sacrificial set of pins for the glue-up of the scales. They are best if made of steel. They can be a tad smaller than the final pins you will use later.
Make the temporary pins a good inch longer than needed. It is a good idea to dip them in oil or wax to make the epoxy not bond to them. Apply the epoxy to the scales and tang and glue up as normal. After the glue has set up but not fully cured tap/pull them out. Sand and shape the handle as desired. When the handle is done sanding, redrill the holes for the rivets you will be using, chamfering the edges to make a seat for the ends of the rivets to flare. Test fit the rivets and trim them to be 1/16" proud on both sides. Apply some epoxy in the holes and insert the new pins, peening them flush before the resin sets up. After the epoxy has cured, file and sand them smooth and the handle will be rock solid for a very long time.
 
Back
Top