- Joined
- Jun 2, 2006
- Messages
- 422
I don't think I've ever grown the courage to show a WIP here, and not that this is anything glorious.....but for the fun of it:
This is a style of knife I've never gotten to do before. I would like to thank another BF member for letting me buy an integral bolster blank from him. Here is where the blank started:
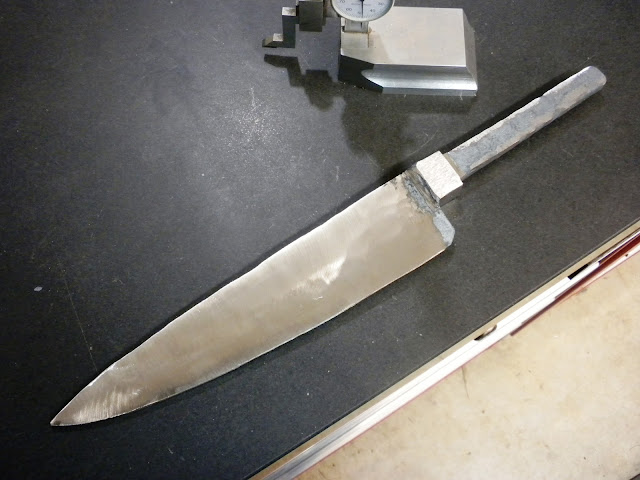
He was gracious enough to oblige my request.") I asked for it to be left as rough as possible so I felt like I did as much as I could on my own....I just simply don't have the means to forge.
I asked for it to be left as rough as possible so I felt like I did as much as I could on my own....I just simply don't have the means to forge.
Any way, this is about the handle construction...hope you enjoy.
And do keep in mind this was written for a kitchen knife forum and not a knife makers forum.
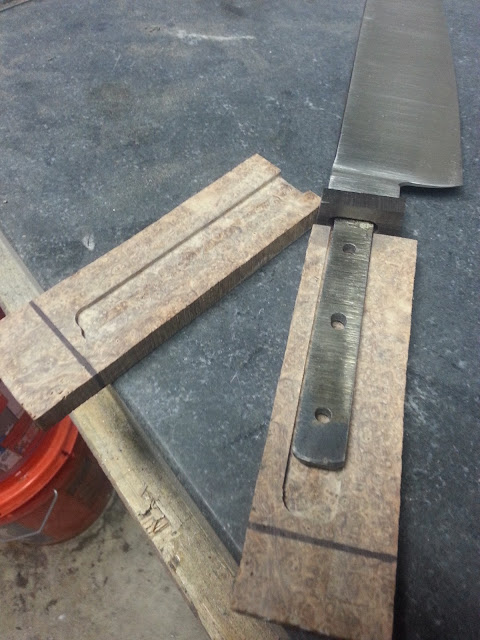
Here is where we started the night:
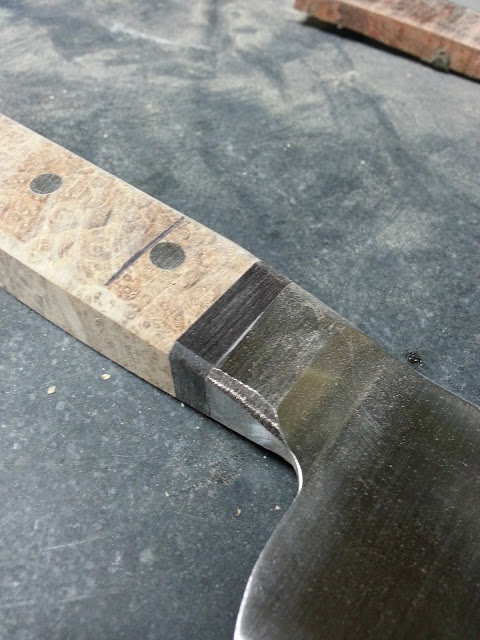
I've epoxied on the black spacer I decided to use. This is going to be a hidden tang handle with three Corby bolts holding everything together. I decided against a mosaic pin because the tang was only so wide and putting a mosaic pin in required too large of a hole in the tang for me to feel comfortable.
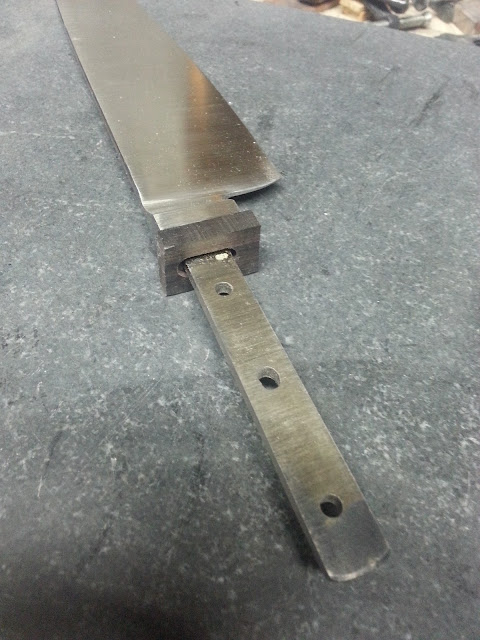
In order to get a good, tight fit, I measured the thickness of the tang with calipers and then set the scales in the mill with the tang outline drawn. The mill is set to cut half the thickness of the tang into each scale. Gotta love a digital readout mill. I went something like 0.005" deeper than perfect to allow space between the tang and the scales for epoxy. You'll notice the tang slot is too long for the tang....because I decided to use that spacer after I cut the tang slot. 
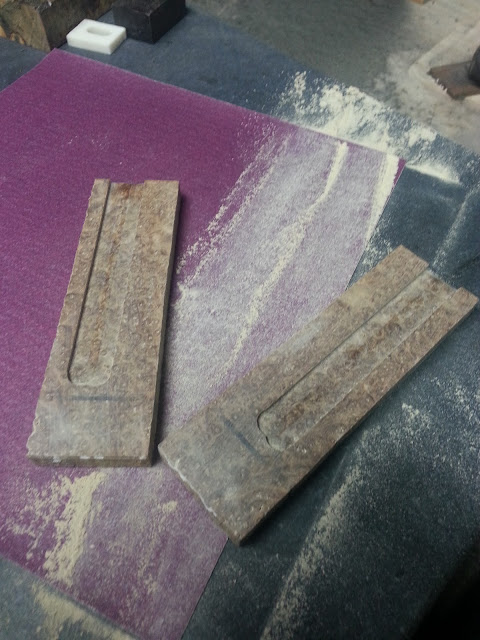
Next, we make sure the fitment between the two scales is tight. Sanded and flattened with 150 grit on a granite reference block. They're flat now.
A better glue joint would be created with a rougher surface, but I wanted a tighter looking joint and with all the epoxy and three bolts, the handle is bomb proof enough.
Test fit to make sure the joints are all okay.
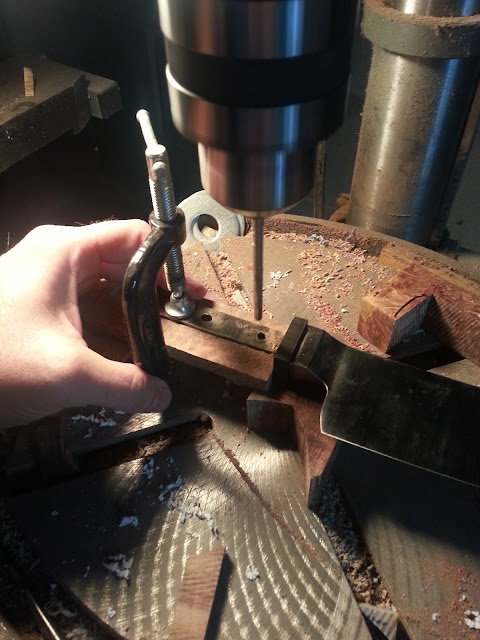
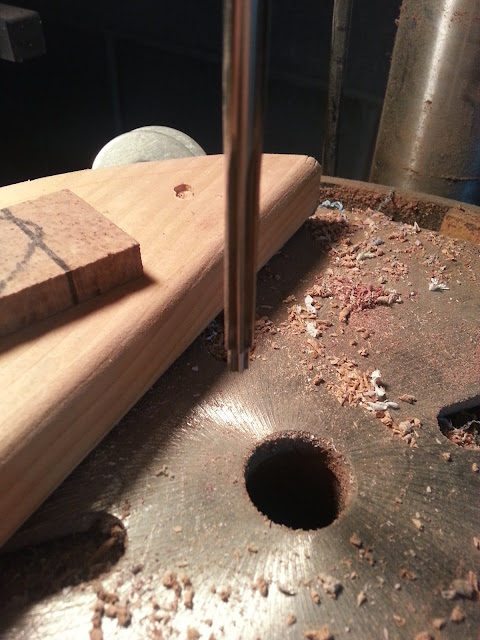
With some strategically placed clamps I drill the shaft holes for the Corby bolts

This side is done.
![20121113_175851.jpg]](https://lh6.googleusercontent.com/-LCgH0QEVGMQ/UKOlxXZ1AKI/AAAAAAAAE3M/MNqK7ax6BGU/s640/20121113_175851.jpg])
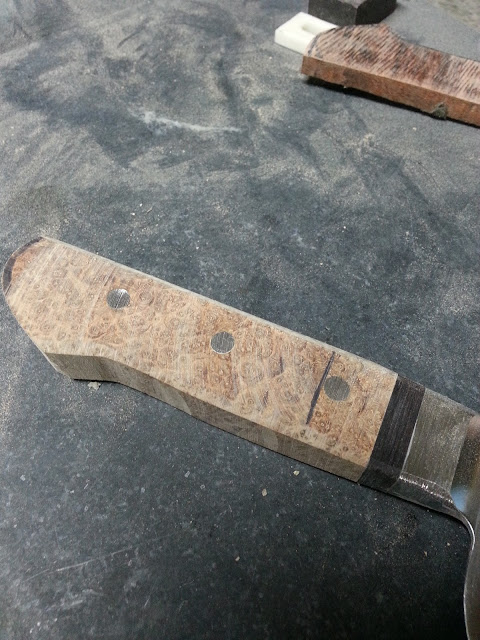
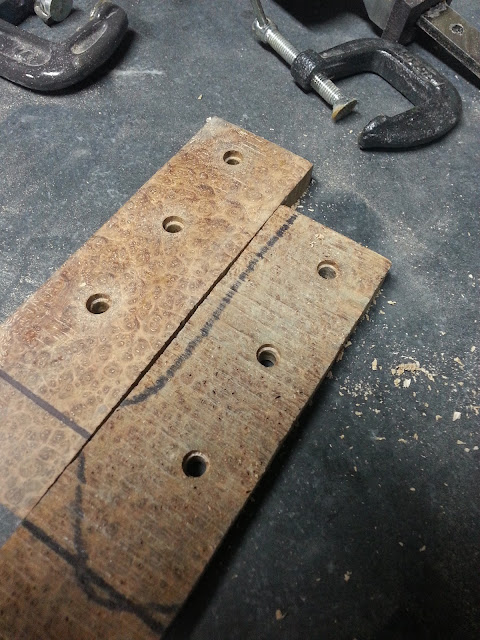
All three of the shaft holes drilled. Now time to make the shoulder cut.
I use a reamer made by the same guy that makes my Corby bolts....this assures a tight fit since he makes both.
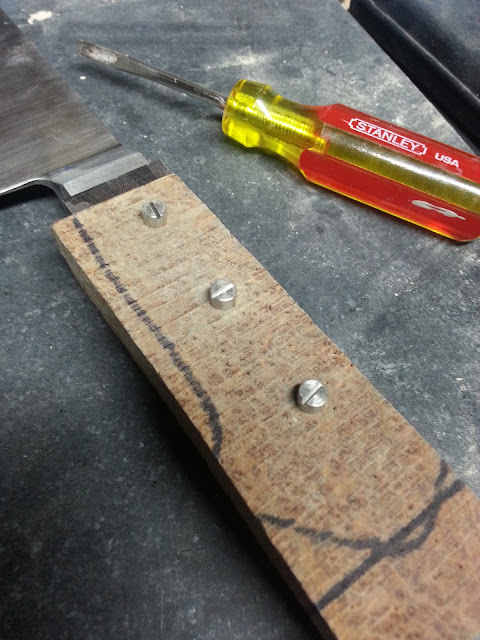
These were not done in this picture, I needed to go deeper, but it shows what we end up with. The bolts shoulder rests on that wood and pulls the two scales together.
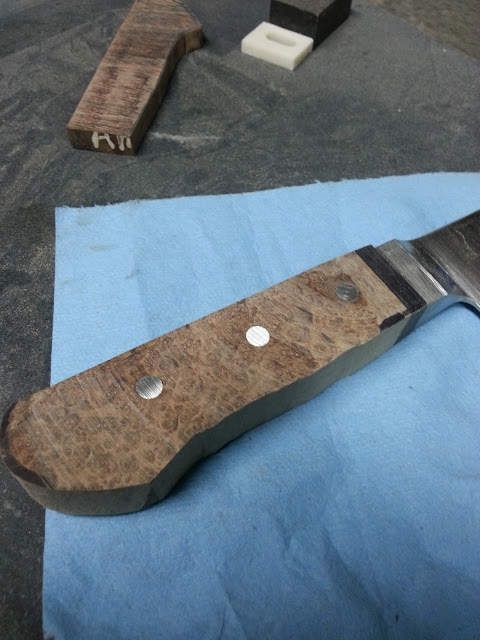
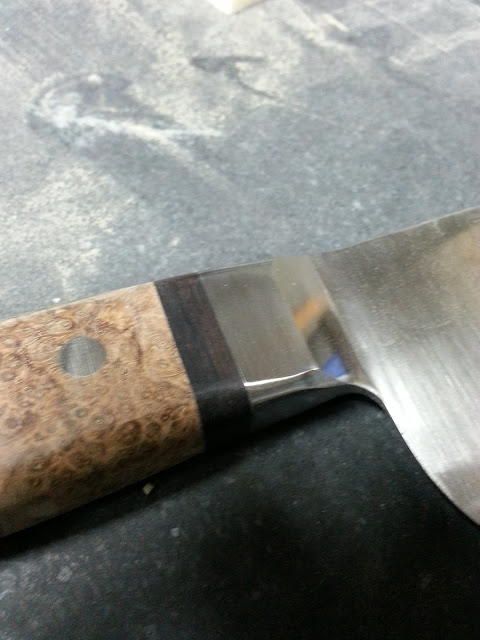
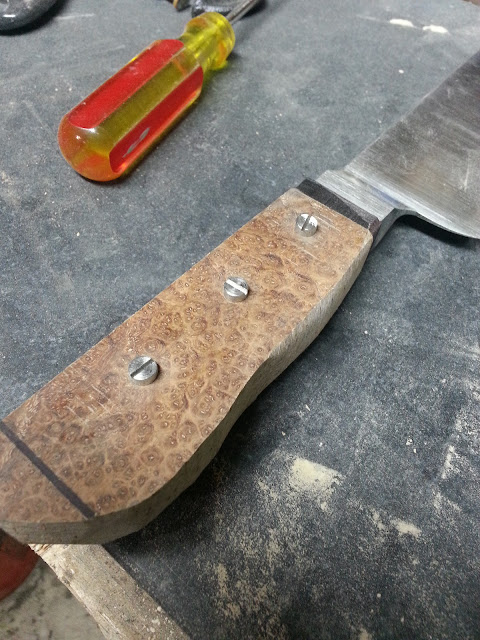
Test fit....everything looks great.
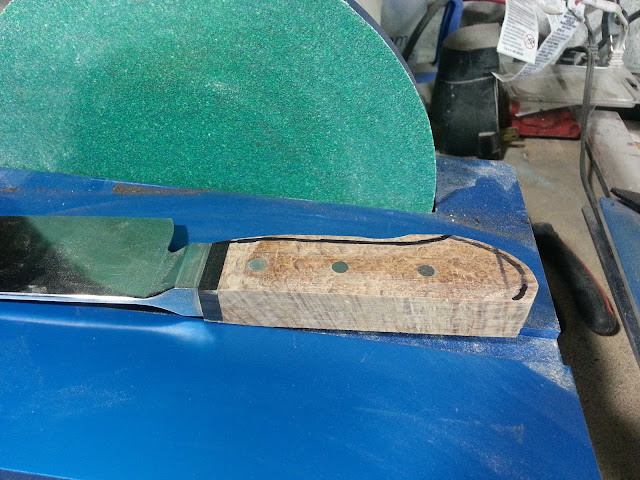
While the scales are not epoxied (just bolted) together, I use a 36 grit belt to remove some of the excess material. Basically just less work to do later....but with both scales even all around, it's easier to wipe off excess epoxy as it's squeezed out too.

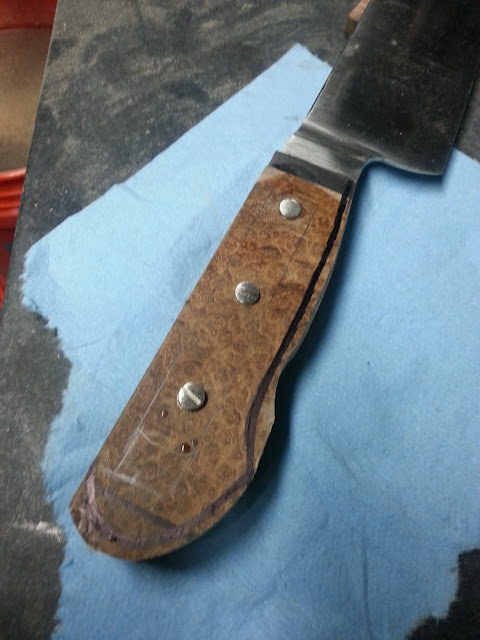
All tightened up, epoxied, and set to dry overnight.
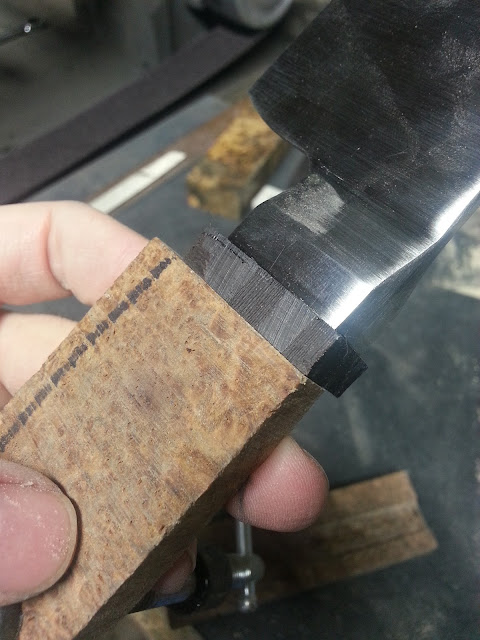
I thought I got a picture of the drawing on both scales. I trace an outline of the tang on both scales.....make sure when I'm shaping it later that I don't over do it. Safety first....it's the simple, 3 minute tasks that can save you hours later.
More tonight....hopefully my wife lets me in the shop again.
This is a style of knife I've never gotten to do before. I would like to thank another BF member for letting me buy an integral bolster blank from him. Here is where the blank started:
He was gracious enough to oblige my request.
I asked for it to be left as rough as possible so I felt like I did as much as I could on my own....I just simply don't have the means to forge. Any way, this is about the handle construction...hope you enjoy.
And do keep in mind this was written for a kitchen knife forum and not a knife makers forum.
Here is where we started the night:
I've epoxied on the black spacer I decided to use. This is going to be a hidden tang handle with three Corby bolts holding everything together. I decided against a mosaic pin because the tang was only so wide and putting a mosaic pin in required too large of a hole in the tang for me to feel comfortable.
In order to get a good, tight fit, I measured the thickness of the tang with calipers and then set the scales in the mill with the tang outline drawn. The mill is set to cut half the thickness of the tang into each scale. Gotta love a digital readout mill.
I went something like 0.005" deeper than perfect to allow space between the tang and the scales for epoxy. You'll notice the tang slot is too long for the tang....because I decided to use that spacer after I cut the tang slot.
Next, we make sure the fitment between the two scales is tight. Sanded and flattened with 150 grit on a granite reference block. They're flat now.
A better glue joint would be created with a rougher surface, but I wanted a tighter looking joint and with all the epoxy and three bolts, the handle is bomb proof enough.
Test fit to make sure the joints are all okay.
With some strategically placed clamps I drill the shaft holes for the Corby bolts
This side is done.
All three of the shaft holes drilled. Now time to make the shoulder cut.
I use a reamer made by the same guy that makes my Corby bolts....this assures a tight fit since he makes both.
These were not done in this picture, I needed to go deeper, but it shows what we end up with. The bolts shoulder rests on that wood and pulls the two scales together.
Test fit....everything looks great.
While the scales are not epoxied (just bolted) together, I use a 36 grit belt to remove some of the excess material. Basically just less work to do later....but with both scales even all around, it's easier to wipe off excess epoxy as it's squeezed out too.
All tightened up, epoxied, and set to dry overnight.
I thought I got a picture of the drawing on both scales. I trace an outline of the tang on both scales.....make sure when I'm shaping it later that I don't over do it. Safety first....it's the simple, 3 minute tasks that can save you hours later.
More tonight....hopefully my wife lets me in the shop again.

") LOL
LOL