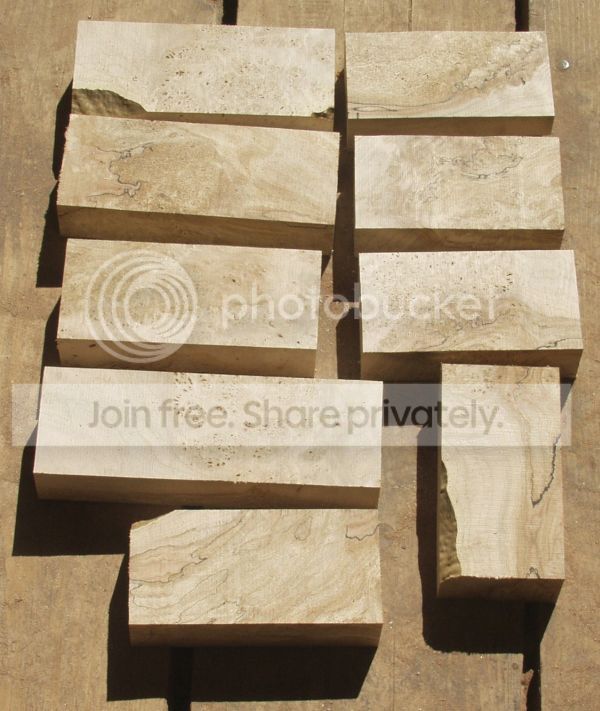
How to cut a burl cap for blocks - Quick & Easy way

Joined
Dec 7, 2008
Messages
7,187
This is just a quick and easy to cut a burl cap into blocks.
The wood I am using is a maple burl cap.
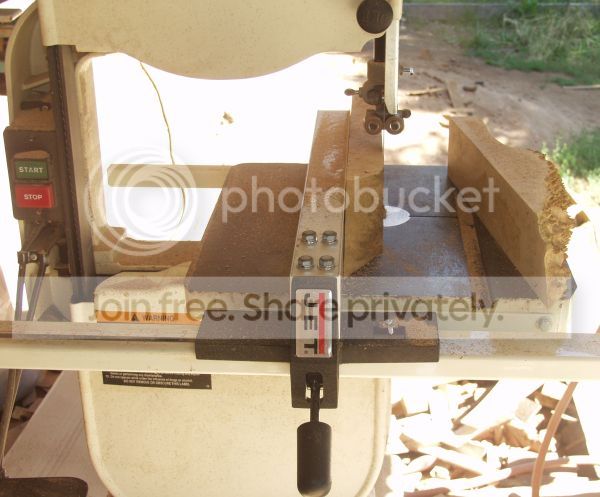
To cut it I am using a 14 inch wood cutting bandsaw equipped with a fence.

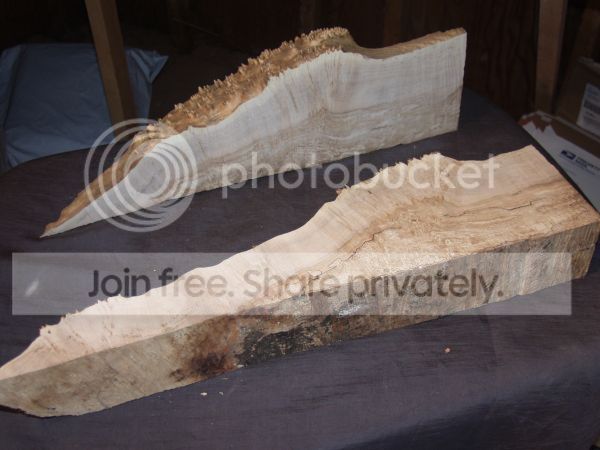
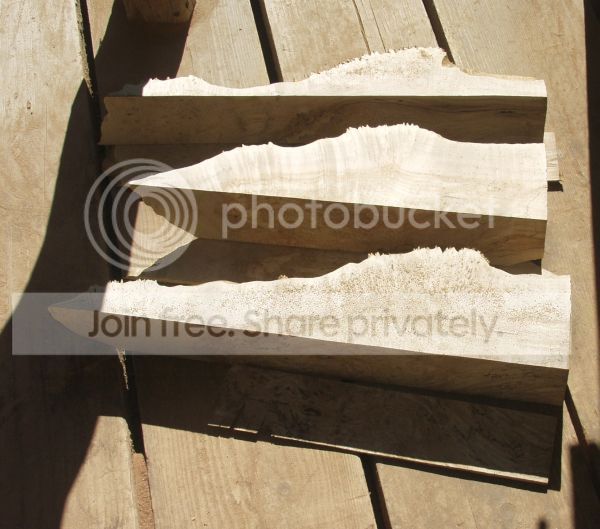
This is the burl cap.
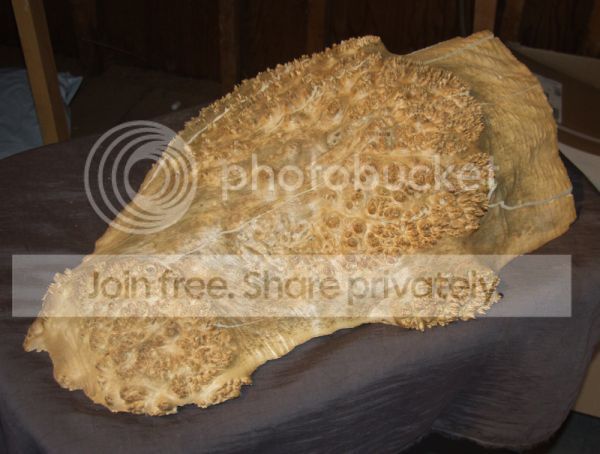
mb001.jpg


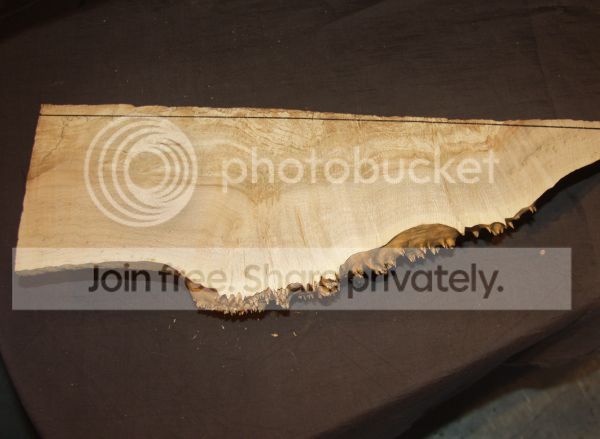
1st thing I did was cut a straight edge along one side following the grain in the wood.
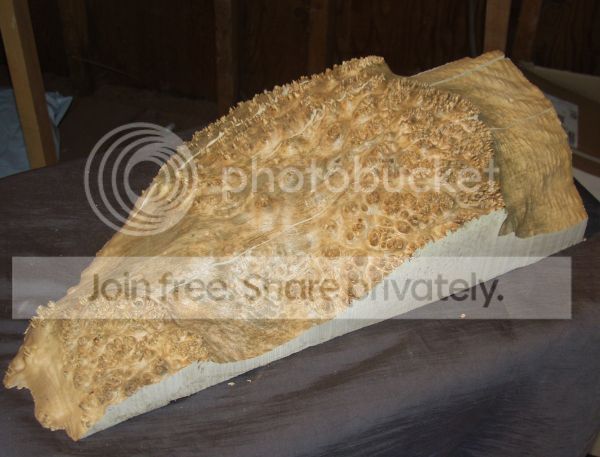
mb002.jpg


This gives me a straight edge to go against the fence on my bandsaw. After that I cut the rest of the burl cap into strips.
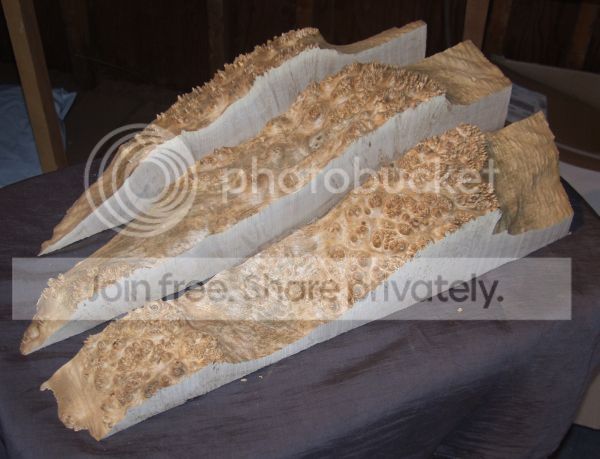
mb003.jpg

mb004.jpg
 
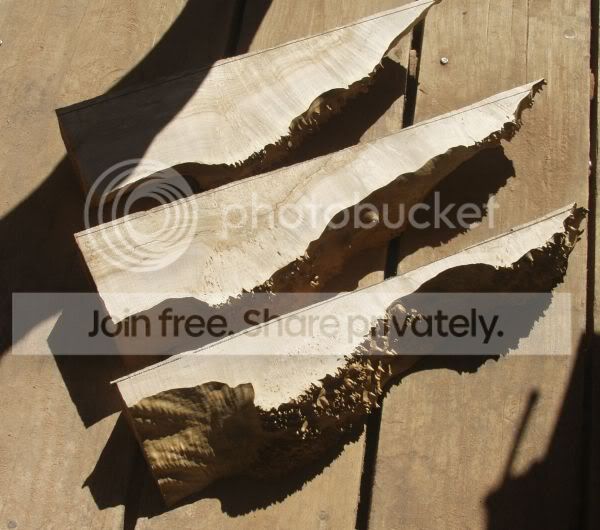
For the next step I laid the slices on their sides and marked them to cut a straight edge.
mb005.jpg

mb006.jpg


Then I trimmed the straight edge.
mb007.jpg

mb008.jpg


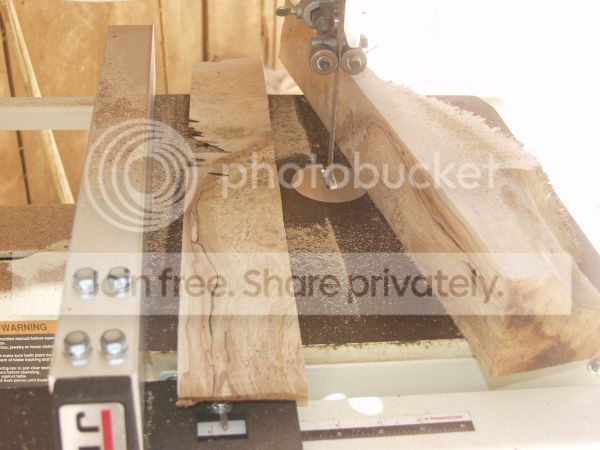
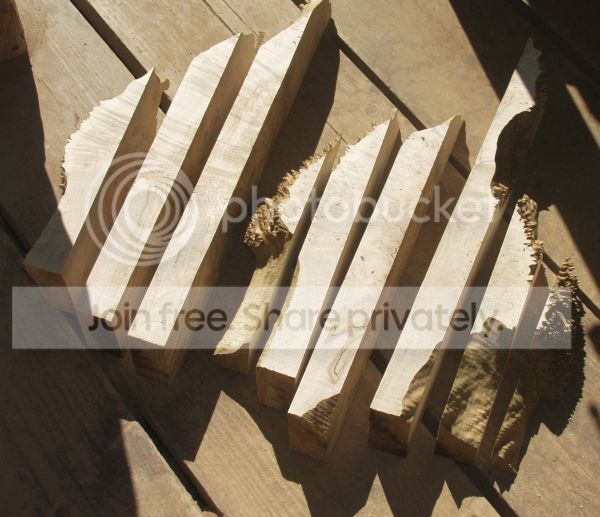
This straight edge goes against the bandsaw fence and I cut strips the thickness I wanted for my blocks.
mb009.jpg


Now each of the slices have been cut into strips.
mb010.jpg


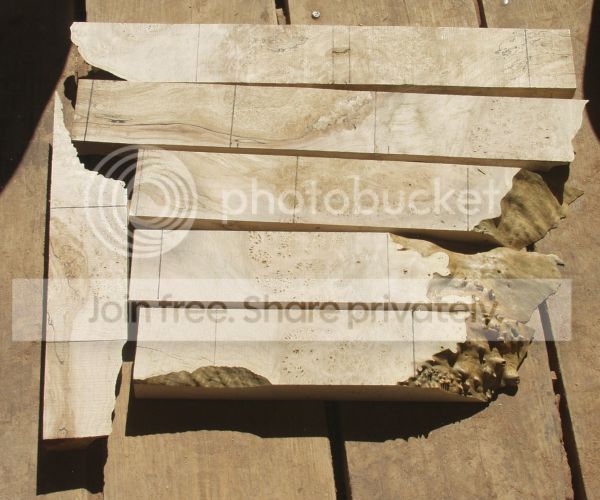
Finally I mark the strips where I want to make my cuts for blocks.
mb011.jpg


Then I cut the blocks.
mb012.jpg


I cut everything bigger than I need so I can do further trimming to remove any more flawed areas and show the best figure.

I would rather waste a lot of wood and get 6 really good blocks, than it is to cut just for quantity and get 12 mediocre blocks.

These blocks are not for sale. This was cut up only to show you guys an easy way to do the cutting if you come across a burl cap.
 
Last edited:
Do you use a plywood sled for the initial straight cuts or simply guide them by eye along the line you've drawn?
 
Do you use a plywood sled for the initial straight cuts or simply guide them by eye along the line you've drawn?

A sled would be a good way to do it.
I spend so much time on the bandsaw that I just do the first straight cut free hand.
 
For what it's worth, I find the fiddly bits that are on the outer edges to be very useful in stacked handles. Maybe you should consider saving those up and selling them to folks like me that use the end pieces.
 
For what it's worth, I find the fiddly bits that are on the outer edges to be very useful in stacked handles. Maybe you should consider saving those up and selling them to folks like me that use the end pieces.

You are only about 8 hours away.
Come on down and bring a truck.
 
That was really helpful. Thanks.
 
I do have a truck ;)

Thanks for the tip Mark, I'll be bringing down the 3 boxes of burls I have for you to cut soon...

Greg, Don't do it unless you want the little red sports car parked in the driveway....Time for an intervention???


tryppyr's Avatar
tryppyr
tryppyr is offline Basic Member

Join Date
Feb 2010
Location
Sammamish, Washington, United States
Posts
1,098
Feedback Score
1 (100%)
[COLOR="#FF0000" Thanks for the sale, mark. I availed myself of another block! Told you I was a wood whore [/COLOR]
.

Quick reply to this message Reply Reply With Quote Reply With Quote Multi-Quote This Message
 
The one thing that stops me from making the eight hour drive is that I have a tendency to take all the natural wood I get and send it off to get it stabilized. A while back I bought some oak burl from Mark. More recently I bought some wood from a few others too. Almost all of it has since been sent for stabilization. I even sent three of the palest blocks out for double dye treatment, just to find out what that looks like.

If I went to Oregon and loaded up the truck with fiddly bits, it would only be a matter of time before I sent it off for stabilization.

And lord knows I have more stabilized wood now than I know what to do with.

- Greg
 
Thanks for the pictures Mark! How long has that burl been drying?

This was about a year old cap I had set aside and forgotten about.
Now I have changed how I do things.
Seems if I cut them while fresh and put the blocks in my dehumidification kiln I have less waste due to cracks and movement.
 
Back
Top