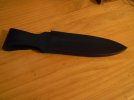
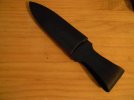
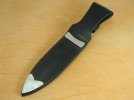
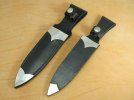
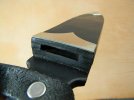
I wasn't sure how to deal with the guard pushing the loop back. Smaller guard next time.
Mark, the loop area will set to the guard. Take a little extra care with the first insertion so as to NOT scratch the leather with the guard (bend the loop back for clearance as you insert) and the loop will protrude around the guard and continue to do so with each insertion thereafter until the final set takes place. It's always a little scary at first until you gain confidence in the method. It also helps to insert the knife, dampen the area and let it dry with the knife inserted.
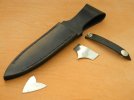
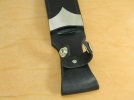
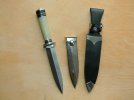
Also, since you are hand stitching, it would be perfectly acceptable to stitch between the NS fittings on both sides. The pins in the fittings will hold that area of the sheath quite well, and the area between would be more or less straight line stitching.
Paul

![ATTACH]](/proxy.php?image=http%3A%2F%2F%5BATTACH%5D211629.vB%5B%2FATTACH%5D&hash=b7b72d5fb0e5ff1db0dc86e6401c548d)
![ATTACH]](/proxy.php?image=http%3A%2F%2F%5BATTACH%5D211630.vB%5B%2FATTACH%5D&hash=bd5595cdbb5161fd61d8dabf4e0672fb)
![ATTACH]](/proxy.php?image=http%3A%2F%2F%5BATTACH%5D211631.vB%5B%2FATTACH%5D&hash=7b053eac27f1f88287038aa74bce466b)
![ATTACH]](/proxy.php?image=http%3A%2F%2F%5BATTACH%5D211632.vB%5B%2FATTACH%5D&hash=6229d786c1a68c627985ef437fd43e13)


![100_2141[1].jpg](https://www.bladeforums.com/data/attachments/100/100685-422324f7042295b9d94931ebfee45731.jpg?hash=QiMk9wQilb "100_2141[1].jpg")