- Joined
- Jun 13, 2007
- Messages
- 7,743
So I've wanted to do a simple walk through on how I make cuffs for a while. They are not complex, yet I believe they are attractive. I get comments on the one I made for myself often enough I figured I'd start making and selling them.
These could be made very simply without an overlay, maybe with a cool dye job or stamping. I wanted to focus on using exotic skins because they are very appealing to me and to many people.
I use shark more often than anything else, but for this walk through I'll be using snake. There are a couple of construction differences between shark and snake, I'll cover those when we get there.
Note- throughout this wip, I'll be typing "skin" and "leather". I'm referring to the snake hide when I say skin. I'm calling the cowhide leather.
Things you'll need-
Leather strap/belt blank/ability to cut off your own strip from your hide. I use 7/8oz and I feel it's the perfect weight. You could get away with a bit lighter, but I wouldn't go thicker. I started by buying 1.5" belt blanks but that's not really cost effective. A straight cut on a shoulder/double shoulder and an inexpensive strap cutter is all you need to make a ton of cuffs.
Exotic skin. Shark, snake, beaver tail, ostrich, possibly ray, gator, etc. The thing to consider is that you'll need to sew through the skin, it should be reasonably tough and durable. Some snake scales will get jacked from rubbing in the wrong direction so choose accordingly.
This skin wasn't ideal because it's pretty stiff and the scales could have been a problem down the road.

Tools-
If you have a decent kit for sheath making then you have what you need to make cuffs.
I use a no.2 edger
Stitch groover
Overstitcher
Ruler/pen
Round knife
Belt sander
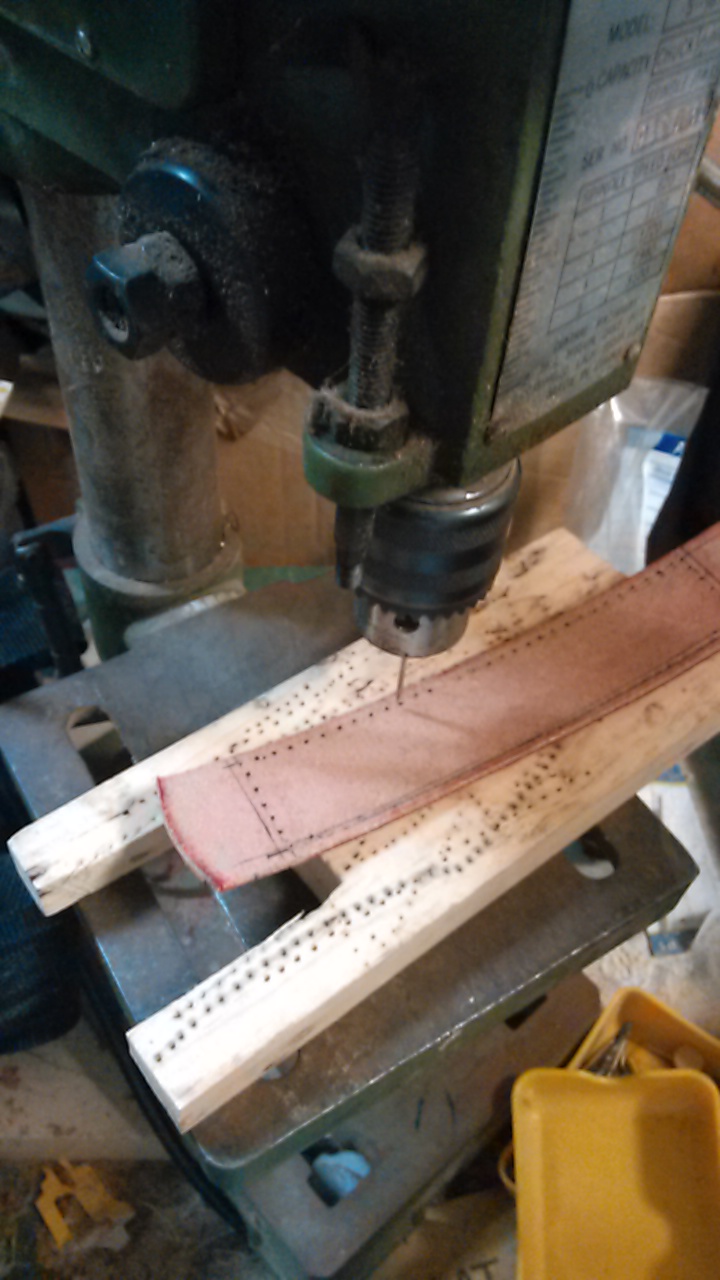
Drill press
1mm tiger thread
#2 John James needles (x2)
Fiebings dyes
Angelus (black) acrylic leather paint
Tan-Kote or beeswax/coconut oil emulsion
Sam Browne stud
----------------------
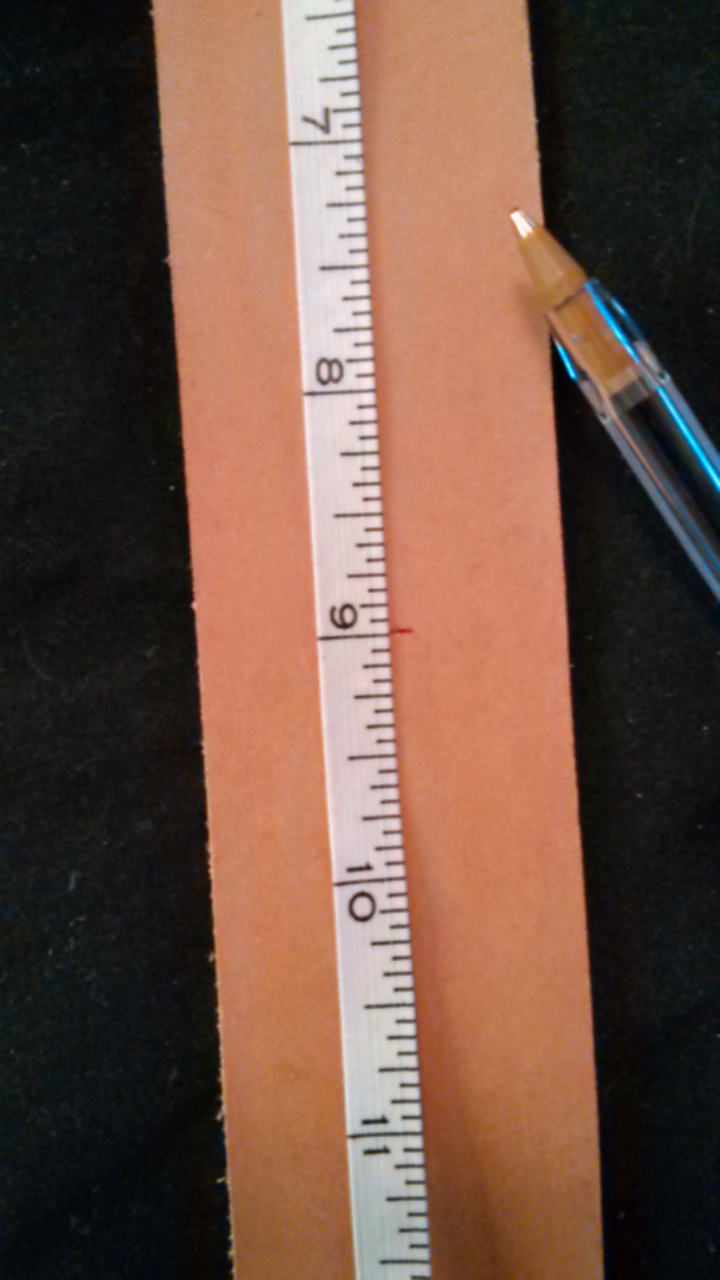
First thing to do is measure your wrist (or have the customer measure his). My wrist is 7 1/4" and most people are somewhere around that.
You have the option of having the entire cuff covered in skin, but I prefer to leave a little leather exposed at the ends because it allows an opportunity for creative dyeing.
This particular skin has an interesting pattern and it's way more than enough both in length and width. In fact, if I didn't like the pattern so much I could have gotten 2 or 4 cuffs out of this single piece.
Alright, so we have our materials. Time to cut em up.
The customer for this cuff has a 7" wrist. You need to cut it longer in order to have room for overlap and hardware. I'm using a Sam Browne stud, but a snap would work as well. I cut it at 9" to give myself some space.

Now what I want to do is make some reference marks so I don't lose track of what I'm doing.
More to come...
These could be made very simply without an overlay, maybe with a cool dye job or stamping. I wanted to focus on using exotic skins because they are very appealing to me and to many people.
I use shark more often than anything else, but for this walk through I'll be using snake. There are a couple of construction differences between shark and snake, I'll cover those when we get there.
Note- throughout this wip, I'll be typing "skin" and "leather". I'm referring to the snake hide when I say skin. I'm calling the cowhide leather.
Things you'll need-
Leather strap/belt blank/ability to cut off your own strip from your hide. I use 7/8oz and I feel it's the perfect weight. You could get away with a bit lighter, but I wouldn't go thicker. I started by buying 1.5" belt blanks but that's not really cost effective. A straight cut on a shoulder/double shoulder and an inexpensive strap cutter is all you need to make a ton of cuffs.
Exotic skin. Shark, snake, beaver tail, ostrich, possibly ray, gator, etc. The thing to consider is that you'll need to sew through the skin, it should be reasonably tough and durable. Some snake scales will get jacked from rubbing in the wrong direction so choose accordingly.
This skin wasn't ideal because it's pretty stiff and the scales could have been a problem down the road.
Tools-
If you have a decent kit for sheath making then you have what you need to make cuffs.
I use a no.2 edger
Stitch groover
Overstitcher
Ruler/pen
Round knife
Belt sander
Drill press
1mm tiger thread
#2 John James needles (x2)
Fiebings dyes
Angelus (black) acrylic leather paint
Tan-Kote or beeswax/coconut oil emulsion
Sam Browne stud
----------------------
First thing to do is measure your wrist (or have the customer measure his). My wrist is 7 1/4" and most people are somewhere around that.
You have the option of having the entire cuff covered in skin, but I prefer to leave a little leather exposed at the ends because it allows an opportunity for creative dyeing.
This particular skin has an interesting pattern and it's way more than enough both in length and width. In fact, if I didn't like the pattern so much I could have gotten 2 or 4 cuffs out of this single piece.
Alright, so we have our materials. Time to cut em up.
The customer for this cuff has a 7" wrist. You need to cut it longer in order to have room for overlap and hardware. I'm using a Sam Browne stud, but a snap would work as well. I cut it at 9" to give myself some space.
Now what I want to do is make some reference marks so I don't lose track of what I'm doing.
More to come...
")


")
