- Joined
- Jan 30, 2014
- Messages
- 1,639
Hi folks,
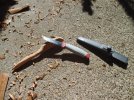
Before I started trying to get a fiddleback I had posted a total of 0 times on a forum. Now I am at my 1000th post and I have really enjoyed my time spent on the fiddleback sub forum. In order to give a little back to the community I am doing a giveaway to say thanks. I will be giving away a fiddleback mid tech bushfinger and a custom Rick Lowe sheath. They make a great pair together.

This is a challenge so you will have to qualify to go for this one.
You have to try one of my two challenges and post pictures and a write up of your attempt to qualify. Anything done prior to this post does not count. Ultimately, I reserve the right to decide if your entry meets my requirement.
I will choose a random number from those who meet the requirement. The challenge ends Saturday August 22nd at midnight pacific time. I will choose a winner the next day.
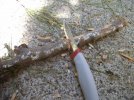
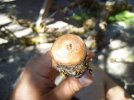
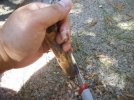
I will be adding a bunch of pics to the two challenges soon to help you out and give ideas.
The Challenges
I am always trying to learn more about bushcraft, survival skills, primitive skills, edible and medicinal plants, tracking, nature awareness, etc. One of the main reason I want to learn these skills is so I can pass them on to the next generation. I started teaching kids outside in 1997 and in 2007 I started a small non profit called Standing Tree Nature School. The purpose behind the school is to help kids and families connect to nature in a deep and profound way. Part of our teachings include the four priorities of survival: shelter, water, fire, food. I have chosen two challenges from the four priorities. One you can do by yourself to work on your own skills and one you will need some willing kids to help you out.
Here are the two challenges. You only have to do one.
Challenge #1 -
Build a bow drill set and try to get a fire by friction.
Before I learned how to use a fire steel or flint and steel, I learned fire by friction. I was taught how to make a bow drill fire a little over twenty years ago and have made quite a few since that time. I have had many successes and many failures while doing so. I have made bow drill fires with natural cordage and made them in the pouring rain. One of the ways I like to practice is to go out with a a knife and a piece of paracord, build a set and see if I can get a fire. I will say with the right materials, form and condition it is not very hard. Some of you know I started and run a non profit teaching nature and survival skills to kids. In one of the camps I teach for 10-14 year olds we do fire by friction challenge on the overnight. The kids have to get a fire by friction in order to cook their food or they eat it cold. They often work together to do it, sometimes with three kids on a bow drill set. We have eaten late many times, but they have always gotten it. If they can do it, so can you.
I think fire by friction is a great survival skill to have. If you get good at it, bow drill can be as good or even better than a fire steel. A couple of years ago I spent a rainy day at in the woods with my teen group. It was raining hard and had been for a few days. Everything was soaked. The kids got a small coal right away but had trouble blowing it into a fire. They tried fire steel and went through two packages of rei emergency matches and could not get a fire. Finally after a couple of hours one of the kids went back to his bow drill set and worked hard to get a monster coal. Where he a failed with the matches and fire steel he finally succeeded with the bow drill. We were all stoked to have a fire finally on a very wet and cold day.
If you are already good at the bow drill and still want to do this challenge, then I suggest trying something advanced like using natural cordage.
The basic idea with the bow drill is you are using a bow to spin a spindle into a baseboard. You need to have a "piece of pie" cut out of the baseboard. This is where the dust you are creating from the friction of the two pieces of wood will collect. Make sure the pie is not too big or your spindle will slip out through the hole. If your pie is two small you might not get enough dust. I cut my "piece of pie" right to the center of the hole. If the dust gets hot enough it will turn into a coal. That coal will burn very slowly. You can then take your time and transfer it to a tinder bundle. Once in the tinder bundle you cradle the coal like a baby in a taco. Slowly blow on it until you get flames. You need to have the rest of your fire prep ready to go.
I am going to try and include a few tips to help those who have not tried or have not a success with the bow drill method.
First is materials - It is usually easiest to work with softer woods. A good wood to use that is not difficult to get a hold of for most people is cedar. You can use it for your baseboard and spindle. I have used lots of different woods. Here in California I like California Buckeye. I also use redwood a lot but it can be finicky. Cottonwood is another wood I have had a lot of success with. Maybe some east coast folks can chime in with some of their favorites. For the hand hold, I prefer a stone, but a hard wood or a green wood will work too. I often use madrone as it is local, easy to find and pretty hard. You want your friction to be happening on the business end not on your hand hold. You can lubricate the top of your spindle with nose grease, a green plant, or if by chance you have it, soap. I have also used a shell or bone for the hand hold.
I recommend starting with a piece of paracord for the string on your bow. Using natural cordage is a whole different ball game and requires a slightly different technique. You have to keep your bow slanted with natural cordage to make sure the cordage is not rubbing against it's self. Some people like to use a bow that bends like a green piece of wood, but unless I am using natural cordage, I just use a stiff bow with a slight bend in it. In a survival situation you can use many things for the bow string. One of my teens likes to use the elastic band that holds up a pair of boxer shorts.
Second is form.
Having good form makes all the difference in the world. As soon as you start to pull the bow back and forth, the hand that holds the hand hold will start to wobble. You need to stop that hand from moving too much by bracing it against your leg. Here are some tips I tell kids while teaching them.
1) keep the hand with the hand hold braced against your leg and level. If you tilt the hand hold at all the spindle will slip out.
2) make sure the spindle stays straight up and down or it will slip out.
3) Use the whole bow by taking long and smooth strokes. You must keep the bow parallel to the ground while going back and forth or the string will climb up or down your spindle.
4) You have to put a moderate amount of pressure downward or you will just polish the end of the spindle and make it hard to get the friction you need. If it is squeaking a lot, you probably need to add pressure. If your spindle or base board starts to look really polished, then use a knife to cut off the polished part.
5) The string has to be as tight as possible. You should barely be able to get your spindle in the string. If it is easy to wrap the string around the spindle then it is probably too loose. That means that is will slip a lot when you put pressure down. You can still get a coal but you will work twice as hard. It is amazing how quickly you can get a coal when you have a good set up.
6) It is always easiest to get a coal when you make a new notch. The further down in your hole you get the more side friction you get on the spindle. That is creating resistance but not the dust you need to turn into a coal.
7) try to stay relaxed and remember to breath.
8) if you are working to hard your set probably needs to be adjusted. Tighten your string and make a new notch.
Challenge #2-
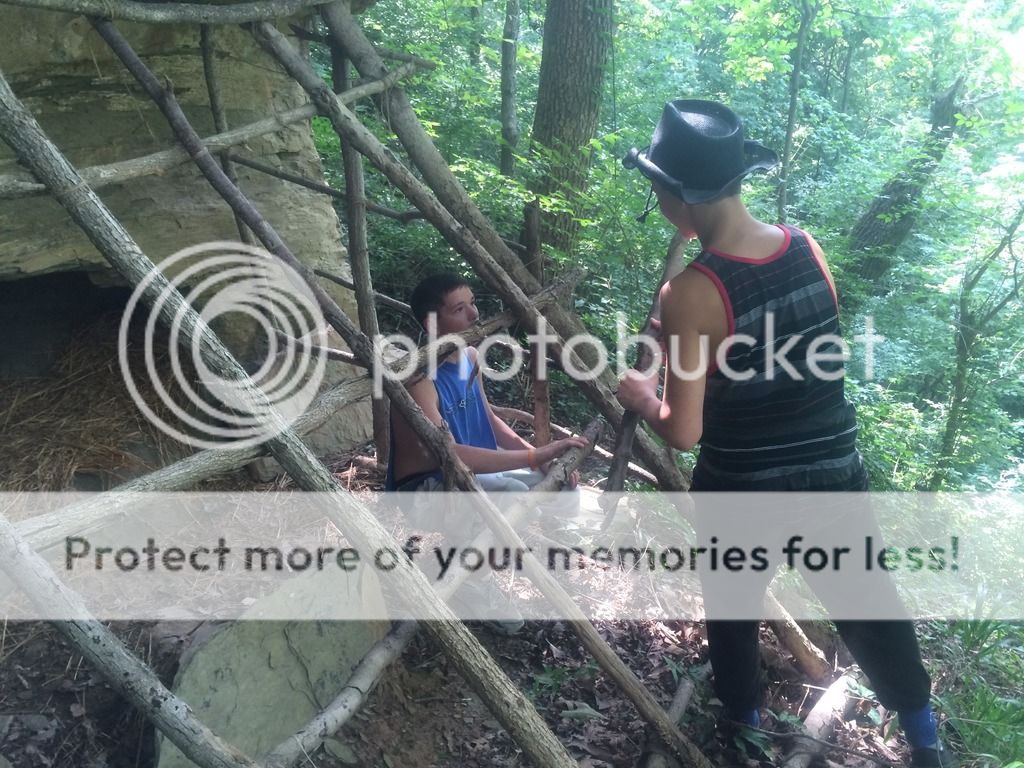
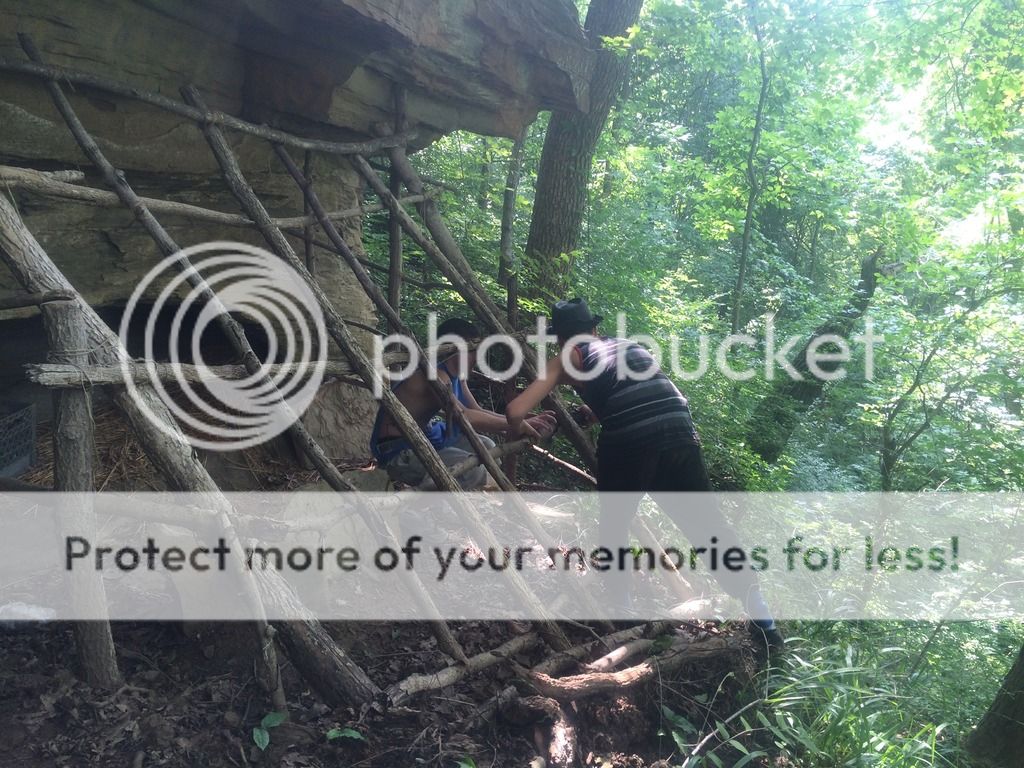
Make a natural shelter with kids
In order to fulfill this challenge you will need some willing kids. Building shelters is what we like to call a universal passion for kids. Kids all over the world usually like to build shelters wether it is in their house with blankets and pillows, playing with card board boxes, etc. Shelter is also usually priority number one in a survival situation.
Having the skills to make an all natural shelter that is stuffed with debris can save your life. I like the debris hut model. If you want to sleep in it without a sleeping bag your are going to need a lot of debris (leaves, etc.) for insulation. You basically need the entire thing stuffed with leaves and two to three feet of debris on top. Some kind of door plug is a must to retain your body heat. You want it to be barely big enough for you to get in unless you are going to heat it with a fire. The first three times I tried to sleep in one with out a blanket or anything I was very cold. I don't think I slept much. Eventually, I got better at it and was able to sleep comfortably down to about freezing. I have slept in colder conditions in a snow cave but I had a sleeping bag with me.
For this exercise I would not worry about making the ultimate natural shelter. This is about having fun outside with kids. I have found that if I push kids to make a shelter my way it becomes a chore for them and they resist. If I teach them some basics and set them free, they have a blast. I do help but only to model the enthusiasm of working on something fun and how to get lots of materials quickly.
The basics of a natural shelter.
#1 Find a safe place to do it. Make sure there are no snags or dead branches that could blow down on you. Avoid yellow jacket areas, poison oak, etc. Don't dig in to a side of a cliff! A kid died at one of our local parks digging into a sand cliff. Think about sun exposure if you are in a wet area etc.
#2 Use existing structures to build off of. For instance a downed log can be one of your walls. It is usually too much work to build in an open area.
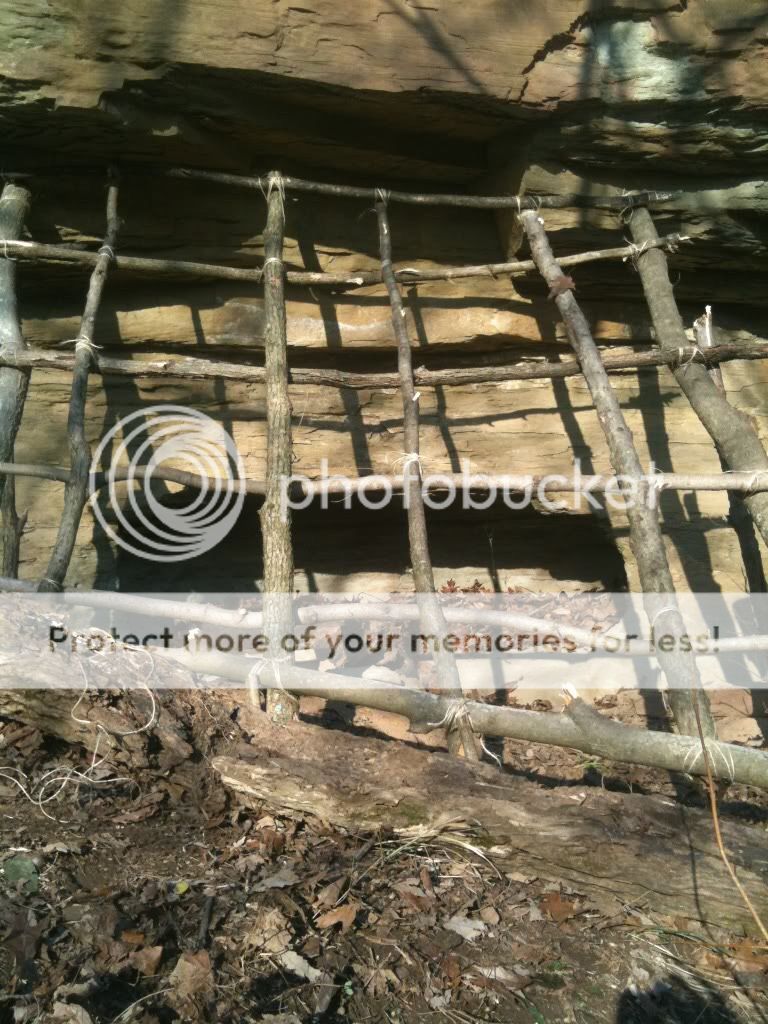
#3 The structure is usually composed of four parts.
1) A ridge pole that is strong enough to support the other sticks
2) Ribs - these are about wrist thick and they help make the structure coming off the ridge pole. They are usually placed at a 40 degree angle vertically off the ridge pole. They can be spaced apart and don't have to touch each other.
3) Weavers - these don't have to be as thick and they go in a more horizontal fashion across the the ridge poles. You know you have enough weavers when you start to throw debris on and most of it doesn't fall through.
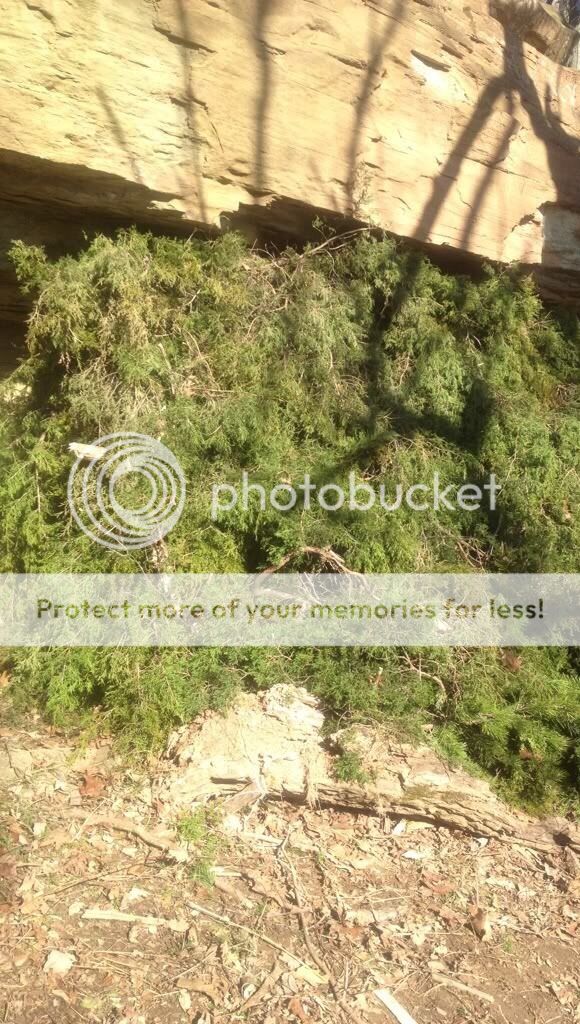
4) Debris (Leaves, etc.) - You need a bed of debris to insulate you from the ground, enough debris on top to trap your heat and keep out rain, debris or something for the door plug, and more debris for everywhere in between.
I like to start out by clearing the area that I am going to be laying on of any sticks that would be uncomfortable. Then lay your ridge pole on a stump, etc. Put down your ribs, weavers and then debris.
For this challlenge I would see if you and the kids you are working with can make a shelter that can keep water out. Bring a spray bottle with you. Have the kids get inside when your done and see if any water comes through when you mimic rain with the spray bottle, water bottle or squirt gun. The object is to have fun while introducing kids to a valuable skill.
Good luck. I will update, correct mistakes and add pictures as soon as I can!
I added some tips in a post below because I ran out of space on this post.
Before I started trying to get a fiddleback I had posted a total of 0 times on a forum. Now I am at my 1000th post and I have really enjoyed my time spent on the fiddleback sub forum. In order to give a little back to the community I am doing a giveaway to say thanks. I will be giving away a fiddleback mid tech bushfinger and a custom Rick Lowe sheath. They make a great pair together.

This is a challenge so you will have to qualify to go for this one.
You have to try one of my two challenges and post pictures and a write up of your attempt to qualify. Anything done prior to this post does not count. Ultimately, I reserve the right to decide if your entry meets my requirement.
I will choose a random number from those who meet the requirement. The challenge ends Saturday August 22nd at midnight pacific time. I will choose a winner the next day.
I will be adding a bunch of pics to the two challenges soon to help you out and give ideas.
The Challenges
I am always trying to learn more about bushcraft, survival skills, primitive skills, edible and medicinal plants, tracking, nature awareness, etc. One of the main reason I want to learn these skills is so I can pass them on to the next generation. I started teaching kids outside in 1997 and in 2007 I started a small non profit called Standing Tree Nature School. The purpose behind the school is to help kids and families connect to nature in a deep and profound way. Part of our teachings include the four priorities of survival: shelter, water, fire, food. I have chosen two challenges from the four priorities. One you can do by yourself to work on your own skills and one you will need some willing kids to help you out.
Here are the two challenges. You only have to do one.
Challenge #1 -
Build a bow drill set and try to get a fire by friction.
Before I learned how to use a fire steel or flint and steel, I learned fire by friction. I was taught how to make a bow drill fire a little over twenty years ago and have made quite a few since that time. I have had many successes and many failures while doing so. I have made bow drill fires with natural cordage and made them in the pouring rain. One of the ways I like to practice is to go out with a a knife and a piece of paracord, build a set and see if I can get a fire. I will say with the right materials, form and condition it is not very hard. Some of you know I started and run a non profit teaching nature and survival skills to kids. In one of the camps I teach for 10-14 year olds we do fire by friction challenge on the overnight. The kids have to get a fire by friction in order to cook their food or they eat it cold. They often work together to do it, sometimes with three kids on a bow drill set. We have eaten late many times, but they have always gotten it. If they can do it, so can you.
I think fire by friction is a great survival skill to have. If you get good at it, bow drill can be as good or even better than a fire steel. A couple of years ago I spent a rainy day at in the woods with my teen group. It was raining hard and had been for a few days. Everything was soaked. The kids got a small coal right away but had trouble blowing it into a fire. They tried fire steel and went through two packages of rei emergency matches and could not get a fire. Finally after a couple of hours one of the kids went back to his bow drill set and worked hard to get a monster coal. Where he a failed with the matches and fire steel he finally succeeded with the bow drill. We were all stoked to have a fire finally on a very wet and cold day.
If you are already good at the bow drill and still want to do this challenge, then I suggest trying something advanced like using natural cordage.
The basic idea with the bow drill is you are using a bow to spin a spindle into a baseboard. You need to have a "piece of pie" cut out of the baseboard. This is where the dust you are creating from the friction of the two pieces of wood will collect. Make sure the pie is not too big or your spindle will slip out through the hole. If your pie is two small you might not get enough dust. I cut my "piece of pie" right to the center of the hole. If the dust gets hot enough it will turn into a coal. That coal will burn very slowly. You can then take your time and transfer it to a tinder bundle. Once in the tinder bundle you cradle the coal like a baby in a taco. Slowly blow on it until you get flames. You need to have the rest of your fire prep ready to go.
I am going to try and include a few tips to help those who have not tried or have not a success with the bow drill method.
First is materials - It is usually easiest to work with softer woods. A good wood to use that is not difficult to get a hold of for most people is cedar. You can use it for your baseboard and spindle. I have used lots of different woods. Here in California I like California Buckeye. I also use redwood a lot but it can be finicky. Cottonwood is another wood I have had a lot of success with. Maybe some east coast folks can chime in with some of their favorites. For the hand hold, I prefer a stone, but a hard wood or a green wood will work too. I often use madrone as it is local, easy to find and pretty hard. You want your friction to be happening on the business end not on your hand hold. You can lubricate the top of your spindle with nose grease, a green plant, or if by chance you have it, soap. I have also used a shell or bone for the hand hold.
I recommend starting with a piece of paracord for the string on your bow. Using natural cordage is a whole different ball game and requires a slightly different technique. You have to keep your bow slanted with natural cordage to make sure the cordage is not rubbing against it's self. Some people like to use a bow that bends like a green piece of wood, but unless I am using natural cordage, I just use a stiff bow with a slight bend in it. In a survival situation you can use many things for the bow string. One of my teens likes to use the elastic band that holds up a pair of boxer shorts.
Second is form.
Having good form makes all the difference in the world. As soon as you start to pull the bow back and forth, the hand that holds the hand hold will start to wobble. You need to stop that hand from moving too much by bracing it against your leg. Here are some tips I tell kids while teaching them.
1) keep the hand with the hand hold braced against your leg and level. If you tilt the hand hold at all the spindle will slip out.
2) make sure the spindle stays straight up and down or it will slip out.
3) Use the whole bow by taking long and smooth strokes. You must keep the bow parallel to the ground while going back and forth or the string will climb up or down your spindle.
4) You have to put a moderate amount of pressure downward or you will just polish the end of the spindle and make it hard to get the friction you need. If it is squeaking a lot, you probably need to add pressure. If your spindle or base board starts to look really polished, then use a knife to cut off the polished part.
5) The string has to be as tight as possible. You should barely be able to get your spindle in the string. If it is easy to wrap the string around the spindle then it is probably too loose. That means that is will slip a lot when you put pressure down. You can still get a coal but you will work twice as hard. It is amazing how quickly you can get a coal when you have a good set up.
6) It is always easiest to get a coal when you make a new notch. The further down in your hole you get the more side friction you get on the spindle. That is creating resistance but not the dust you need to turn into a coal.
7) try to stay relaxed and remember to breath.
8) if you are working to hard your set probably needs to be adjusted. Tighten your string and make a new notch.
Challenge #2-
Make a natural shelter with kids
In order to fulfill this challenge you will need some willing kids. Building shelters is what we like to call a universal passion for kids. Kids all over the world usually like to build shelters wether it is in their house with blankets and pillows, playing with card board boxes, etc. Shelter is also usually priority number one in a survival situation.
Having the skills to make an all natural shelter that is stuffed with debris can save your life. I like the debris hut model. If you want to sleep in it without a sleeping bag your are going to need a lot of debris (leaves, etc.) for insulation. You basically need the entire thing stuffed with leaves and two to three feet of debris on top. Some kind of door plug is a must to retain your body heat. You want it to be barely big enough for you to get in unless you are going to heat it with a fire. The first three times I tried to sleep in one with out a blanket or anything I was very cold. I don't think I slept much. Eventually, I got better at it and was able to sleep comfortably down to about freezing. I have slept in colder conditions in a snow cave but I had a sleeping bag with me.
For this exercise I would not worry about making the ultimate natural shelter. This is about having fun outside with kids. I have found that if I push kids to make a shelter my way it becomes a chore for them and they resist. If I teach them some basics and set them free, they have a blast. I do help but only to model the enthusiasm of working on something fun and how to get lots of materials quickly.
The basics of a natural shelter.
#1 Find a safe place to do it. Make sure there are no snags or dead branches that could blow down on you. Avoid yellow jacket areas, poison oak, etc. Don't dig in to a side of a cliff! A kid died at one of our local parks digging into a sand cliff. Think about sun exposure if you are in a wet area etc.
#2 Use existing structures to build off of. For instance a downed log can be one of your walls. It is usually too much work to build in an open area.
#3 The structure is usually composed of four parts.
1) A ridge pole that is strong enough to support the other sticks
2) Ribs - these are about wrist thick and they help make the structure coming off the ridge pole. They are usually placed at a 40 degree angle vertically off the ridge pole. They can be spaced apart and don't have to touch each other.
3) Weavers - these don't have to be as thick and they go in a more horizontal fashion across the the ridge poles. You know you have enough weavers when you start to throw debris on and most of it doesn't fall through.
4) Debris (Leaves, etc.) - You need a bed of debris to insulate you from the ground, enough debris on top to trap your heat and keep out rain, debris or something for the door plug, and more debris for everywhere in between.
I like to start out by clearing the area that I am going to be laying on of any sticks that would be uncomfortable. Then lay your ridge pole on a stump, etc. Put down your ribs, weavers and then debris.
For this challlenge I would see if you and the kids you are working with can make a shelter that can keep water out. Bring a spray bottle with you. Have the kids get inside when your done and see if any water comes through when you mimic rain with the spray bottle, water bottle or squirt gun. The object is to have fun while introducing kids to a valuable skill.
Good luck. I will update, correct mistakes and add pictures as soon as I can!
I added some tips in a post below because I ran out of space on this post.
Last edited:


