So I had two thick pieces of steel lying around that were too small for my usual designs, but too big to not use them. So I made some small edc knives, and since it was rather thick stock I tried a rock pattern steel handle, which I wanted to try for some time anyway.
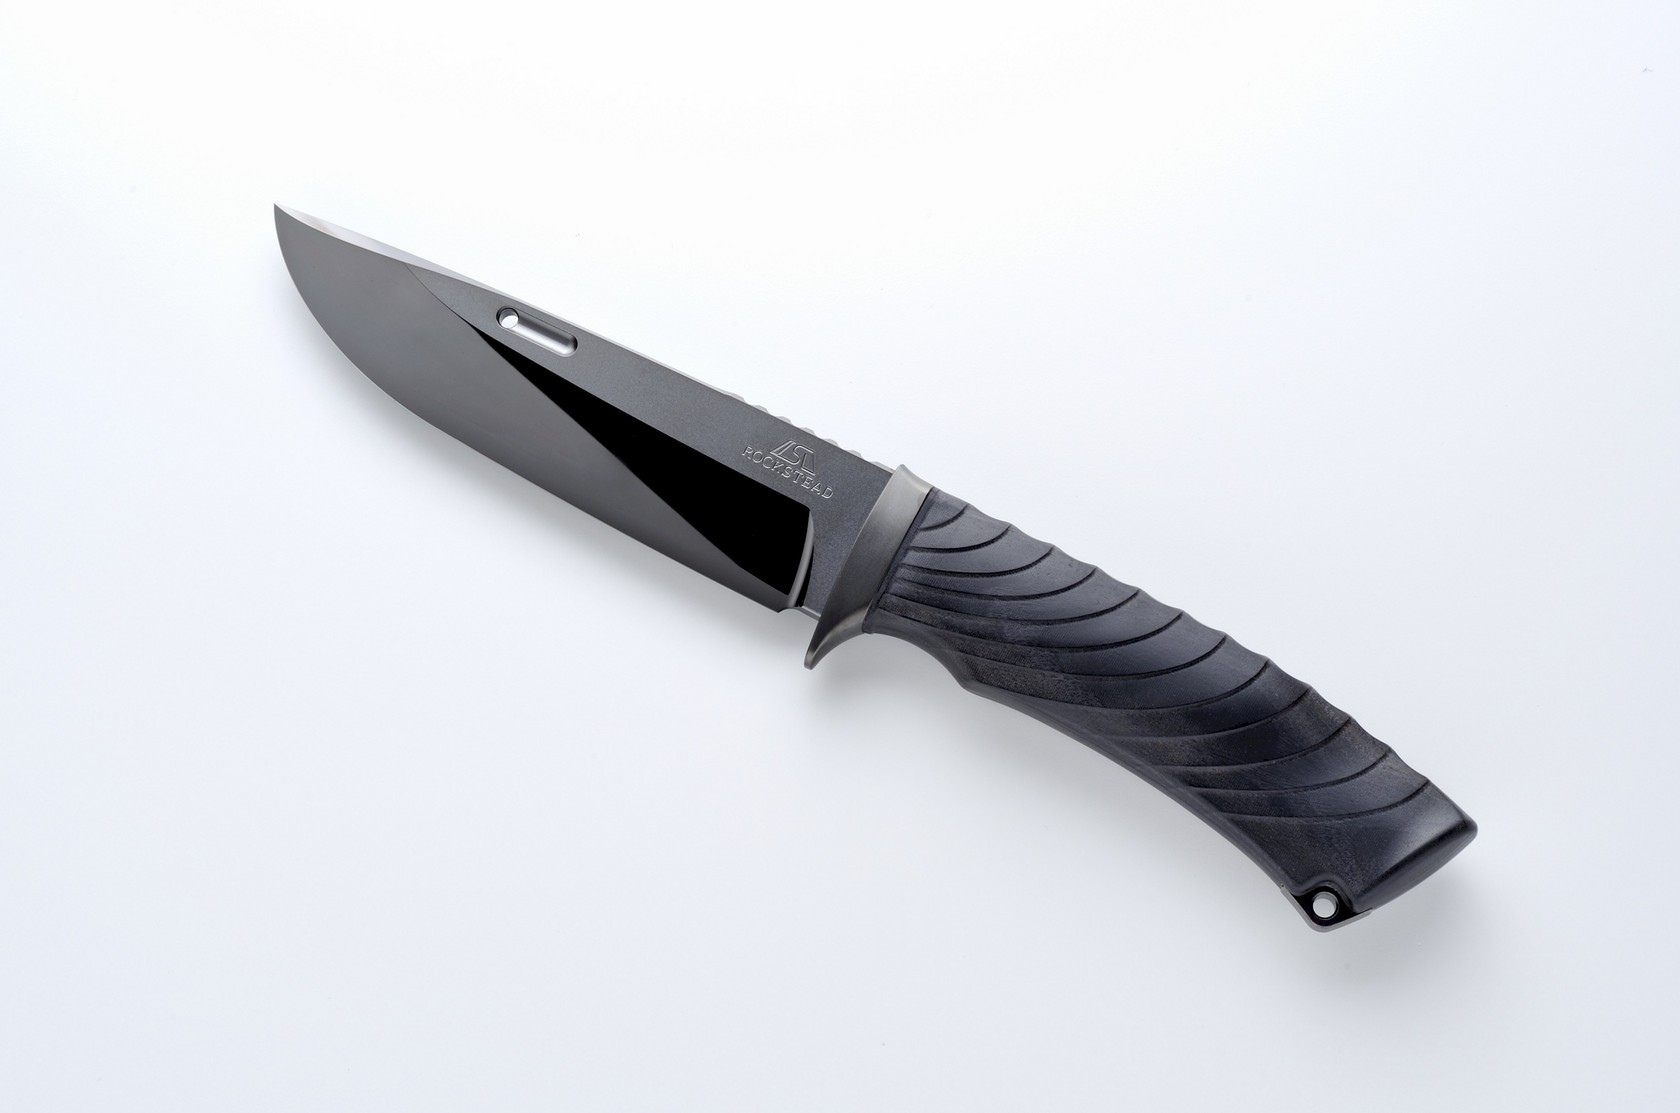
I wanted to go for a look where, once I blacken them, the knives somewhat look like they have been carved out of a piece of obsidian:
(sorry for the crappy pics)


Grinding all those facettes at different angles was fun. I sort of rough shaped them with a 36 grit and then tried to trace the grooves and facettes I had ground with a 240grit belt. I obviously couldn't do this perfectly so I ended up putting more facettes into the handle, which ended up looking quite alright.
While it was fun, I am not looking forward on chasing the different grooves and facettes again on my grinder after heat treating with a higher grit....and I am so not going to hand sand those.
So now I am looking for advice as to what is the most efficient and practical way to finish them after heat treatment. Is sand blasting the way to go? The goal is to blacken them with a ferric chloride patina....and maybe stonewash them, I am not sure.
I wanted to go for a look where, once I blacken them, the knives somewhat look like they have been carved out of a piece of obsidian:
(sorry for the crappy pics)
Grinding all those facettes at different angles was fun. I sort of rough shaped them with a 36 grit and then tried to trace the grooves and facettes I had ground with a 240grit belt. I obviously couldn't do this perfectly so I ended up putting more facettes into the handle, which ended up looking quite alright.
While it was fun, I am not looking forward on chasing the different grooves and facettes again on my grinder after heat treating with a higher grit....and I am so not going to hand sand those.
So now I am looking for advice as to what is the most efficient and practical way to finish them after heat treatment. Is sand blasting the way to go? The goal is to blacken them with a ferric chloride patina....and maybe stonewash them, I am not sure.