The three skills I would pick for my young scout to know if he was lost would be Shelter Building, Firemaking, and Signaling.
The next part that was hardest for me to decide on in this contest was what a young scout would have as a semi-decent survival kit. My thoughts on this went to what do some of my scouts carry. The younger ones seeem to carry more gear than the older ones. Since Derek was generous enough to give us two posts that is how I shall adress this issue. First if the boys only had a pouch, then if they had the gear some of them carry on their military pistol belt set up.
THE POUCH
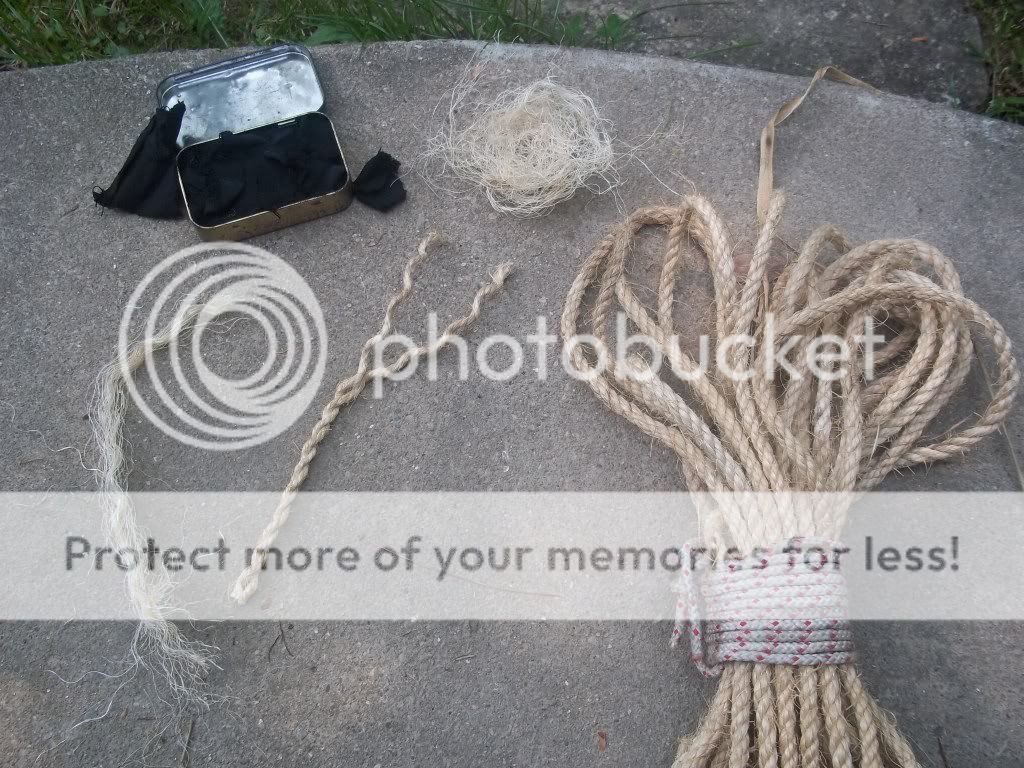
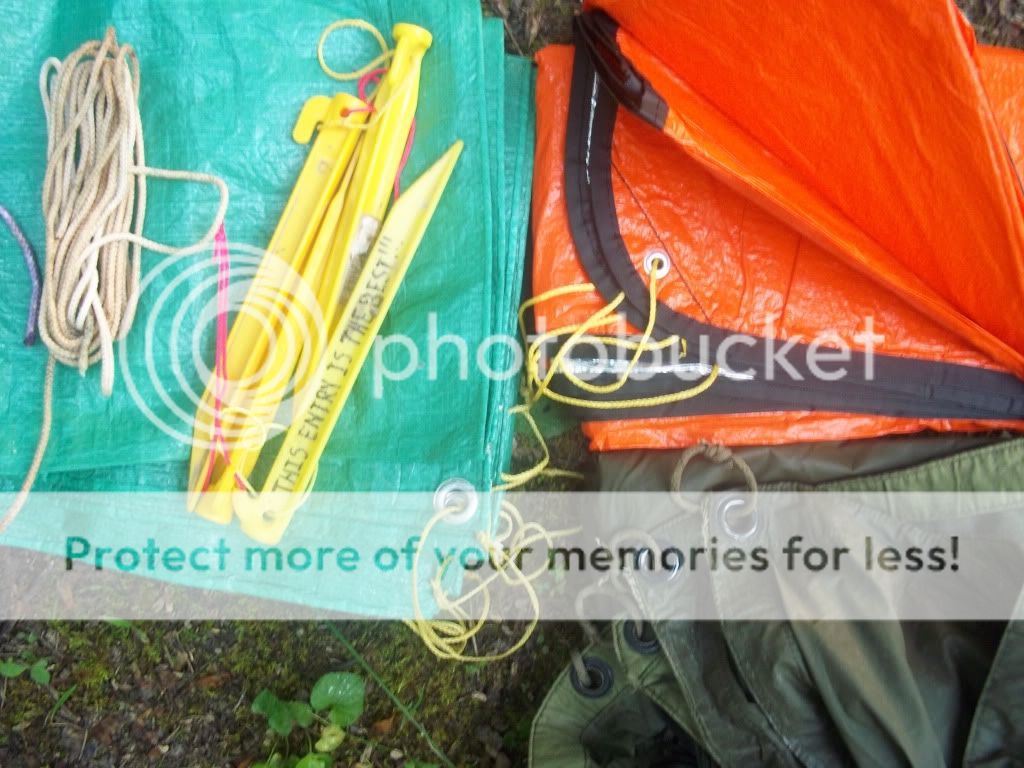
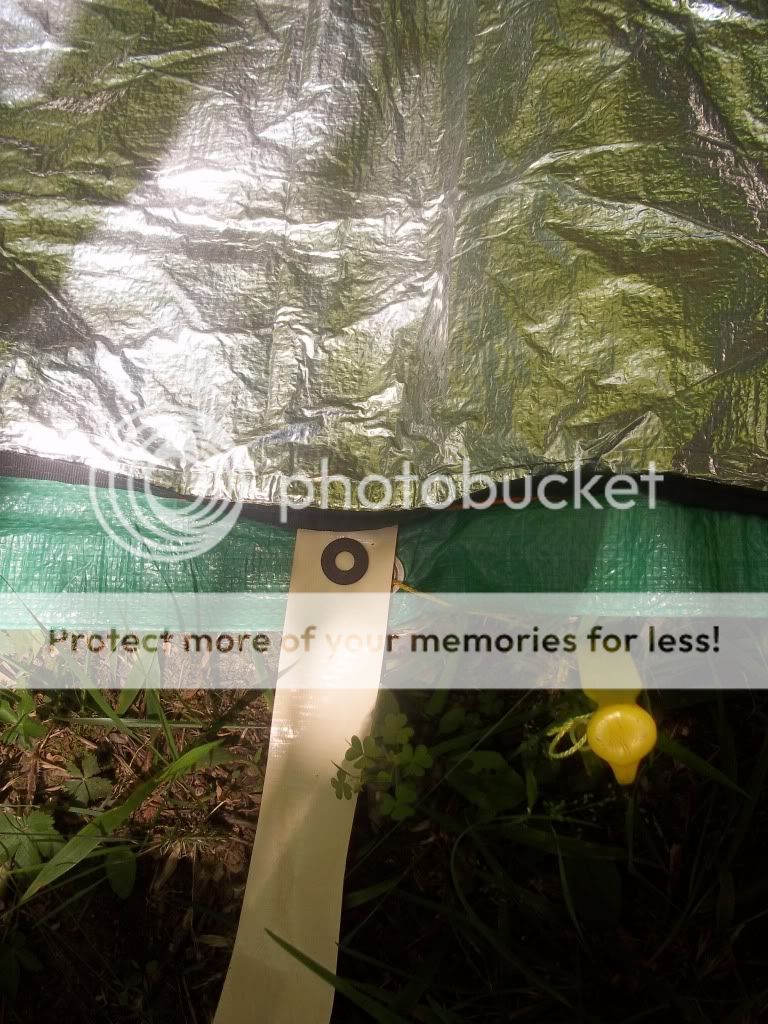
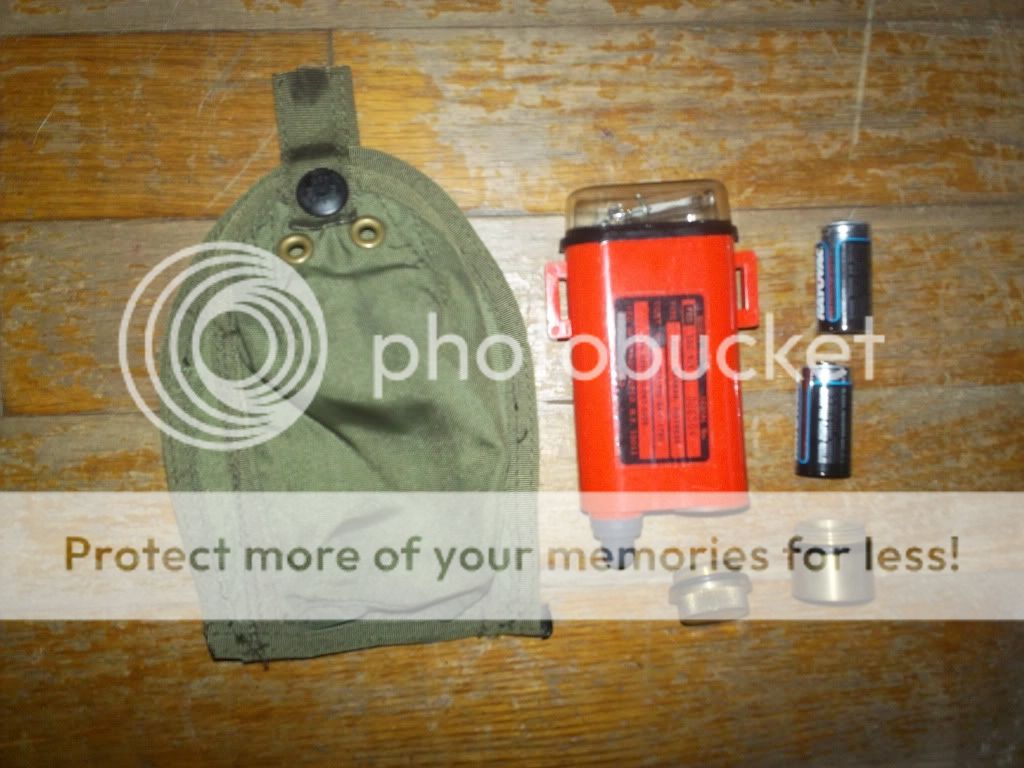
The pouch this scout carries is the Maxpedition M5 waiste pack. Contents are (beginning at the bottom - left to right) Natural Fiber Rope, compass with magnifying lens, vasoline type chapstick, Scout Fire Steel, Matches in waterproof case, disposiable lighter, Cotton Balls, Charcloth, Steel Wool, Magnesium Fire Starter, Pop Bottle Cap Firestarters, Candle, Hand Gel (alcohol based), small LED flashlight, Cylume stick, Mini Mag Lite, Whistle, Trail Ribbon, Signal Mirror, Orange Trash Bag, Water Purification Tabs, Bandaids, paracord, and (not pictured) some duct tape.
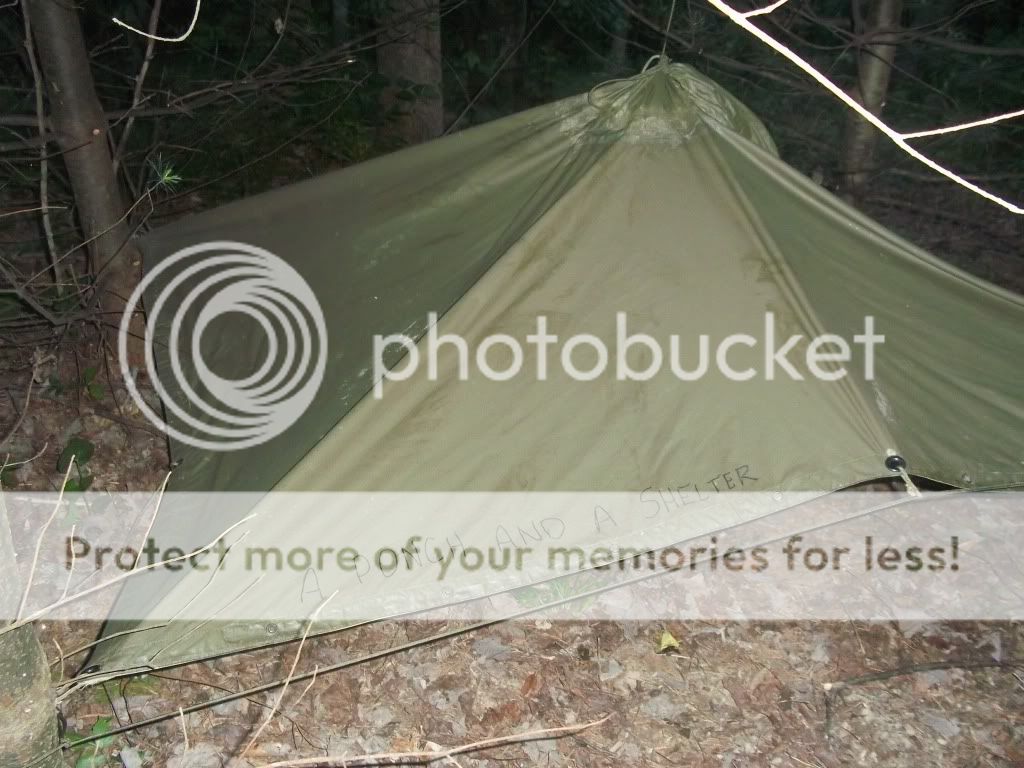
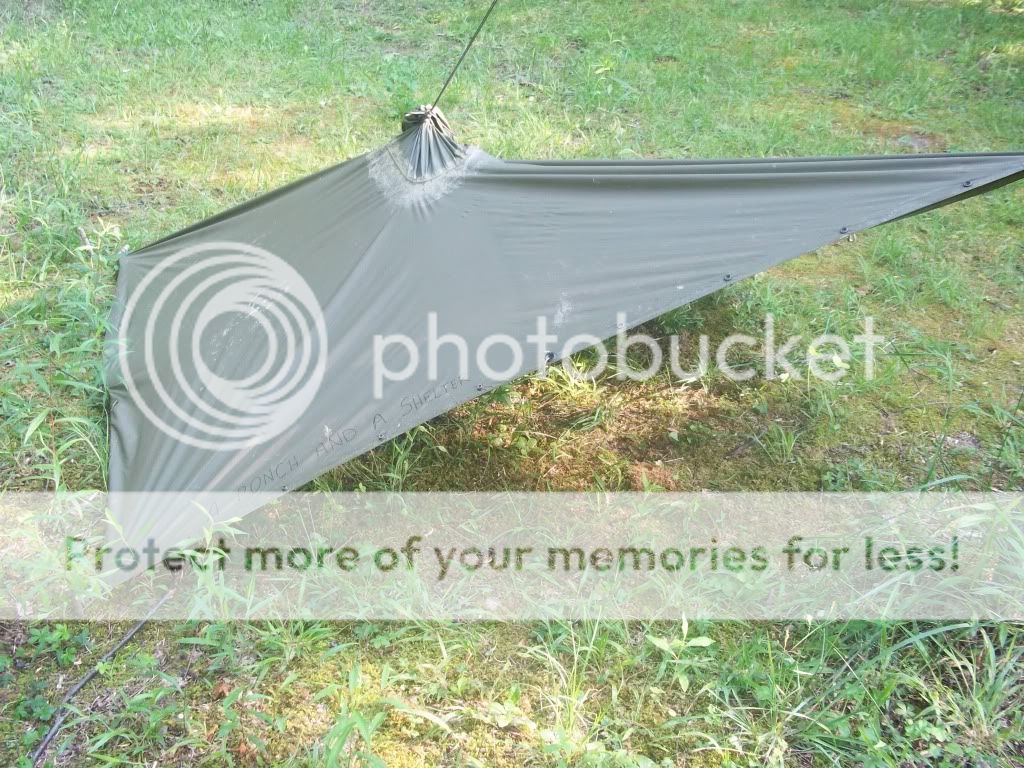
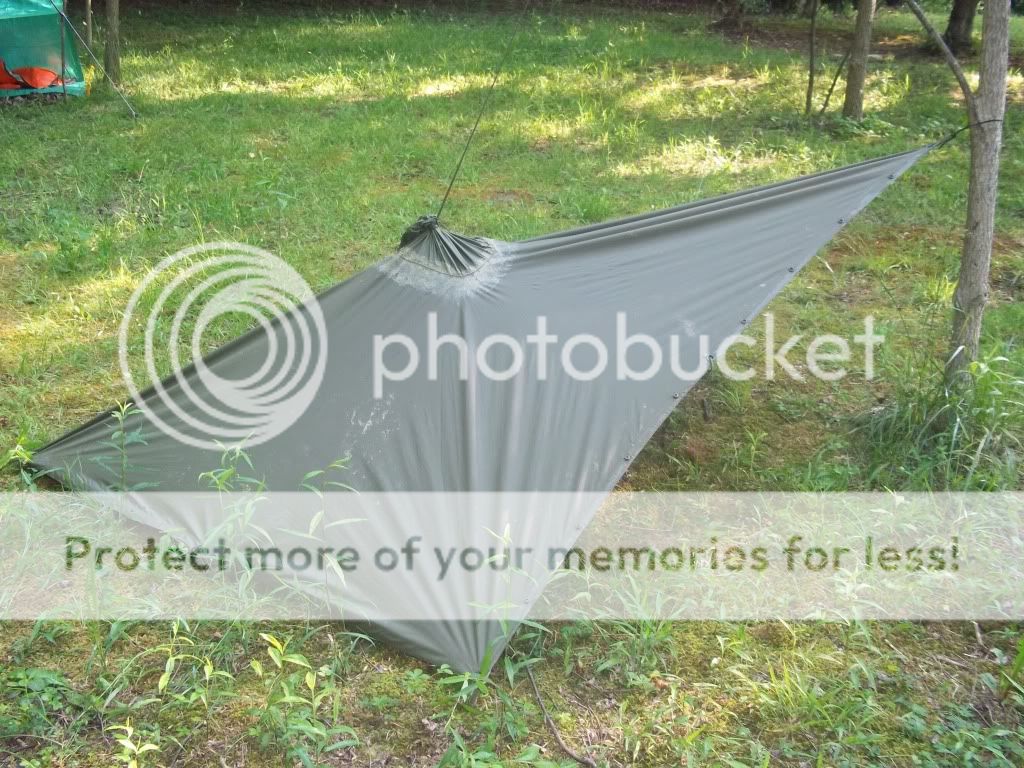
Shelter
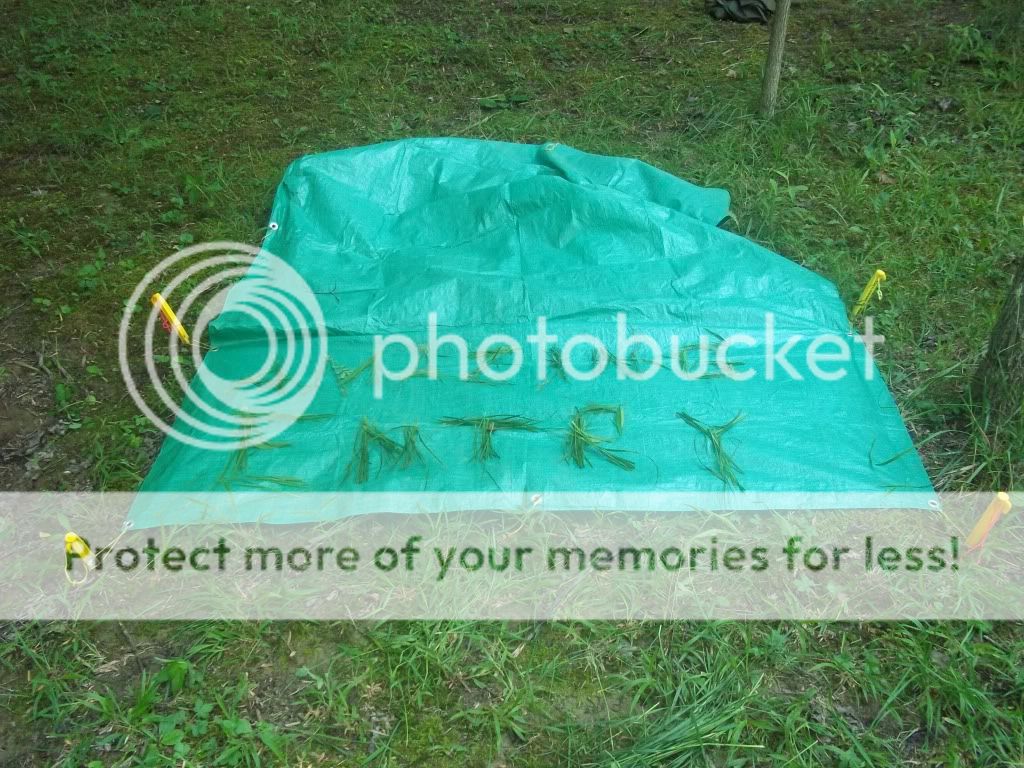
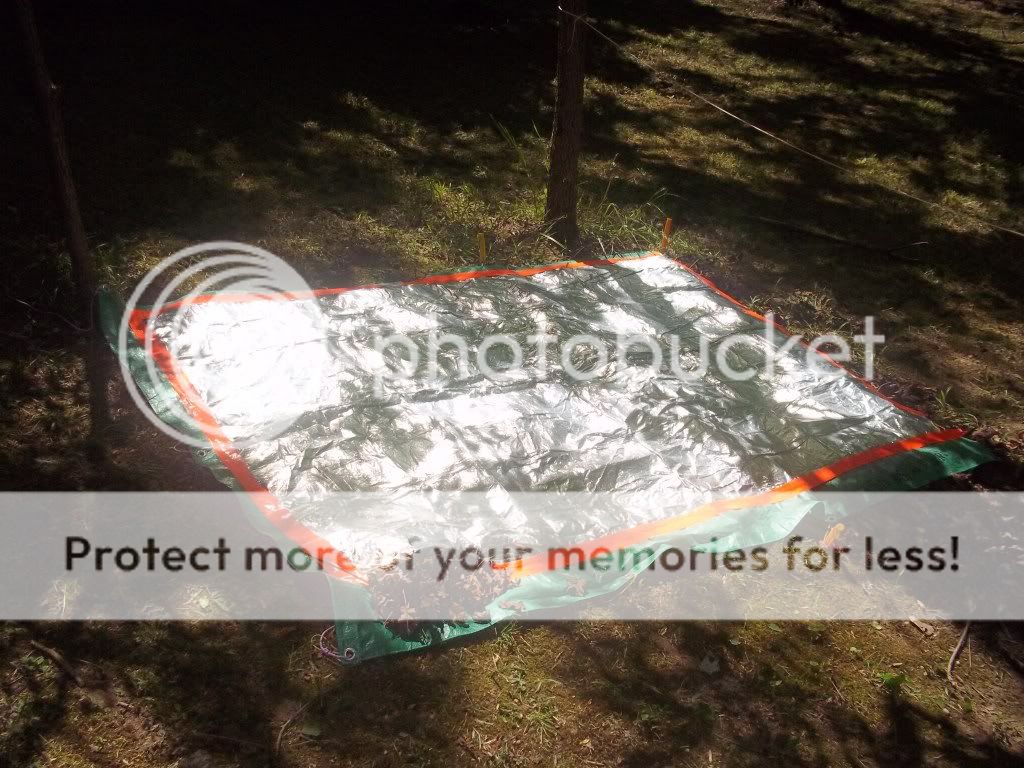
One of the first thigs they all should be carrying is a bright orange trash bag. Folded up it is small enought to fit in a back pocket. The ones the Department of Highways uses are really good because they are heaver than most regular trash bags. To use simply poke a hole in the top for you head (so you can breathe) and there you are instant shelter! You can also poke arm holes out the side if you want.
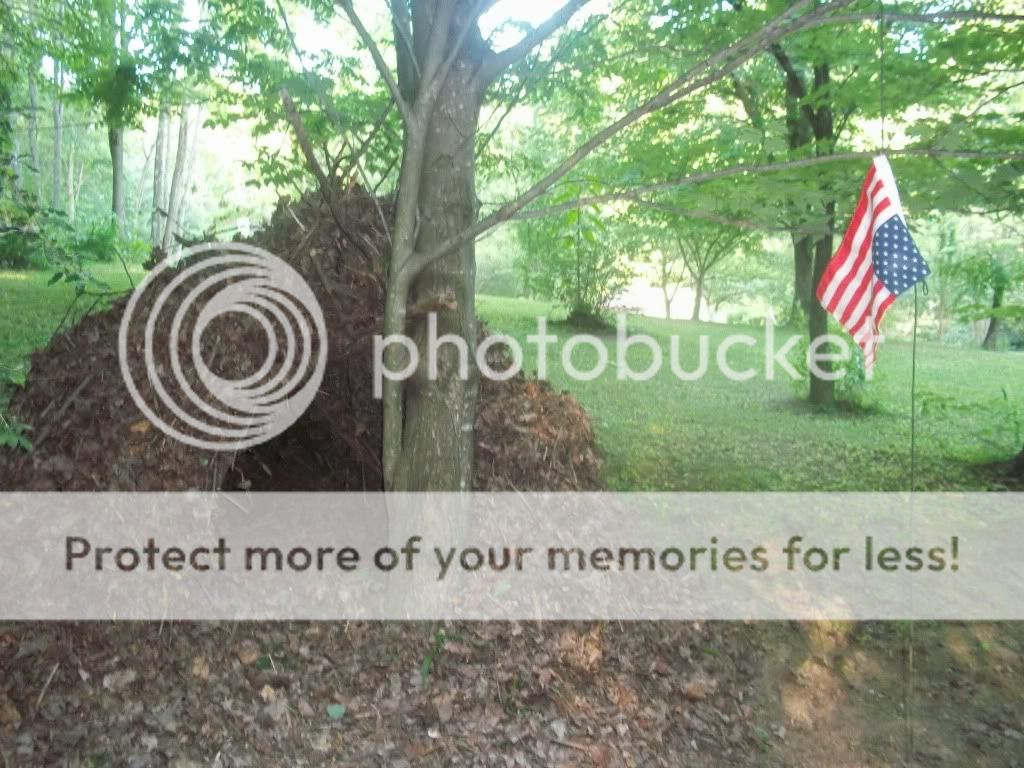
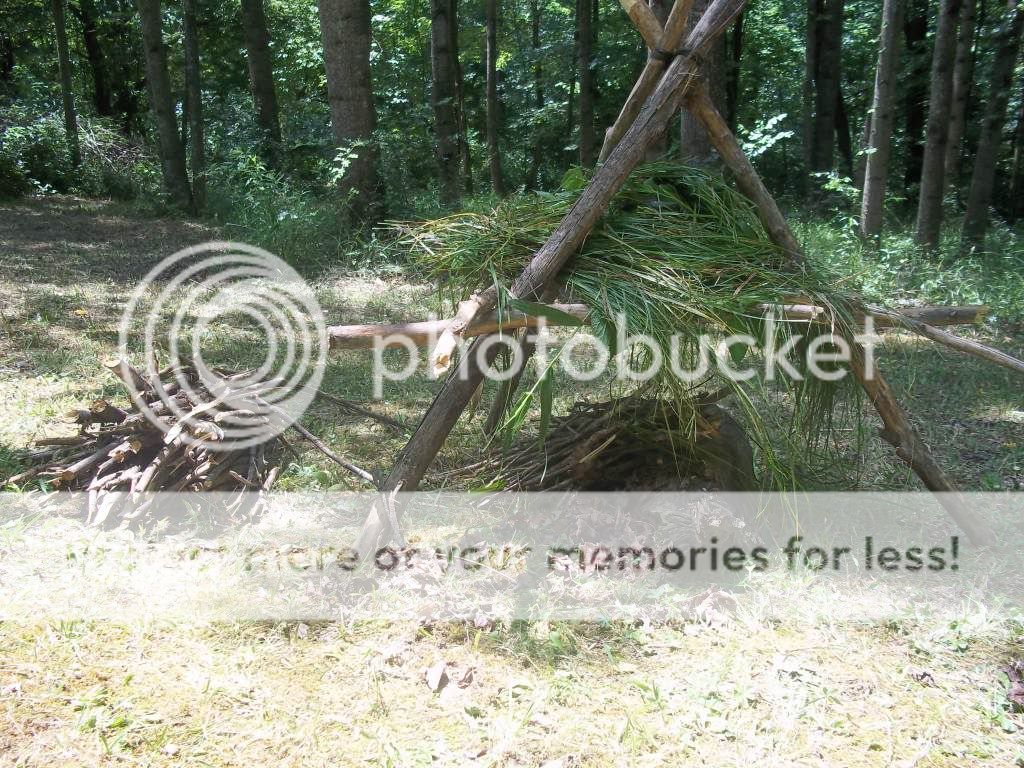
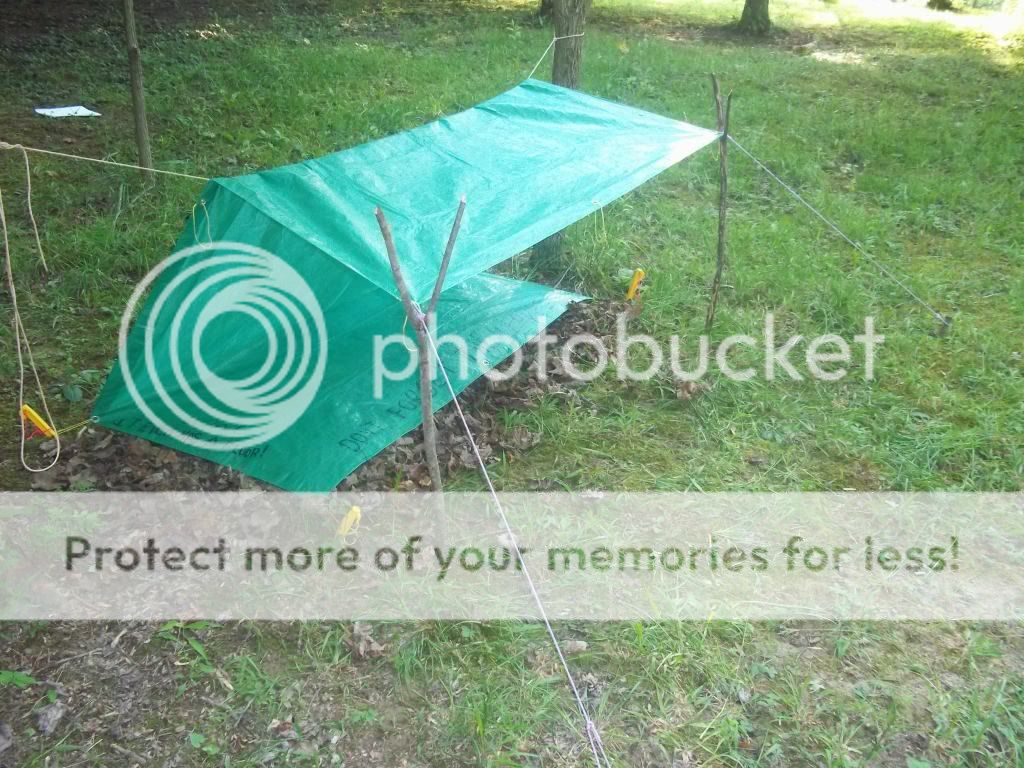
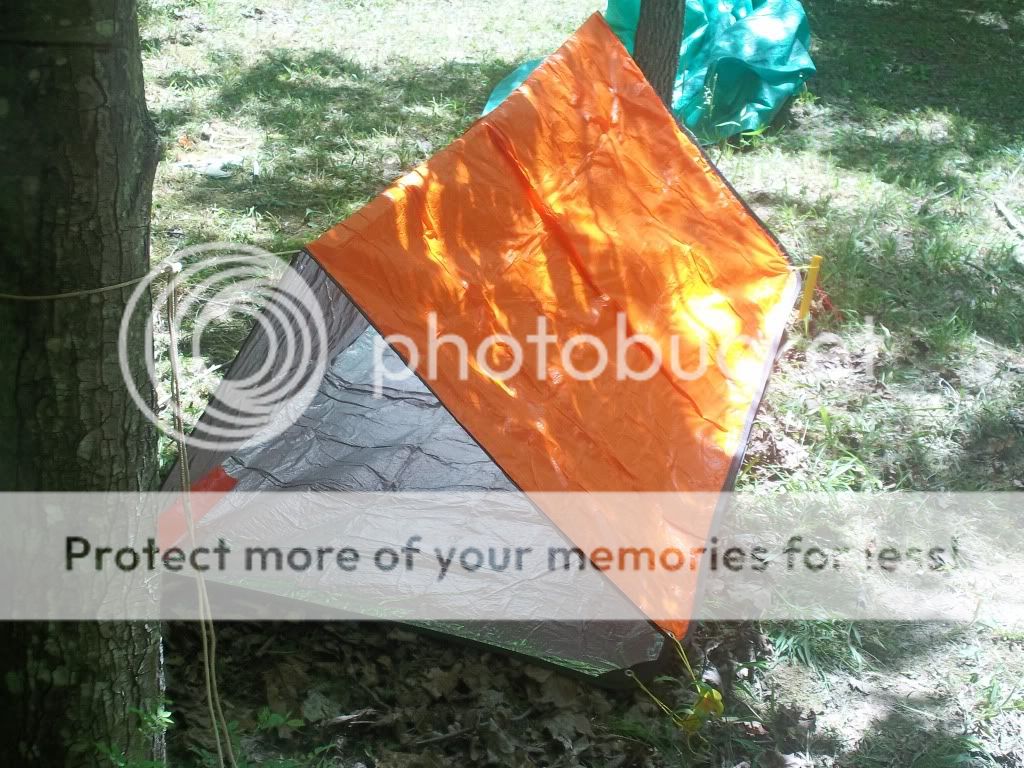
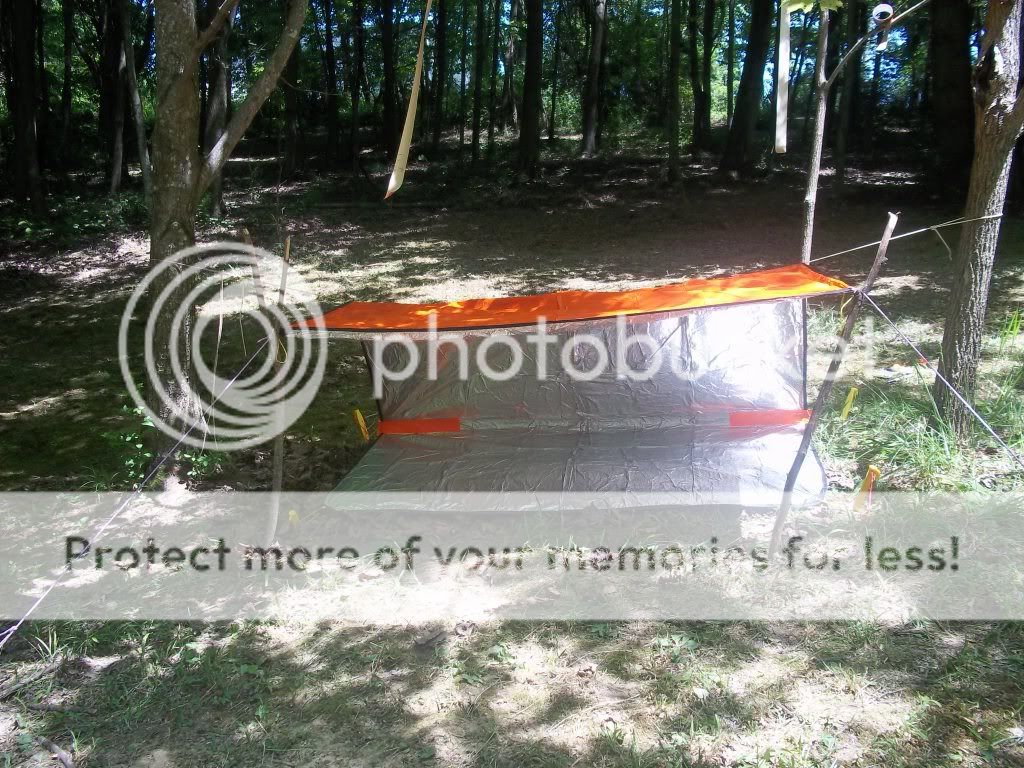
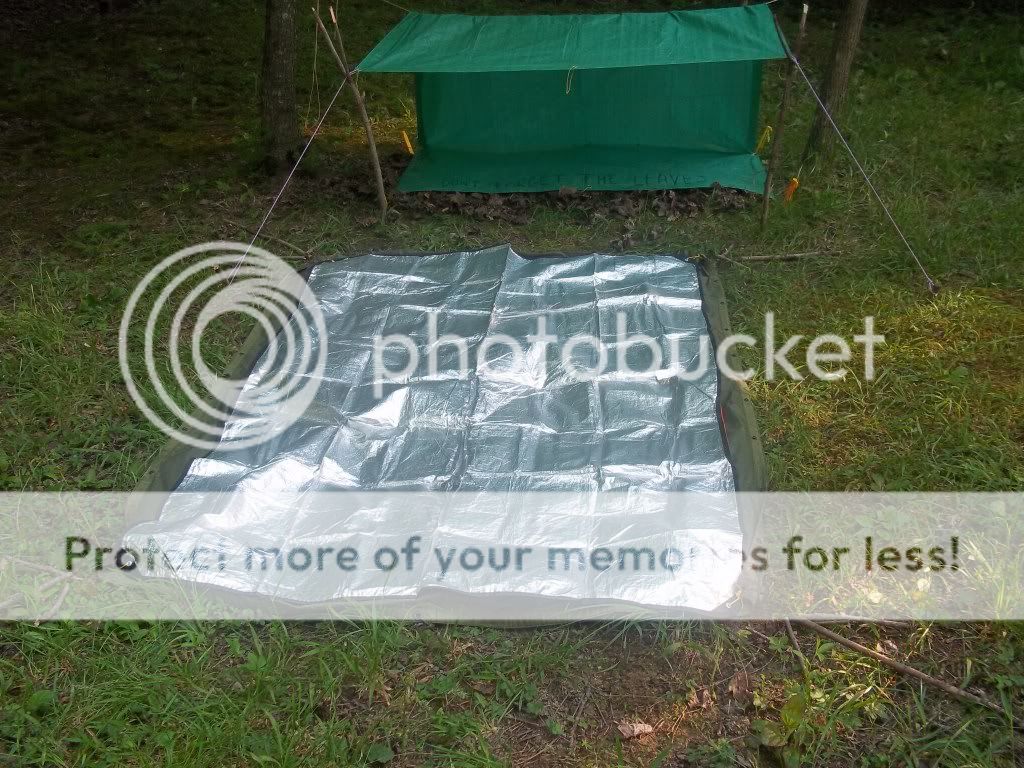
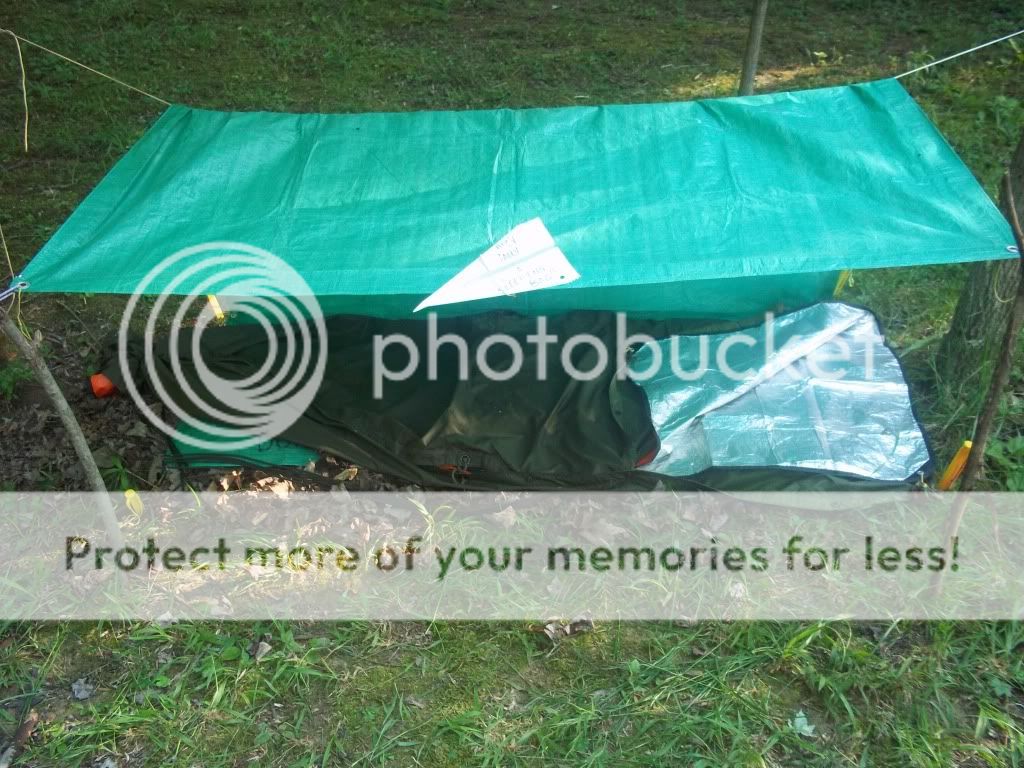
That would be the quick shelter to keep them dry and warm for the night. The next day it would time to put some work into a nice debris shelter. The one I made here required nothing other than what was found on the ground. Had this been and actual survival shelter I would have used a lot of green material - pine branches and leaves to help shed the water and keep the debris on top of the shelter. The shelter should be at the edge of a clearing in case search and rescue aircraft came by he would be easier to spot, as compared to if he was in the deep parts of the woods.
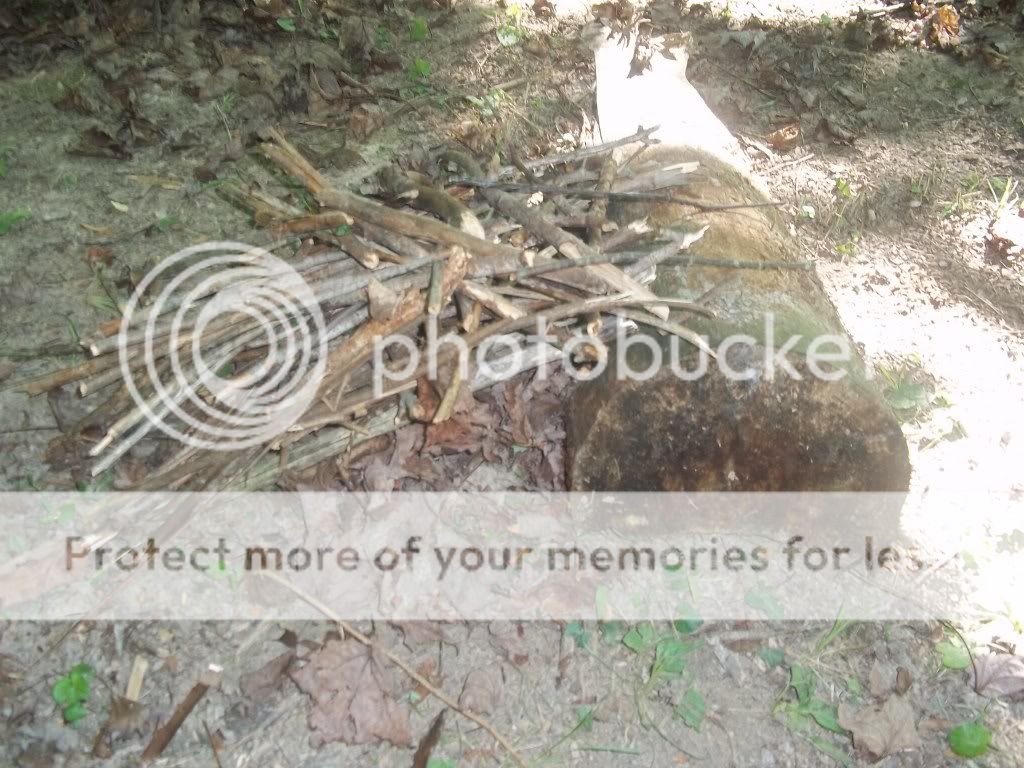
To build the shelter- First I found a "fork" in the tree and leaned a strong pole diagionally from the ground into the split. Next I began to lay sticks on each side of the pole for the roof structure
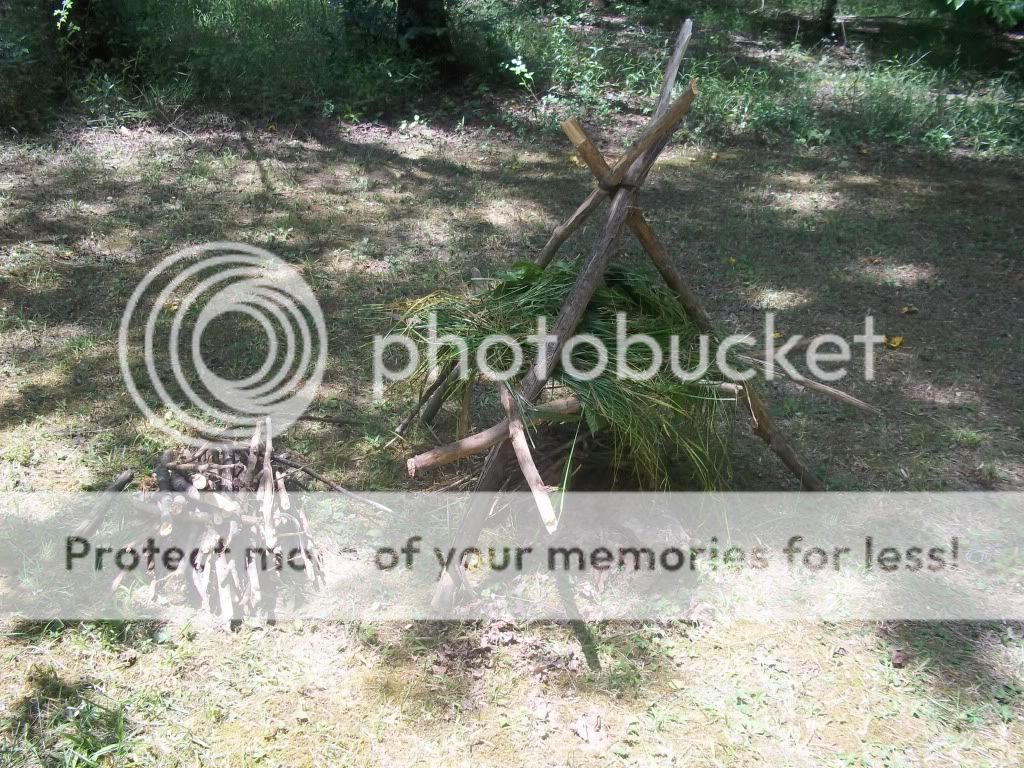
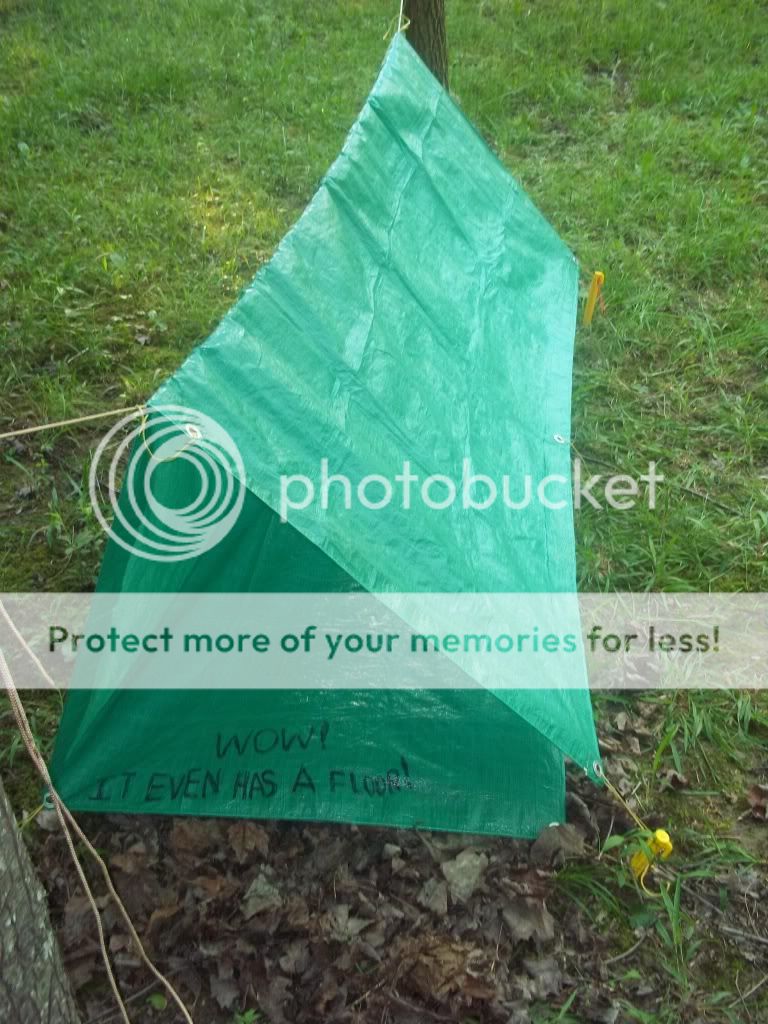
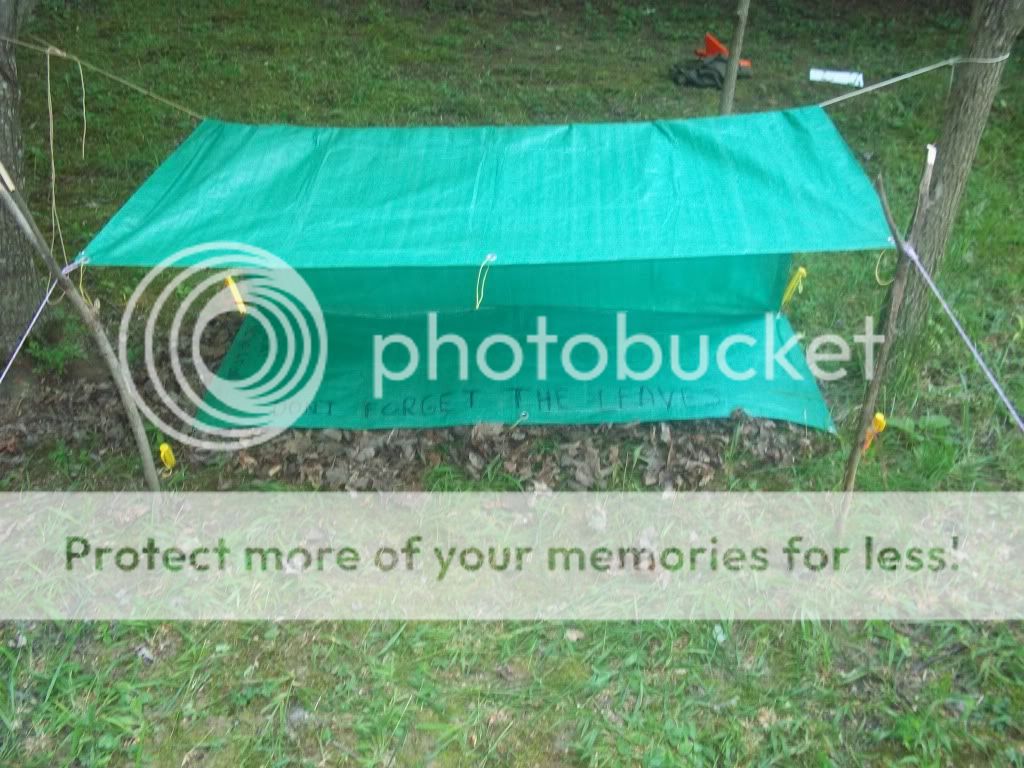
The rest is simple, just start gathering up leaves and putting them on top. A lot of the leaves will fall through into the main part of the shelter at first, but don't worry because that is good, because you want as much dry leaves in you sheter as you can get because this will keep you warm and dry and off the cold ground which will suck your body heat out. I once read that the right amount of leaves you should have on your shelter would be if you stuck your arm into the leaves it would go up to your shoulder.
Also in this photo you will see the American Flag (you never know what a young scout will carry) flying upside down. This is a sign of distress that would be a good SIGNAL that you needed help.
One of the enemies of survival is boredom. Building a shelter like this will fight that feeling of boredom. It would also be something that would keep the young scout in one place and he wouldn't want to wonder from this place, his new home away from home. A strong word of caution though do not build your fire to close to your debris shelter. If you look it is a giant fire lay. However if you place large flat rocks around your fire and heat them up you can carefully transfer the heated rocks to the inside of your shelter giving you warmth from the bottom up.
FIRE BUILDING
Fire is so important to survival, just think of where we would be today if we didn't have fire. For me practicing building a fire is different than making a flame. If your young scouts only practice firebuilding as having a flame you are only teaching them half the process of firemaking. I see a lot of scouts get the flame and not prepare the firelay or have the extra fuel needed for the fire only to have their flame quickly burn out leaving the scout without the feeling of complete success.
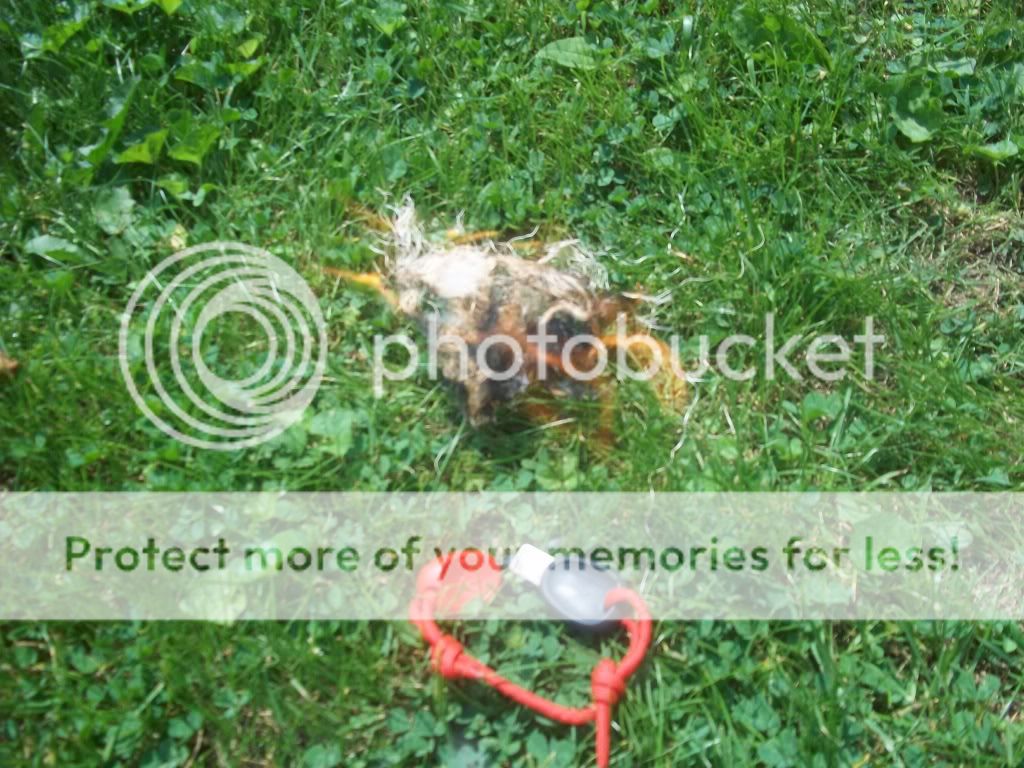
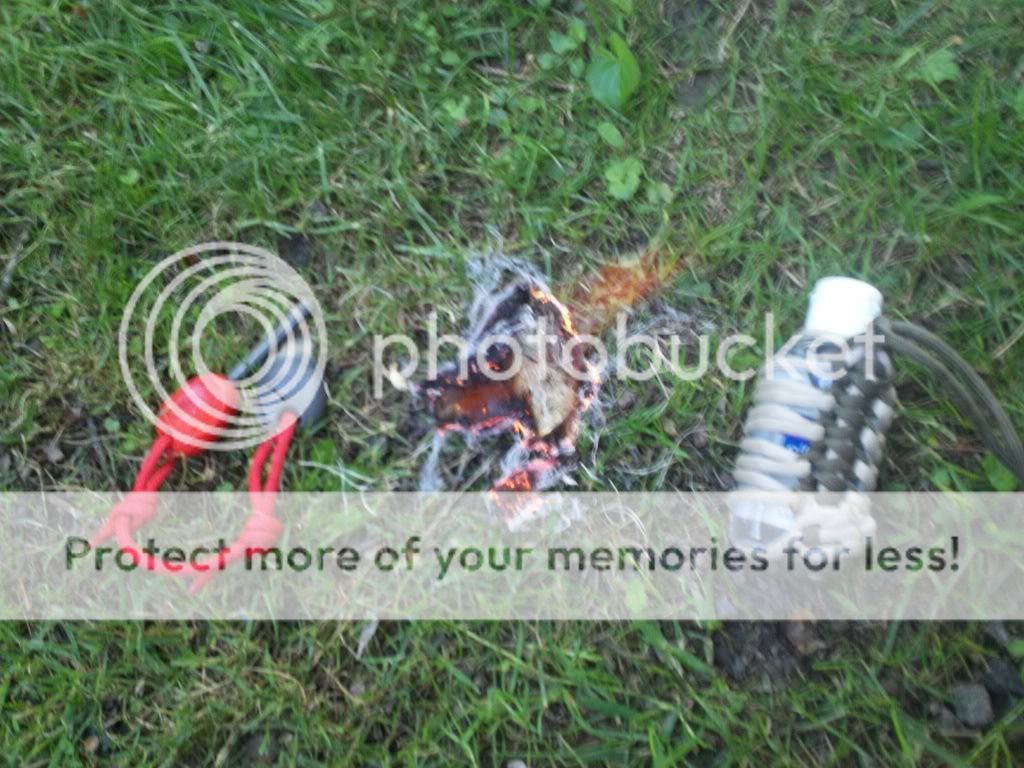
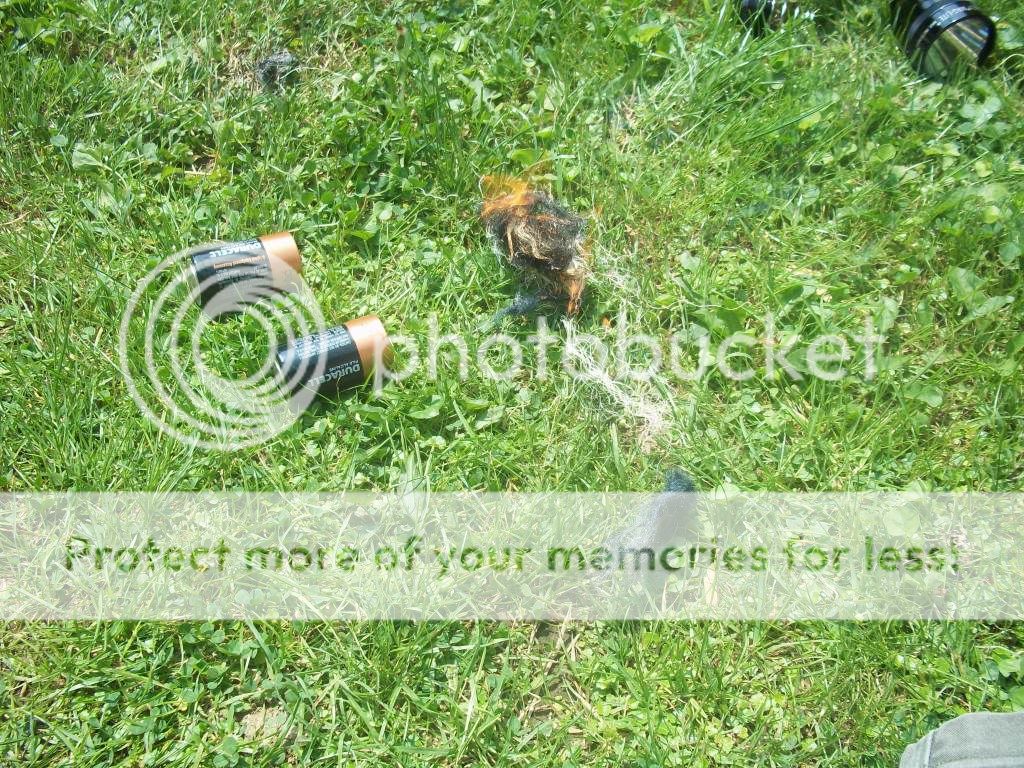
First to talk about ignition sources, ways to make a flame. In these methods you will see me use the frayed parts of a natural fibre rope and charred cotton cloth (charcloth).
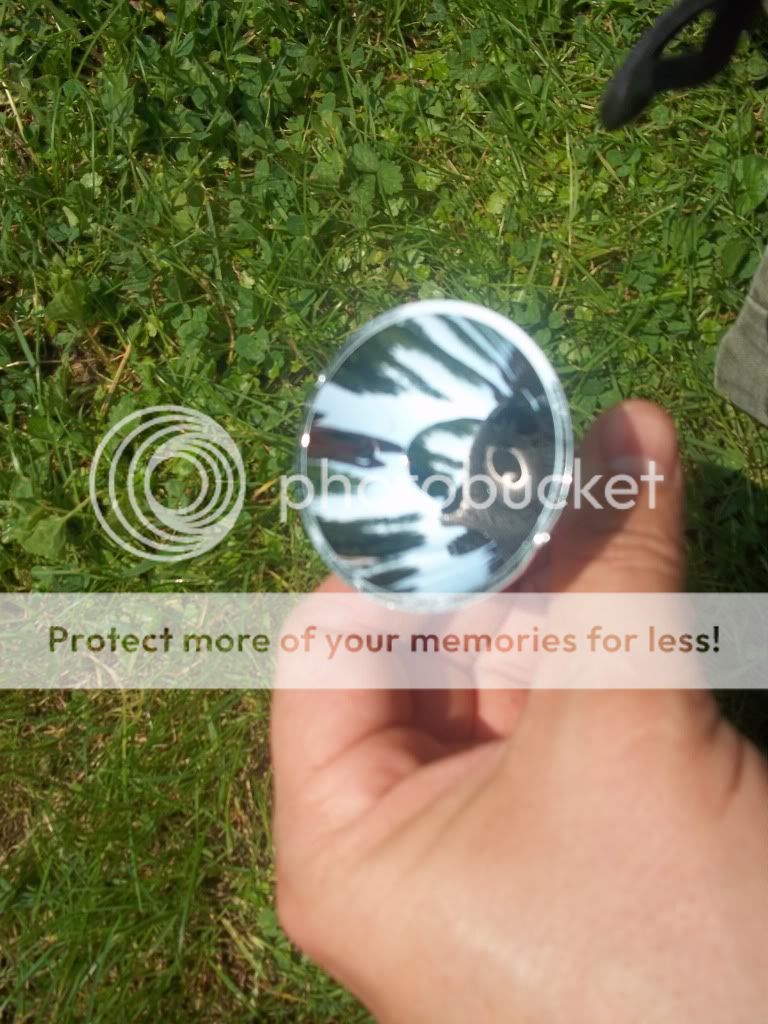
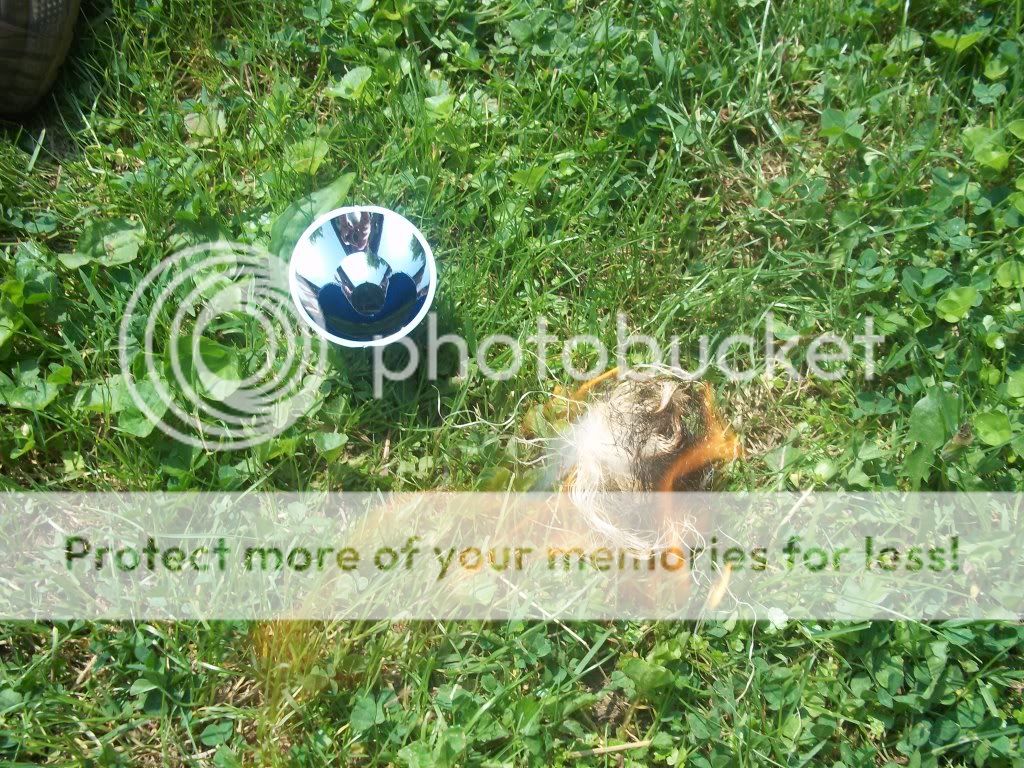
A type of magnifying glass - this one is part of a compass. Focus the light through the magnifying glass into a concentrated spot and you wll see it begin to glow.
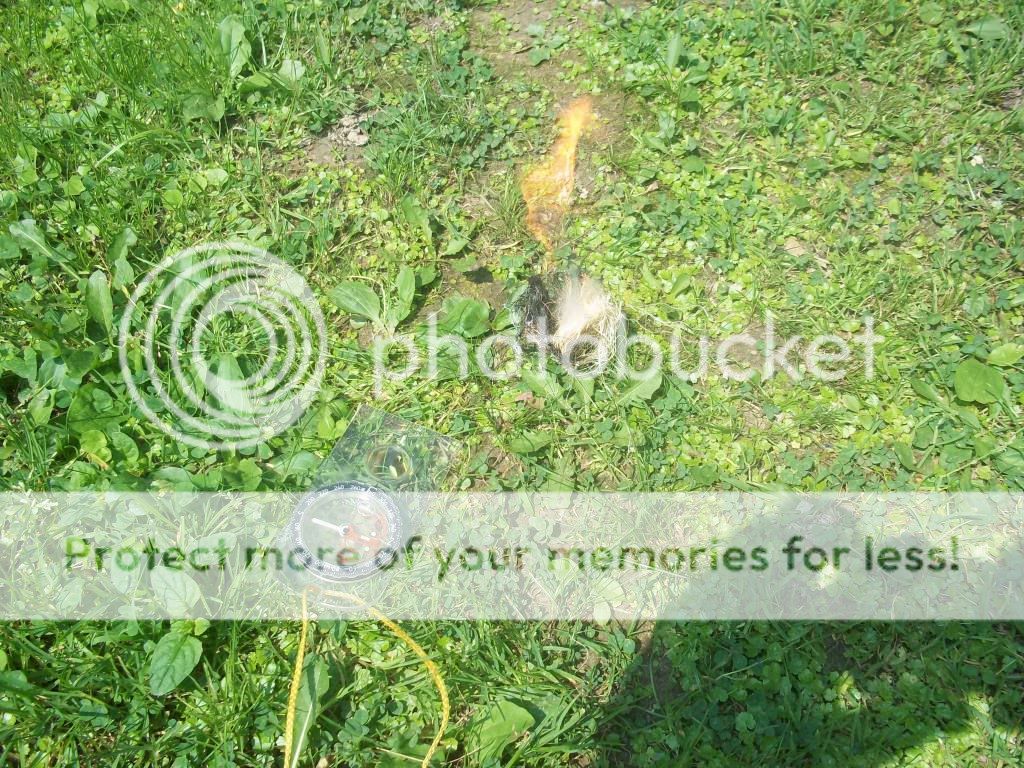
Wrap it in the nest loosly and give it air and you have flame.
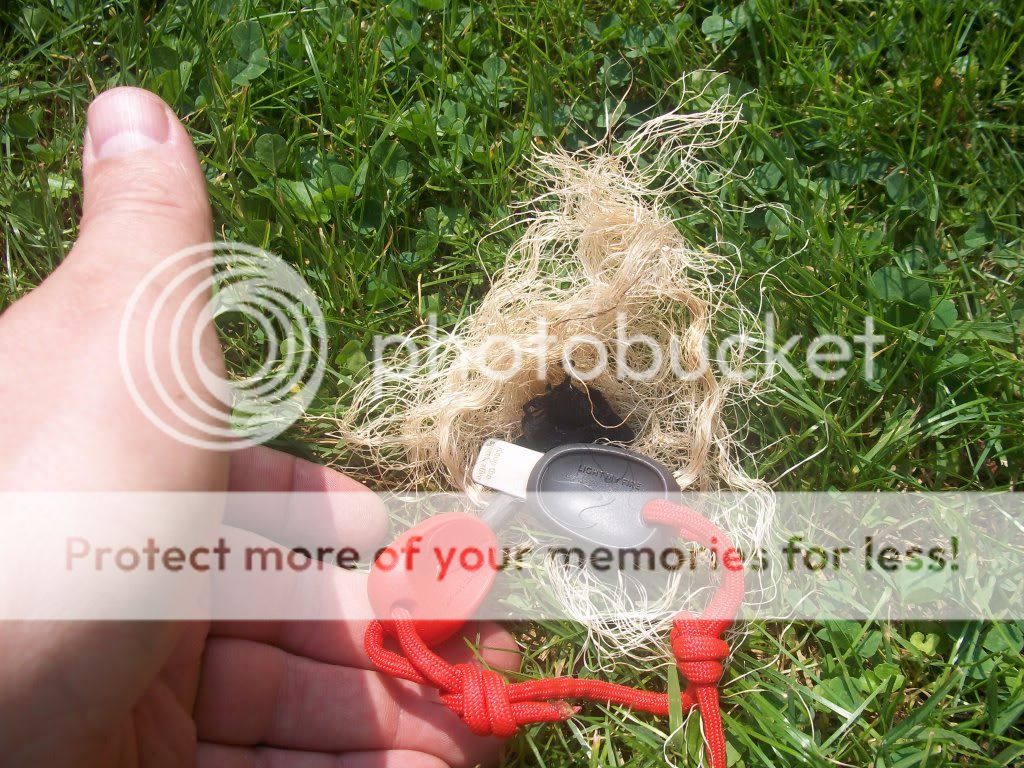
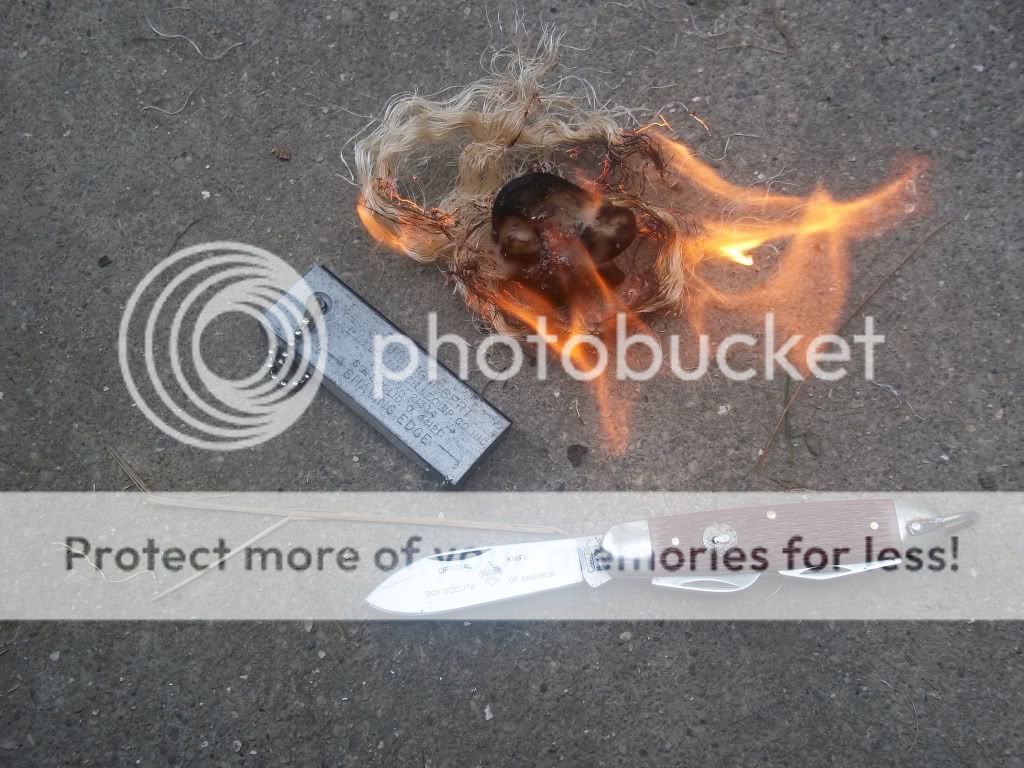
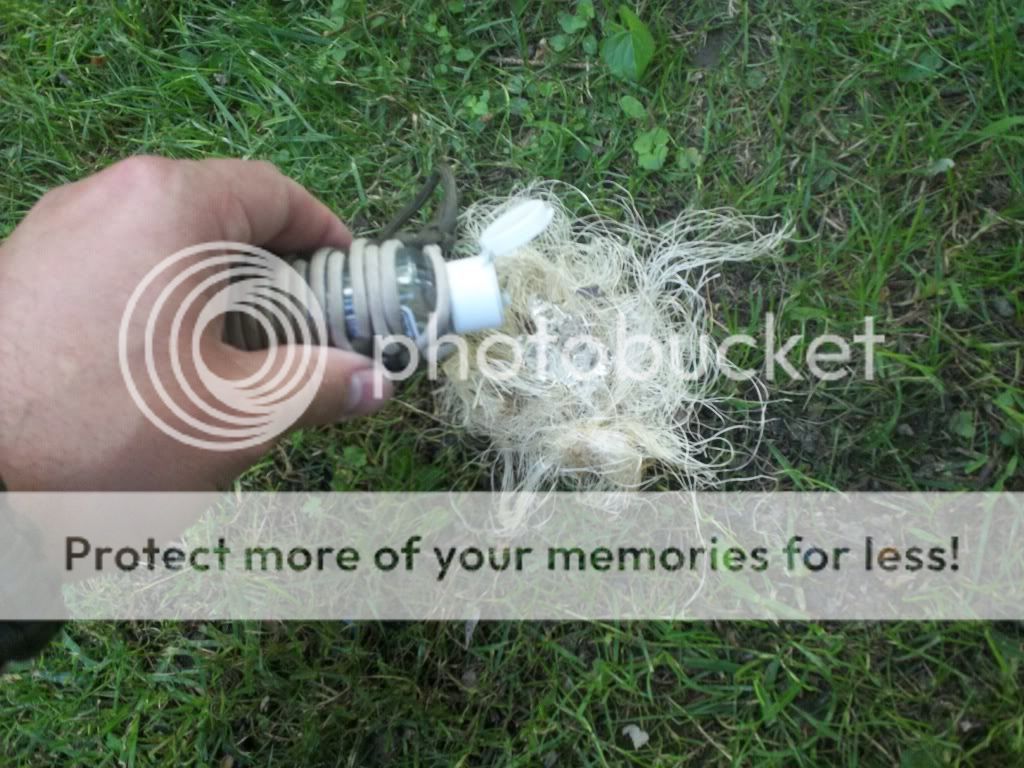
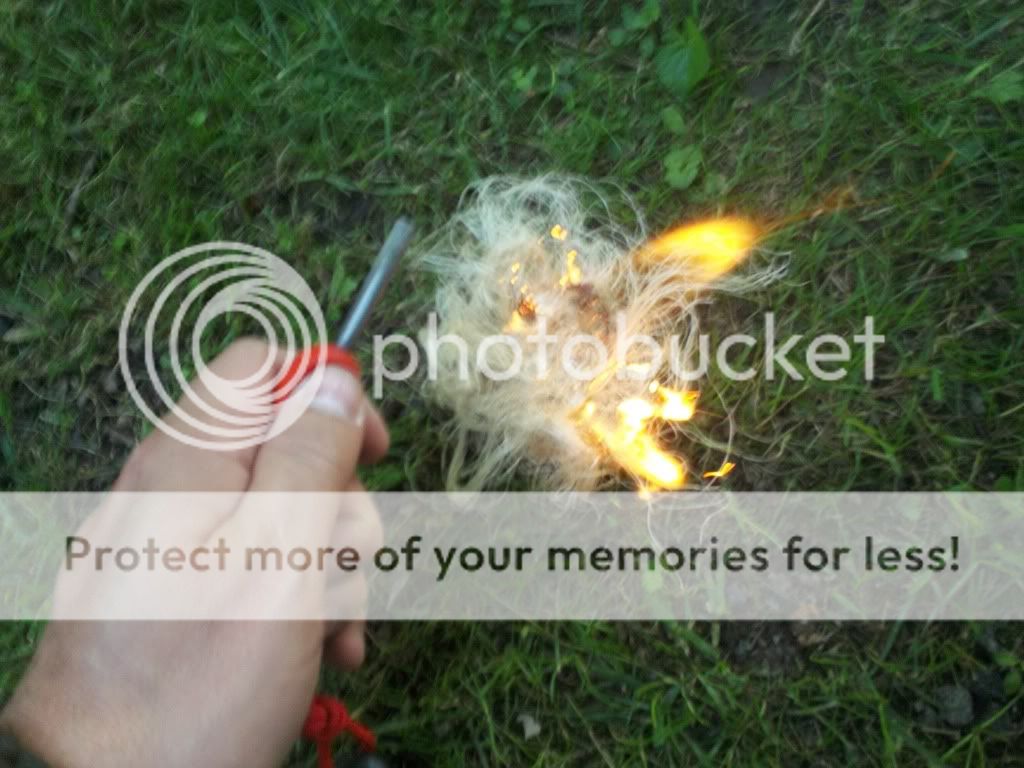
A modern "flint and steel" set. (The striker is also a whistle which you can use for SIGNALING). First set up your tinder bundle withe the nest and charcloth in the middle. Scrape the steel
down the flint rod to throw sparks on the charcloth.
Watch for one of the sparks to develope into a glow in the charcloth. When you see the char cloth glow wrap it in the nest loosly and give it air and you have flame.
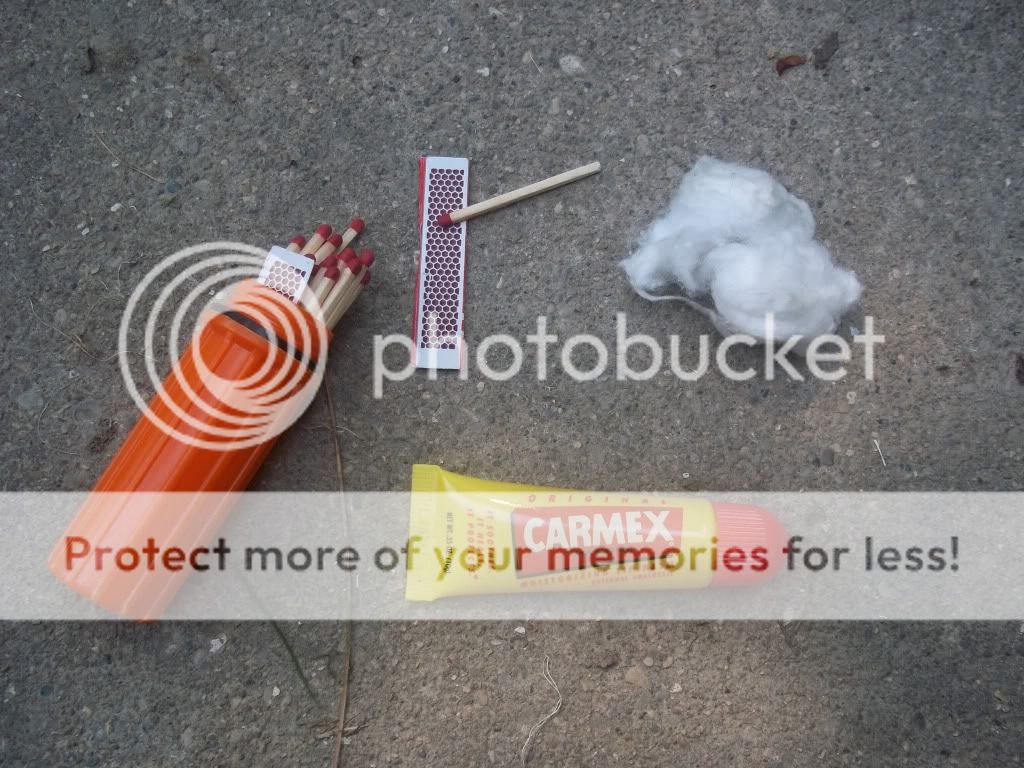
Matches in a waterproof case. For me this is two ways to start a fire. Inside the match case I keep matches, the strike plates (torn for the side of the match box) and some cotton balls. Also in my pouch I carry something for chapped lips. I carry the kind that is like vasoline because I can also use it to spread on the cotton balls to help them to burn longer. I'm not going to make a fire using the match because hopefully you guys already have this concept down.
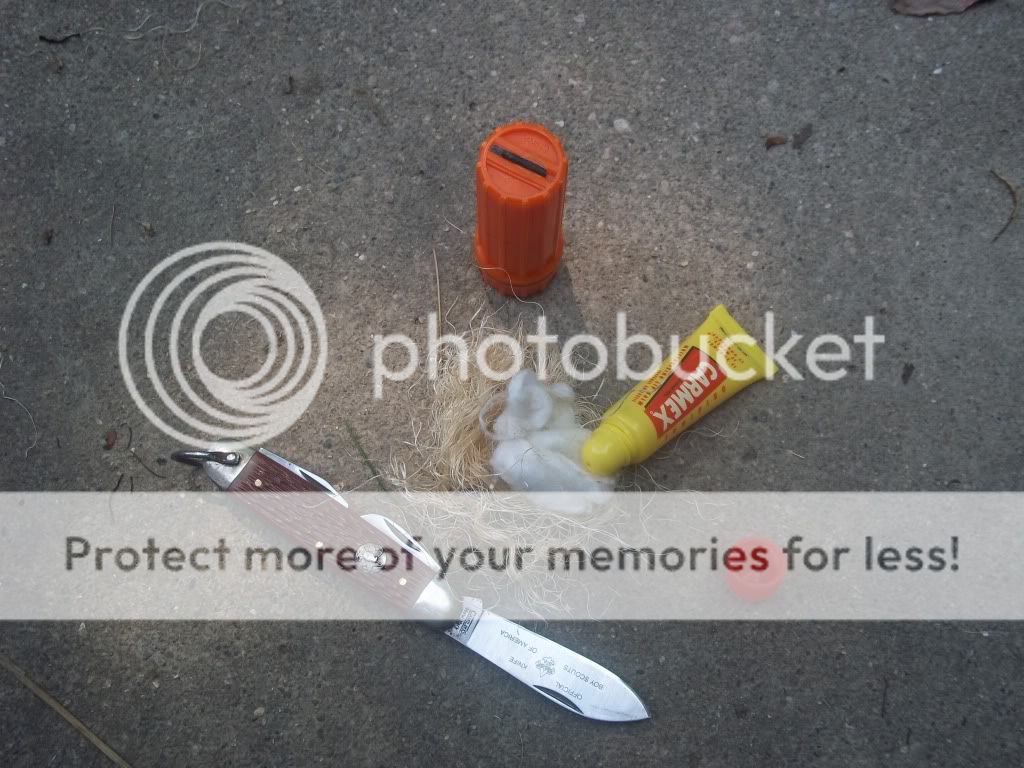
However what I am going to talk about is the matchcase. On the bottom of most of these waterproof match cases is a small piece of flint, when you also have a knife you can throw a spark into your catton ball with vasoline, wrapped in your nest.
When you see the cotton ball begin to burn wrap it in the nest loosly and give it air and you have a nice flame.
The Magnesium firestarter..a bar of magnesium with a flint striker on the other side. On the magnesium side use a knife to scrape a small pile of shavings (about the size of a fifty cent coin). The problem I always found was keeping the shavings together without bumping and scattering all the shavings...the trick is to spread some of the "chapstick" vasoline onto a cotton ball and the shavings will stick to it and not scatter into the four winds. Also magnesium burns hot....but real fast... so you have to be ready for the quick flame. The cotton ball also cures this problem because the magnesuim will light the cotton ball. Once you have the pile of magnesium, turn the bar over for the striker and strike it into the magnesium pile.
Don't forget to wrap it into your birdsnest. When the spark hits the magnesium you have flame.
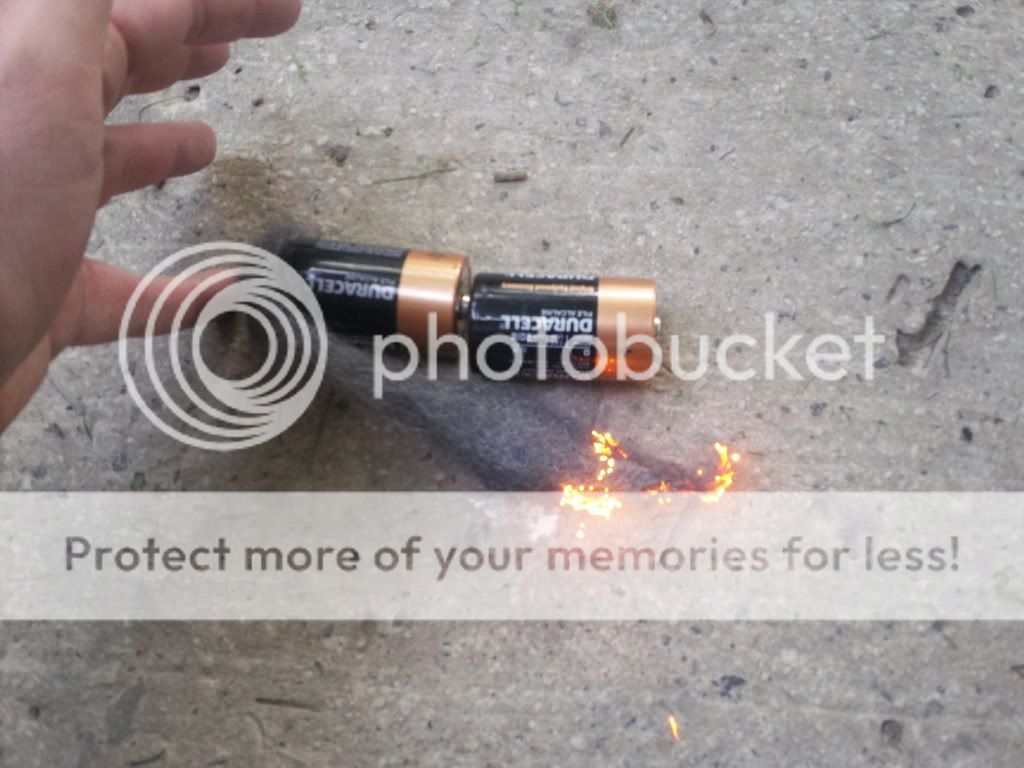
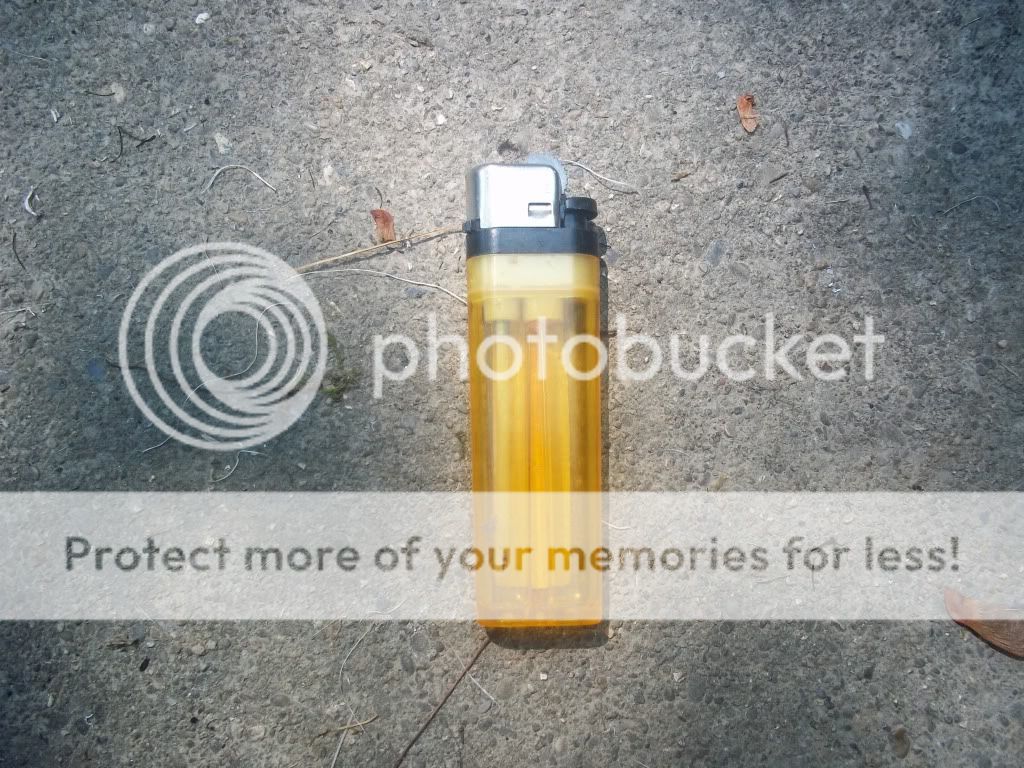
The disposable Lighter. Three points about the disposiable lighter. One- some of them come with a flame adjustment on the back, some don't and just produce a small flame. Try to get one that you can adjust into a larger flame. Point two - a lot of people try to light a campfire with a disposable lighter and the hold the flame on for a couple of minutes to light the fire only to find that the extended time they kept the flame on has melted the plastic workings of the lighter and now you may throw away of the lighter with the full amount of fuel left in the lighter. Third point is just because it runs out of butane it still can throw a spark, sparks as you know can start fires.
One thing I tell my guys is carry a candle. A match may last 10 - 15 seconds but if you light the candle it will give you 20-25 minutes to get your fire lit. Also in the photo are some pop bottle cap firestarter. Place a cotton string in the cap and fill with wax. When it comes time to lite your fire lite your wick and place the whole thing in your firelay.
Alcohol based hand gel is an excellent fire starter. Squirt some in your tinder bundle and all it takes is a spark to get it going.
As we talked about previously, the flame is only part of the fire making process. The young scout should remember that before trying to get the flame they must have a shelter for their flame to live in to grow into a nice warm fire. Also to grow their flame will need to be fed small sticks then when it gets bigger it can have bigger sticks.
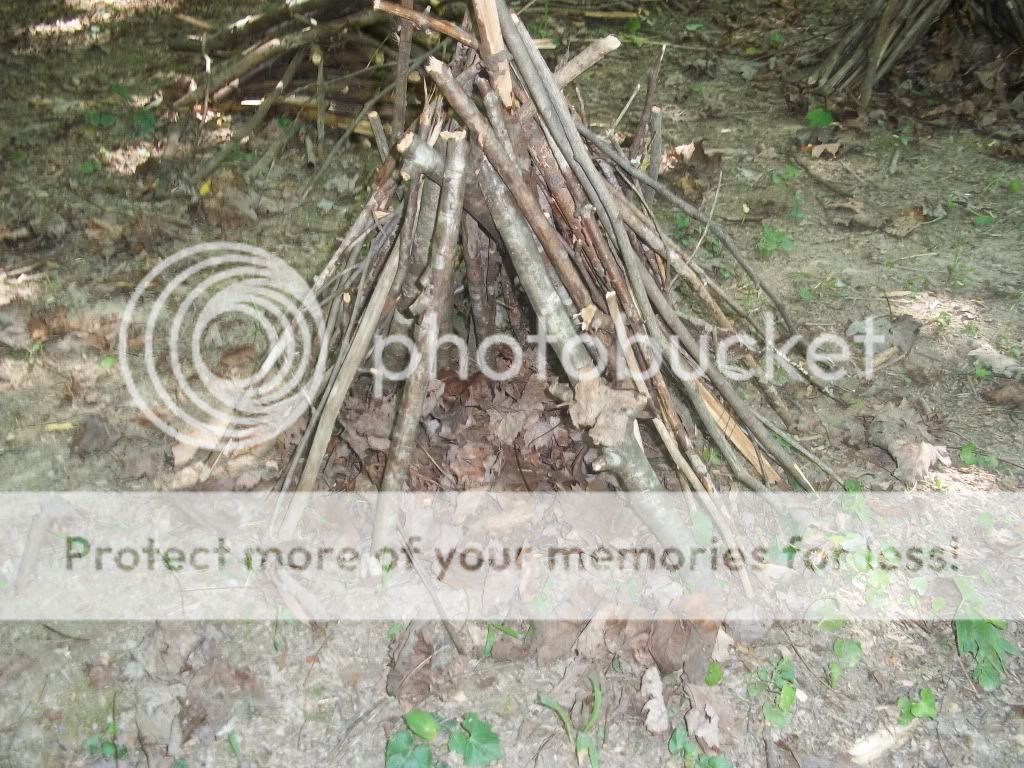
Just like people build a sheter for themselves they will need to build one for their flame. These shelters are called firelays.
By pushing a stick diagionally into the ground and then beginning to build the sides up with small sticks and then larger ones. The young scout will find a shelter much like the debris shelter he built for himself, only using sticks instread of so many leaves. Once built you make your flame place it in the shelter you have made for it and with care it will grow and help keep you warm and safe.
Another firelay is the traditional teepee firelay. Lean the sticks into each other like a teepee and you have another shelter for your flame to grow into.
The third is the lean to type firelay. Find a big log and lay the sticks against it. Remember use small sticks first because a flame must eat small stuff first before it can grow and eat bigger sticks.
Fires like to eat, just like we do. If you do not feed them they die so have plenty of sticks ready to feed your fire before you make a flame.
SIGNALING-
MESSAGE TO YOUNG SCOUTS If you get lost people will seach for you - I PROMISE! - It might take a little while to figure out you are lost so stay put and help the searchers find you.....
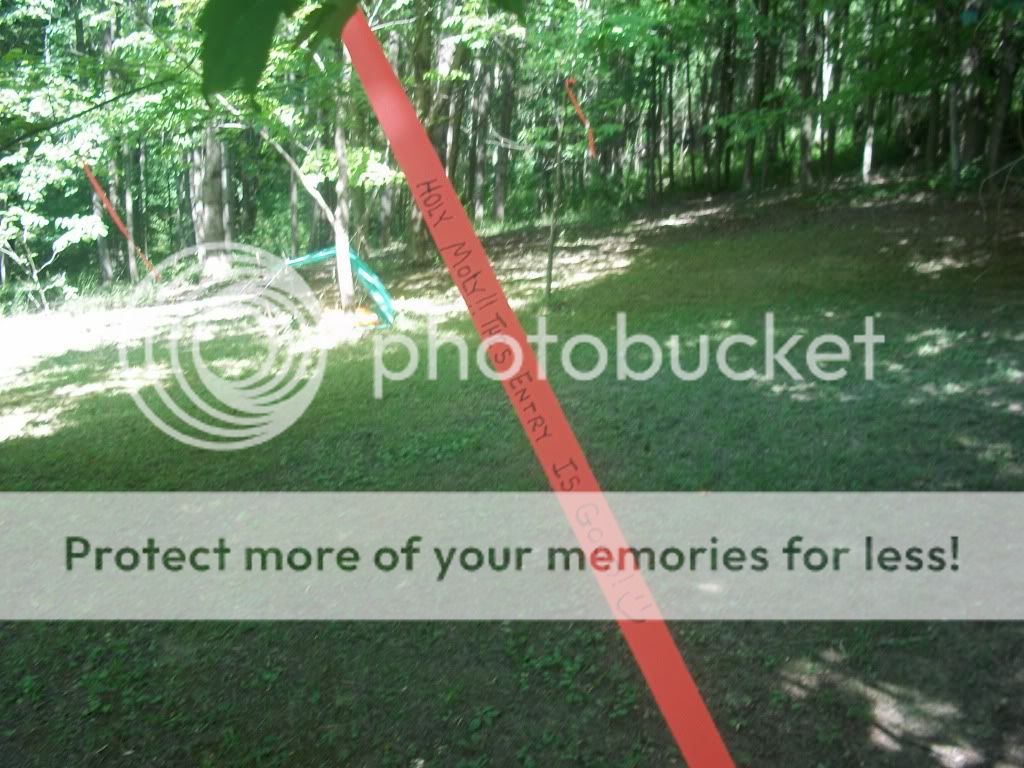
Trail Tape is your friend - carry a roll of trail tape - bright colored. Tear pieces and hang them in trees around your shelter. If you have a marker or pen you can write messages on the tape like help ..lost...shelter up the hill or other important messages.
Air to Ground Signals - Searcher will use aircraft to try to find you. Making a large "X" or an arrow pointing to your location. The bigger they are the easier it is for them to see from the air and remember to try to use contrasting colors....and again..Trail Tape is your friend. If you hear aircraft coming and have not had time to make an air to ground signal go into the middle of the field and lay down on you back and move you arms and legs just like when you make a snow angel. This will make you much easier to be seen than just standing there waveing your arms. Remember from high in the sky things lookd different from on the ground.
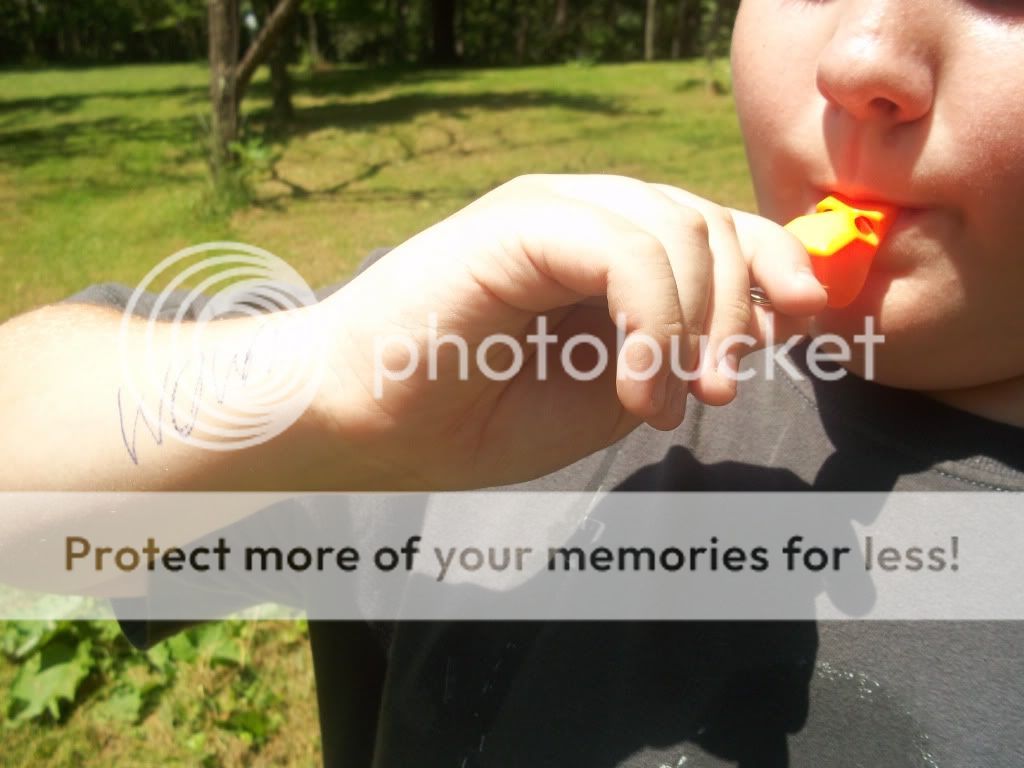
One thing a young scout should carry with them at all times is a loud pealess whistle. The reason I say pealess whistle is during the summer a pea whistle has been found to sound like the night insects at a distance. Teach them to blow the whistle in sets of three - three of anything usually means I NEED HELP (three words).
A small signal mirror could be worth its weight in gold. I prefer the ones with the aiming device in the middle as they seem to be easier for the scouts to use and it also seems to give them confidence they are hitting what they are aiming for. There is a video on youtube that shows a signal mirror being flashed from 40 miles away. At 40 miles it is faint, but it is there one the less.
http://www.youtube.com/watch?v=C8UZEDFkaVw
Smoke generator - At night a good fire can be a signal, however during the day smoke is better. By building a small tripod and using lashings make a small shelf from sticks. Pile green vegitation on the shelf. The shelf should be close to the fire so when the fire hits the green vegitation it produces a lot of smoke which can be spotted by aircraft and ground searchers.
Some of the newer LED Mini Mag Lites (AA Battery size) have a setting that will flash Morse Code SOS. Check the package to see if the one you are looking at in the store has this feature. Just remember these are flashlights that use batteries, so I wouldn't recommend leaving them on all the time and sucking all the juice out of the batteries, but definately if you think searcher might be close.
Cylume Light Stick - Glow or Light Stick - you all have used them on Halloween for safety so you know how bright hey can be. At night bend it and activate it and hang it outside you shelter. It will work even if you are asleep in your cozy debris hut.
This is the equiipment and skills I would want my boys to have and it all is from a pouch that should be carried on the scouts belt.