Sledge Hammers!

Ya once you showed me the pin I quickly realized that it was a bdu thing. I play a lot of games so I'm not used to bdu dark markings outside of bdus. Even on bdus I don't notice it, and that's the whole point I think. Anyway, it's cool that you remember your dad. That's all :)
FYI don't have to remember him because I see him every day 😁


I'm glad we got this all cleared up and can now get back to talking about hammers, and I apologize for sending this thread off track, I should've known better than try to prove an irrelevant point .
 
This is a pretty cool thread! :D
Chevrons for NCO's need crossed rifles anyhoo. :rolleyes:

I use this tool at work a lot! Nothing says "Do as I say!", like a BFH, nothing.

Dumpster find 8 pounder that had a busted pipe handle. I rewelded a better piece of short pipe with capped end. It was an early practice project when I took up welding, and I have yet to break it off like it was when I found it! :) (I spent money on the pipe and cap.)
 
When I worked doing metal fabrication at a yacht company, my boss had a hammer he rigged up with a welded pipe handle much like yours, only the head on his was a truly titanic quarry hammer.
 
When I worked doing metal fabrication at a yacht company, my boss had a hammer he rigged up with a welded pipe handle much like yours, only the head on his was a truly titanic quarry hammer.

I consider it a waste of a good sledge head, but they certainly get the job done and don't have to be worried about.
 
I think every fabricator with access to a welder has done this at least once. :D

In the factory I work in we actually have some guys running around with gnarly looking concoctions of heavy plate and rebar to smash things with.
 
How'd you get the proper temper back in it ? BTW that turned out great👍

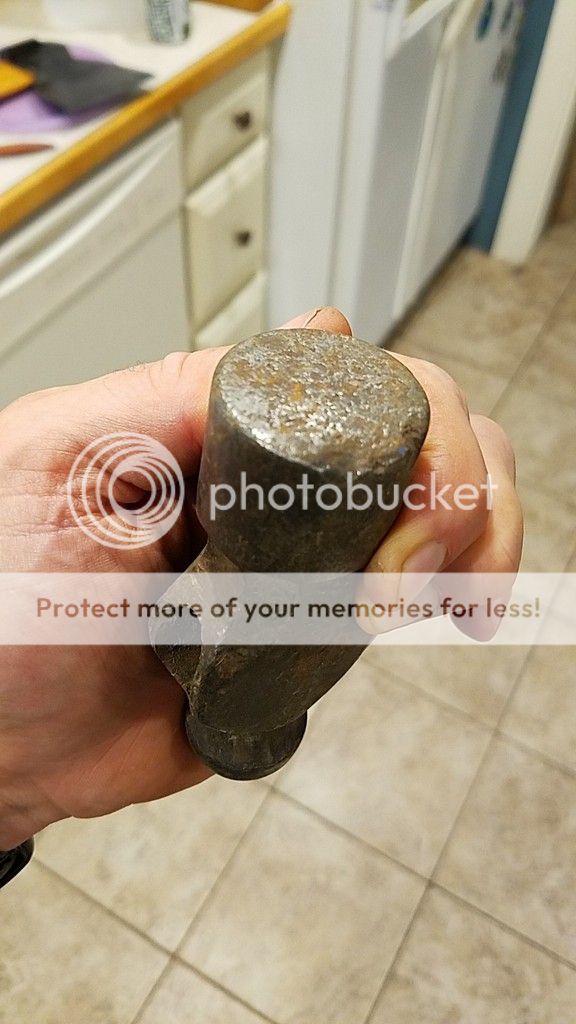
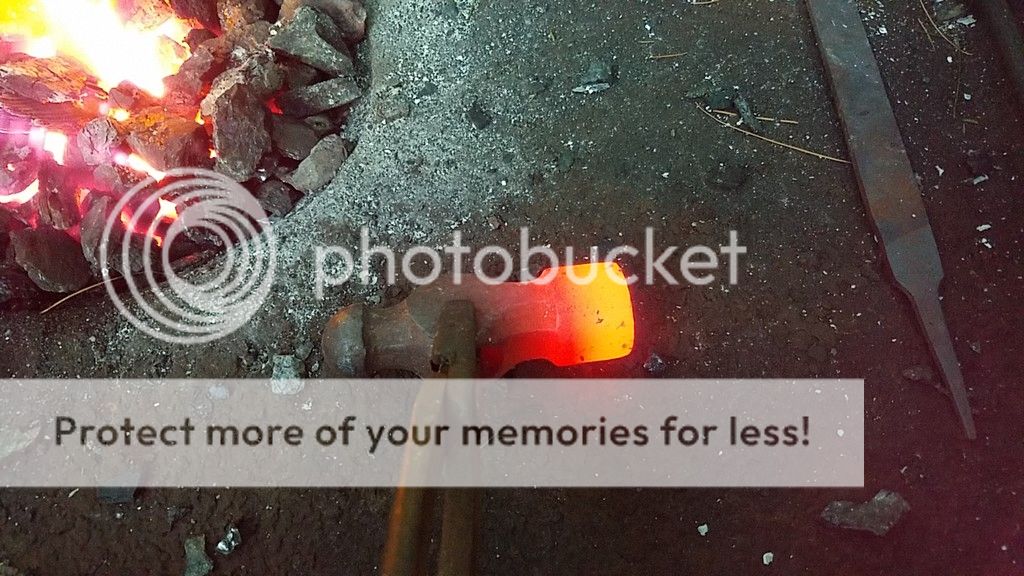
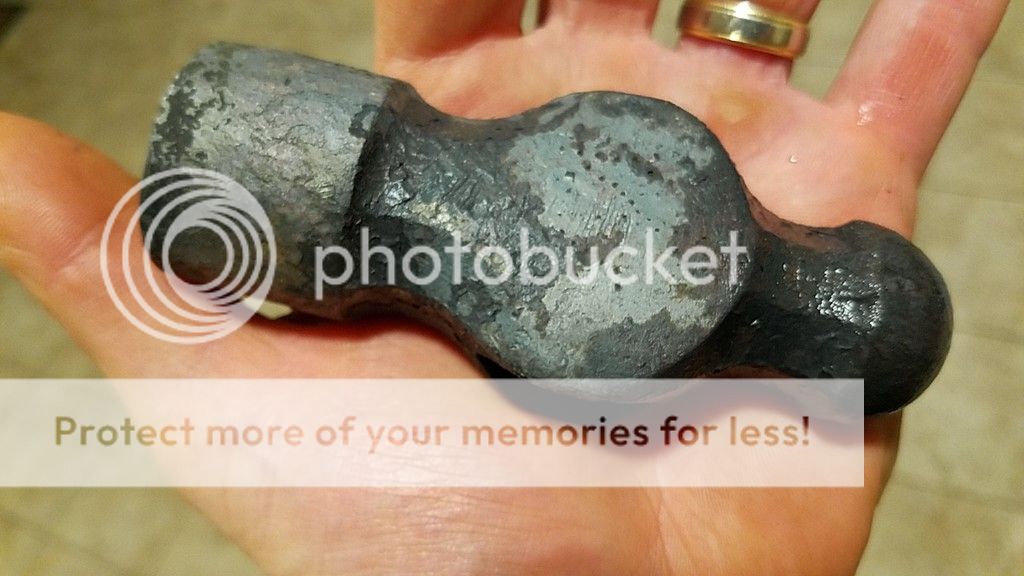
I don't know about proper temper, but I looked online about heating to a certain color then re-quenching. I did my best, amateur, non-scientific, just winging it temper. I'm sure that it isn't quite right and may be way off, but I was antsy to use the forge and I figured I would grab a worthless 1.5lb chipped ballpein head to use as my play-doh. I just wanted to hit hot metal! At best this is a usable hammer, at worst it will be too hard. This is one that I will not sell and will use for general tasks. I'll see how it works.

I've watched a bunch and read a bunch but have no practical experience. I think that I will follow along a beginner's course and start with pointing cold chisels and working my way up. My goal is to forge an axe/hatchet head that is of respectable quality. I'm a long way from that but I'll get there. I have a few heads that I've saved that are in great shape but have some even/symmetrical eye swelling that I want to fix. Light heat and shaping will make them easy physical fixes, but the heat and re=tempering is what I need to be careful with.


All of that looks like more fun than I had yesterday!

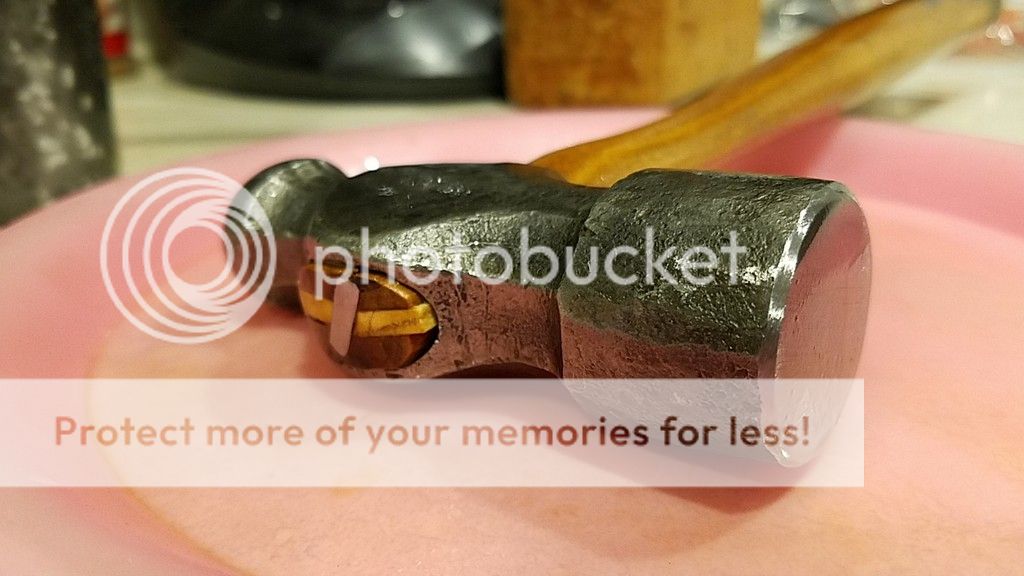
The temper crossed my mind but I wasn't the first thing. I was thinking you were doing exactly what you said here - having a good time getting your hands dirty and starting something you have wanted to probably for a long time. Also that hammer face was cleaned up nice, that head has a cool color cast to it, the steel wedge looks well set in the contrast of the kerf and wedge materials.

Also was thinking I want to see the handle lol.

Thanks for taking and sharing the pictures too.


Now you just need a decent anvil...
 
I had some fun tonight, and this head needed cleaning up.


Looks like you had a good time! Good to see your forge lit.

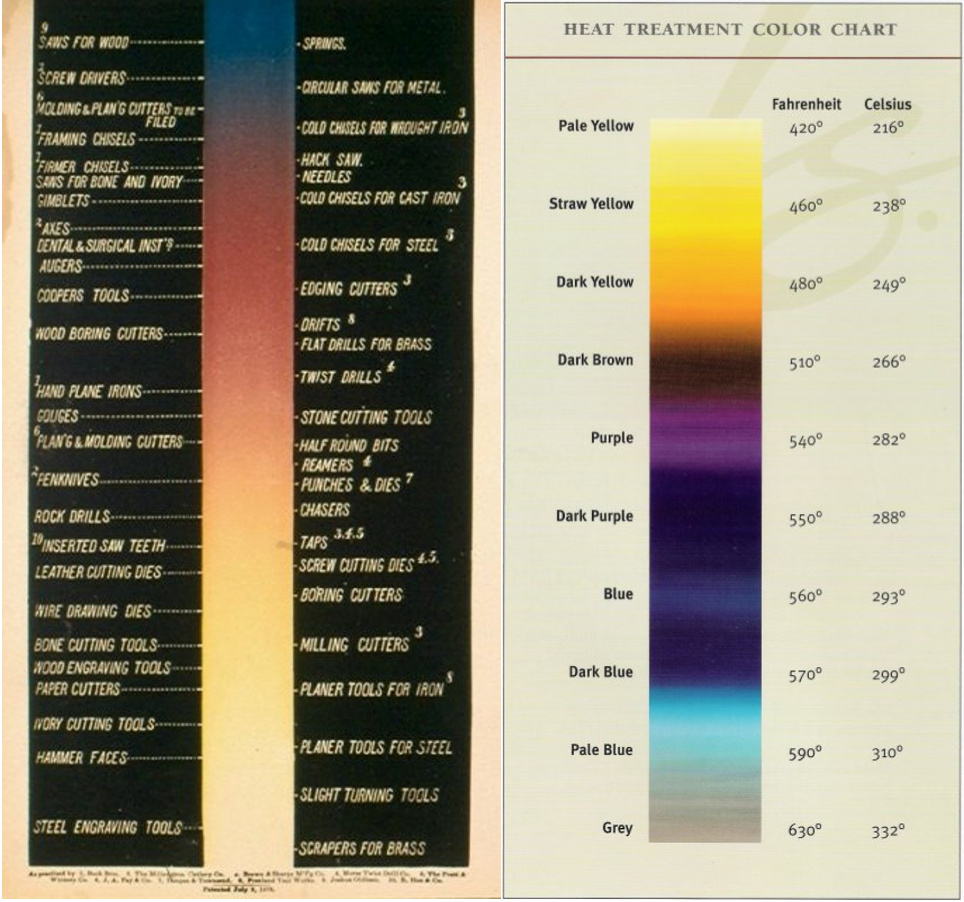
One relatively simple way to heat treat a hammer face is to harden it and temper it in the same heat. To do this you'll need some color charts and a 60 or 80 grit flap disc ready on your 4-1/2" angle grinder. Heat the face to non-magnetic (varies by steel but cherry red or 1500°-1600°F). Take the heat the full length of the hammer side up to the eye - the eye area needn't reach full temperature. Quench the face 3/4" deep leaving residual heat in the rest of the heated portion of the tool. Then quickly clear a patch of metal leading out to the face with the angle grinder. Get it just to shiny - should take only a couple seconds.

Immediately you'll see the temper colors start to run from the hot steel to the cool quenched face. Pay attention to the color. When the pale straw color hits the face quench the whole tool again.

Temper%20charts.jpg


Err on the side of too soft. You'd rather a hammer face that gets dinged up to a hammer face that shatters.
 
Not quite a sledge... Well almost... We have been watching that TV show barnyard builders lately and they have mentioned a 'beetle' or 'persuader' a couple times.

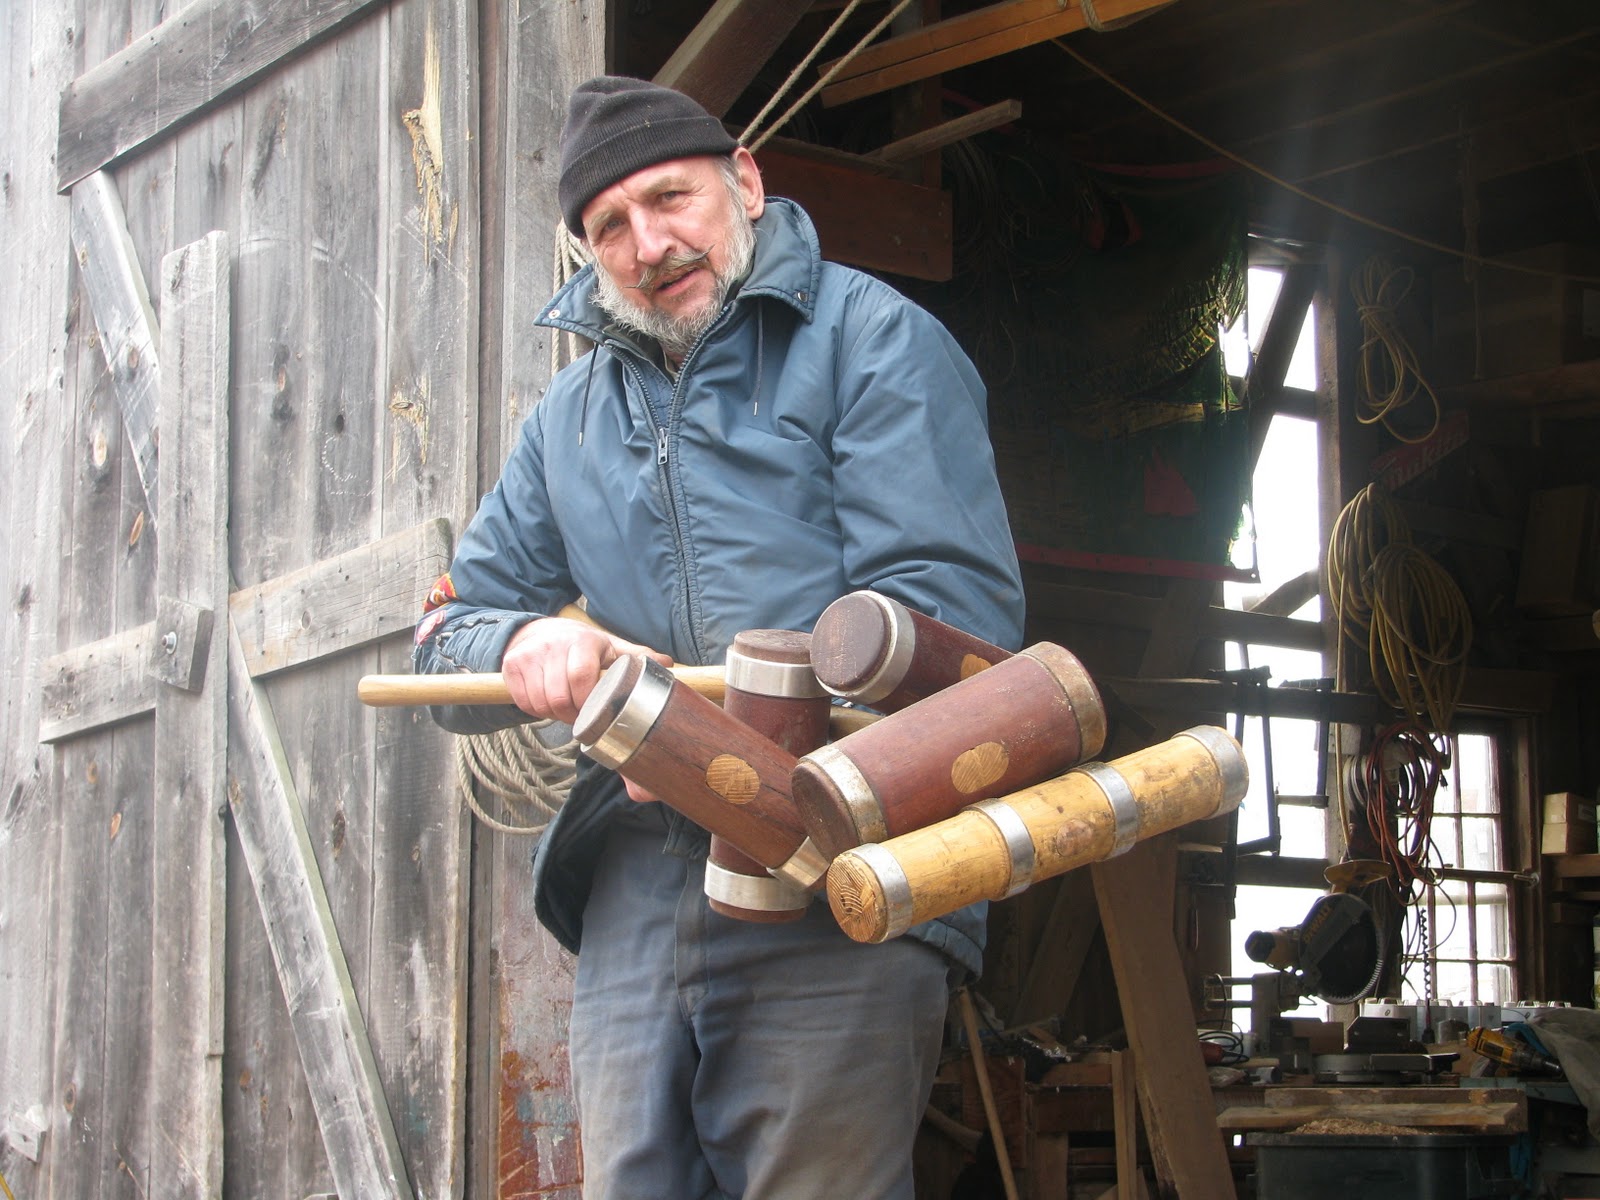
Had some sections of maple laying around which I used for my first and second attempts. I can get the head formed fine with a hammer & chisel + axe/hatchet and then a bow saw for the ends but when I try to put a haft into it it splits every time. Haft is just an old section of oak 4x4 that I trimmed down. To make the eye in the head I've been boring a pilot hole (with drill press) and then putting a small-ish bow saw through the hole and cutting the eye by hand. The eye is big enough (or looked big enough in the online photos I've found) that I tapered it so its wider at the top and slightly more narrow at the base. This way I can slide the haft in through the eye and it wedges itself in place with use, without the need for a kerf slot or wedge...

Any advice on how not to split the head? Should I be focusing more on straps to go around the head before I try and put the haft in? I've been using sugar maple because I have tons of it laying around. Should I be using pine/fir? The heads have been splitting either immediately when I try and hammer in the haft, or very quickly after I start using it (gently to make sure the haft is seated in the head). For the record I have absolutely zero use for this thing other than a cool factor. Its heavy... the first two came out to be around 30# which is ridiculous.

beetle-edge-back3.jpg
 
Had my eye on this old sledge for couple of weeks. Well today was the day. The origina,l hickory handle with bark intact is what I like most.
40056e0a42b8140e97fe0fda5971761c.jpg


Sent from my HTC6535LVW using Tapatalk
 
I don't know about proper temper, but I looked online about heating to a certain color then re-quenching. I did my best, amateur, non-scientific, just winging it temper. I'm sure that it isn't quite right and may be way off, but I was antsy to use the forge and I figured I would grab a worthless 1.5lb chipped ballpein head to use as my play-doh. I just wanted to hit hot metal! At best this is a usable hammer, at worst it will be too hard. This is one that I will not sell and will use for general tasks. I'll see how it works.

I've watched a bunch and read a bunch but have no practical experience. I think that I will follow along a beginner's course and start with pointing cold chisels and working my way up. My goal is to forge an axe/hatchet head that is of respectable quality. I'm a long way from that but I'll get there. I have a few heads that I've saved that are in great shape but have some even/symmetrical eye swelling that I want to fix. Light heat and shaping will make them easy physical fixes, but the heat and re=tempering is what I need to be careful with.

Sounds good 👍
Knowing that I probably couldn't replicate the hardness I would've tried to make a tomahawk out of it, but that's just me
 
...Any advice on how not to split the head?...

How about having the taper for the wedging be only at the front and rear of the eye (and the front and rear of the handle), with the sides of the eye (and handle) being straight and the same dimension, so there is no side-to-side wedging that could split the wood grain.

(Full disclosure, I haven't tried this myself.)
 
Sounds good 👍
Knowing that I probably couldn't replicate the hardness I would've tried to make a tomahawk out of it, but that's just me

I'm only worried about it being too hard. But, this is a near worthless head ($ value not utility) and will be a great test subject.
 
I'm only worried about it being too hard. But, this is a near worthless head ($ value not utility) and will be a great test subject.

Definitely a good practice piece.
you could always give it a straw colored heat to soften it a tiny bit of it seems to hard. ( if you only use it on hot soft metal it probably won't be a problem though )
 
. . . Any advice on how not to split the head?. . .
Mabe not "real" advice since I have no experience with a beatle, but FWIW:


Don't take this in a critical way, but is the wood you are using sound?

The design in the article is new to me for a beatle. Most of the ones I am used to are like this:
HenrySandMallets.jpg


Here is a similar design to yours. It's a joiners mallet I made about seven years ago. It's roughly 5.5 x 13 inches made of red oak. It has seen some pretty hard wacks, but certainly not the kind of force that a beatle would be used for.
28058120413_e8ee9c8c4f_c.jpg

The main difference in design is the "cross pin". I believe adding one or more of these would lessen the tendency for splitting.


I found this article interesting.
28674008595_dd4b676b49_b.jpg

https://blog.lostartpress.com/2013/06/10/the-mallet-and-beetle/


. . . For the record I have absolutely zero use for this thing . . .
For the record me too, but I want one. :D

Bob

Here is an old video that's probably been posted before, but it has some pounding in it.
28056929754_a88b51e5cf_c.jpg

https://www.youtube.com/watch?v=f9-miG3J6n4
 
Any advice on how not to split the head?

Choose a wood with a coarse intertwined grain that is difficult to split. Elm and London Plane are great choices. Then bore your hole precisely perpendicular to the grain. This makes for the toughest least split prone hang possible.

See the grain on this T-handle auger?

Auger1.jpg
 
Back
Top