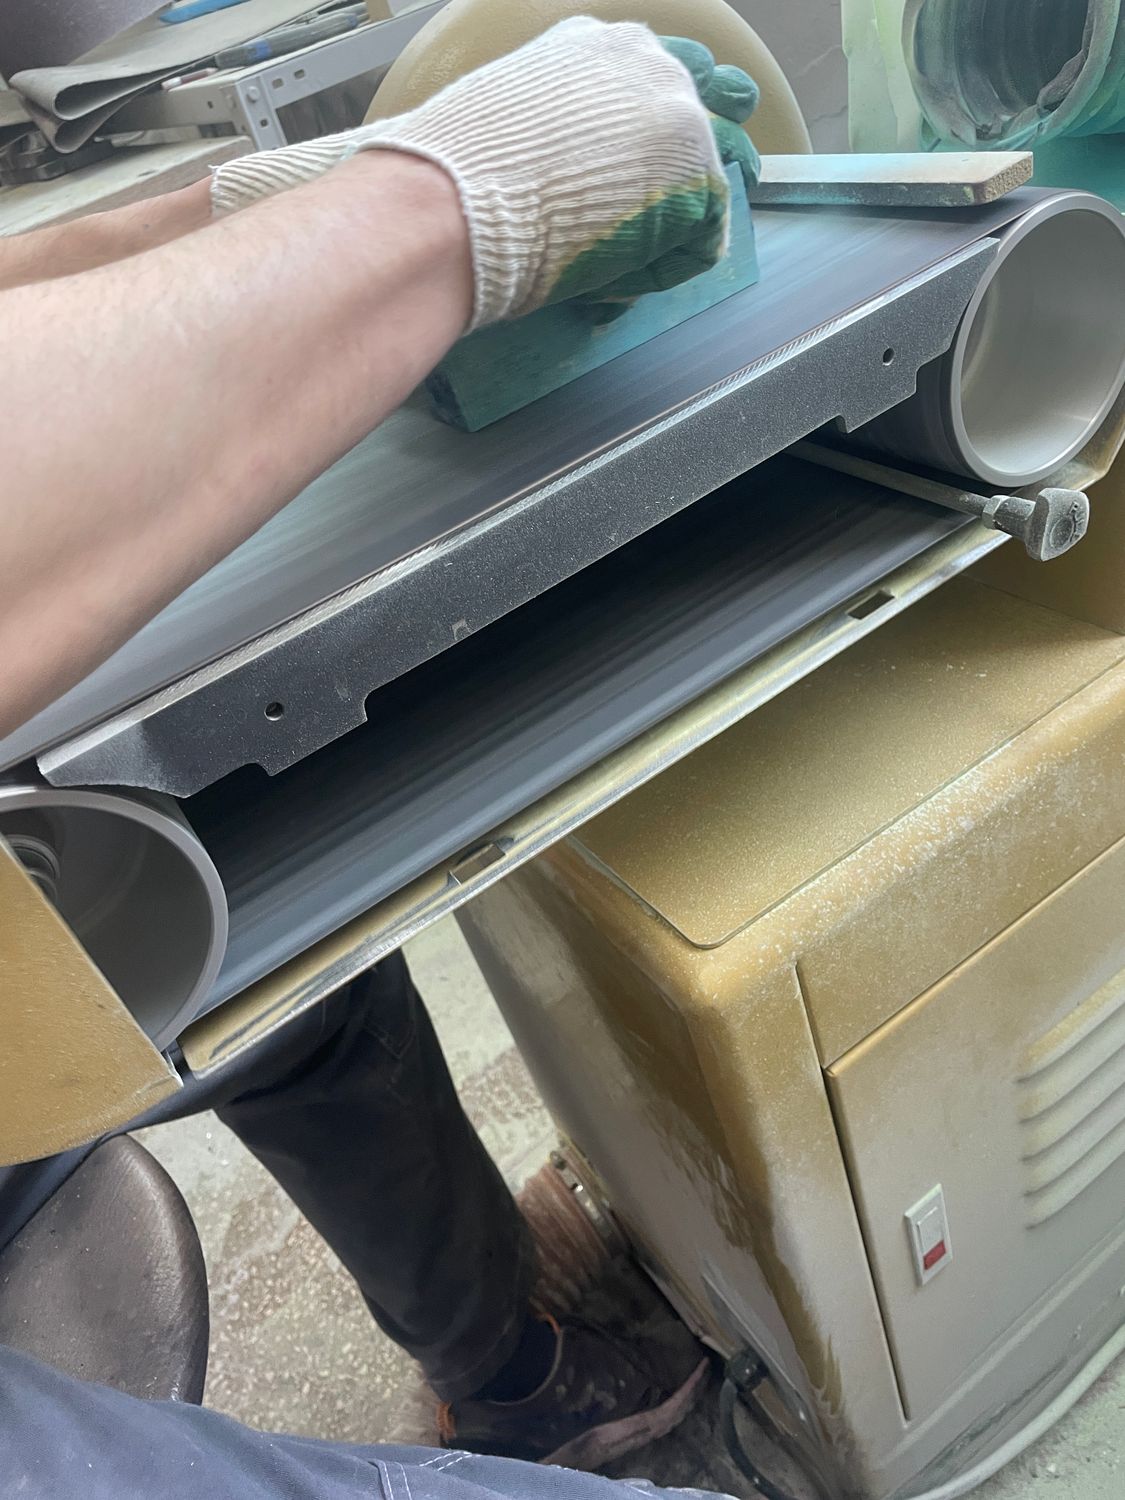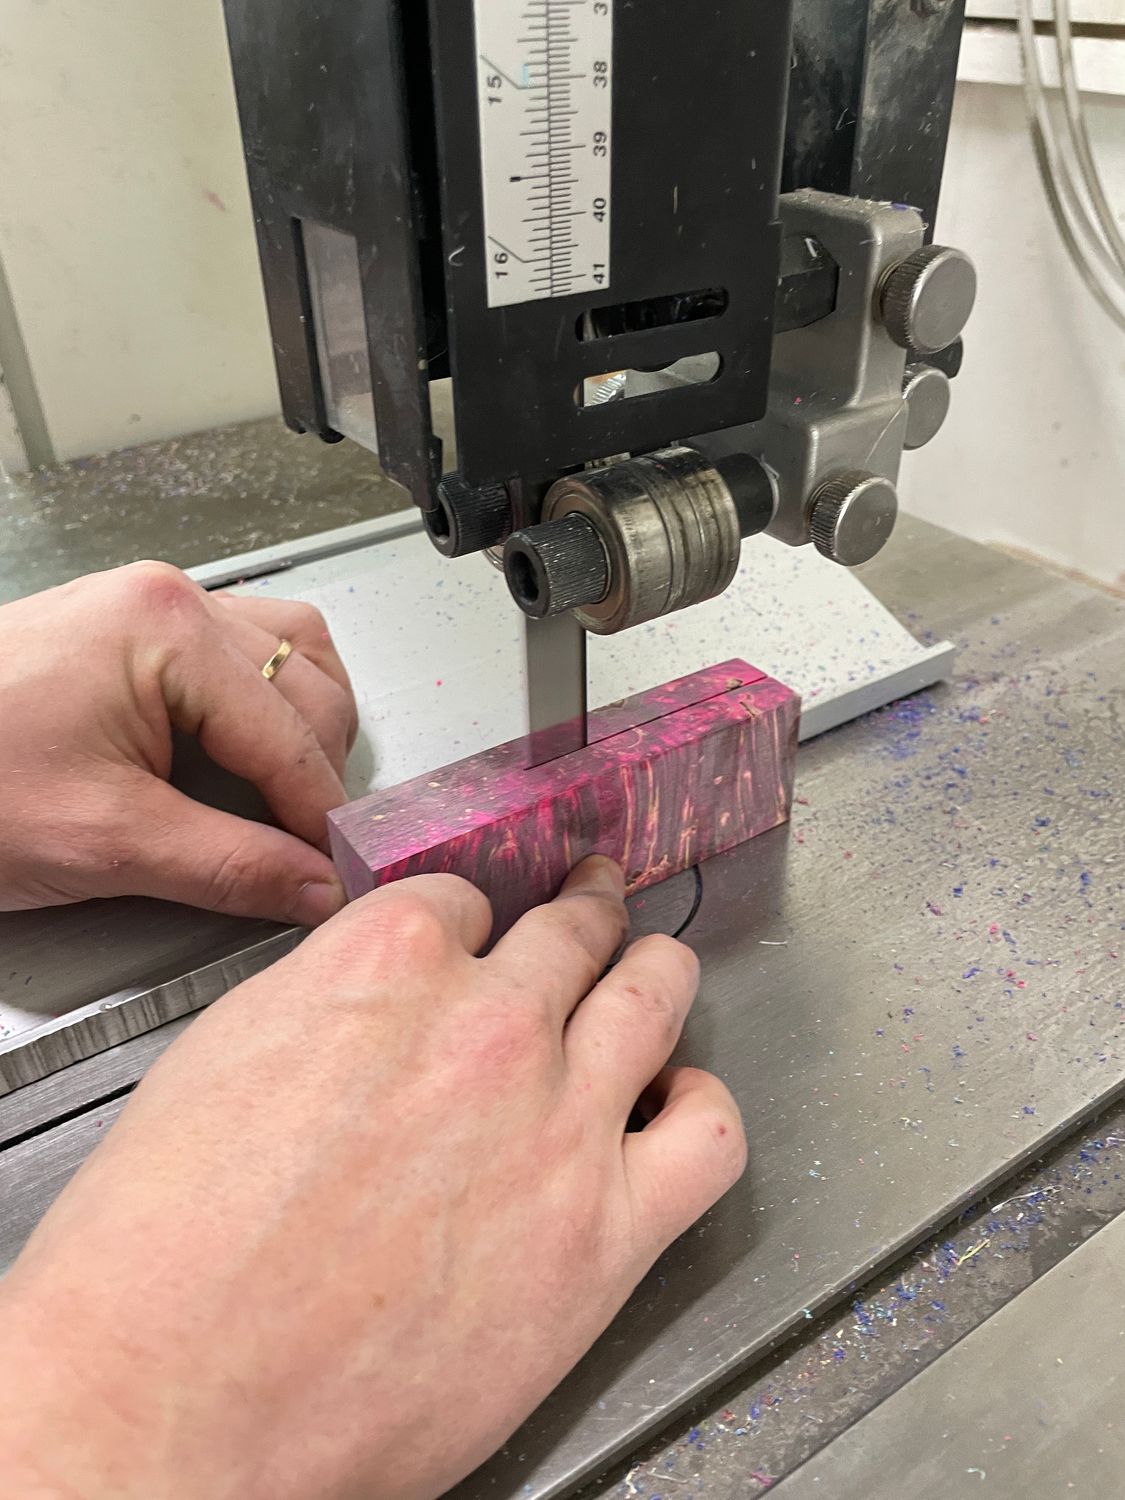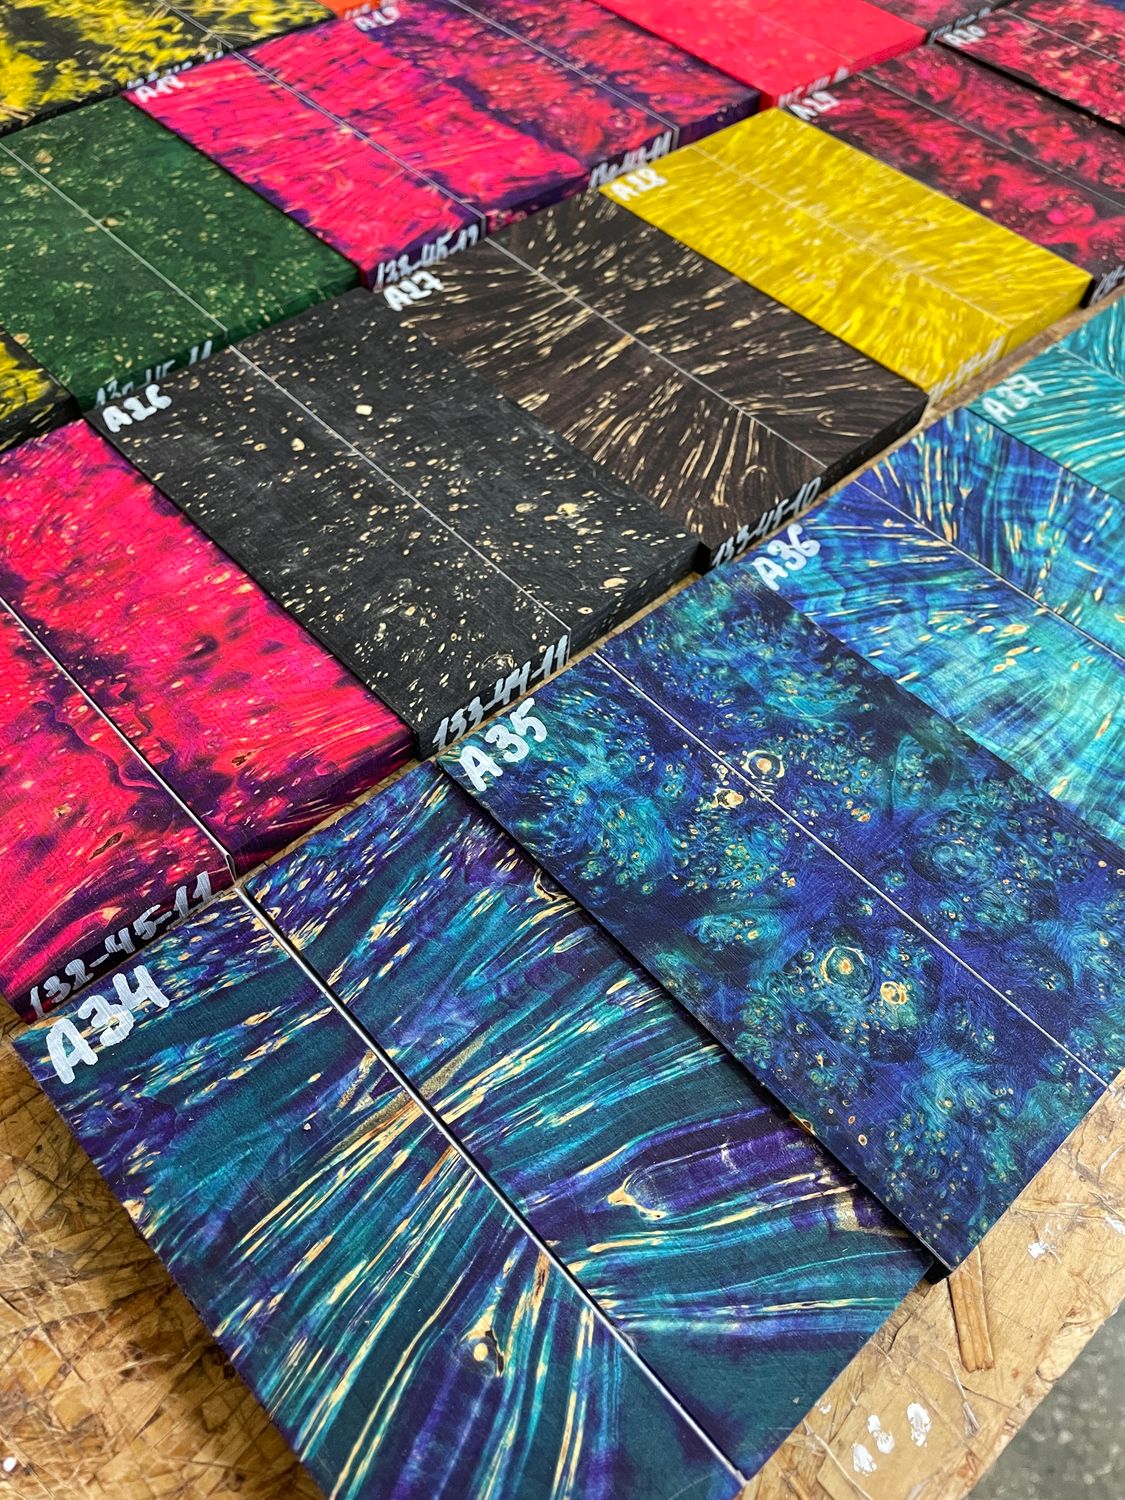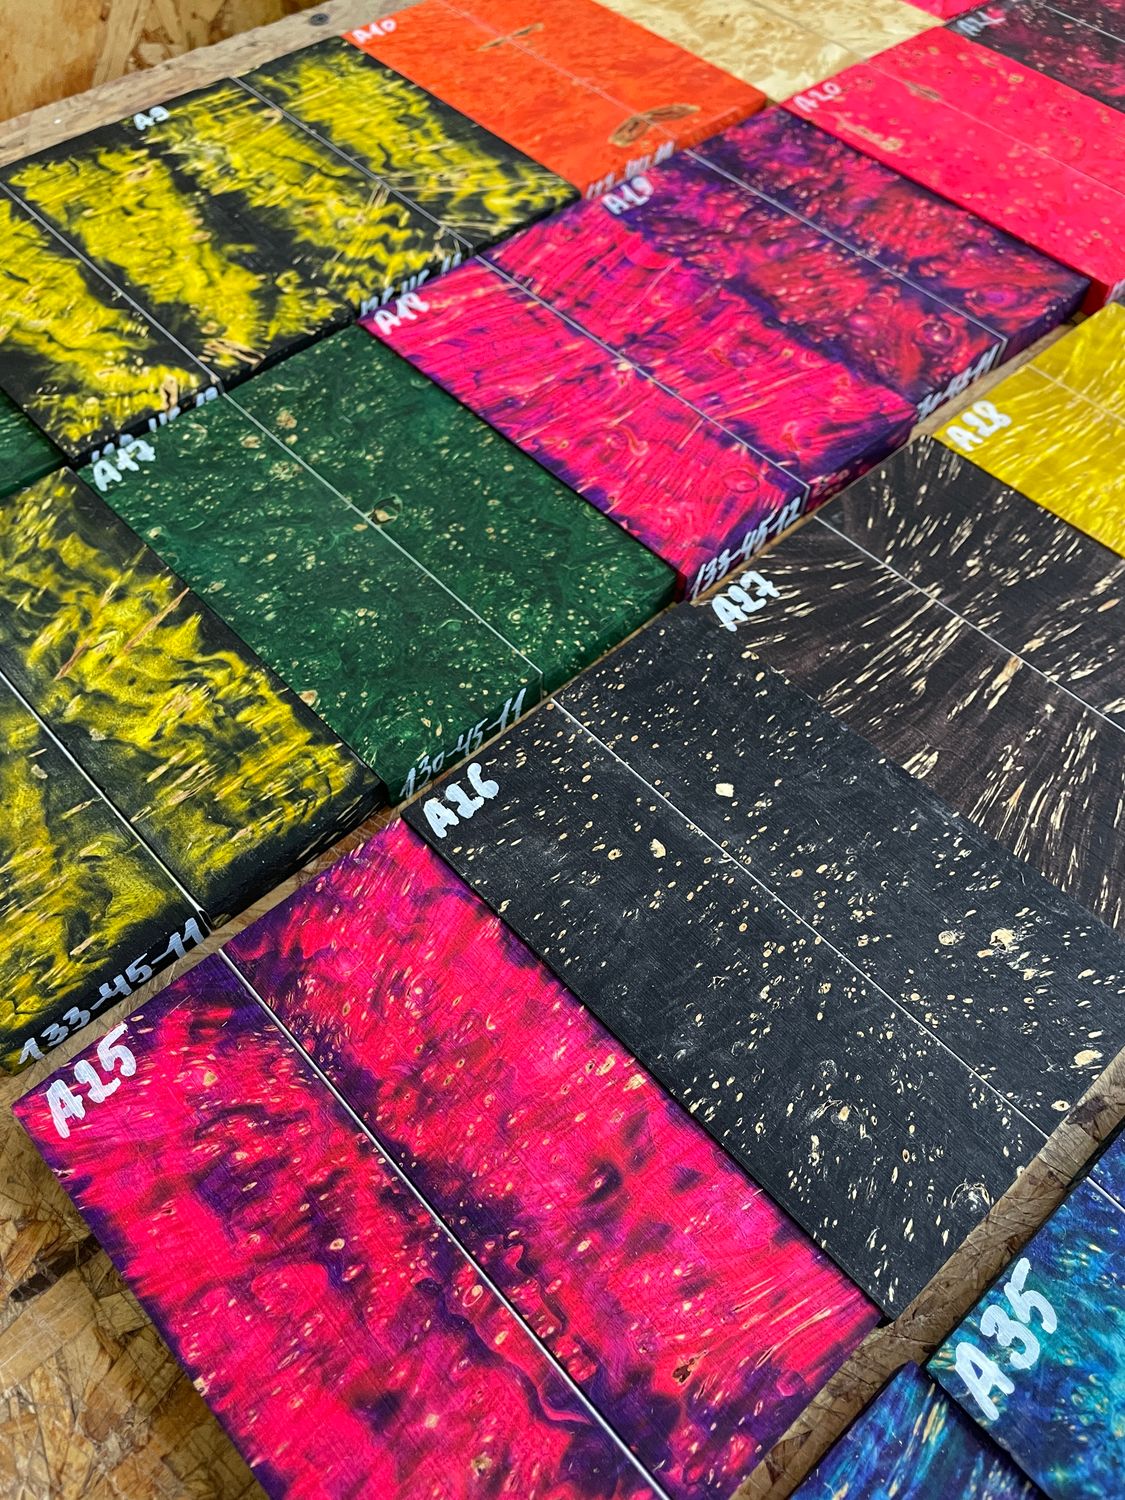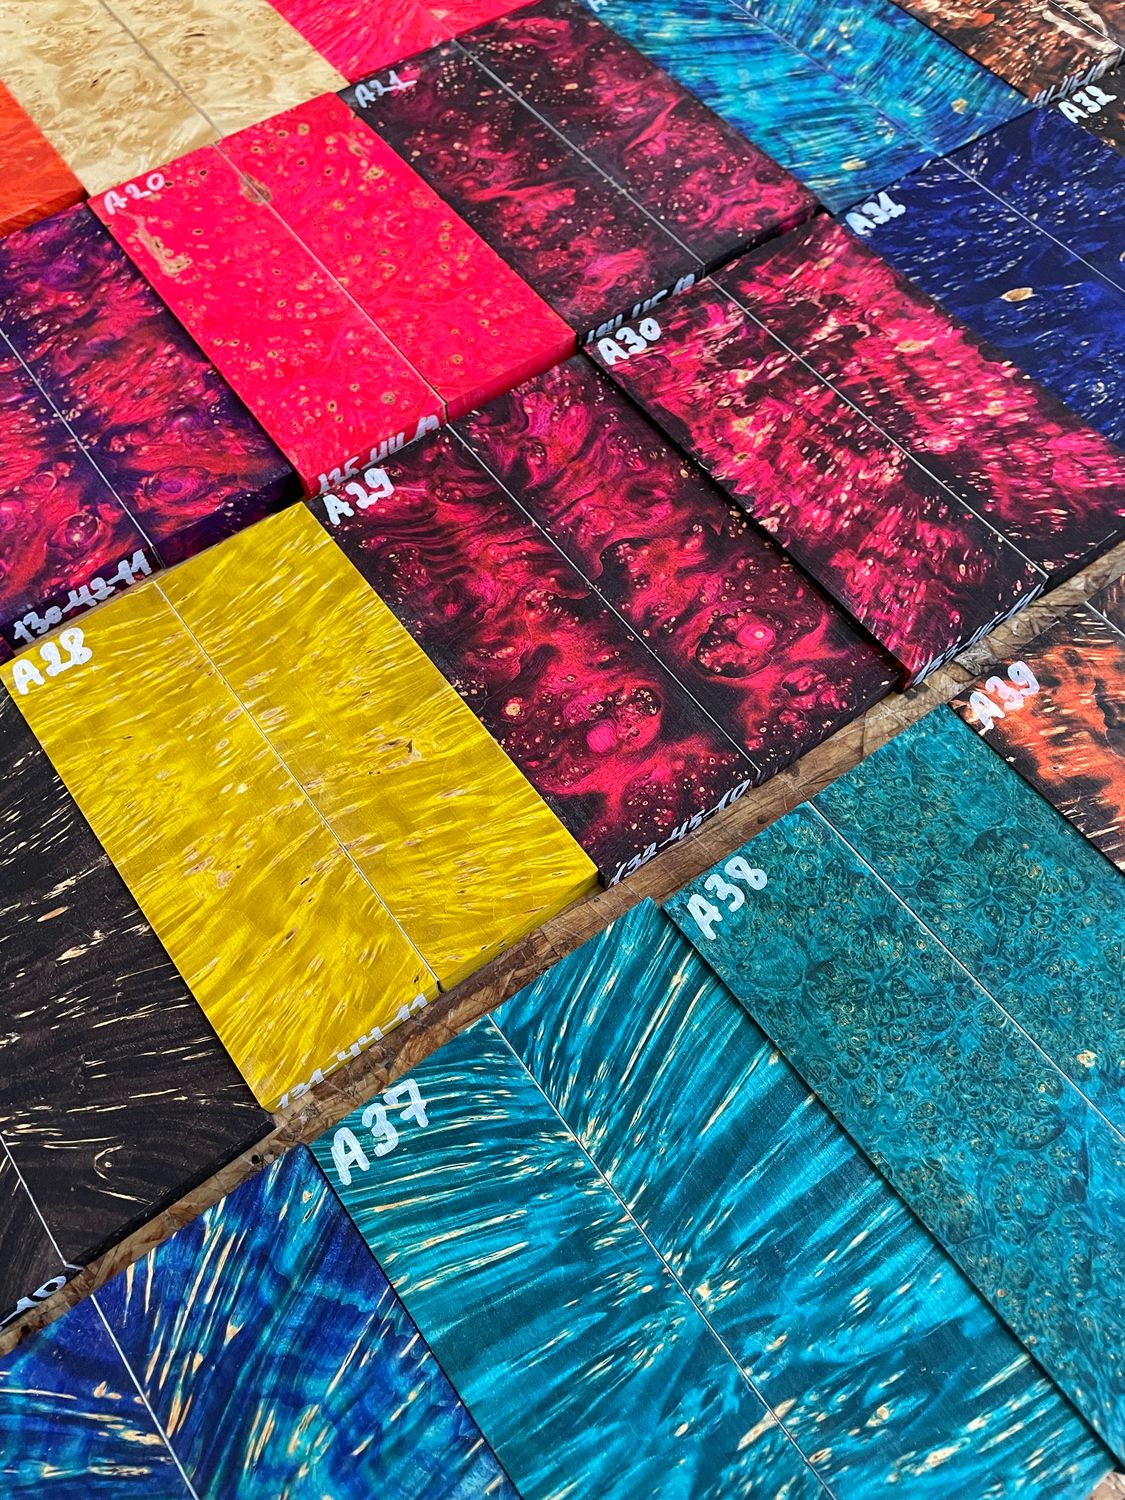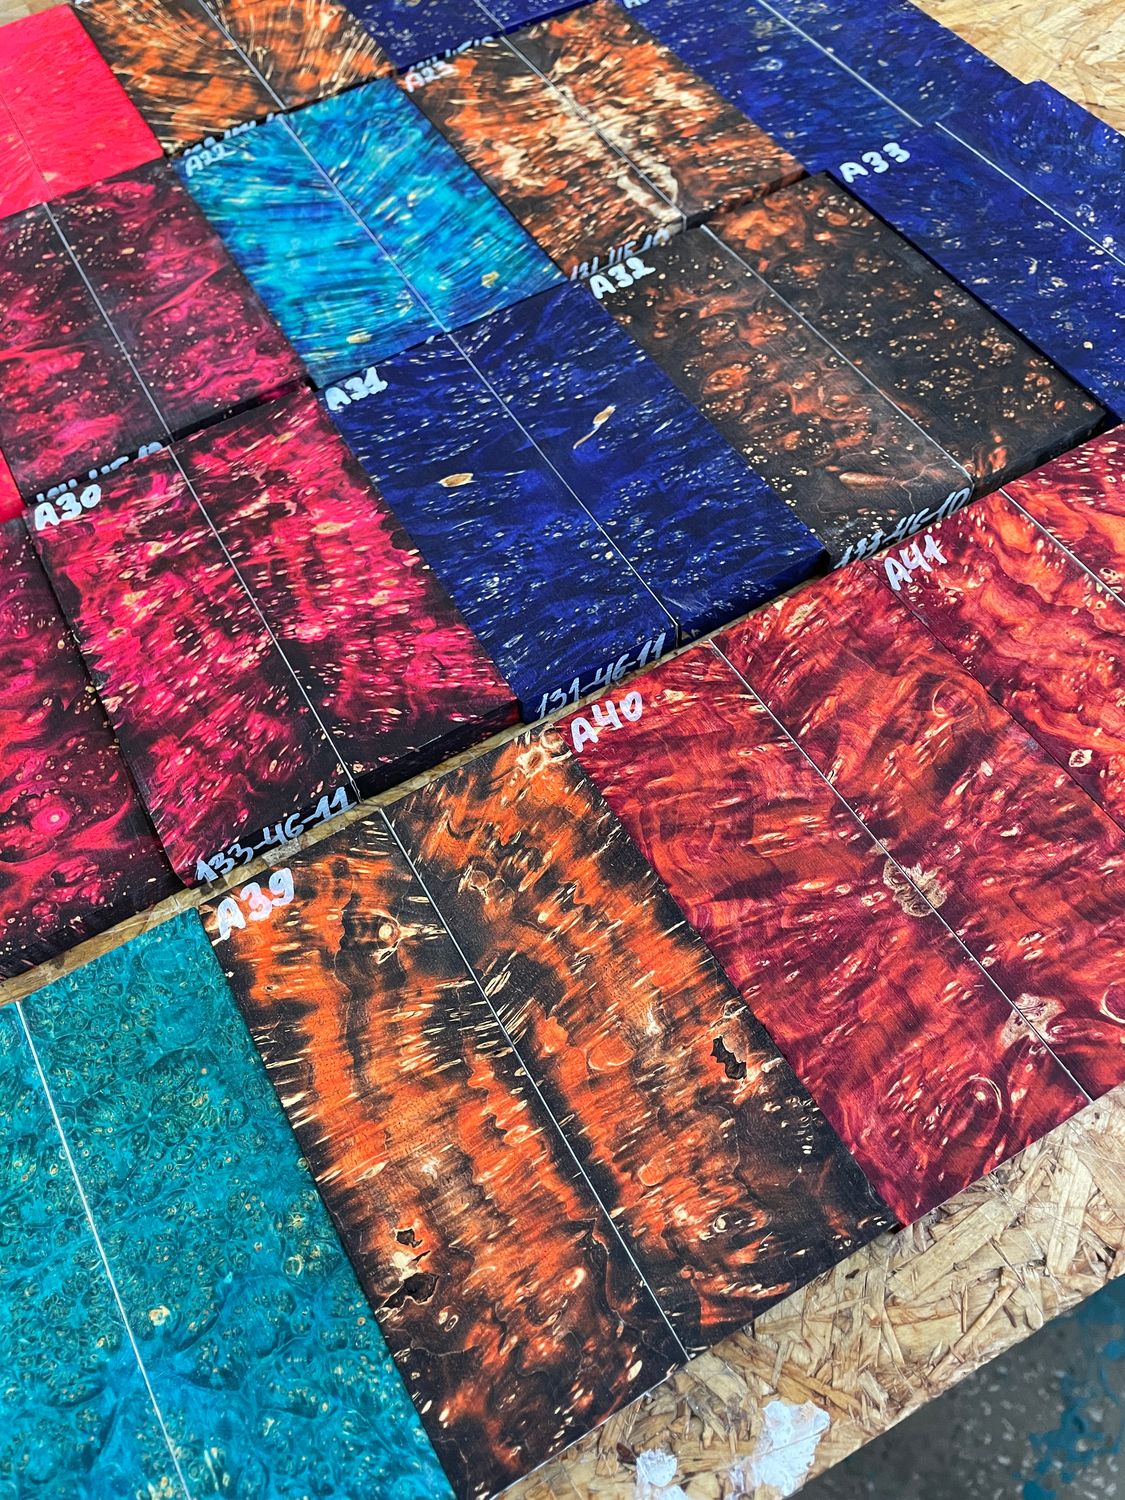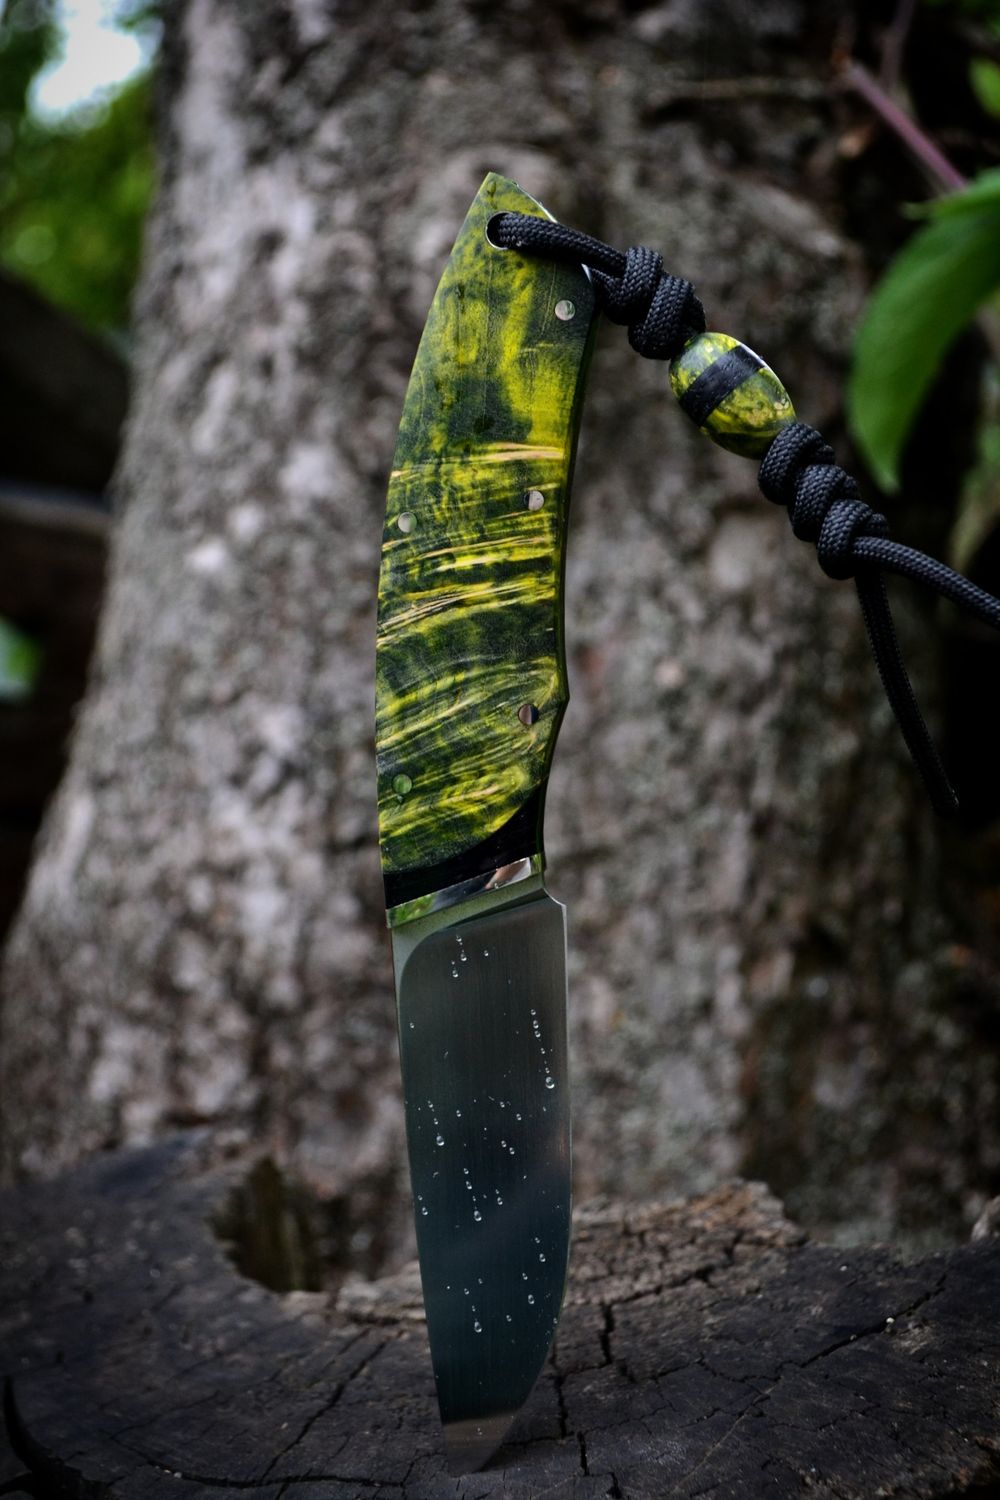
Why Regular Wood Fails on Knife Handles
If you make knives - or you’re just getting into it - sooner or later you hit the same wall: plain wood looks great at first, but over time it can crack, move, absorb moisture, and just stop looking like something you’d want on a finished handle.So I figured I’d share the full process we use to stabilize maple burl, starting with raw material and ending with finished handle scales. Not the short version, not the “just buy resin and vacuum it” version - the whole thing.
What Wood Stabilization Actually Is
First, what is wood stabilization?At its core, it’s a process where wood is impregnated with a polymer resin under vacuum and pressure. Once that resin is cured, the wood becomes denser, more moisture-resistant, more dimensionally stable, and usually a lot more interesting visually. If you use dyes in the resin, you can also push the color in directions natural wood never would. That’s the basic idea, but the actual result depends heavily on how the material was prepared before the resin ever touches it.
Finding and Sourcing Maple Burl
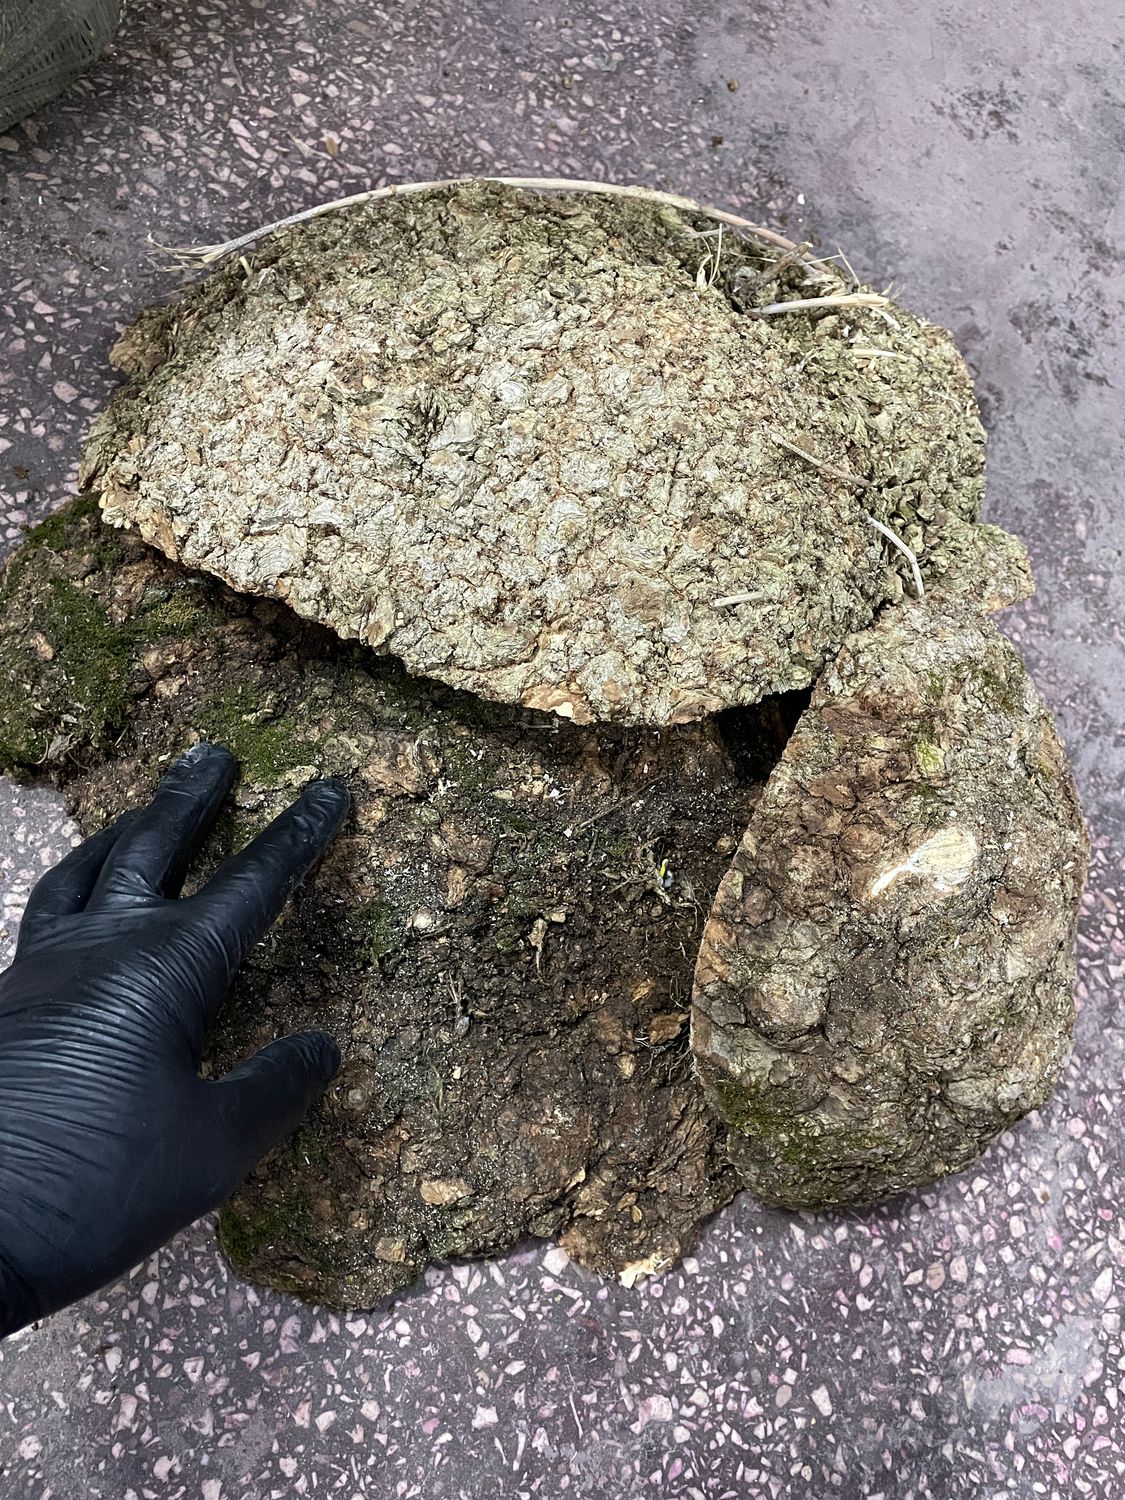
Now let’s talk about the wood itself.Sure, you can buy dried burl blanks on eBay or Etsy that are already ready for stabilization. That’s one route. We usually go the other way and harvest our own material. In this case, we’re working with American maple burl - specifically box elder maple. It grows fast, the wood itself isn’t especially strong, and the trees don’t live all that long. They break easily, especially in wet areas or after storms. Because of that, you can often find fallen trees with usable burl in river bottoms, shelterbelts, cleared utility lines, or park maintenance sites. A lot of cleanup crews have no idea the burl has value, so it gets tossed. That’s where a lot of good material comes from if you’re willing to look.
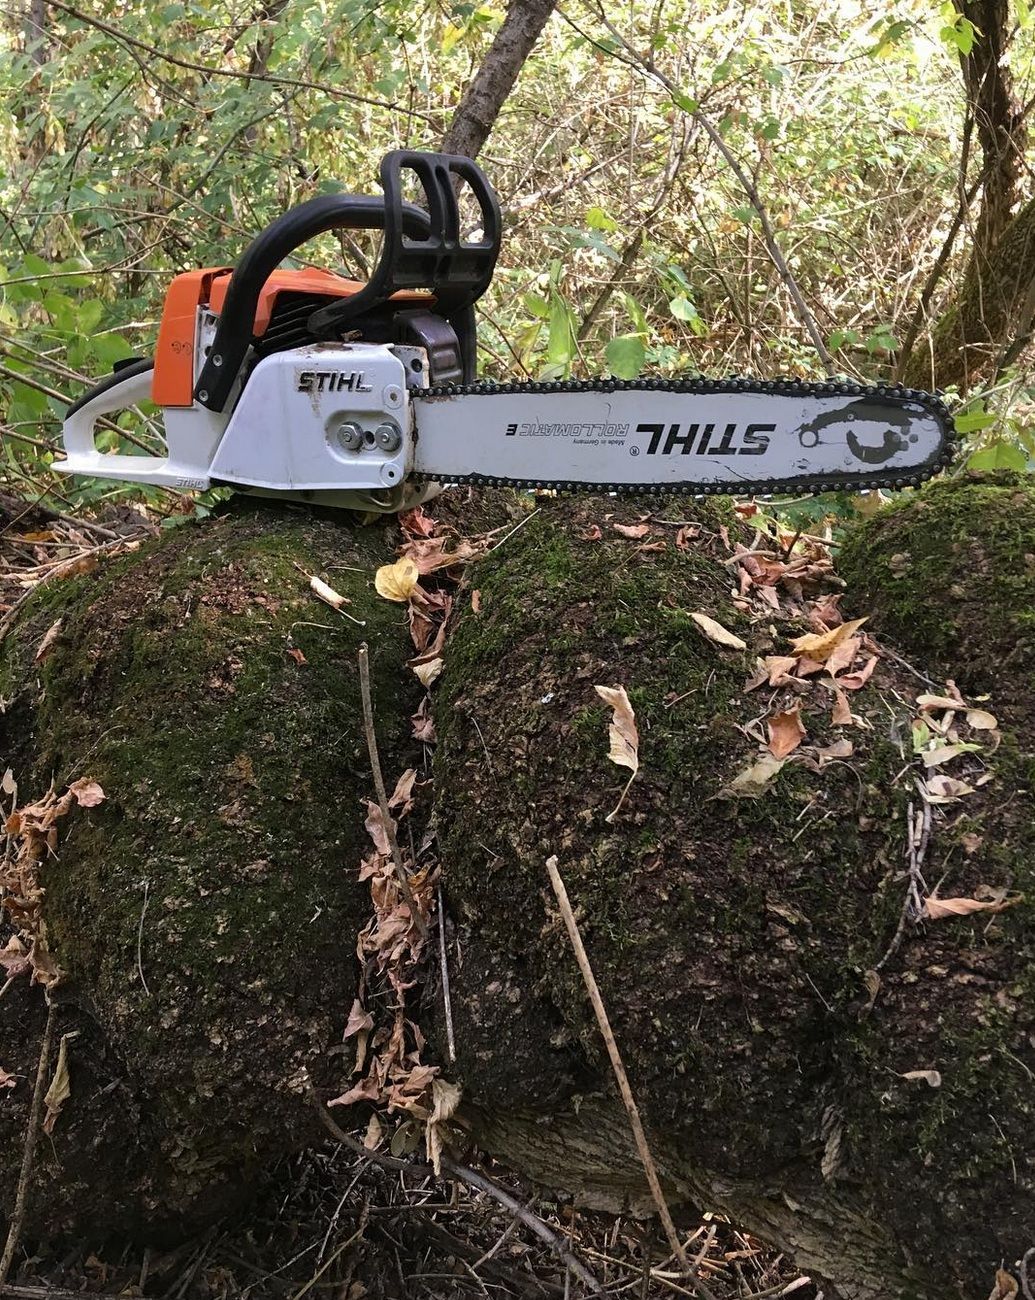
In our case, we had a wind-fallen tree with a large burl on it, so there was plenty to work with.
Cutting and Preparing Burl Blanks
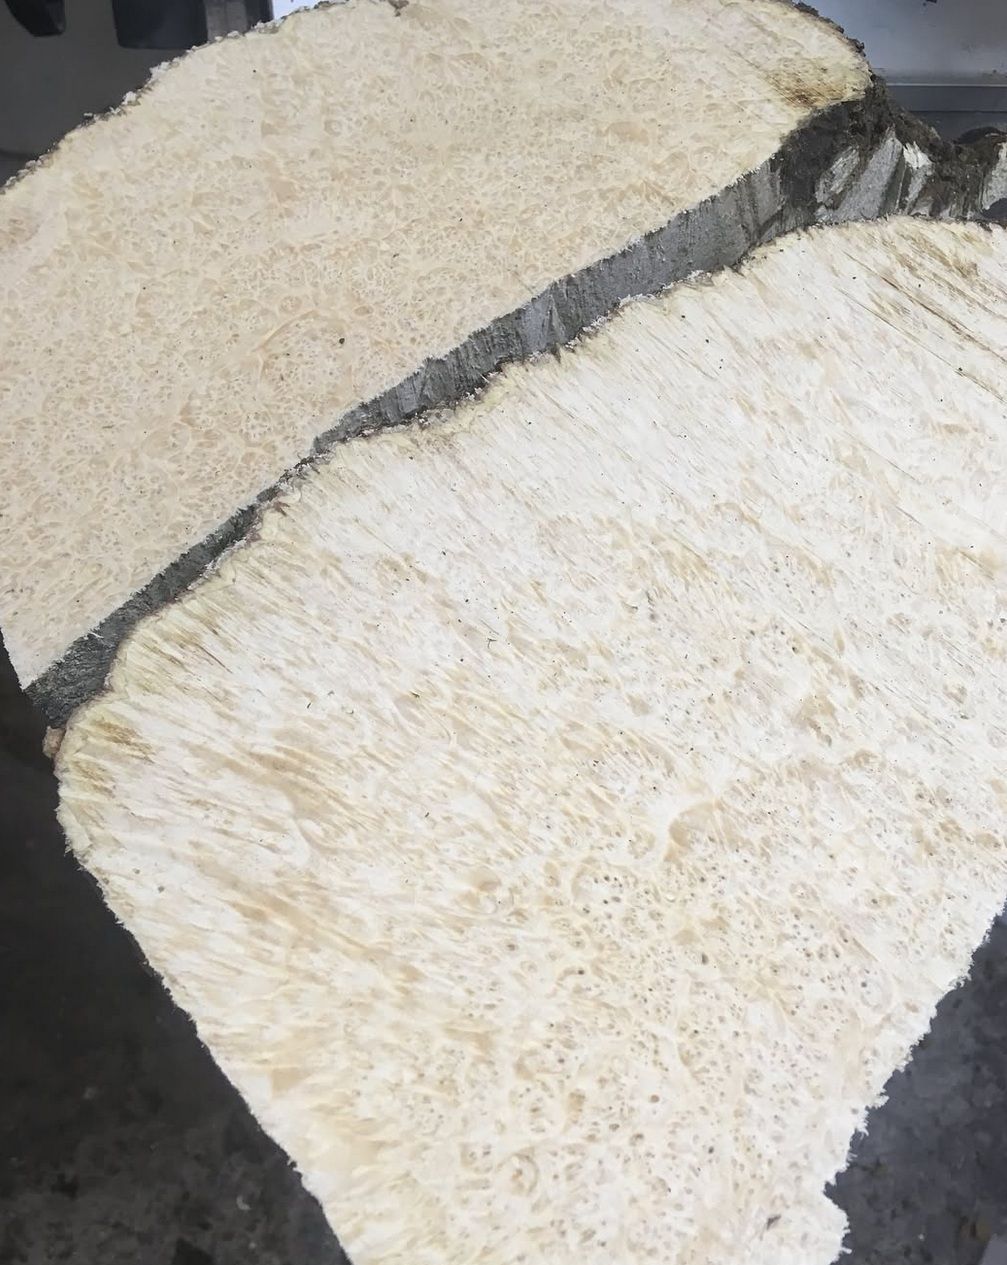
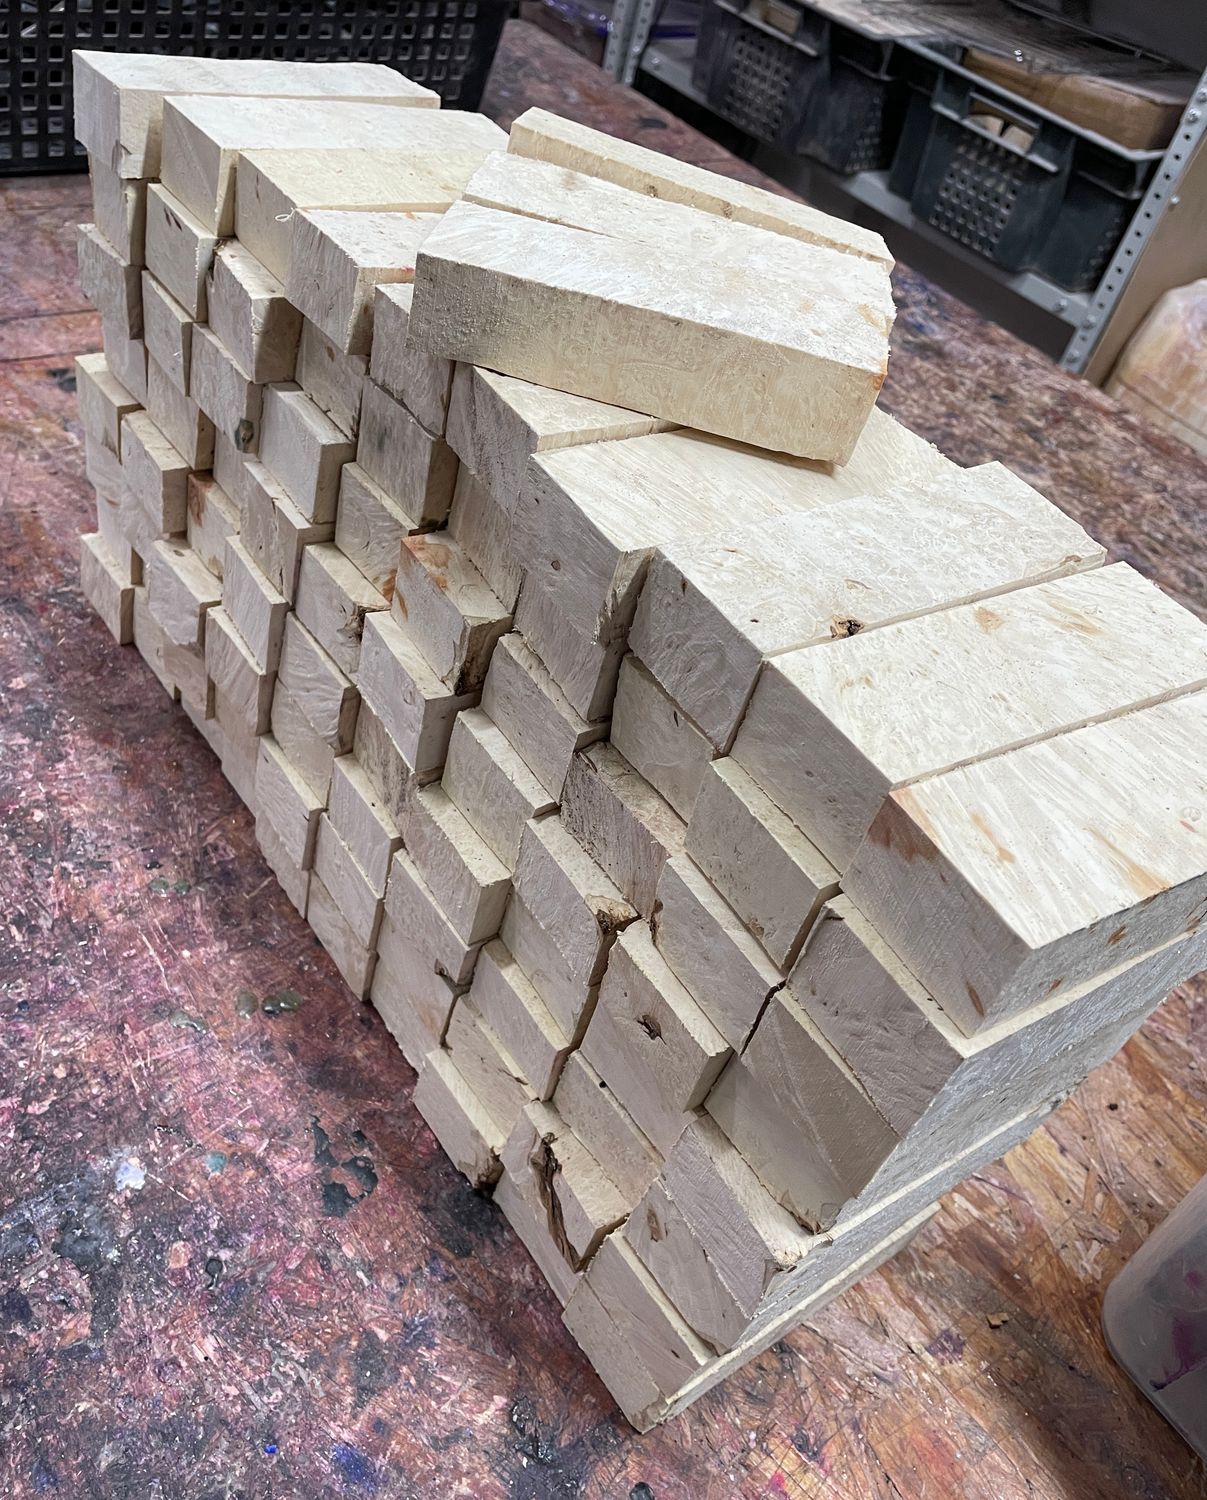
We cut the growths off the trunk and keep only the useful burl sections - basically the dense rounded portions. After that, the material goes back to the shop and waits for resawing. I use a bandsaw for this, mostly because burl can be awkward in shape and height. A table saw can work too, but depending on the size of the material, you may run out of cutting depth fast. Once the burl is opened up, that’s when you really see why it’s worth bothering with. The figure can be absolutely wild.After that, the burl gets cut into blanks depending on what it’s for.
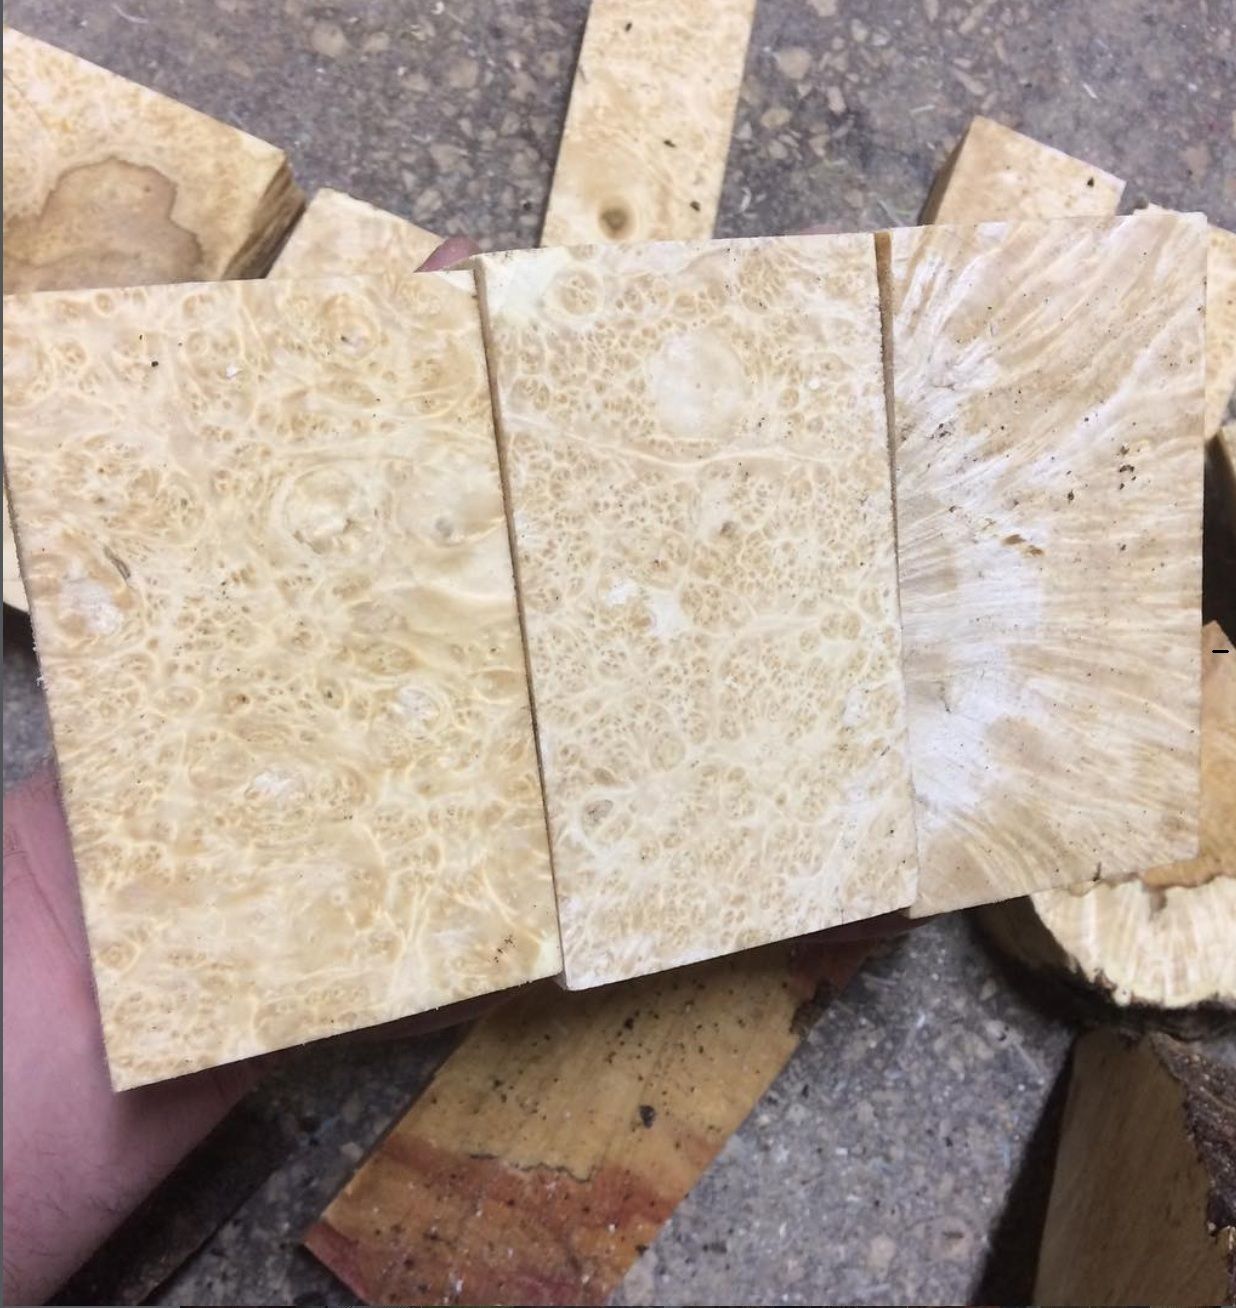
For pen blanks, we’ll cut around 5.1" x 1" x 1". For knife handles, the size I use most often is about 5.1" x 1.75" x 1.1". I dry the material as blocks, not as finished scales, so I leave 0.1"-0.12**"** extra per side to account for shrinkage during drying. That extra material matters more than people think, especially with burl.
Drying Process and Moisture Control
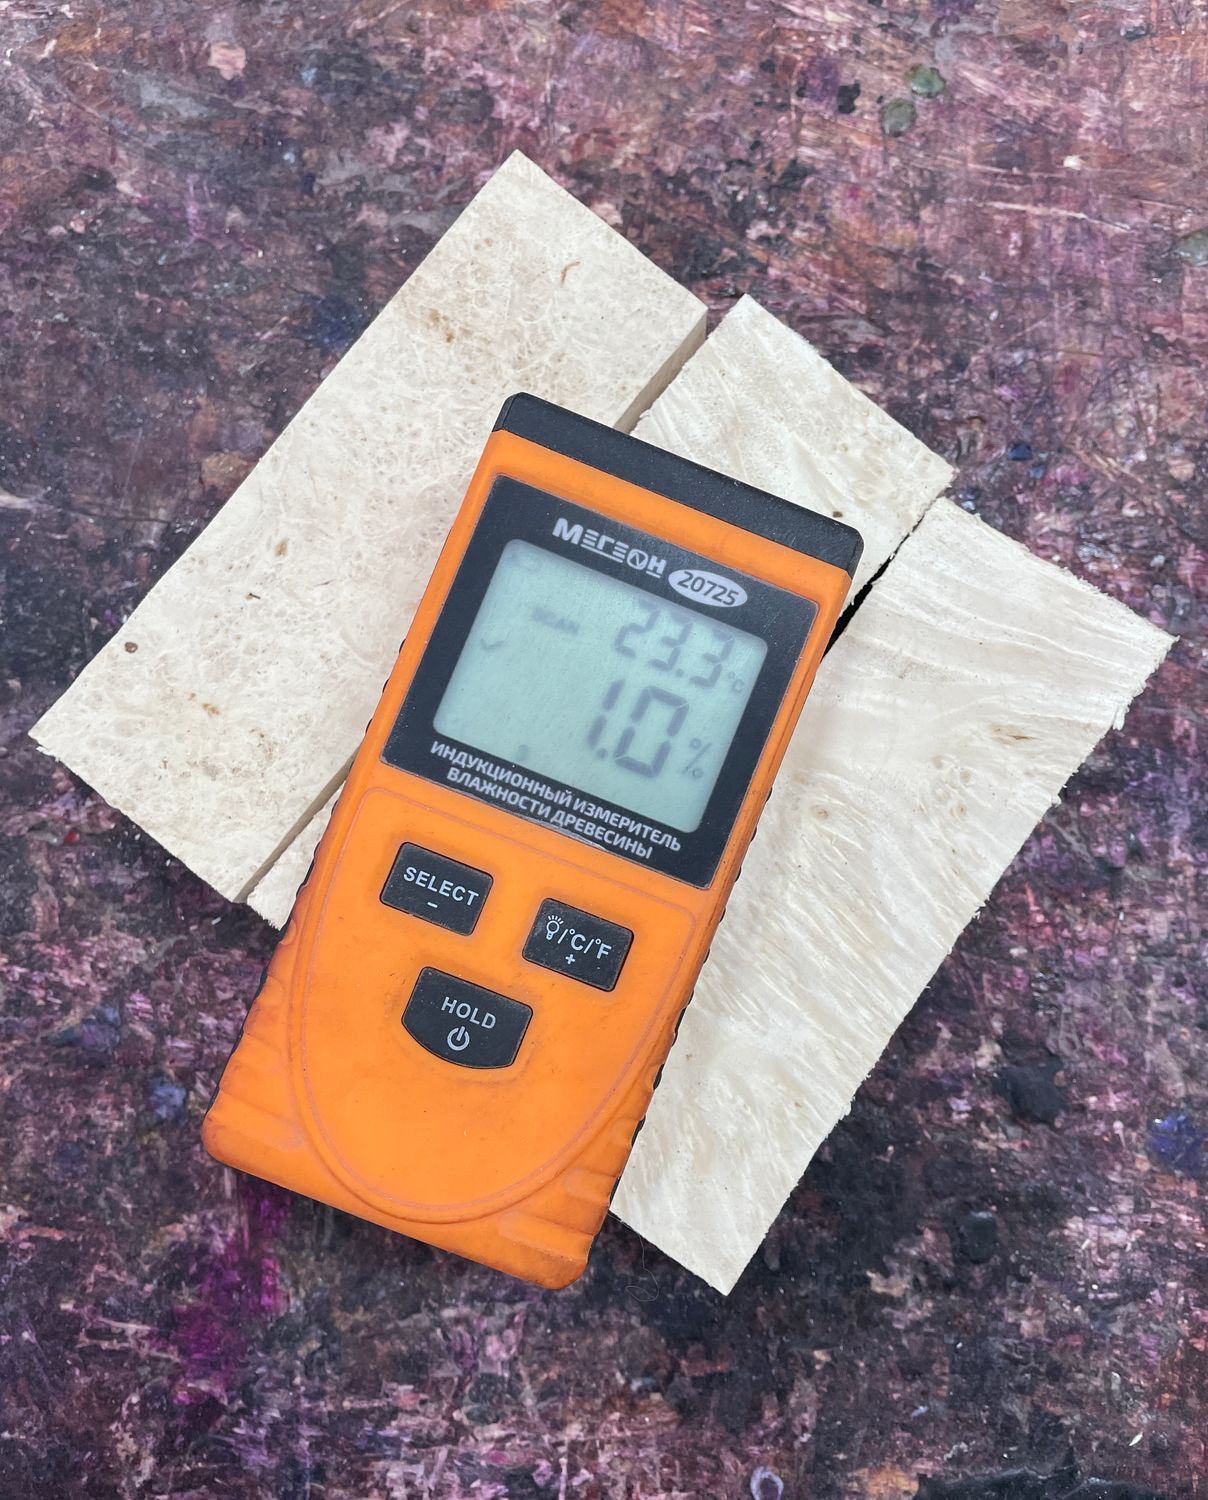
Drying is one of the stages that people try to rush, and that usually comes back to bite them.We dry these blocks in a homemade infrared dryer for about 2 to 3 weeks at a relatively low temperature, around 40-45°C. The point isn’t speed. The point is to get the moisture out without checking the blanks to pieces. If you push temperature too hard, cracks show up early and the blank may already be ruined before stabilization even begins. After drying, every blank gets checked with a moisture meter. For stabilization, moisture content needs to be in the 2-4% range. Standard woodworking moisture content – something like 8-10% - is not good enough. If there’s still too much water inside the block, you create problems later during heat cure. That trapped moisture can expand and split the blank, and it also prevents the resin from properly occupying the wood structure.
Preparing Resin and Equipment
Once the moisture is where it needs to be, the resin comes out.If the goal is a natural look, we just use clear stabilizing resin. If we want color, we add dye. We keep different colored batches ready, so at that point it’s just a matter of choosing which container to pull from. The soaking container itself doesn’t need to be fancy. For small batches, almost any plastic container will work. Because we stabilize larger quantities, we use cut-down plastic jugs and cans. The real heart of the process is the pressure chamber.


Pressure Chamber Setup
Our chamber is a simple but heavy-duty homemade vessel with 10 mm walls, strong lid clamps, and two ports - one for vacuum and one for pressure. During testing it held 25 atmospheres; at 26, it pushed out the rubber seal between the lid and the chamber when pressure was fed from a nitrogen bottle. For actual work, though, we’re nowhere near that. We run it at around 8 atmospheres, and at that level it’s completely safe and very predictable. We load the blanks in, then place a heavy steel plate on top so they don’t float once the resin starts doing its job.
Vacuum and Pressure Stabilization Cycles
For maple burl, the full cycle takes about two days.Day one starts with vacuum for roughly 2 to 2.5 hours. Then we return the chamber to atmospheric pressure and switch to 8 atmospheres of pressure for another 2 to 2.5 hours. Over the course of a normal workday, that gives us three complete vacuum-pressure cycles. Before leaving the shop at night, we leave the chamber under pressure. On day two, we repeat the same sequence. By evening, the blanks come out, get wrapped in foil, and go to heat cure.
Critical Step: Resin Coverage Check
There’s one detail here that can ruin a whole batch if you miss it.After the first vacuum-pressure cycle, you need to open the chamber and make sure the blanks are still completely submerged in resin. On that first pass, the wood can absorb enough liquid to drop the resin level more than you’d expect. If the blocks are no longer fully covered and you just keep running cycles, you’re no longer stabilizing properly – you’re just moving air around the chamber. That leaves pores unfilled, and the final result won’t be what you thought you were making. This one check is easy to skip, and it’s also one of the easiest ways to waste a lot of material.

Curing the Stabilized Wood
For heat cure, we use regular baking ovens with temperature control and a timer. Nothing exotic. Cure runs about 3 hours at 110-120°C. The next day, when the blanks come out, they usually have a hardened “glaze” on the outside. That’s normal. As the block heats up, a little resin works its way out and bakes onto the surface. That outer shell gets removed during sanding.