It's the small things that you often miss. Previously, I had noted the following:
...and now this morning I have also discovered this:

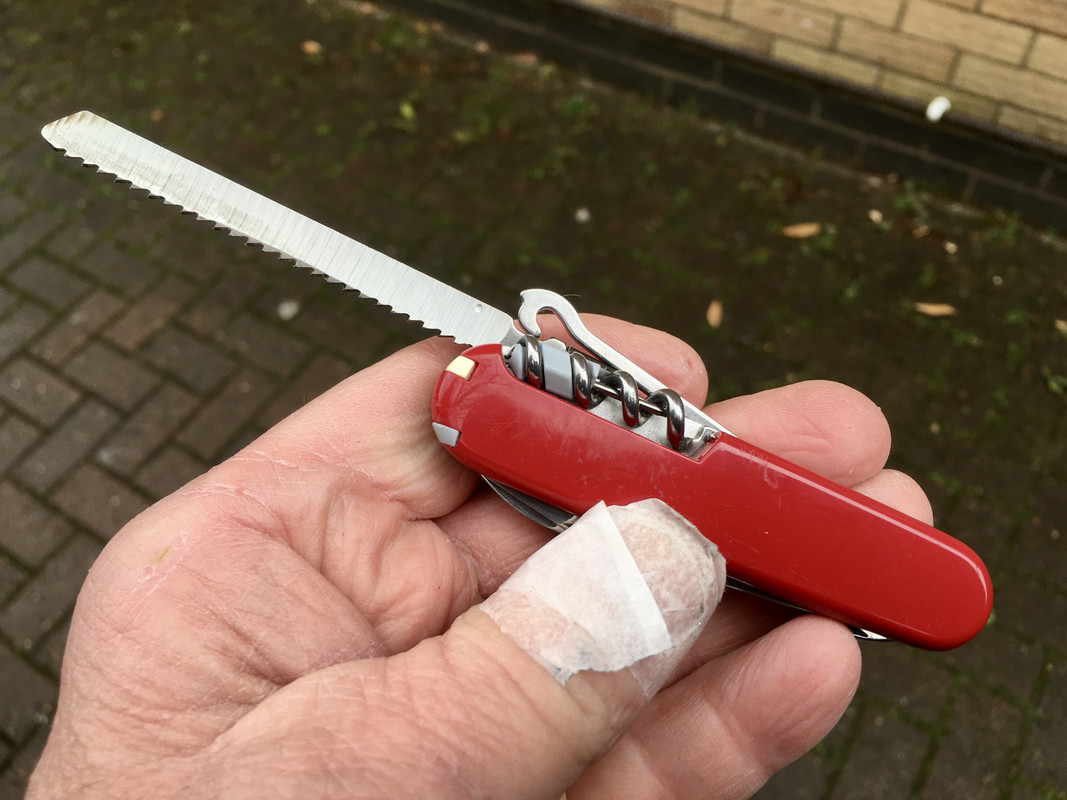
If you line up your 3 magnets along only one side, it works as another method of stabilizing the jigsaw blade. I don't know why I didn't think about trying that before.

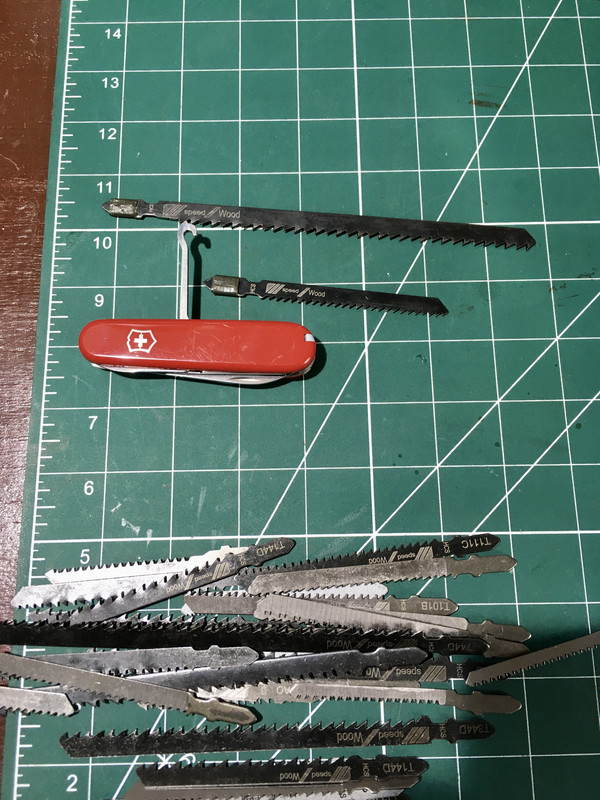
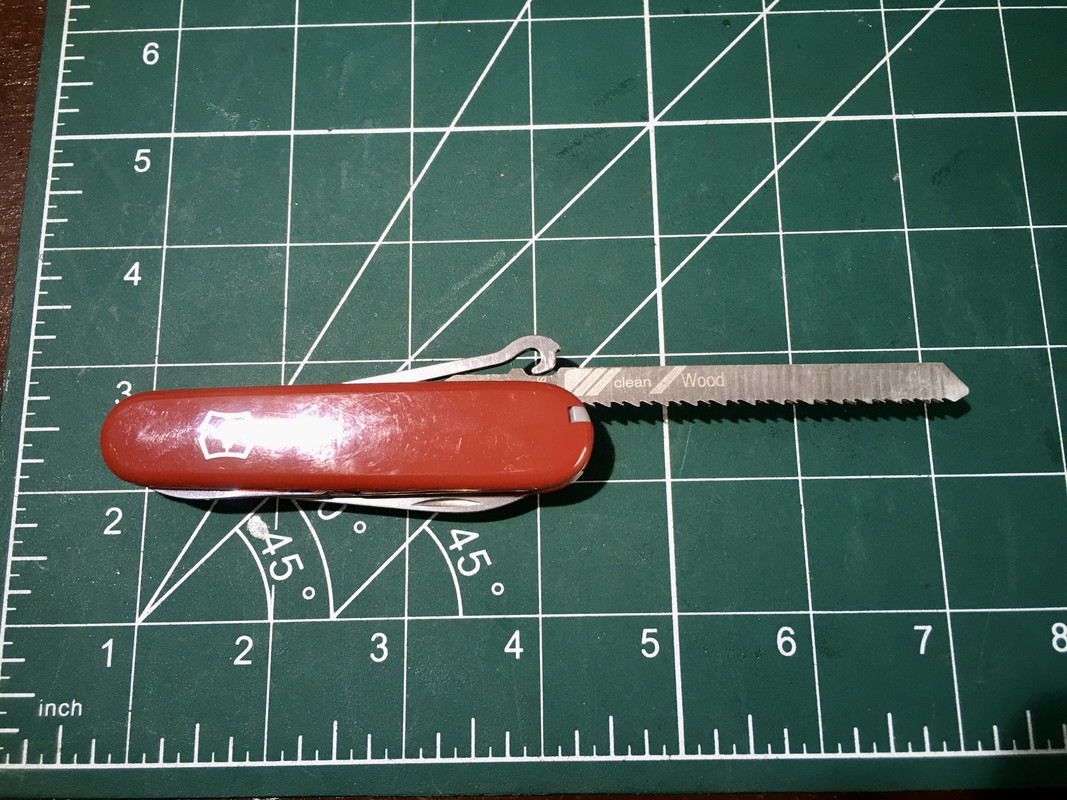
Here are the 3 magnets nicely tucked in with the jigsaw blade. There is a sweet spot of jigsaw thickness where this works well. If your blade is too thin for this, then maybe you should try putting the magnets on both sides of the blade instead of just one side.

This also works on the Lenox General Wood blades. You can see these blades are almost the same length as the Bosch Progressor Wood blade. I think the Bosch used to say "234X" on the shank, but it's been partially scratched off.

They're also pretty much the same thickness. The Lenox jigsaw blade is on the top and the Bosch is the one on the bottom. They are both good choices. They both work well. There is no reason for the magnets to be in this photo except that they made it easier for me to hold the jigsaw blades while taking the picture.

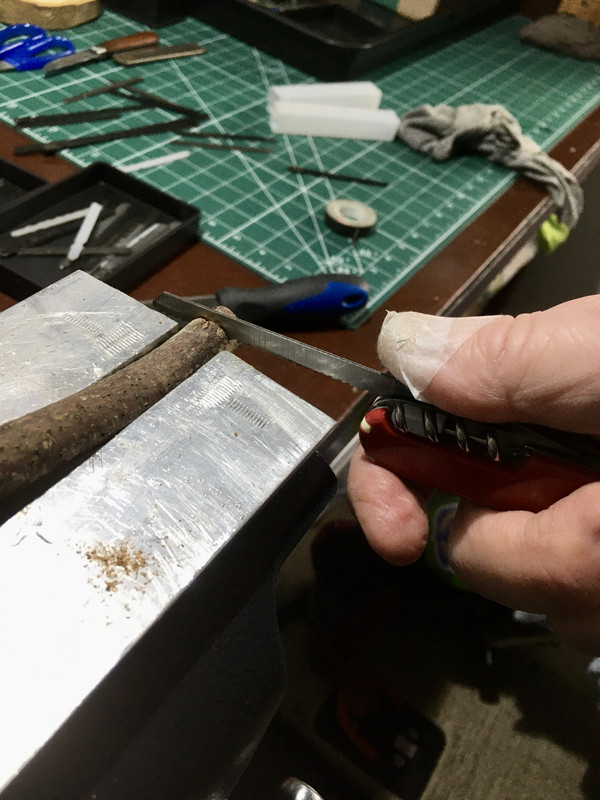
This also just barely works with the Leatherman Surge's t-shank diamond coated file. The magnets just barely squeeze in. You may need to push them with your toothpick to get them to fit. This makes the file a lot more sturdy.
I also tried it with my Surge t-shank saw, but it didn't fit. It seems like the Surge's saw is imperceptibly thicker than the Surge's file. At least mine is. It's the black coated one, so maybe that's why.
The Leatherman Surge's t-shank diamond coated file and t-shank saw can be purchased as a set for between 10-12 dollars depending on where you buy it from.
edit: if you want to carry more than 3 magnets, you can store some more on the back of the knife layer under the corkscrew.

The stack of magnets on the right side near the toothpick slot is being held in place by the other magnets on the inside of the parcel hook. You can also store some magnets directly on top of the backspring like the stack on the left side. Make sure you line them up carefully so that they don't get in the way of the corkscrew when it is closed.

The magnets fit between the gaps when you close the corkscrew, and they are protected by it.
edit2: So I got out the ol' digital calipers and I measured these magnets...
Interesting results!
They were sold as 3x1mm magnets, but they actually measured at 3.18x0.80mm!
3.18 mm wide by 0.80 mm thick is way off what these are suposed to be. It's nearly 20% wider and 20% thinner than what was advertised. I think this might actually be normal, because I have some 4x1mm magnets that also measured as 0.80 mm thick (and 4.02mm wide, which is close enough).
These types of small magnets are possibly being manufactured using SAE and then some of them are being incorrectly sold as metric, but that's only a guess.
3.18 mm x 0.08 mm = 1/8 inch x 1/32 inch
I quadruple-checked each measurement and I verified zero every time before a measurement was taken.

If you look at this parcel hook, you can see that there is something nested inside of it. It's a stack of 3 circular neodymium magnets. Their dimensions are 3x1mm each. Together they match perfectly with the inside dimensions of the hook, and you can close the hook down to store all three magnets in your SAK. The idea for this came from Felix Immler's channel. He did a video on storing magnets in your SAK, and he demonstrated some different things that you can use them for. One of their uses was to make a navigational compass needle with the Victorinox straight pin.

T-shank blades are metallic and ferrous (they have iron), which means that magnets will stick to them.
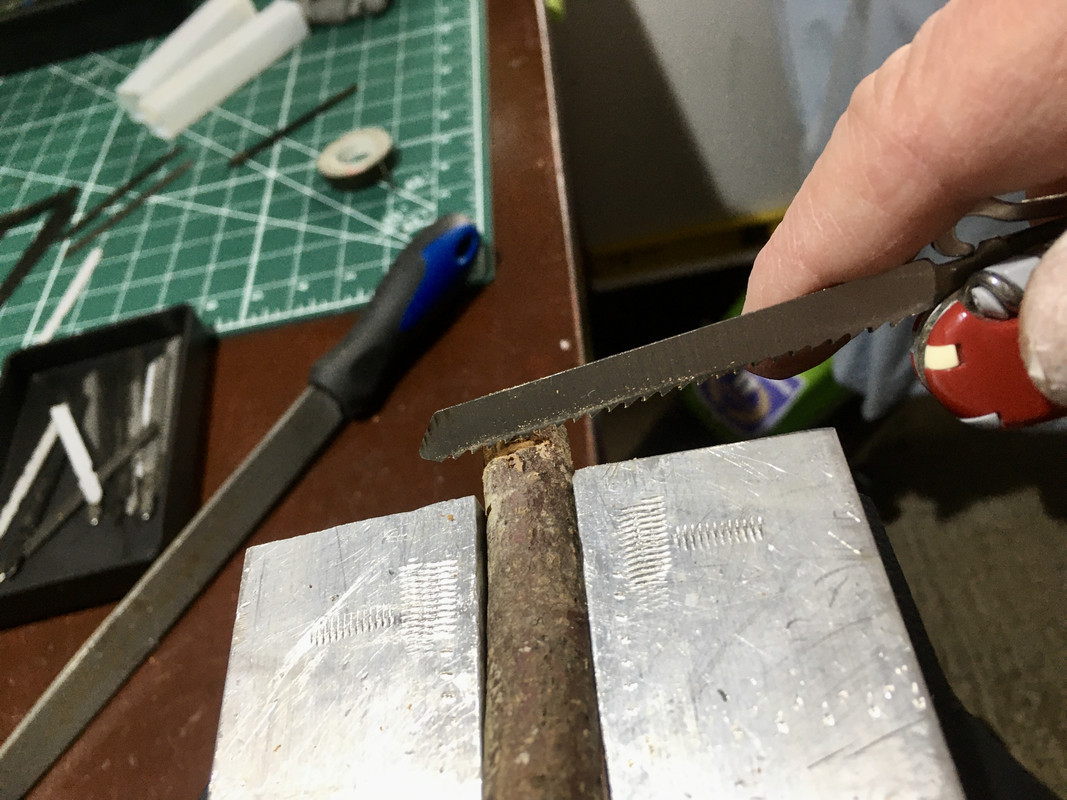
Theoretically you could use these magnets to help stabilize a thin saw blade, but I don't have any blades thin enough to try this with.
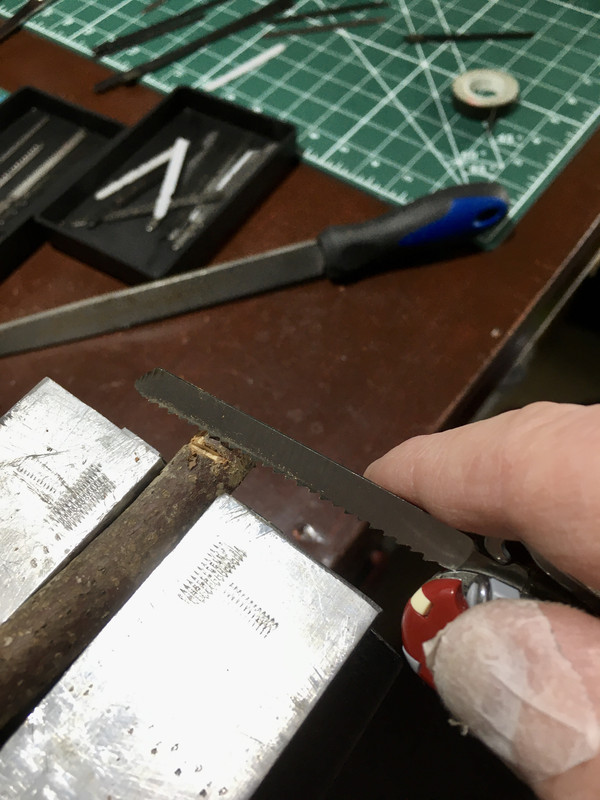
...and now this morning I have also discovered this:
If you line up your 3 magnets along only one side, it works as another method of stabilizing the jigsaw blade. I don't know why I didn't think about trying that before.
Here are the 3 magnets nicely tucked in with the jigsaw blade. There is a sweet spot of jigsaw thickness where this works well. If your blade is too thin for this, then maybe you should try putting the magnets on both sides of the blade instead of just one side.
This also works on the Lenox General Wood blades. You can see these blades are almost the same length as the Bosch Progressor Wood blade. I think the Bosch used to say "234X" on the shank, but it's been partially scratched off.
They're also pretty much the same thickness. The Lenox jigsaw blade is on the top and the Bosch is the one on the bottom. They are both good choices. They both work well. There is no reason for the magnets to be in this photo except that they made it easier for me to hold the jigsaw blades while taking the picture.
This also just barely works with the Leatherman Surge's t-shank diamond coated file. The magnets just barely squeeze in. You may need to push them with your toothpick to get them to fit. This makes the file a lot more sturdy.
I also tried it with my Surge t-shank saw, but it didn't fit. It seems like the Surge's saw is imperceptibly thicker than the Surge's file. At least mine is. It's the black coated one, so maybe that's why.
The Leatherman Surge's t-shank diamond coated file and t-shank saw can be purchased as a set for between 10-12 dollars depending on where you buy it from.
edit: if you want to carry more than 3 magnets, you can store some more on the back of the knife layer under the corkscrew.
The stack of magnets on the right side near the toothpick slot is being held in place by the other magnets on the inside of the parcel hook. You can also store some magnets directly on top of the backspring like the stack on the left side. Make sure you line them up carefully so that they don't get in the way of the corkscrew when it is closed.
The magnets fit between the gaps when you close the corkscrew, and they are protected by it.
edit2: So I got out the ol' digital calipers and I measured these magnets...
Interesting results!
They were sold as 3x1mm magnets, but they actually measured at 3.18x0.80mm!
3.18 mm wide by 0.80 mm thick is way off what these are suposed to be. It's nearly 20% wider and 20% thinner than what was advertised. I think this might actually be normal, because I have some 4x1mm magnets that also measured as 0.80 mm thick (and 4.02mm wide, which is close enough).
These types of small magnets are possibly being manufactured using SAE and then some of them are being incorrectly sold as metric, but that's only a guess.
3.18 mm x 0.08 mm = 1/8 inch x 1/32 inch
I quadruple-checked each measurement and I verified zero every time before a measurement was taken.
Last edited: