-
The BladeForums.com 2024 Traditional Knife is available! Price is $250 ea (shipped within CONUS).
Order here: https://www.bladeforums.com/help/2024-traditional/
You are using an out of date browser. It may not display this or other websites correctly.
You should upgrade or use an alternative browser.
You should upgrade or use an alternative browser.
Want to make my first knife
- Thread starter Shadow44
- Start date
I did temper it at 400 for 1:15min
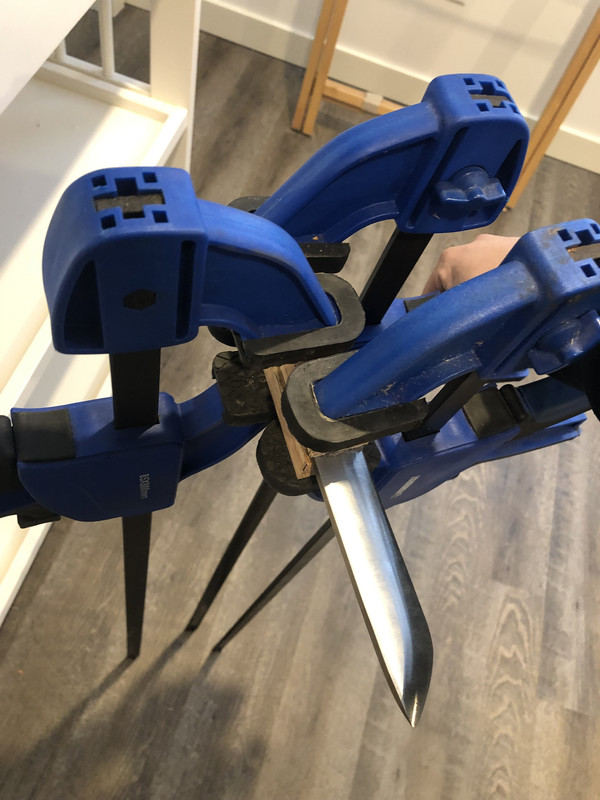
I could not drill the file to install the pins, even using a brand new cobalt bit in a drill press. I don’t have a cardbide bit. So I decided just to epoxy it and go from there. I epoxied everything inside as the temperature is still below freezing here. (Not sure if epoxy misbehaves in freezing weather)
Overall, this is a fun hobby
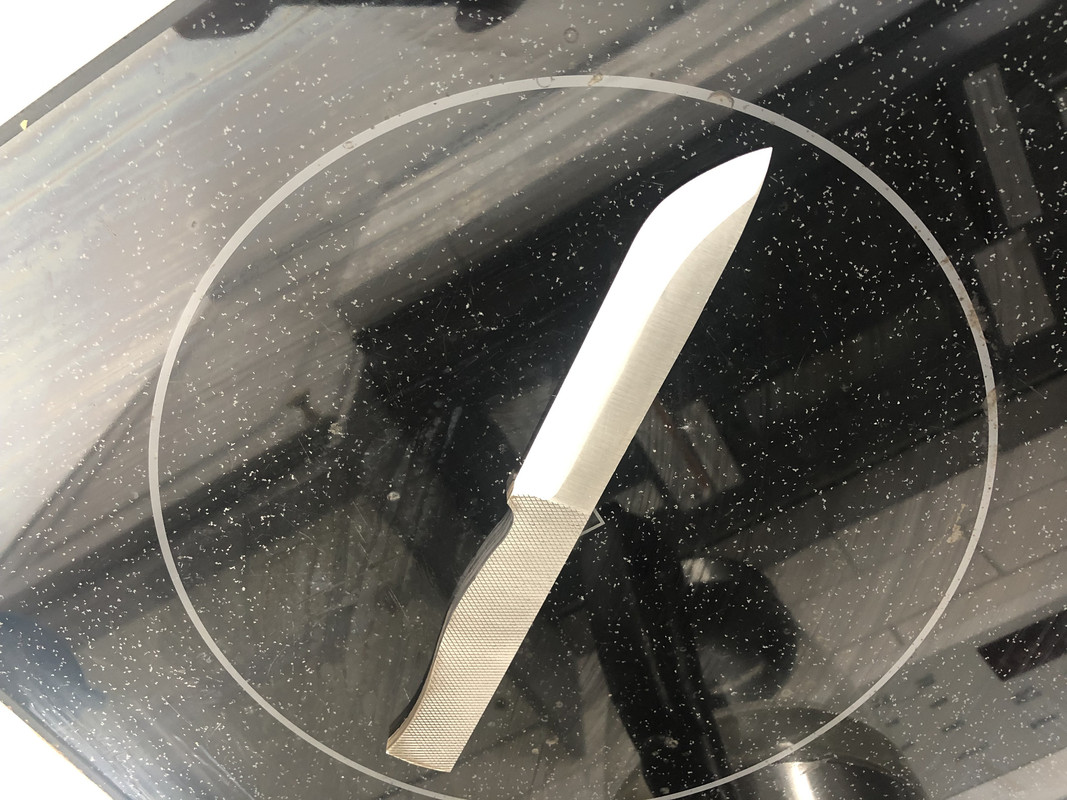
Lots of fun to had, I had scrap the first knife.
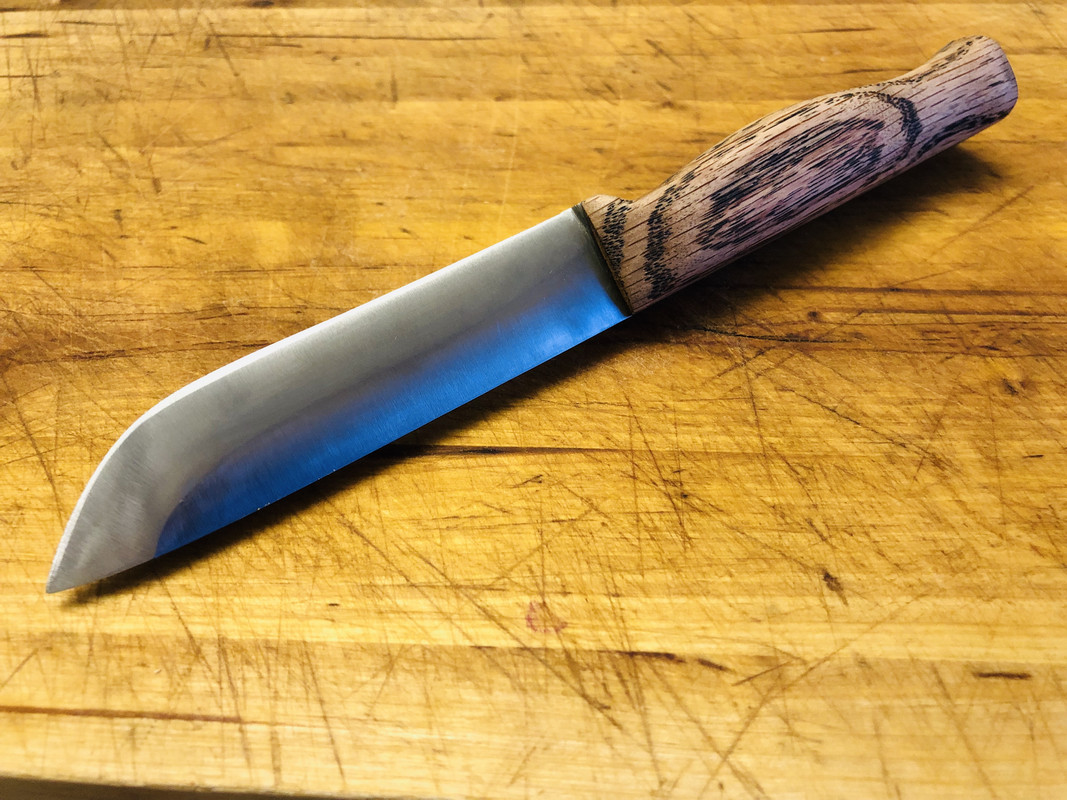
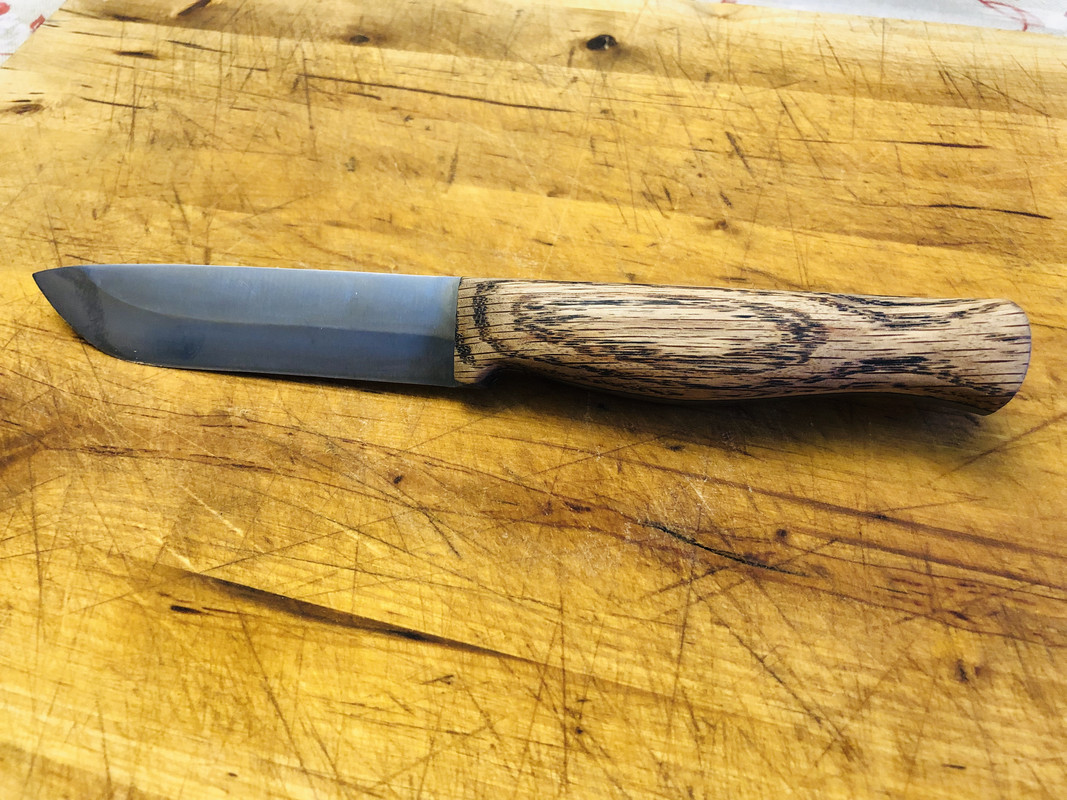
Hers is where I’m at
I could not drill the file to install the pins, even using a brand new cobalt bit in a drill press. I don’t have a cardbide bit. So I decided just to epoxy it and go from there. I epoxied everything inside as the temperature is still below freezing here. (Not sure if epoxy misbehaves in freezing weather)
Overall, this is a fun hobby
Lots of fun to had, I had scrap the first knife.
Hers is where I’m at
Last edited:
Not 15 min.I’m not an expert with heat treat, but I don’t think 15 min would do much. I use carbide bits (made for glass and ceramic tile) to drill hardened steel, S35VN at RC 61
And it cut quite easily. Obviously Pre heat treat is much better for drilling.
1h and 15min total I did
You can temper back the file to make easier to work, it’s likly too brittle anyway.
2 hours at 400F x 2
Do you know what brand of file? That might be a clue as to the specific steel that it is. Chances are it is W1 or W2 or something similar. To anneal (soften) the hardened file you will need to get it up to about 1200 degrees F and hold it there until it is the same temperature all the way through. Let it soak for about 15-30 minutes and let it cool to room temperature. this will not completely soften it but will make working/drilling/filing it much easier. To re-harden it, heat it to 1500 or so degrees F and quench in an oil such as a Vegetable oil. Then temper it at 300-400 degrees F. These are general suggestions that should get you in the ball park. If you grind your steel, observe the sparks that are given off. this will give you a hit as to the carbon content and whether it will harden or not. I hope this helps......Bob
Stacy E. Apelt - Bladesmith
ilmarinen - MODERATOR
Moderator
Knifemaker / Craftsman / Service Provider
- Joined
- Aug 20, 2004
- Messages
- 38,524
I'm going to tell you something you don't want to hear. You clamped the scales on with glue only using strong clamps. This squeezed nearly all the glue out of the joint between scales and tang, creating a glue starved joint. One light tap and the scales will fall off.
Tap them from the side with a wooden mallet or a piece of 2X4 to make them fall off. Re-sand them flat to remove any remaining epoxy.
Get a 1/4" carbide masonry bit from the hardware store for a couple bucks. Use it to drill three holes in the tang and then drill 3/16 holes in the scales for 3/16" brass pins. Cut ther pins about 1" longer than the scales thickness to make insertion and glue up easier.
Put the handle back together with the pins and fresh epoxy and only clamp lightly … just enough to hold the scales o the tang.
I always grind the middle of the tang out a bit with a coarse belt to make a reservoir of epoxy that can't be squeezed out (I usually do it on the scales too). I also drill extra holes in larger tangs to make places where the epoxy goes from one scale to the other.
Finally, I use Corby bolts to eliminate the entire issue of glue staved joints or pins the loosen and don't hold. The cost of a counterbore and some Corby bolts is small when compared to the much more professional looking and stronger construction.
I'm going to tell you something you don't want to hear. You clamped the scales on with glue only using strong clamps. This squeezed nearly all the glue out of the joint between scales and tang, creating a glue starved joint. One light tap and the scales will fall off.
Tap them from the side with a wooden mallet or a piece of 2X4 to make them fall off. Re-sand them flat to remove any remaining epoxy.
Get a 1/4" carbide masonry bit from the hardware store for a couple bucks. Use it to drill three holes in the tang and then drill 3/16 holes in the scales for 3/16" brass pins. Cut ther pins about 1" longer than the scales thickness to make insertion and glue up easier.
Put the handle back together with the pins and fresh epoxy and only clamp lightly … just enough to hold the scales o the tang.
I always grind the middle of the tang out a bit with a coarse belt to make a reservoir of epoxy that can't be squeezed out (I usually do it on the scales too). I also drill extra holes in larger tangs to make places where the epoxy goes from one scale to the other.
Finally, I use Corby bolts to eliminate the entire issue of glue staved joints or pins the loosen and don't hold. The cost of a counterbore and some Corby bolts is small when compared to the much more professional looking and stronger construction.
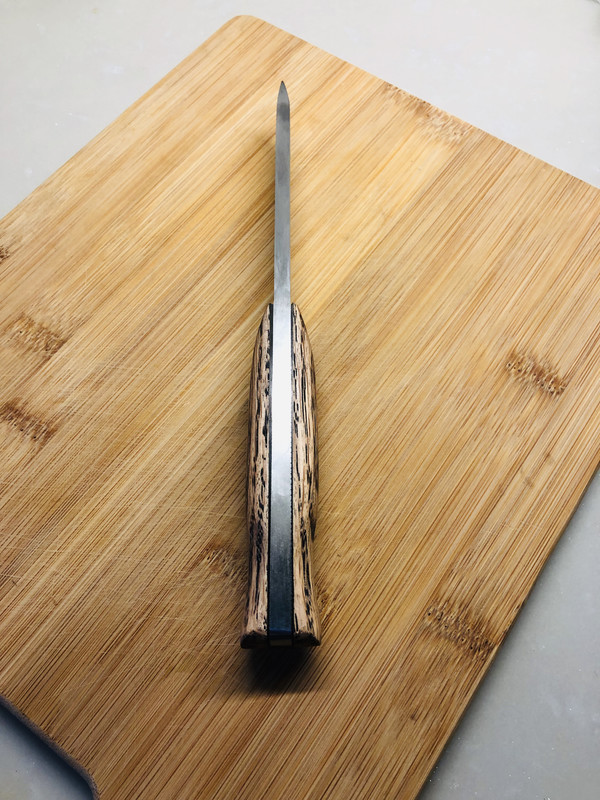
Well I left file groves on clean it with acetone and rubbing alcohol
Not a lot squeezed out when I clamped it. This morning I did beat on it with a cut off 2x4 to the point that I was batonin through another peace of wood
Maybe I just got lucky on this one.
Once I figure out the heating/forging I will be pinning as well.
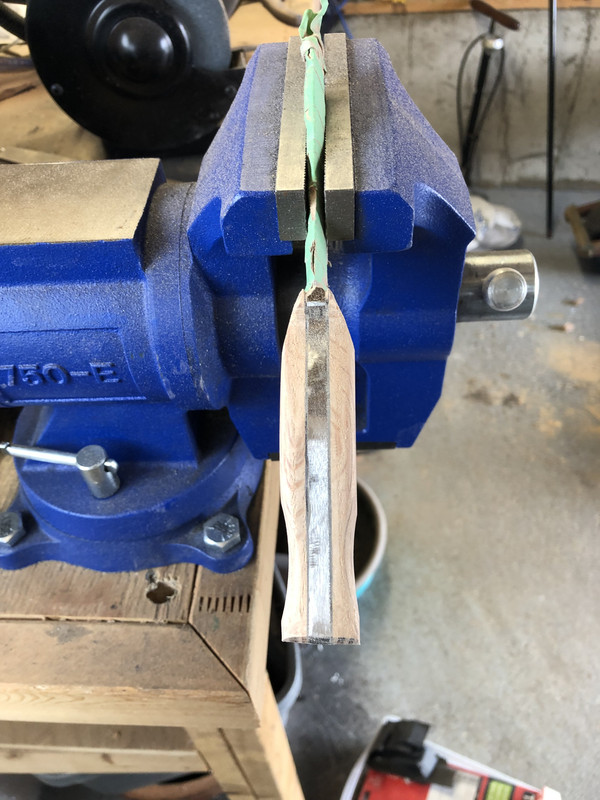
Hopefully the scales last. Project is finished I will post the images in a moment.
Thanks for all help