- Joined
- Apr 21, 2010
- Messages
- 2,058
I recently had a very special opportunity come my way. I was invited to spend an afternoon with Mr. Paul Long, sheath maker extraordinaire. In addition, he told me to bring a knife and we would sheath it. I was blown away. Ive been fiddling with leather for many years off and on and recently made my third knife sheath. The first was garbage, functional garbage, but still looked like it was cobbled together by Dr. Frankenstein with parts stolen from dead sheaths. My second was passable, but nothing special. My third and most recent, for my Tracker turned out OK, but it took forever and I had to tweak and change the design on the fly as I discovered mistakes. The chance to see a true pro at work was too good to pass up.
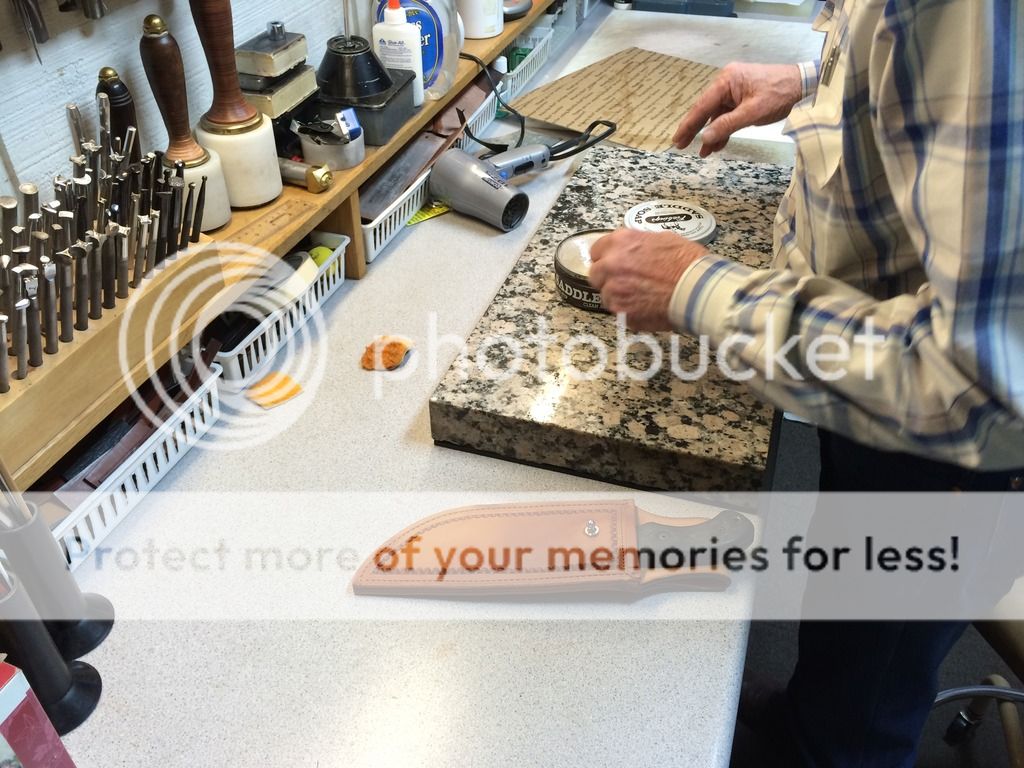
After a couple of very pleasant telephone conversations, I arrived at Mr. Longs shop with my Tops TB1 tracker in tow. I felt like I was carrying a sack lunch into the Queens brunch! I was greeted by the most welcoming person you could ask for. He was so friendly, it was almost as though I was dong him a favor! Mr. Long eagerly showed some of the different styles he had made in the past for WSKs, and while freely offering his opinion on what would likely work best, he was very open to what I wanted as well. We decided on a style and got immediately to work.
Let me say here Mr. Long is nothing if not efficient. The mans shop was impeccably clean, with every tool neatly placed and well organized. As he began to work, I was amazed and humbled by the wall adorned with photos and framed magazine covers showcasing his work. It took a while to get over wanting to pinch myself to make sure I was awake. Ill add, Mr. Long had no problem with me taking photos of him working and encouraged questions. At times I felt like a pest, but he welcomed and responded to every question or comment as though it was the most important thing hed heard all day. He carefully explained every step as he went, trying to impart every ounce of knowledge possible. It was much like drinking from a fire hose. Mr. Long worked so fast and efficiently it was unreal.
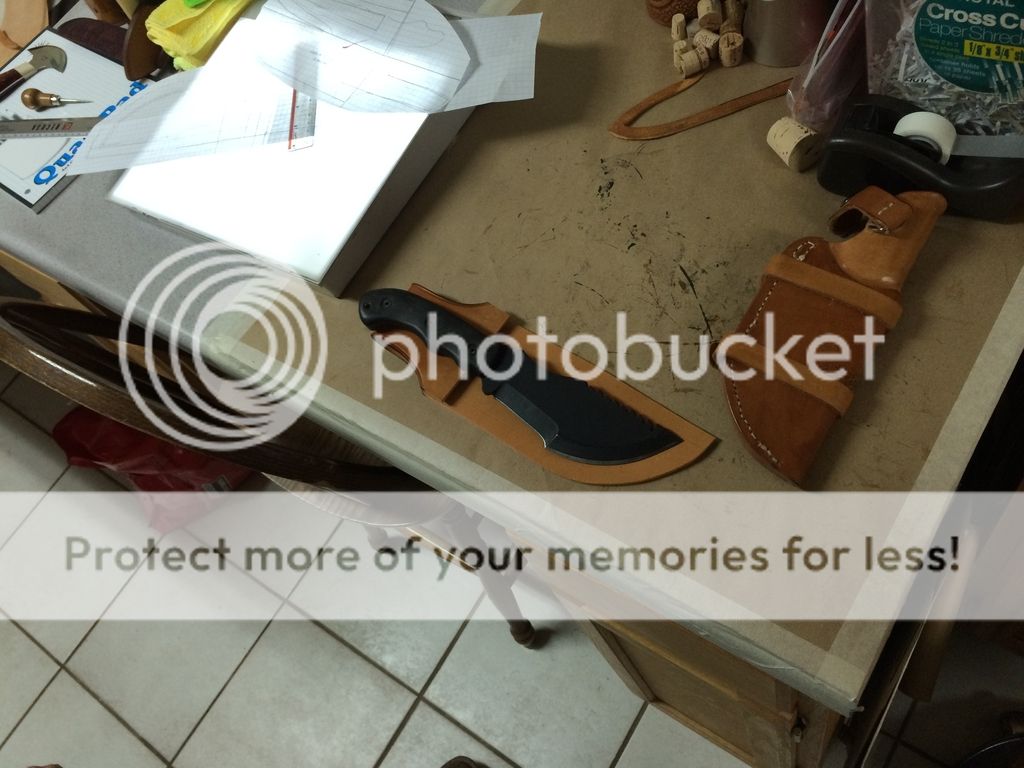
At this point Ill mention the Tracker is not an easy knife to sheath. Its like trying to sheath a chainsaw. Every part of the blade from the quarter-round to the saw back is as rough on a sheath as it is on a piece of wood. Mr. Long evaluated and accounted for this factor without skipping a beat. I had brought along a notepad, but it was useless. He worked so fast, you didnt want to look away for a second because youd miss a step.
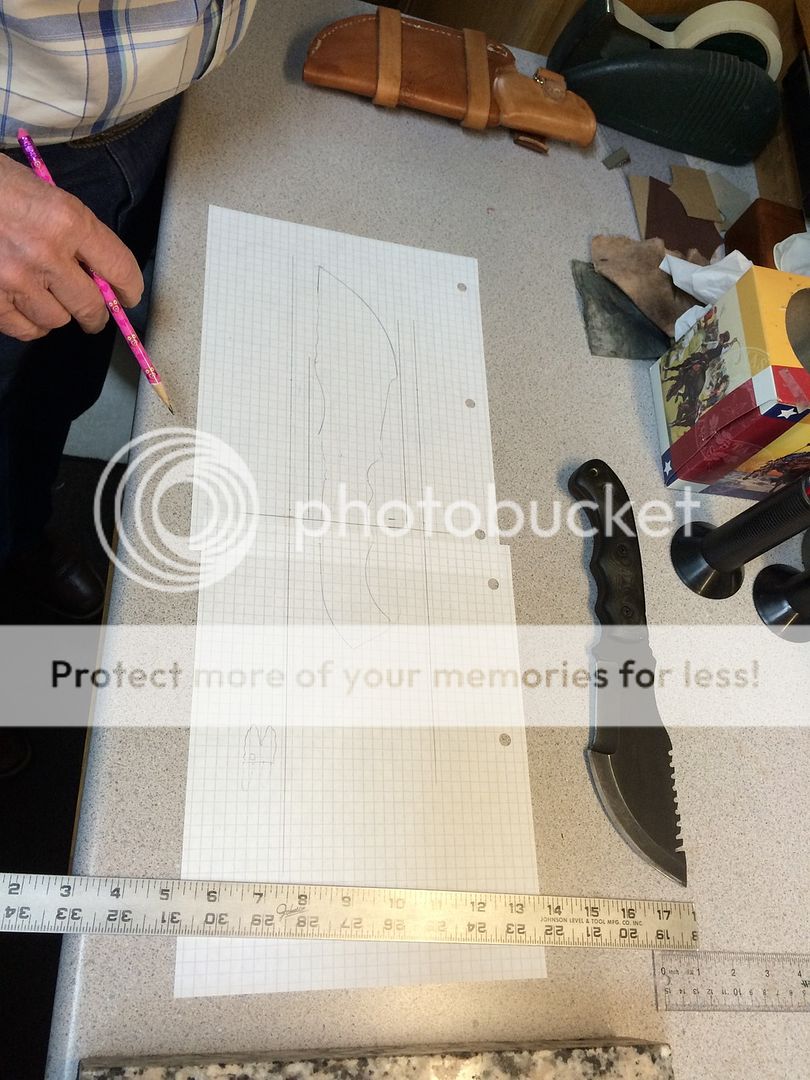
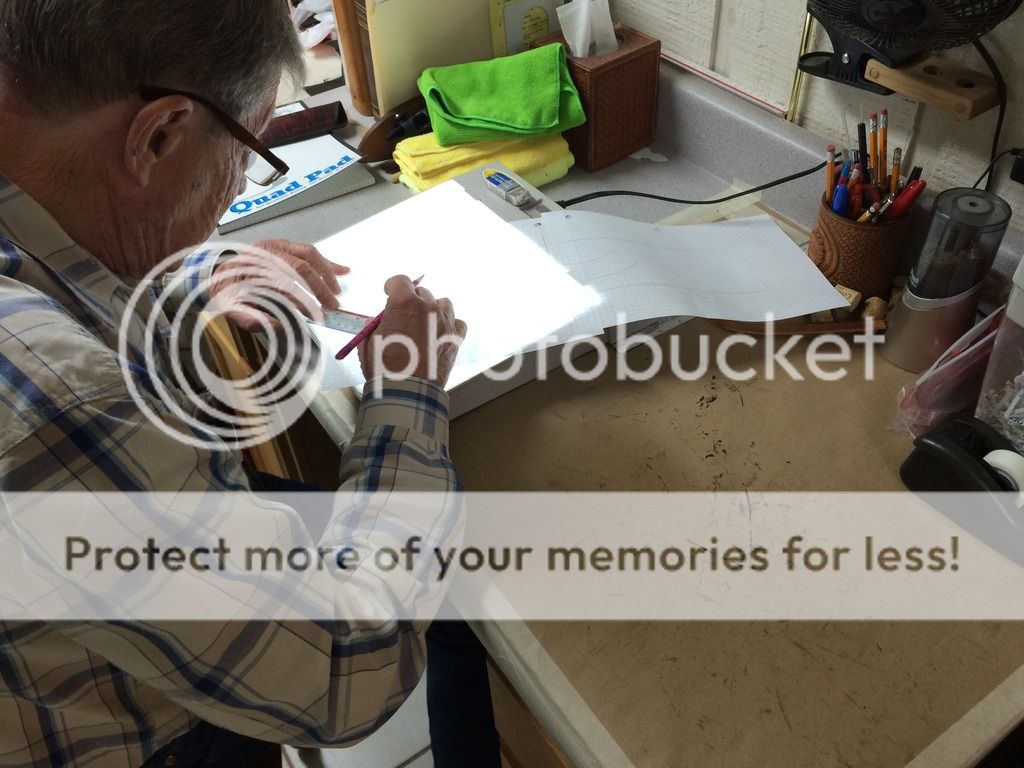
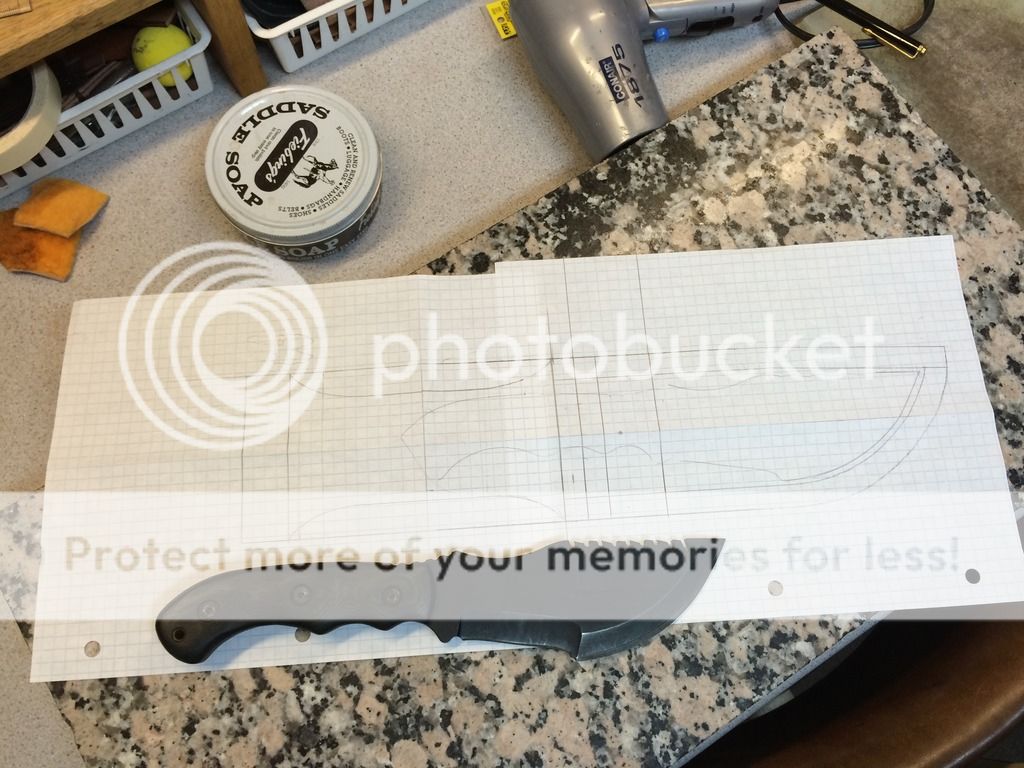
We began with the pattern. He continually stressed the importance of the paper pattern and advised that he was so confident in the pattern we would create, that he guaranteed a perfect fit without inserting the knife in the sheath until it was finished. At my skill level, that is impossible. He carefully traced the knife, we decided on what sort of belt loop we wanted and how deep the knife would set. He repeatedly made dots on the graph paper, brought out the ruler for lines, and went to his lighted board. Then, he would erase a line or dot and re-check where it belonged. Every step of the way he used multiple, often three, reference points to ensure every part would fit.
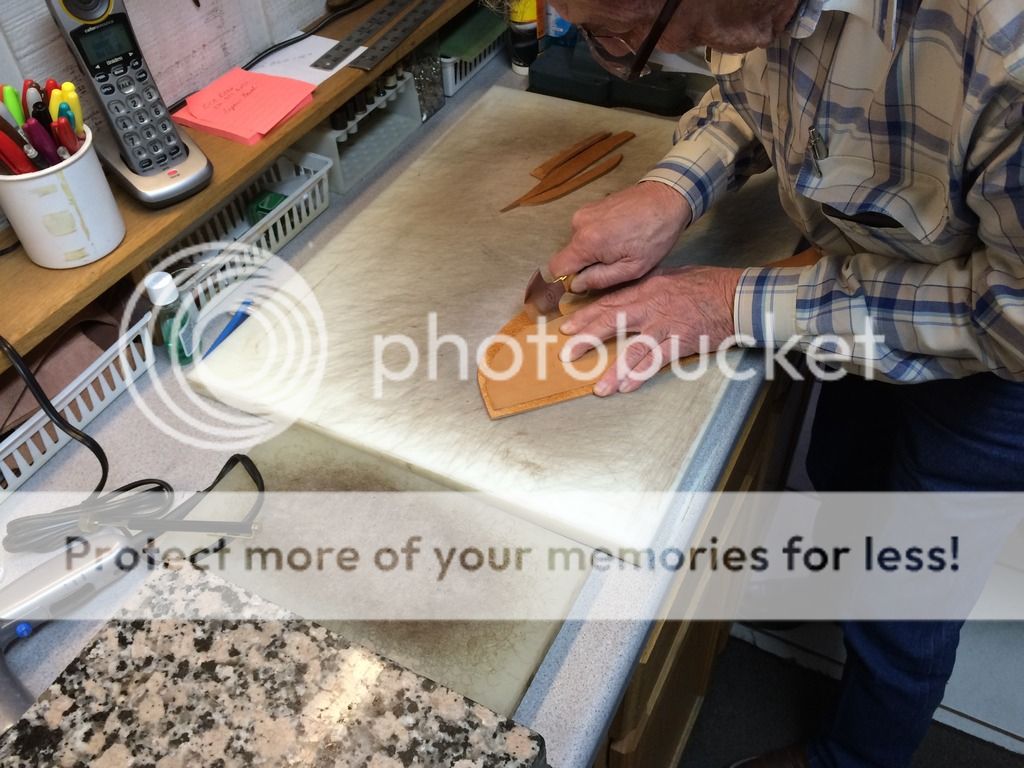
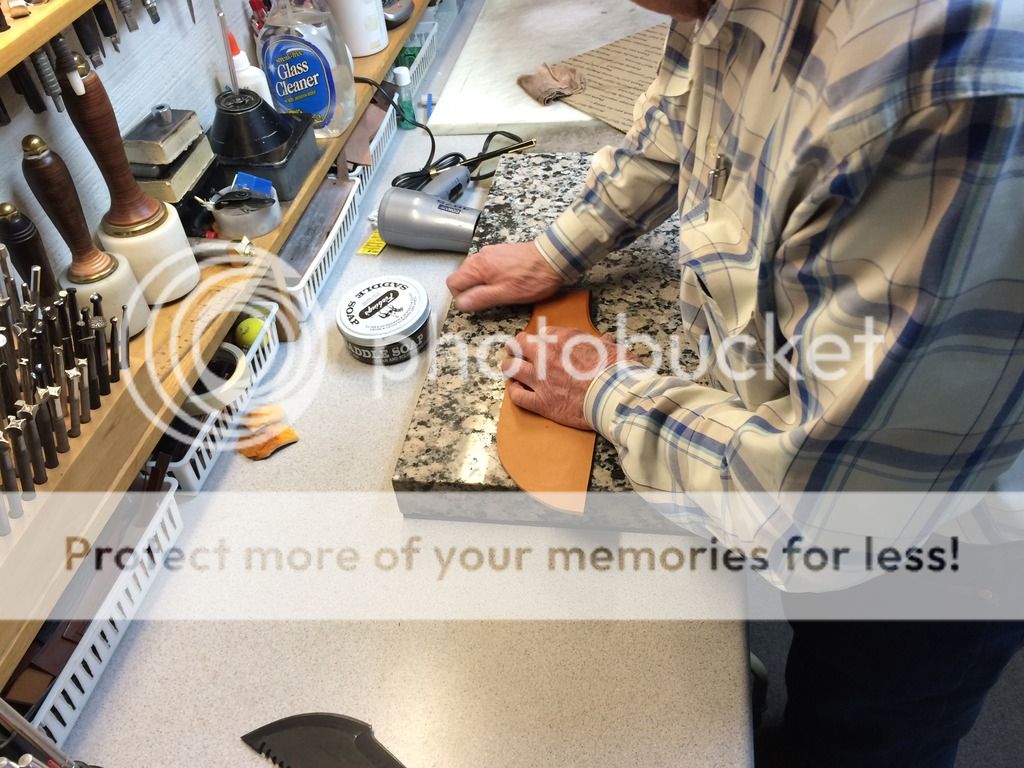
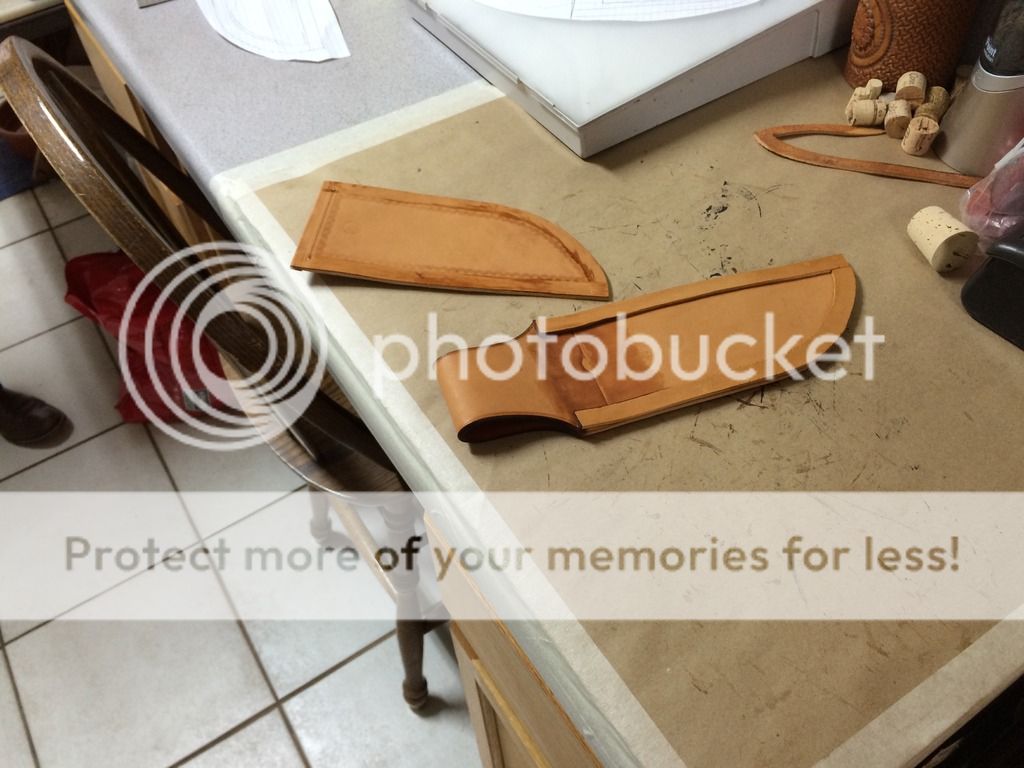
Once finished with the pattern, he brought out the leather. He explained what parts could be used for the liner and which need to be used for the outside. We had earlier decided on a simple and sturdy veg. tanned liner. He often uses deer skin as well, but for our purposes and for this knife, cow hide was perfect. He laid the pattern out and used an awl to make reference points. He explained how that allowed him to cut without destroying his pattern. I wouldve never thought of this, but it worked perfectly. Again the ruler and awl came out and before I knew it, he snatched one of his dozen or so custom round knives and was carving out perfectly shaped pieces of leather. During every step he emphasized the what and why of everything he did. Including using a round knife instead of the utility knife I use (which he got a kick out of!) There was no doubt I was watching a master work even at this early stage. I could compare it to an assistant fry cook watching Julia Childs.


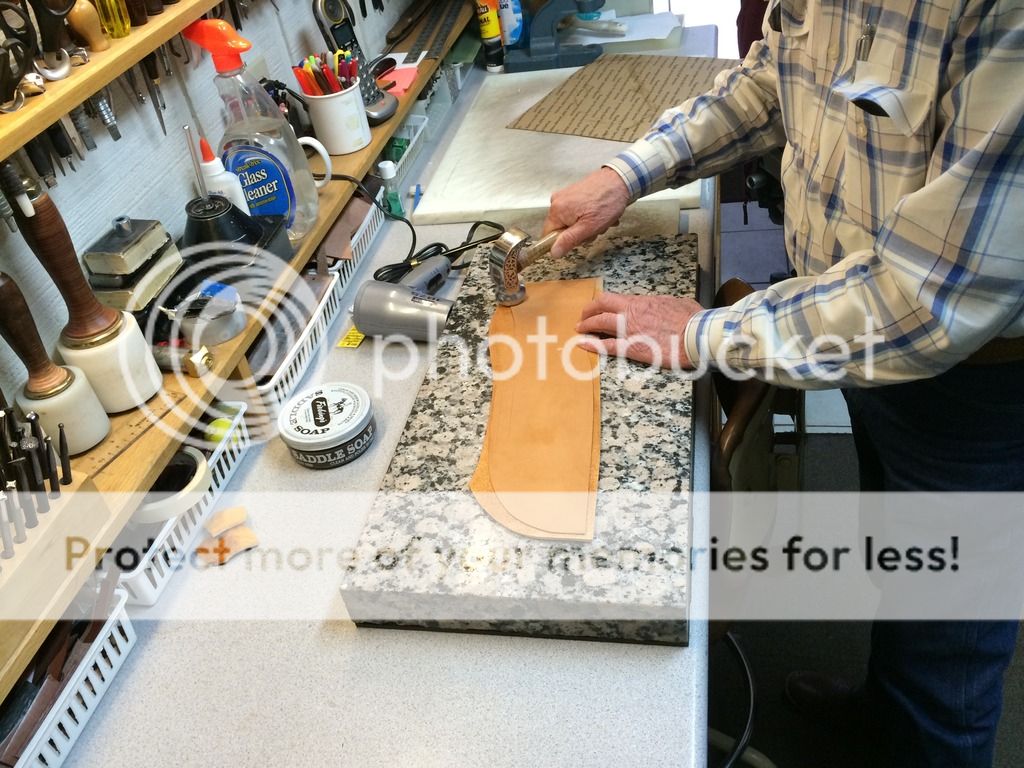
Once the pieces had been trimmed up, he immediately began applying Barge Cement to multiple pieces, explaining how many coats he used and why. Hed then take two steps and have the pieces drying under a small fan. In the blink of an eye, hed be on another job. Of interest is that he uses three coats of cement, with dryings in between on almost every piece of leather which connects to another piece. He also hammers the pieces together, removing any possible pockets and really creating a single piece from many. At first this seemed way overboard, but will result in a sheath likely able to stay together without even any stitching. It also results in what would seem a total moisture barrier between the outside and inner layers. This is genius IMHO. He essentially created a leather laminate offering unseen protection against rain and sweat.

A little more trimming.
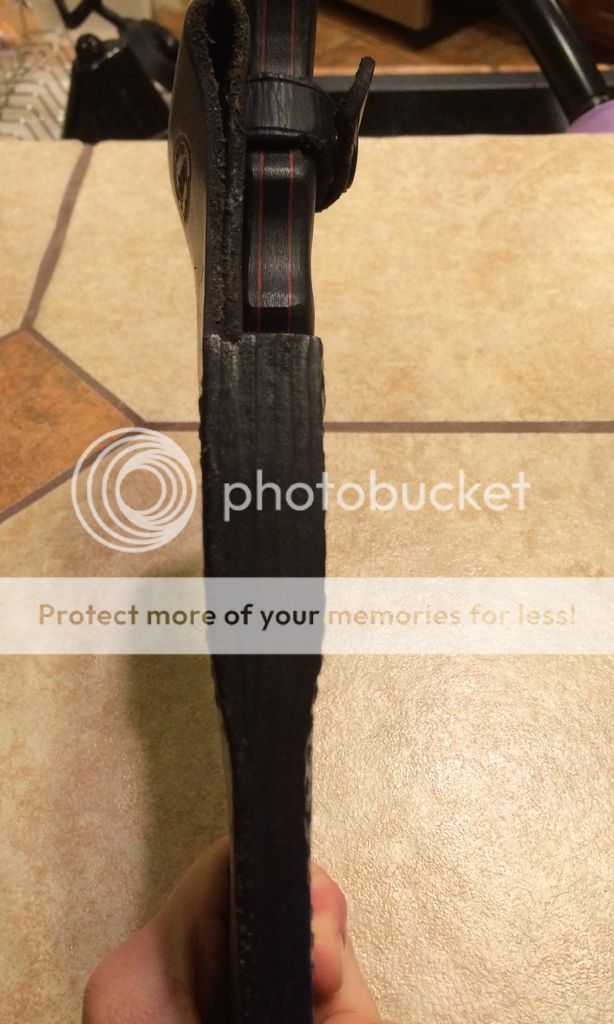
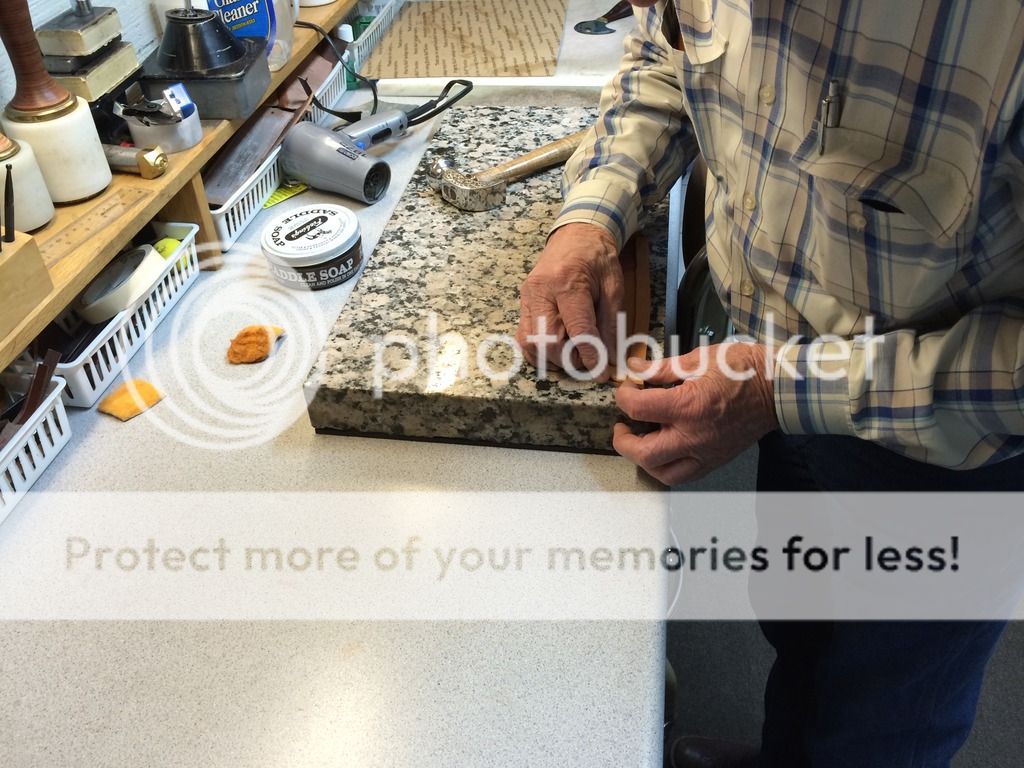
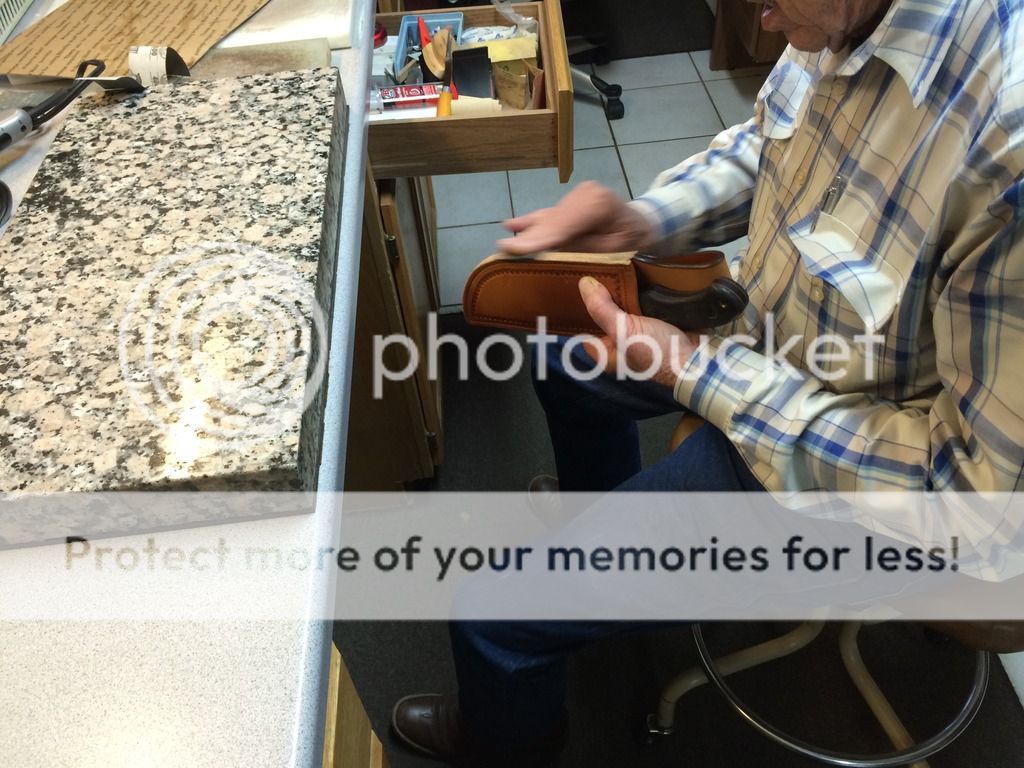
Mr. Long prefers the belt loop to fold outward, away from the body toward the knife. This makes for a nice, clean sheath back. Every part touching the wearers side is smooth. It also adds a bit of elegance. Ill add that at every step of the process, Mr. Long adds a touch of this elegance to his work. Also, as he works with individual pieces, he does small things like finish the edges, or oil the sheath mouth during construction. He explained its quicker and easier to do small things like that before the sheath is put together. Having done it the other way, Ill add that the small details which really make a sheath pop are sometimes impossible to do (or do correctly) at the completion stage. Here, he is folding the loop to make a crease, after wetting the fold.
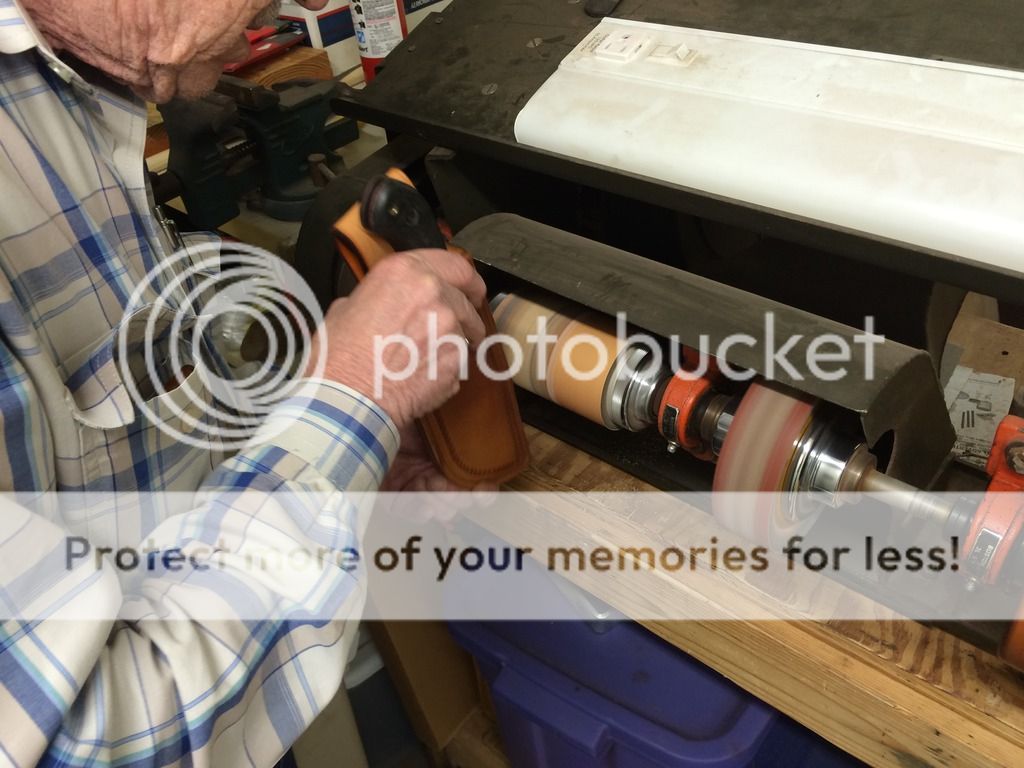
The liners get a pass through the splitter, keeping and using only a thin piece of the top grain, which he stretches tightly. Mr. Long makes his sheaths svelte and trim, not only making them stylish, but making even a large knife sheath appropriate for sash carry, of which he is a fan.

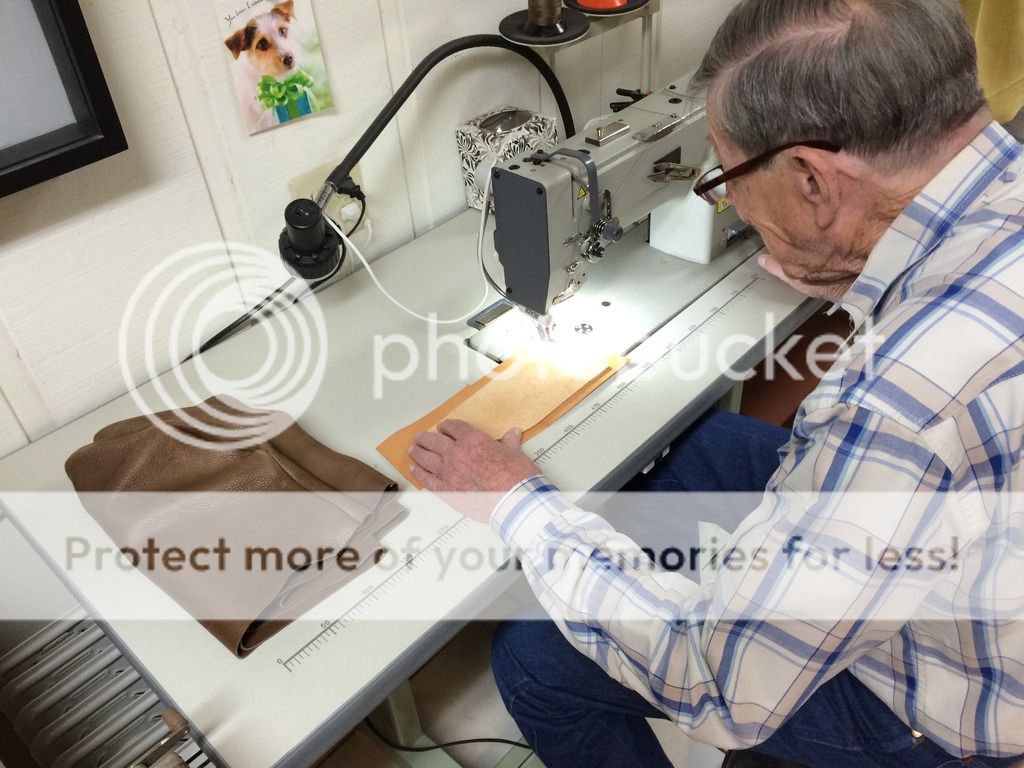
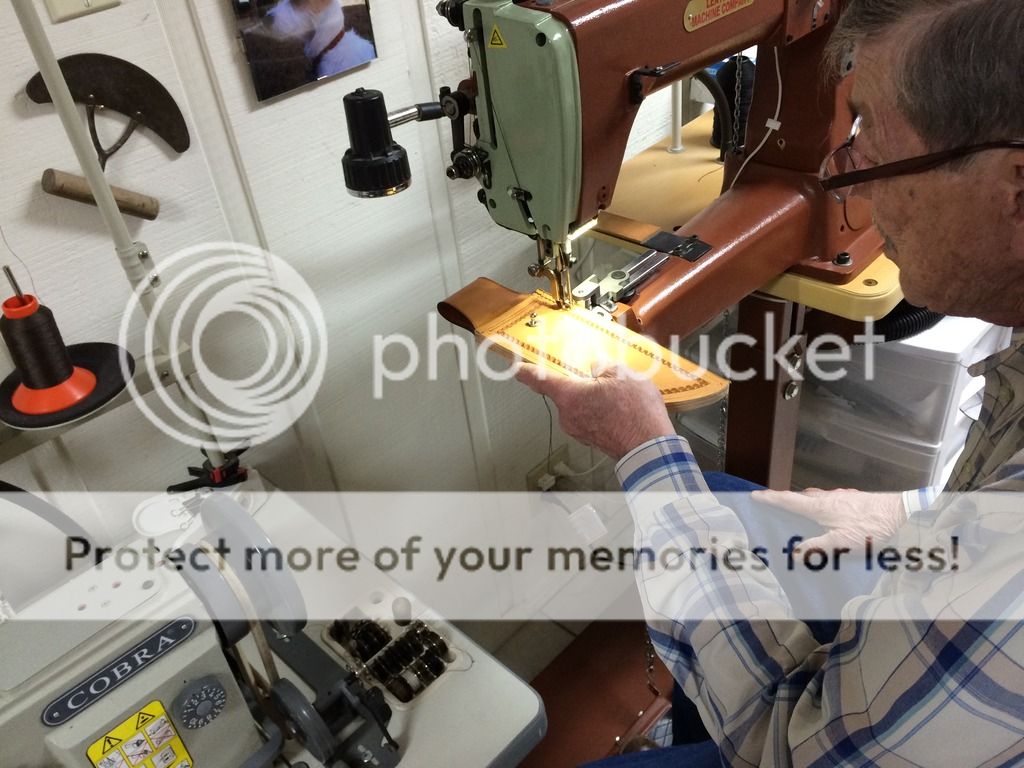
The fold-over liner gets stitched, post cementing.
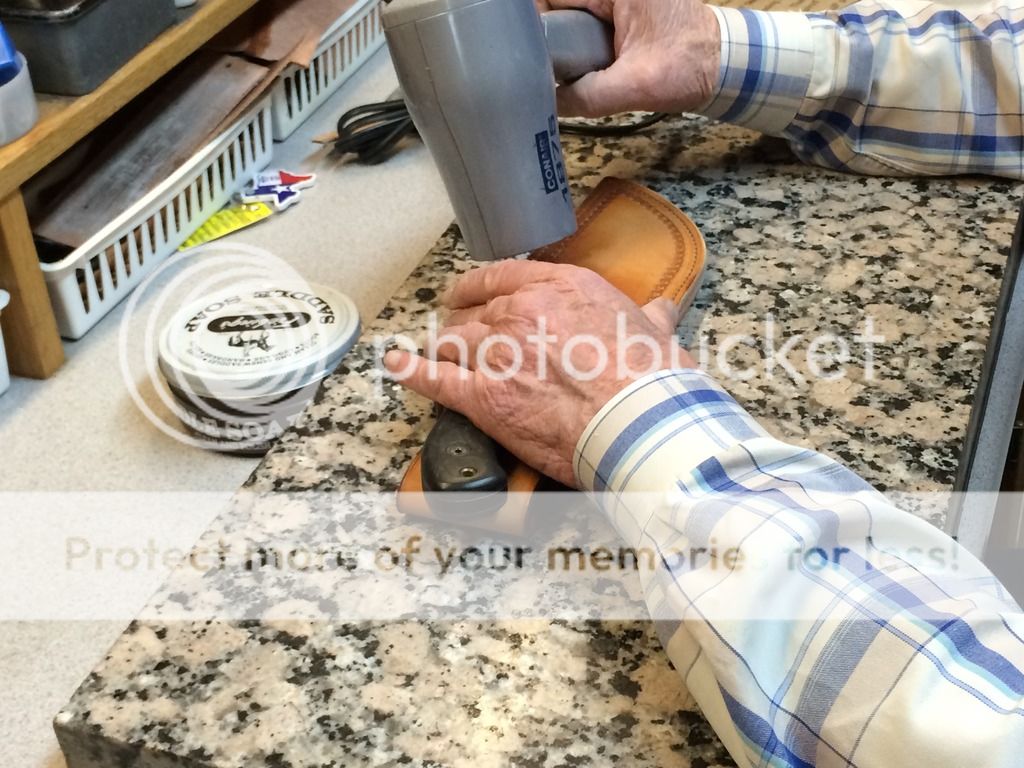
At least I know Im in good company using my wifes hair dryer!

Once the belt loop has received several coats of cement, had the edges finished, and been skived, a final coat of cement is applied where the belt loop will be attached. Mr. Long is constantly performing a task, moving something to the fan to dry a bit, and moving on to finish something or start the next step. Its like watching a choreographed dance at times.

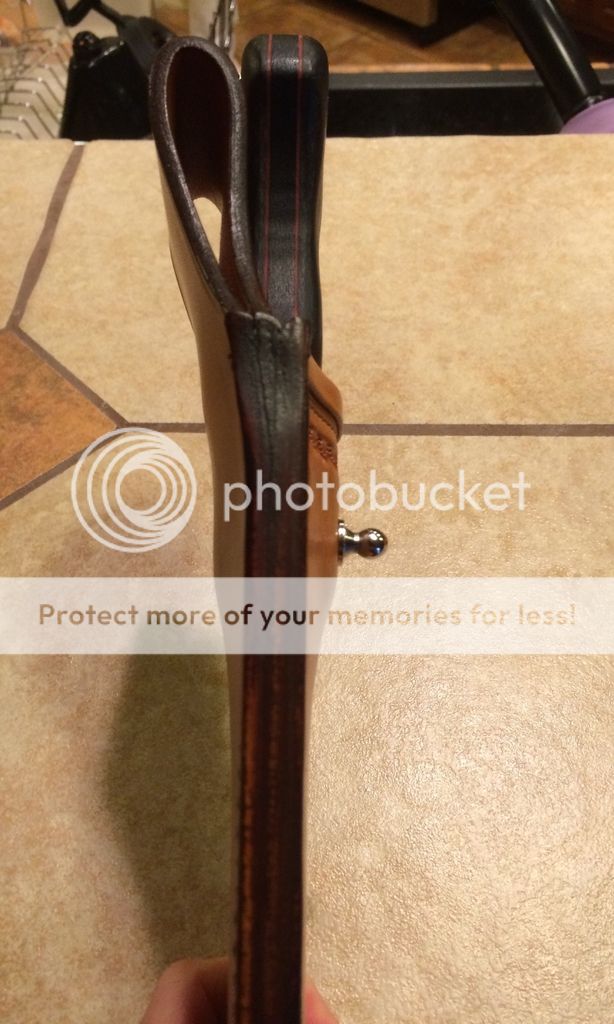
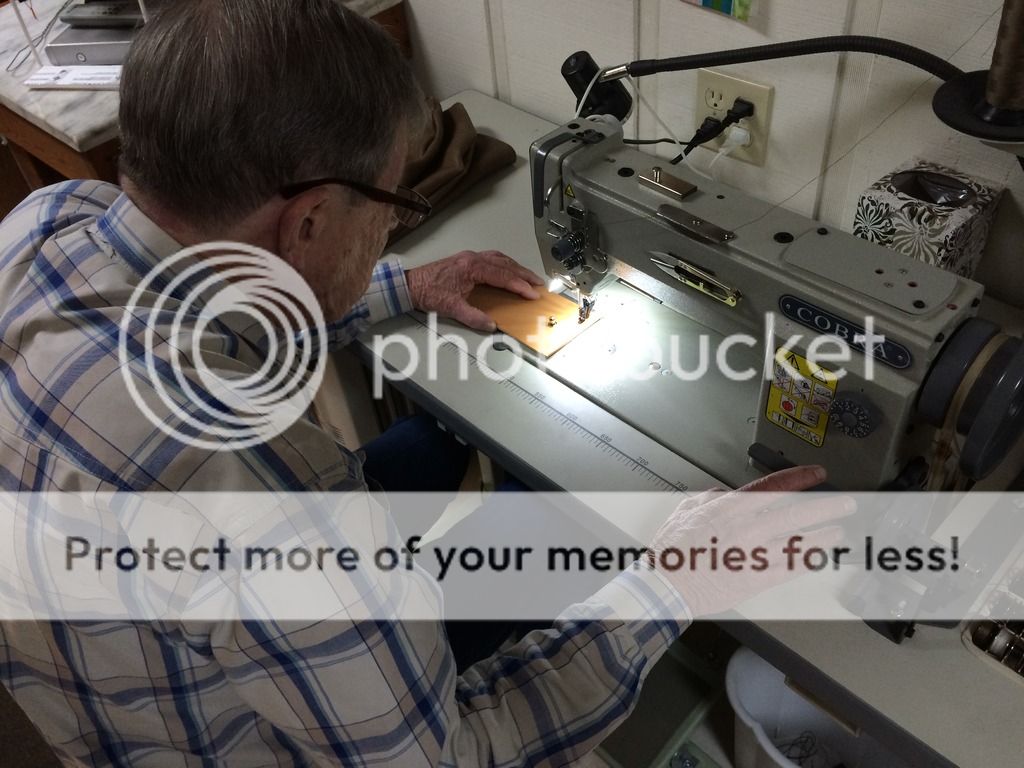
A stud was added for sash carry and to offer several simple and temporary retention options, if desired. Though with this depth and fit, one would have to be doing gymnastics or fall down a mountain to need extra retention, but the option is there and thats nice. Here, a stitch is given to the top of the front piece.
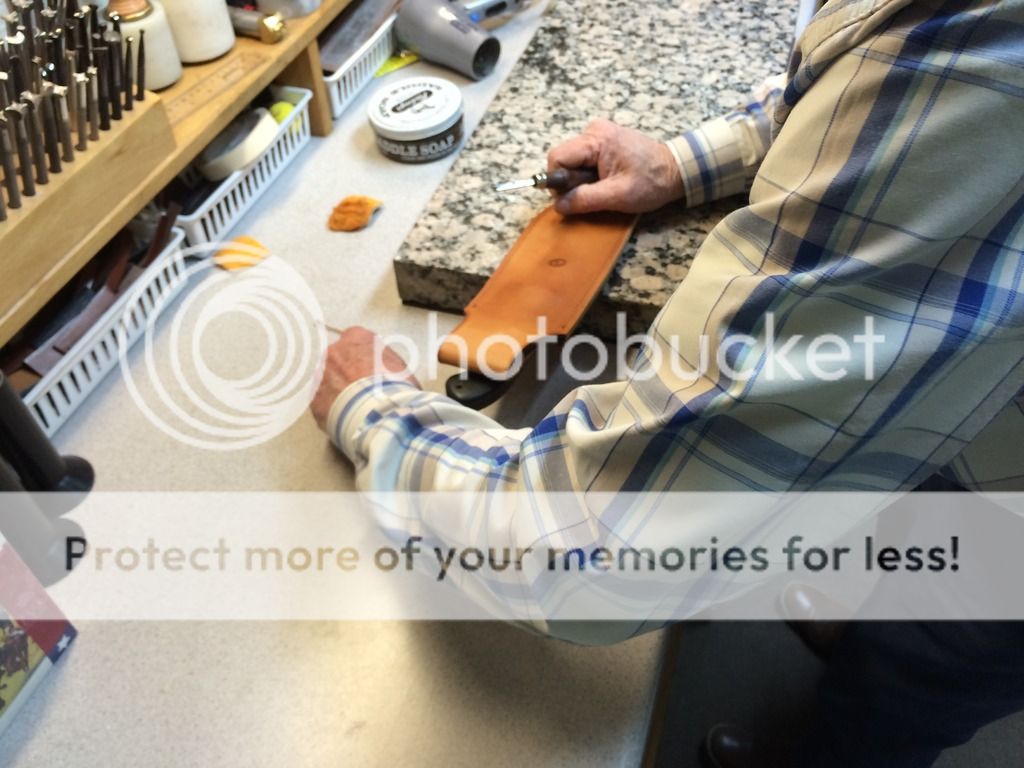
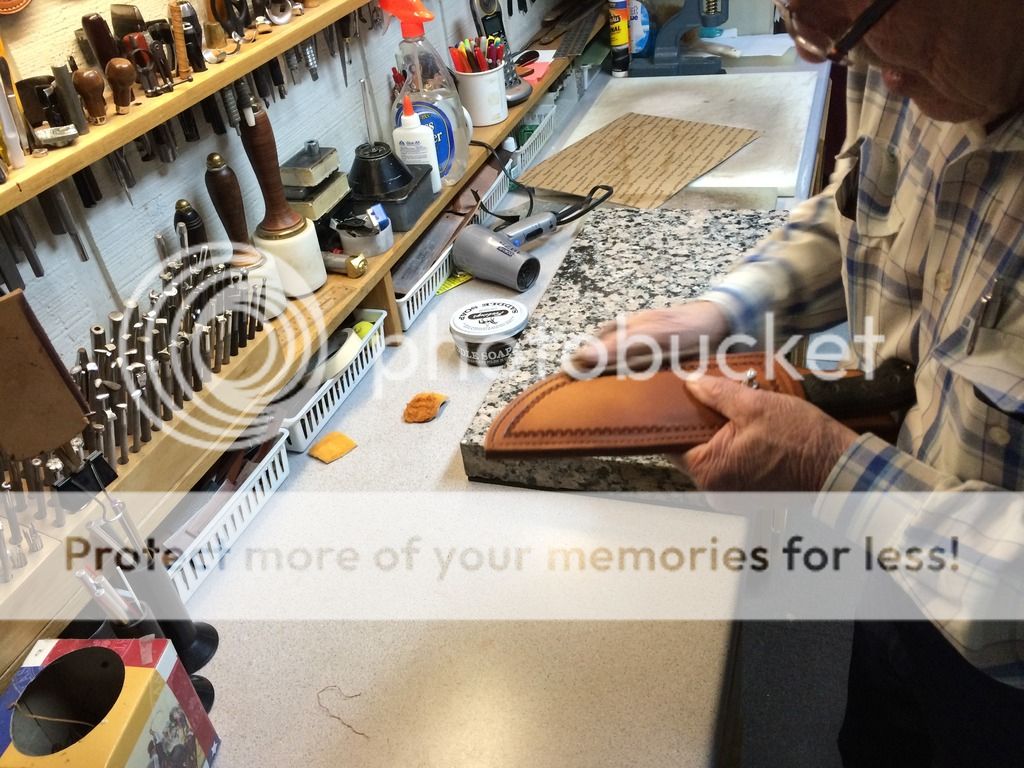
Mr. Long didnt wish to send me out the door with a plain sheath, so he first used a swivel knife to cut a decorative border. Next, he boned the cut, with a piece of real bone no less! He then applied a simple border stamp, adding unassuming elegance. This sheath would be a home at a mountain man rendezvous, a Tracker Pack get together, or a Sunday afternoon BBQ. I asked why he cut a decorative line, since we already had a shallow groove to use as a guide. His reply was a picture is worth a thousand words. He grabbed a piece of scrap and demonstrated what it would look like without a cut. The stamping was not quite as strait and didnt set as deep. I was beginning to see what makes a Paul Long sheath a Paul Long sheath.


The welt, after numerous coats of cement, is cemented onto the sheath body. Note the single, thin welt. There are many opinions on the proper welt. Thick or thin, single or multiple. All I can say is the end result of this welt design was a perfectly fitting sheath, not much thicker than the knife itself. Having used other methods, I believe Im a convert to his style. The results were too functional and beautiful to question.
To be continued...
After a couple of very pleasant telephone conversations, I arrived at Mr. Longs shop with my Tops TB1 tracker in tow. I felt like I was carrying a sack lunch into the Queens brunch! I was greeted by the most welcoming person you could ask for. He was so friendly, it was almost as though I was dong him a favor! Mr. Long eagerly showed some of the different styles he had made in the past for WSKs, and while freely offering his opinion on what would likely work best, he was very open to what I wanted as well. We decided on a style and got immediately to work.
Let me say here Mr. Long is nothing if not efficient. The mans shop was impeccably clean, with every tool neatly placed and well organized. As he began to work, I was amazed and humbled by the wall adorned with photos and framed magazine covers showcasing his work. It took a while to get over wanting to pinch myself to make sure I was awake. Ill add, Mr. Long had no problem with me taking photos of him working and encouraged questions. At times I felt like a pest, but he welcomed and responded to every question or comment as though it was the most important thing hed heard all day. He carefully explained every step as he went, trying to impart every ounce of knowledge possible. It was much like drinking from a fire hose. Mr. Long worked so fast and efficiently it was unreal.
At this point Ill mention the Tracker is not an easy knife to sheath. Its like trying to sheath a chainsaw. Every part of the blade from the quarter-round to the saw back is as rough on a sheath as it is on a piece of wood. Mr. Long evaluated and accounted for this factor without skipping a beat. I had brought along a notepad, but it was useless. He worked so fast, you didnt want to look away for a second because youd miss a step.
We began with the pattern. He continually stressed the importance of the paper pattern and advised that he was so confident in the pattern we would create, that he guaranteed a perfect fit without inserting the knife in the sheath until it was finished. At my skill level, that is impossible. He carefully traced the knife, we decided on what sort of belt loop we wanted and how deep the knife would set. He repeatedly made dots on the graph paper, brought out the ruler for lines, and went to his lighted board. Then, he would erase a line or dot and re-check where it belonged. Every step of the way he used multiple, often three, reference points to ensure every part would fit.
Once finished with the pattern, he brought out the leather. He explained what parts could be used for the liner and which need to be used for the outside. We had earlier decided on a simple and sturdy veg. tanned liner. He often uses deer skin as well, but for our purposes and for this knife, cow hide was perfect. He laid the pattern out and used an awl to make reference points. He explained how that allowed him to cut without destroying his pattern. I wouldve never thought of this, but it worked perfectly. Again the ruler and awl came out and before I knew it, he snatched one of his dozen or so custom round knives and was carving out perfectly shaped pieces of leather. During every step he emphasized the what and why of everything he did. Including using a round knife instead of the utility knife I use (which he got a kick out of!) There was no doubt I was watching a master work even at this early stage. I could compare it to an assistant fry cook watching Julia Childs.
Once the pieces had been trimmed up, he immediately began applying Barge Cement to multiple pieces, explaining how many coats he used and why. Hed then take two steps and have the pieces drying under a small fan. In the blink of an eye, hed be on another job. Of interest is that he uses three coats of cement, with dryings in between on almost every piece of leather which connects to another piece. He also hammers the pieces together, removing any possible pockets and really creating a single piece from many. At first this seemed way overboard, but will result in a sheath likely able to stay together without even any stitching. It also results in what would seem a total moisture barrier between the outside and inner layers. This is genius IMHO. He essentially created a leather laminate offering unseen protection against rain and sweat.
A little more trimming.
Mr. Long prefers the belt loop to fold outward, away from the body toward the knife. This makes for a nice, clean sheath back. Every part touching the wearers side is smooth. It also adds a bit of elegance. Ill add that at every step of the process, Mr. Long adds a touch of this elegance to his work. Also, as he works with individual pieces, he does small things like finish the edges, or oil the sheath mouth during construction. He explained its quicker and easier to do small things like that before the sheath is put together. Having done it the other way, Ill add that the small details which really make a sheath pop are sometimes impossible to do (or do correctly) at the completion stage. Here, he is folding the loop to make a crease, after wetting the fold.
The liners get a pass through the splitter, keeping and using only a thin piece of the top grain, which he stretches tightly. Mr. Long makes his sheaths svelte and trim, not only making them stylish, but making even a large knife sheath appropriate for sash carry, of which he is a fan.
The fold-over liner gets stitched, post cementing.
At least I know Im in good company using my wifes hair dryer!
Once the belt loop has received several coats of cement, had the edges finished, and been skived, a final coat of cement is applied where the belt loop will be attached. Mr. Long is constantly performing a task, moving something to the fan to dry a bit, and moving on to finish something or start the next step. Its like watching a choreographed dance at times.
A stud was added for sash carry and to offer several simple and temporary retention options, if desired. Though with this depth and fit, one would have to be doing gymnastics or fall down a mountain to need extra retention, but the option is there and thats nice. Here, a stitch is given to the top of the front piece.
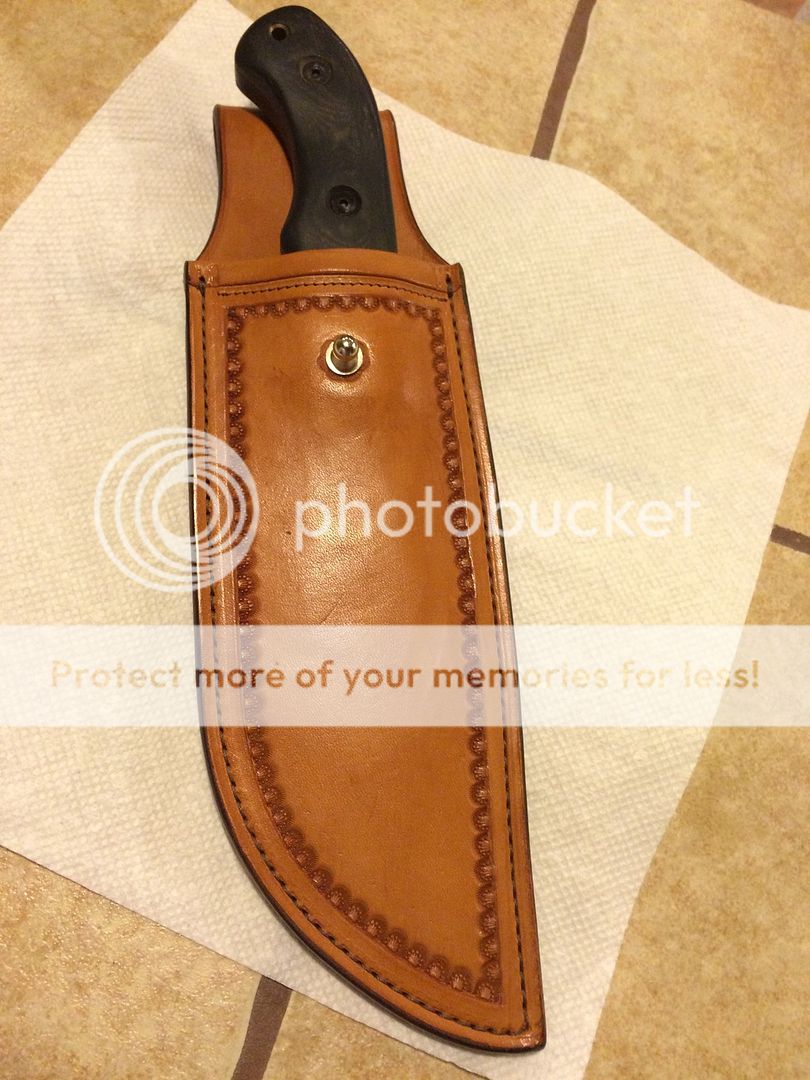
Mr. Long didnt wish to send me out the door with a plain sheath, so he first used a swivel knife to cut a decorative border. Next, he boned the cut, with a piece of real bone no less! He then applied a simple border stamp, adding unassuming elegance. This sheath would be a home at a mountain man rendezvous, a Tracker Pack get together, or a Sunday afternoon BBQ. I asked why he cut a decorative line, since we already had a shallow groove to use as a guide. His reply was a picture is worth a thousand words. He grabbed a piece of scrap and demonstrated what it would look like without a cut. The stamping was not quite as strait and didnt set as deep. I was beginning to see what makes a Paul Long sheath a Paul Long sheath.
The welt, after numerous coats of cement, is cemented onto the sheath body. Note the single, thin welt. There are many opinions on the proper welt. Thick or thin, single or multiple. All I can say is the end result of this welt design was a perfectly fitting sheath, not much thicker than the knife itself. Having used other methods, I believe Im a convert to his style. The results were too functional and beautiful to question.
To be continued...
Last edited:


")
") )
)

 Mr. Long had none of this. He applies cement and allows it to partially set under the fan, then repeats. After his third layer is set a bit, its ready. And the cement definitely penetrates, as he brushes a decent amount onto the pieces. His work immediately bonds and, after hammering, becomes one piece. Thats when I realized he was not just gluing two pieces of leather, but creating a laminate with what must be an impenetrable moisture barrier. The belt loop on this sheath is two pieces and I'm hard pressed to find where they join. You'd swear it was one piece except it's grain on both sides!