- Joined
- Dec 13, 2008
- Messages
- 2,986
We took pics for the customer of the process. Just thought we would post them..This is going to be a bearded, polled bag axe..Used mostly for hunt'n chore's..The body is 1045 and the cutting bit will be 1095fg..You'll notice in the pics everything is done by hand..I always liked doing it that way but to be honest we dont have a mill or a lathe or a power hammer so we dont have a choice anyway  We'd use them if we did but we dont :grumpy:
To start: In the coal fire

Here we forgot to take a pic of upsetting the end but we have upset it and forged a very rough blade shape.The reason we upset it is to have enough mass for a bearded head..Unless the blade close to 3x as wide as the width of the eye body its not bearded to me .Then we have it in a hold hardy tool so we can split the head to accept the wedge of 1095fg..

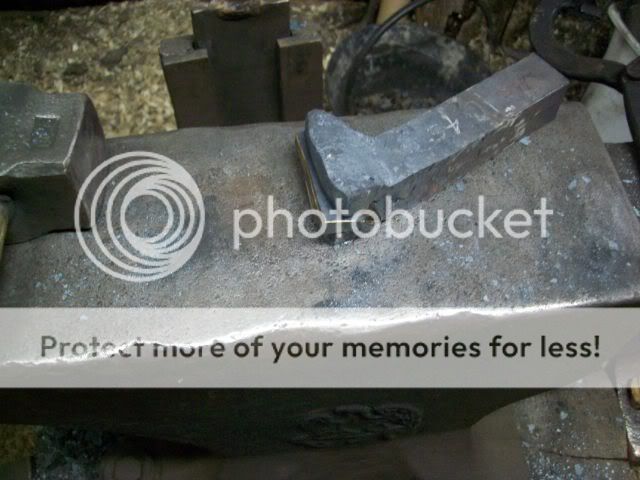
Here is the "blade" split with the cutting bit in it ready to weld up..

Here is the first welding pass..We do two-three passes..

Here we use a spring fuller to fuller the blade between where the eye will be and the rest of the blade..Just makes it easier to control the blade forging.

Here we have measured and marked both sides of the head after cooling with a cold chisel. This is where we will hot slit the eye..

Here we have started. Go thru BOTH sides and then you can meet in the middle..

After you have done a few bucket full of these it will meet perfectly in the middle like this

Here we have a flat drift thru the eye to forge the ears on. Again here we use a spring fuller..Later when we drift it to shape we will fuller some more on the eye drfit.

,
More to come tomorrow folks..Hope this might help someone :thumbup:
To start: In the coal fire

Here we forgot to take a pic of upsetting the end but we have upset it and forged a very rough blade shape.The reason we upset it is to have enough mass for a bearded head..Unless the blade close to 3x as wide as the width of the eye body its not bearded to me

Here is the "blade" split with the cutting bit in it ready to weld up..

Here is the first welding pass..We do two-three passes..

Here we use a spring fuller to fuller the blade between where the eye will be and the rest of the blade..Just makes it easier to control the blade forging.

Here we have measured and marked both sides of the head after cooling with a cold chisel. This is where we will hot slit the eye..

Here we have started. Go thru BOTH sides and then you can meet in the middle..

After you have done a few bucket full of these it will meet perfectly in the middle like this

Here we have a flat drift thru the eye to forge the ears on. Again here we use a spring fuller..Later when we drift it to shape we will fuller some more on the eye drfit.

,
More to come tomorrow folks..Hope this might help someone :thumbup:
Last edited:


