- Joined
- Oct 12, 2010
- Messages
- 8,189
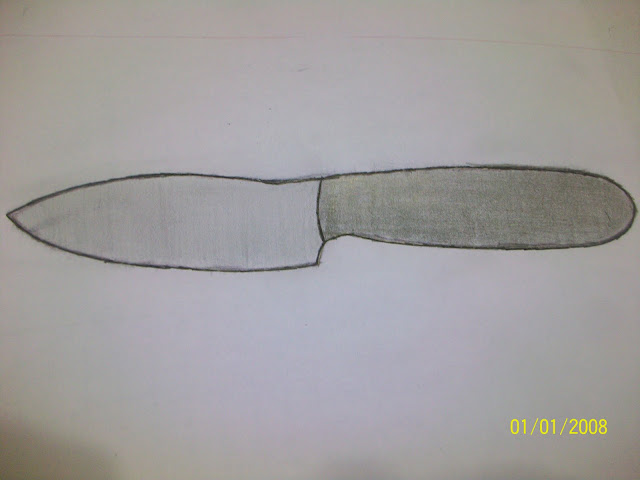
A few weeks ago, I posted a photo of a knife that I drew up and said that I was going to make it. The thought was to start saving up money and begin on it part way through the summer. At the time it was more of a dream or a thought than a reality. Then Stacy saw my thread and made an incredible offer that I could not possibly pass up. Let me just say this now: To all of you new guys and gals, fill out your profile because you never know what it may lead to.
The original drawing
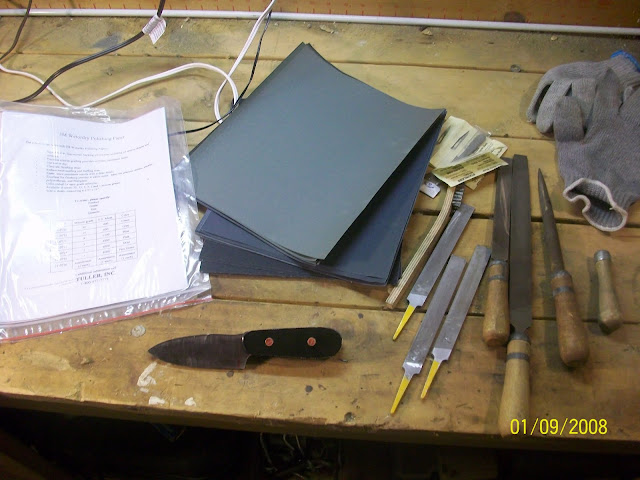
Here is the kit that Stacy sent me.
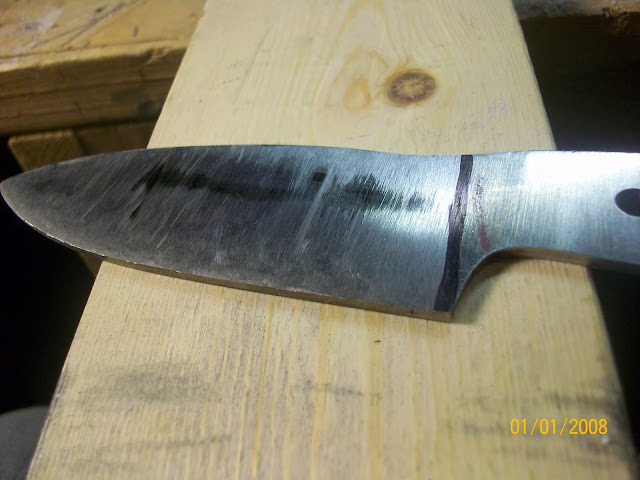
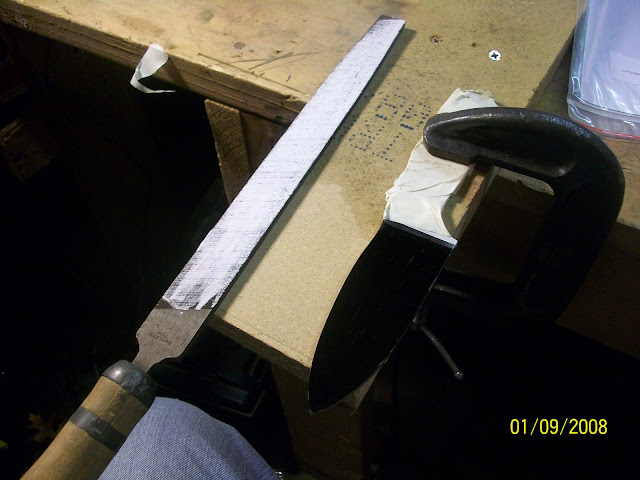
The file is chalked up, the handle taped to avoid dings from the clamp, and the blade covered so I can tell what the hell I am doing.
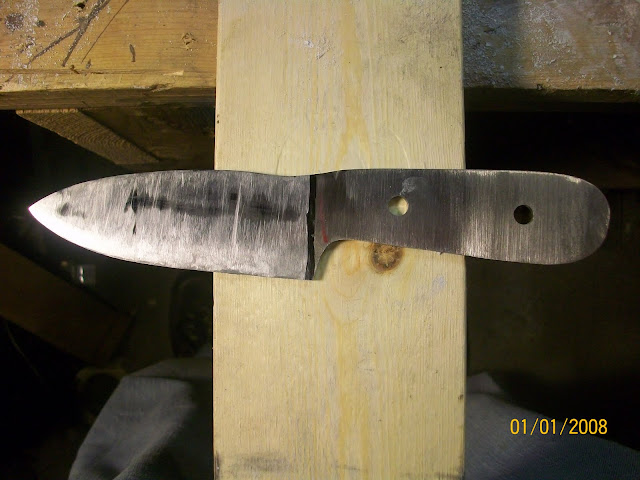
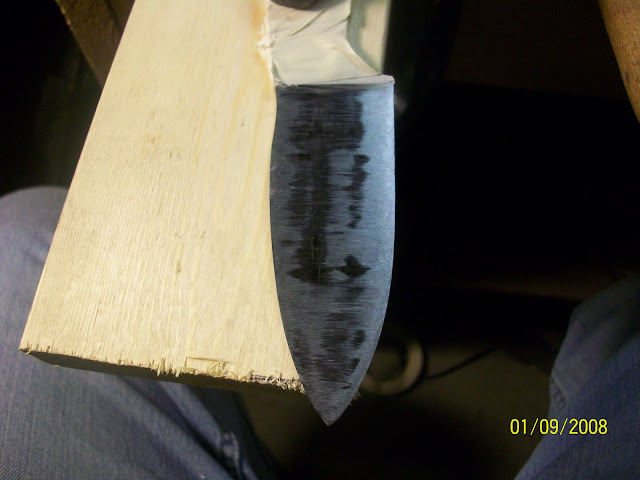
After a little bit of filing, I decided to call it a night
Feel free to send any questions comments and vulgar statements my way. I am sure that I am not doing something right, so if you notice please let me know
The original drawing
Here is the kit that Stacy sent me.
The file is chalked up, the handle taped to avoid dings from the clamp, and the blade covered so I can tell what the hell I am doing.
After a little bit of filing, I decided to call it a night
Feel free to send any questions comments and vulgar statements my way. I am sure that I am not doing something right, so if you notice please let me know
Last edited:


")