Bowie Build-along

Status
Not open for further replies.
Joined
Apr 25, 2009
Messages
329
At the suggestion of the good customer who commissioned my latest Bowie (http://www.bladeforums.com/forums/showthread.php/1191607-Gidgee-Bowie-2), I decided to photograph the making-of said Bowie with the intention of putting together a build-along thread. Well the Bowie is done, photos taken, so here's the thread. Enjoy!


The process starts on paper. Here is the final design, a steel template, and the steel that will become the blade.
013.JPG


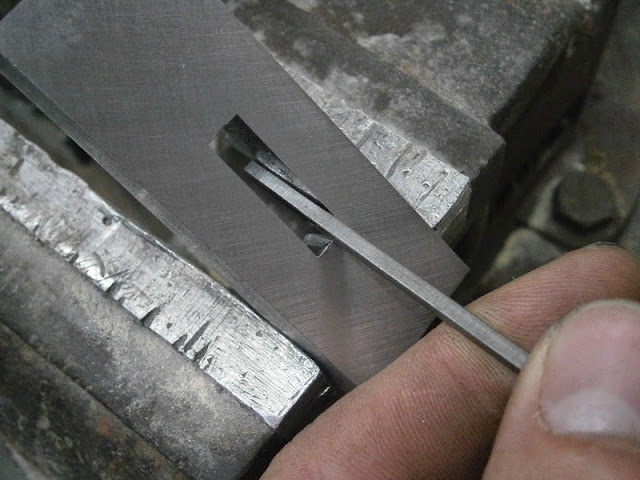
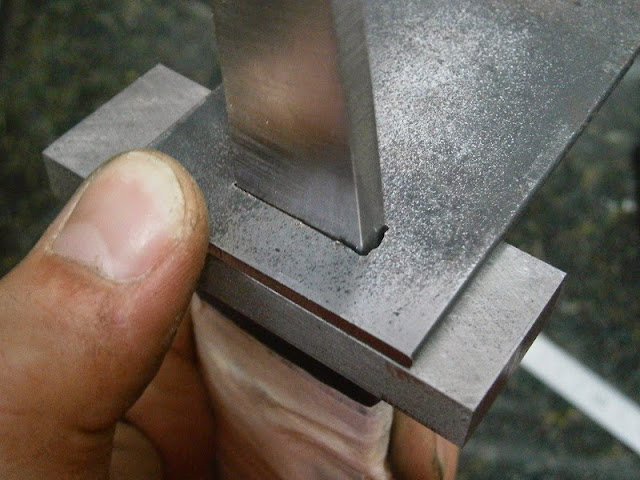
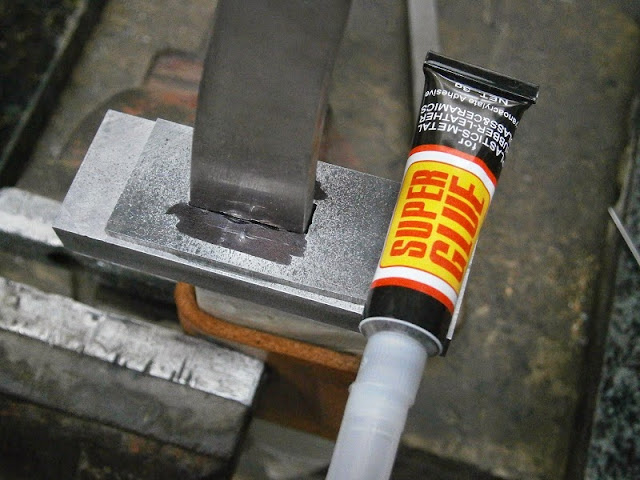
I welded a mild steel bar onto the blade steel for ease of handling.
023.JPG


Corners ground off. Forging the corners in is a hassle, much quicker for me to grind them off.
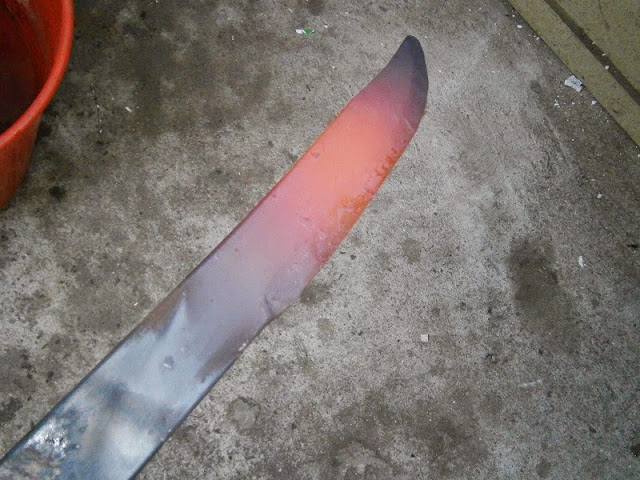
025.JPG


Into the forge.
029.JPG


Forming the tip.
033.JPG


034.JPG


Here you can see the clip starting to take shape.
035.JPG


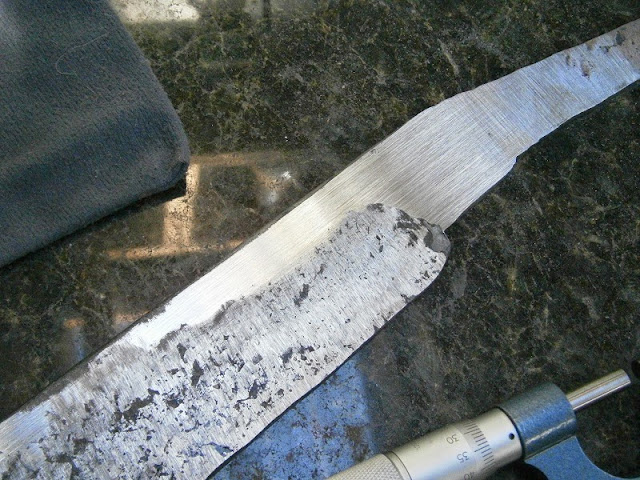
Checking against the pattern to see where the edge begins.
036.JPG


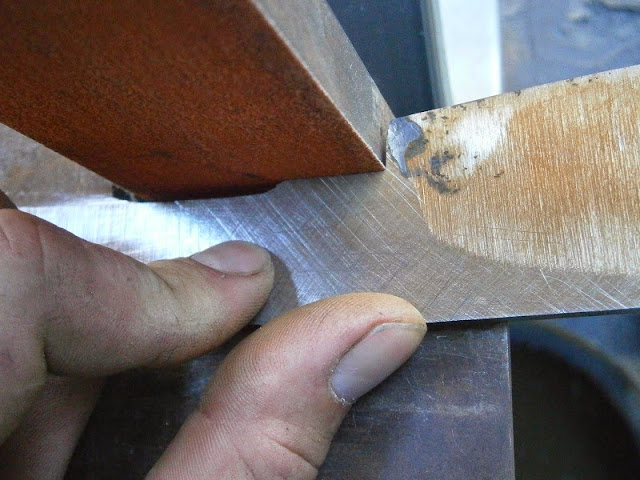
I start forging the bevels at the heel.
038.JPG


040.JPG
 
Bevels taken almost to the spine, and some taper forged in.
042.JPG


Heel defined using the edge of the anvil. I leave the ricasso significantly wider than its finished width.
044.JPG


Tang time.
047.JPG


049.JPG


I get it hot and hit it with my biggest hammer.
050.JPG


As-forged blade with the sketch and template.
055.JPG


Furnace for normalising and thermal cycling.
057.JPG


Getting up to temp.
067.JPG


Air cooling from normalising temperature.
069.JPG


After normalising and thermal cycling, I used the angle grinder to de-scale the blade, and take off some high spots.
084.JPG


Ricasso ground with a new 50 grit ceramic belt.
092.JPG


093.JPG


Flattening on the disc.
098.JPG


At this point I scribed my profile. This photo shows why I left the ricasso wide.
104.JPG


Profile rough ground with a used 50 grit belt on the contact wheel.
106.JPG


Choil and heel profiled.
109.JPG


Ricasso ground with 180 grit on the disc. At this stage it is very nearly flat and parallel.
112.JPG


The pre-HT flatness and parallelism of the ricasso is finalised with 180 grit rhynowet glued to a flat plate.
116.JPG


Lines scribed to help keep the edge centred.
012.JPG


014.JPG


Using a worn 50 grit belt on the contact wheel, I establish the pre-HT edge thickness, then grind a series of hollows up almost to the spine.
018.JPG


025.JPG


Flat ground with a new belt on the flat platen.
033.JPG


Using an 80 grit disc to check for flat and even grinds.
034.JPG


The facets on the spine are roughed in on the flat platen.
040.JPG


Getting the blade ready to be hardened. I radius and buff any sharp corners or edges.
053.JPG


Blade being heated to its austenitising temperature.
060.JPG


Here it is in the tempering oven after being hardened.
066.JPG


Roughly tapering the tang with a slightly worn 50 grit belt. This gets rid of extra material that could otherwise interfere with the next steps.
002.JPG


With the tang relieved I start to re-flatten the ricasso with the disc, etching periodically to make sure there is no decarb remaining.
007.JPG


Fine tuning the ricasso with rhynowet glued to a flat plate.
009.JPG


011.JPG


Next I softened the tang to make it easier to drill and file. I clamp those pieces of brass flat against the bevels to act as a heat sink.
014.JPG


I heat the tang with a torch until it turns a grey colour; I do this at least two times.
016.JPG


018.JPG


Refining the finish on the choil and heel with a very used trizact belt.
020.JPG


021.JPG


Roughing in the choil facets with a used 100 grit Blaze belt.
023.JPG


Choil facets roughed in.
028.JPG


Refining the spine facets a bit.
032.JPG


034.JPG


The belt tracks better on my contact wheel, so that's what I use to establish the plunge. I nibble away at it until there is enough of a step for the belt to ride against when I switch to the platen.
037.JPG


038.JPG


Edge thickness set for finish grinding.
043.JPG


Flat ground down to 100 grit.
048.JPG


Flattening with 80 grit on the disc grinder.
049.JPG


With a carbide guide clamped to the ricasso I used the abrasive paper overhanging the edge of the disc to cut the plunges.
050.JPG


051.JPG
 
Cleaning up the plunge with abrasive paper glued to a micarta block.
003.JPG


More plunge work. If I were better at grinding all this tedious hand work wouldn't be necessary.
004.JPG


005.JPG


020.JPG


Sanding with 320 grit.
022.JPG


Ricasso cleaned up with 320 grit on the flat plate.
026.JPG


I like to get all the geometry pretty much finalised while I'm at 320 grit, so next up is the choil.
036.JPG


Diamond files are handy for this.
038.JPG


056.JPG
 
Grinding in the clip. I used a slightly worn 100 grit blaze belt, followed by a trizact belt.
004.JPG


Sand to 320 grit.
005.JPG


Spine facets also at 320 grit or so. I didn't get any good photos of it, but I had to do a fair bit of hand work to get the spine looking right.
006.JPG


Cleaning up the choil with a very thin and flexible sanding stick.
07.JPG


While I had my back turned the blade sanded itself to a rough 600 grit. Cheeky bugger.
08.JPG


I used a post-it note to help me visualise the best angle for the guard.
09.JPG


Cutting in the shoulders with a pillar file.
014.JPG


Finishing the shoulders with sandpaper glued to a piece of steel (edge slightly radiused)
015.JPG


026.JPG
 
416 stainless for the guard. This was my first time using 416 instead of 304, almost feels like cheating.
004.JPG


Checking for parallelism while flattening the stock.
009.JPG


014.JPG


Beginning the slot.
018.JPG


Connecting the holes with a chainsaw file.
026.JPG


Using a narrow mill file to open up the slot.
029.JPG


This is the set up I've been using to hammer on guards. Far from ideal, but it does the job for now.
032.JPG


This is after a lot of test fitting and careful filing.
039.JPG


Just a bit more to go.
042.JPG


That's all for now, I'll get the rest up soon.
 
Will, Thanks for showing your process. I really like the faceting on the spine and choil. Very clean work:thumbup:


Bing
 
Thanks especially for the details of our work around the choil and ricasso. That area has been one of some trouble for me. And I'm more convinced than ever that i HAVE to get my disc up and running.
 
Will, Thank you so much for posting this. Your attention to detail is impressive and I know this will help a lot of folks on here especially me :)
 
Thanks for the great ride-along Will! Some very clean work and I'm definitely looking forward to the next installments:thumbup:
 
Thanks for the comments, guys. Here's the next instalment.

Removing the last little bit.
043.JPG


Pretty good fit.
044.JPG


Slotting some mild steel to be used as a sacrificial plate to protect the back face of the guard.
048.JPG


049.JPG


050.JPG
 
Time to etch my name. I must have spent about 15 minutes trying to align the stencil just right.
006.JPG


BOTCHED IT. Got pathetic depth, and the parts of the 'N' barely etched at all. Serenity now!
007.JPG


After a few hours of research and testing I found a solution. Because my mark is so simple I was able to line the stencil up on top of the bad mark, and (with a modified technique) etch again.
008.JPG


Before cleaning up.
009.JPG


Cleaned up with some 1200 grit. You can see the depth in this photo.
011.JPG
 
The alignment pin locations are punched in the sacrificial plate, and the plate is glued to the back of the guard.
005.JPG


Depth set.
006.JPG


Drilled.
009.JPG


Here are some plates from previous knives.
010.JPG


Guard template made from 2mm G10.
013.JPG


014.JPG


Roughing the profile. There's a lot of waste with this 1" wide stock.
016.JPG


This pic shows how the guard flares slightly on the handle side.
022.JPG


Finalising the profile with a trizact belt.
023.JPG


Status
Not open for further replies.
Back
Top