Bowie Build-along

Status
Not open for further replies.
Thanks mate. Having crazy eyes is the key to accurate guard slots.

Here's a better picture of the guard shaping fixture:

007%2520%25283%2529.JPG


There's a threaded hole in the round bar.

Thanks
 
I can only think of one other WiP thread that's as good as this one.
 
That is a great WIP. I've learned a lot. Thank you very much Sir.
 
Awesome WIP, I'm learning a lot. Using facets and multi-stage templates to keep the handle symmetrical is something I'm definitely going to try.
 
I love these detailed WIP threads, especially when the maker is so meticulous in their methods. Thanks!
 
This utterly mind blowing the amount of work that goes into a project like this, absolutely amazing, beautiful work!

Jeff
 
Next I round over this edge, and give the handle another coat of oil.
009.JPG


Once the second coat was dry I scrubbed it back with 0000 steel wool, and then polished it with some rottenstone on piece of old t-shirt.
022.JPG


The finished handle.
024.JPG


025.JPG


028.JPG


032.JPG
 
Finishing the blade. I finish the spine, choil, and clip before the bevels.
008.JPG


009.JPG


011.JPG


013.JPG


Cleaning up the bevels.
017.JPG


For the final finish I back the sandpaper with some fairly hard rubber.
031.JPG


037.JPG


003.JPG


004.JPG


006.JPG
 
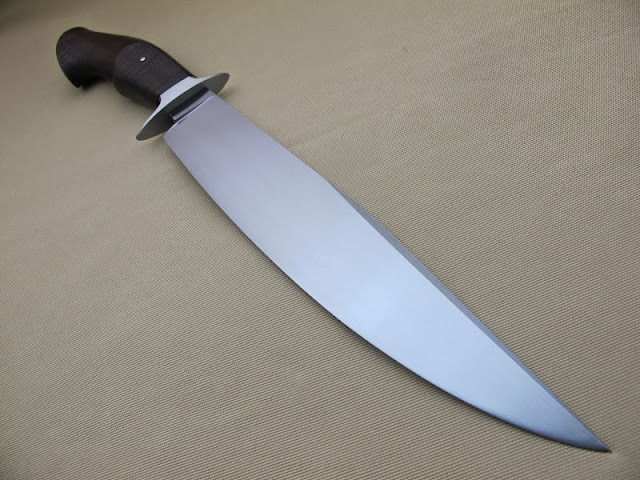
With The blade, guard, and handle all finished, it's for the final assembly. I begin by filing the tang a bit to give the epoxy something to hold on to.
033.JPG


Using a chainsaw file I cut some shallow notches in the end of the tang, again, to give the epoxy something to grab on to. This is really overkill, but it only took a minute.
038.JPG


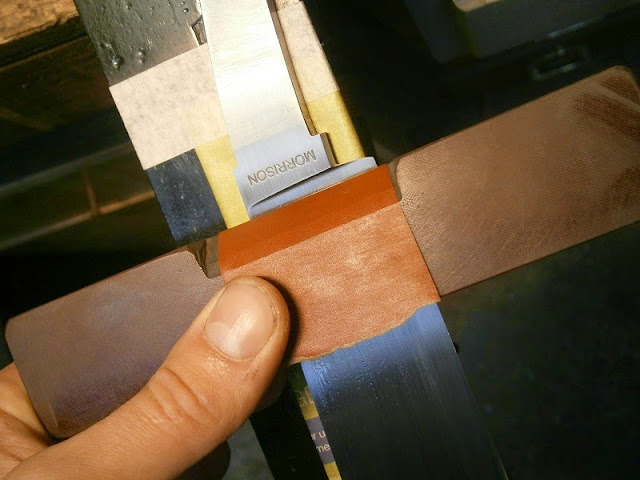
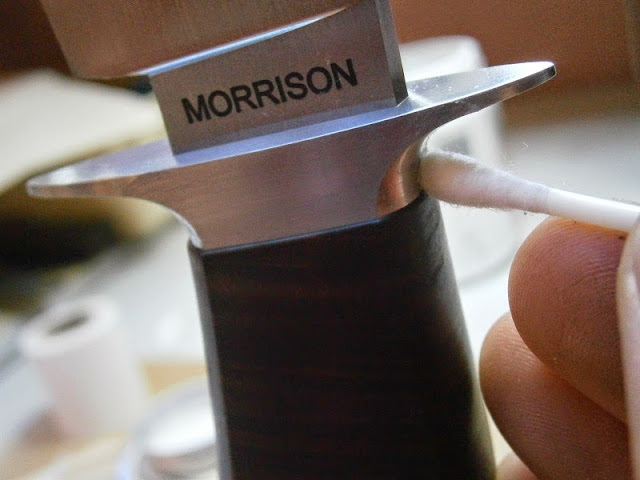
After thoroughly cleaning the tang I pressed the guard on one last time, this time with JB weld in the joint. I could glue the guard on at the same time as the handle, but I like to worry about one joint at a time if I can.
046.JPG


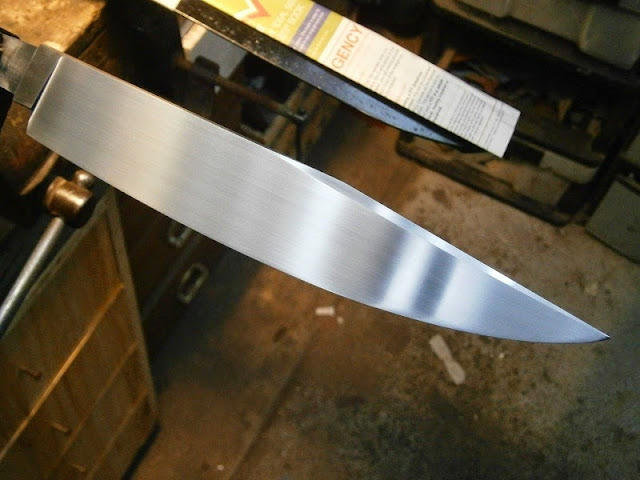
I did 90% of the clean up with the tape still protecting the ricasso, but the final clean up had to be done tape-free.
047.JPG


048.JPG


With the JB weld set I squirted some epoxy in the handle and clamped the knife up in my glue-up fixture. I cleaned up the excess epoxy with Renaissance Wax.
058.JPG


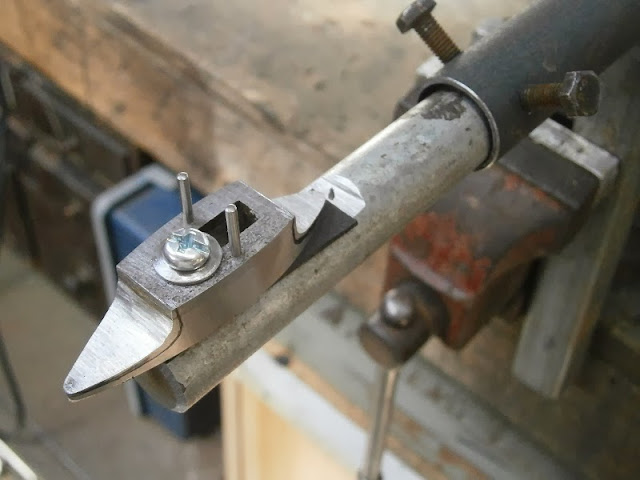
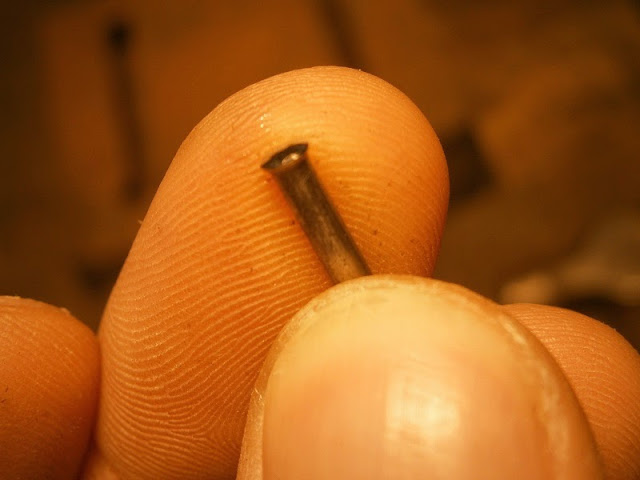
Once the epoxy had cured I installed the pin. This was a nerve wracking process, so I only managed to get a few pics.
I got one side peened before inserting it into the handle with a drop of epoxy.
065.JPG


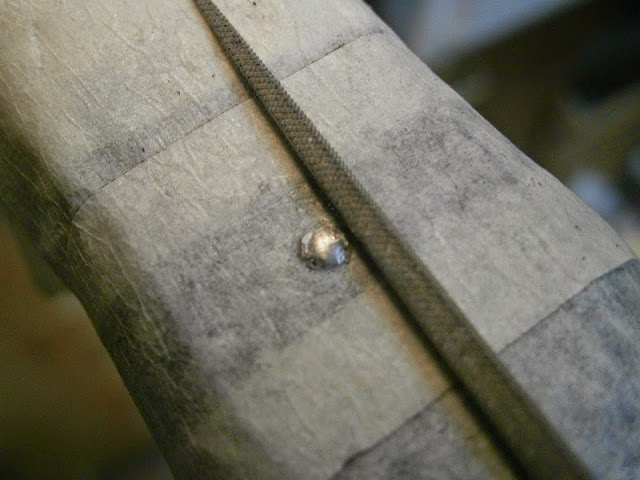
When both ends of the pin were expanded sufficiently, I shaped them with files, then sandpaper, then finally buffed them.
069.JPG
 
Last edited:
That is a beautiful knife and thanks for taking the time to give us a look at your work :thumbup:
 
Status
Not open for further replies.
Back
Top