Bowie Build-along

Status
Not open for further replies.
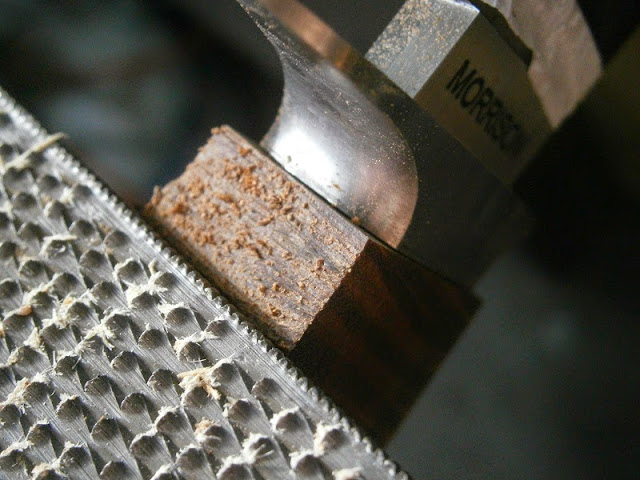
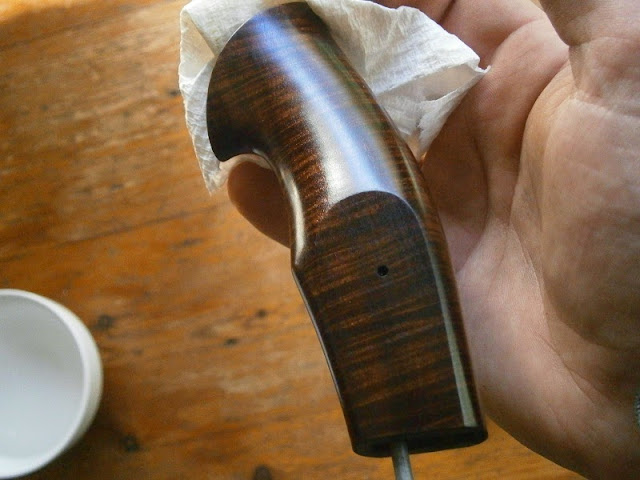
Cleaning up the finish with rubber backed 600 grit.
028.JPG


034.JPG


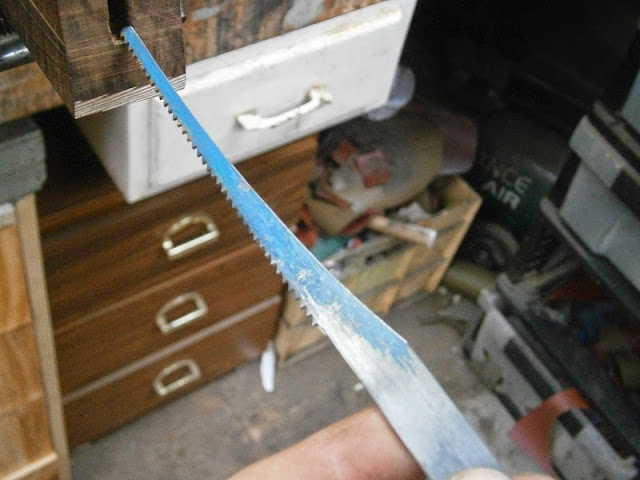
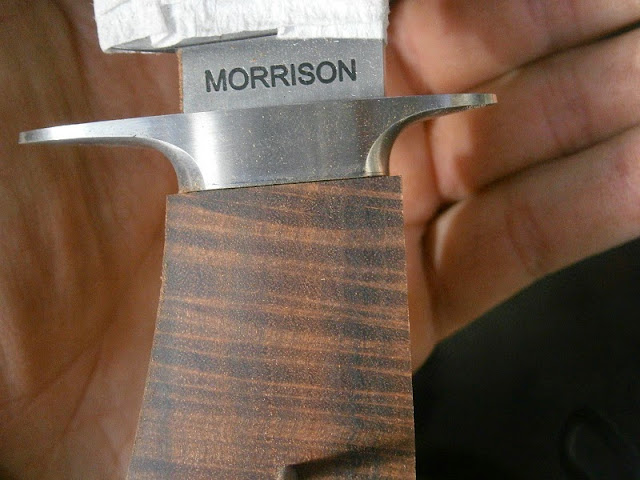
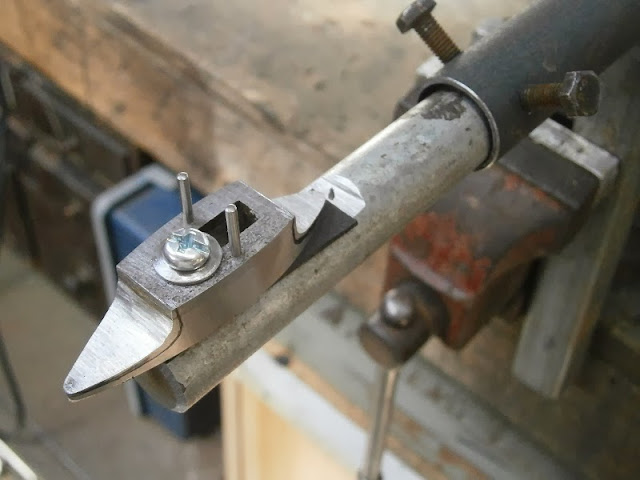
Removing the bulk of the steel with the edge of a 50 girt belt on the contact wheel.
035.JPG


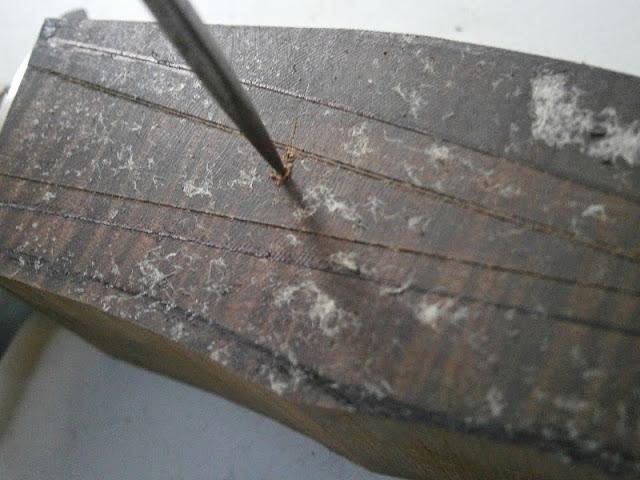
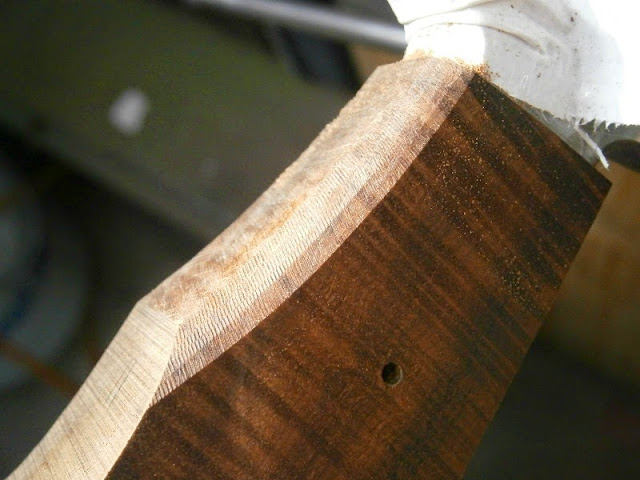
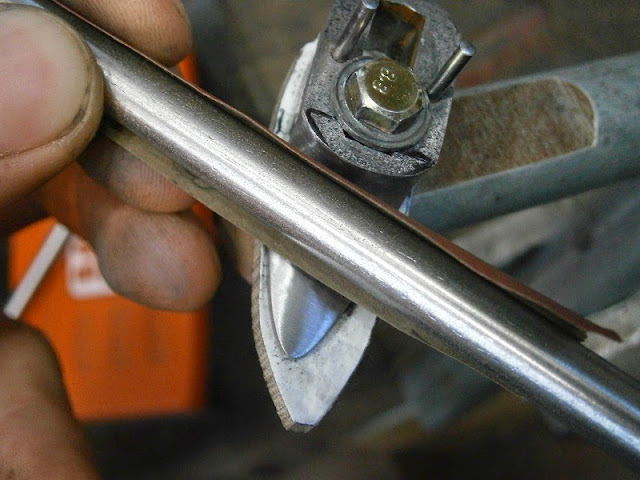
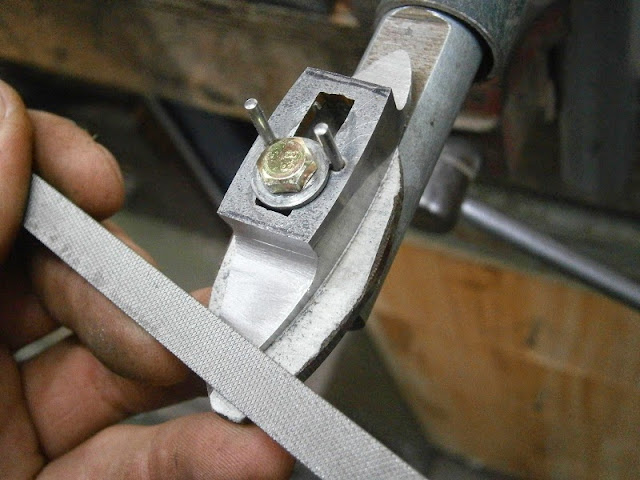
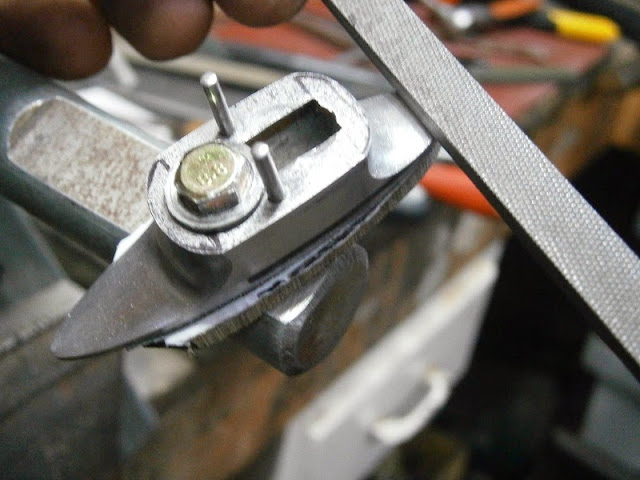
Getting it closer with files.
036.JPG


039.JPG


051.JPG


055.JPG


059.JPG


065.JPG
 
Handle cavity drilled and scraped, filing with my favourite file for a close fit. This block was actually my second attempt; I made the cavity too large on the first, way too large. Still not sure how I managed it.
022.JPG


Here's a handy broach I made from a power hacksaw blade.
023.JPG


033.JPG


Not very ergonomic yet, but it indexes well.
034.JPG


I bedded this handle in with epoxy, so to prevent the tang from getting stuck I coated it with wax.
039.JPG


Waxing the back of the guard.
042.JPG


Epoxy mixed and ready to inject.
045.JPG


Everything clamped down tight in my glue-up fixture (design stolen from Shawn McIntyre).
046.JPG


This photo shows the handle block starting to move after about 15 minutes of trying to remove the tang from the hardened epoxy. It's a very tight fit at this point.
050.JPG
 
 
Getting the guard shape set before starting the handle shaping.
001.JPG


002.JPG


Deciding on the handle dimensions.
011.JPG


A bit of marking out.
013.JPG


Grinding to just shy of the lines.
014.JPG


The wood was too dark to see my handle profile, so I glued down some 'craft paper' and drew on that.
019.JPG


Roughly profiled with the grinder, I can do the rest by hand.
021.JPG
 
Pin hole location marked.
023.JPG


Clamped by the ricasso in the drilling fixture. I use my height scribe to make sure the blade is clamped correctly (so that the hole will be perpendicular).
024.JPG


025.JPG


Drilled.
029.JPG


At this point I scribed some lines to help keep everything symmetrical during the handle shaping.
032.JPG
 
Outlining the guard so I know where not to grind.
033.JPG


035.JPG


Marking out the thickest part of the handle.
037.JPG


Butt template.
040.JPG


Butt template action shot.
041.JPG


047.JPG


Establishing the 'flats' of the handle with a rubber backed 320 grit disc.
049.JPG


Still plenty to remove.
051.JPG


055.JPG


I use the flats as a sort of reference for the rest if the handle shaping, so I take them to a 600 grit disc finish straight away.
056.JPG
 
Will, really informative. I can now appreciate why your knives are so perfect with great finish and fit! Keep up the great work.
 
Again, outlining the guard so I know where to stop grinding/filing.
060.JPG


A rasp removes a lot of material in a hurry.
063.JPG


Still too wide, but I can dial it in with something less aggressive.
064.JPG


Beginning the contouring with my go-to file.
067.JPG


068.JPG


Some more rough contouring.
075.JPG


I like to use templates to help me keep everything symmetrical from side to side.
078.JPG


079.JPG


082.JPG
 
Butt faceted, it will later be rounded completely with files.
088.JPG


I try to avoid rounding and blending prematurely, flat planes are easier (for me) to keep symmetrical.
091.JPG


094.JPG


Completing the shaping of the top and bottom of the handle.
102.JPG


I use a variety of different sanding sticks for this gentle inside curve.
103.JPG


105.JPG


108.JPG


Next template.
109.JPG
 
Starting to blend everything in, but still working methodically to retain symmetry.
115.JPG


Time to get rid of these corners.
117.JPG


New template.
118.JPG


120.JPG


Filing off the corners, and blending the curves.
121.JPG


123.JPG
 
Very nice work. I too find that crazy eyes helps when filing a guard slot.

What are you using to hold the guard down as you file it? I see the bolt and washer, is that threaded through a rod or something?
 
I enjoy your work immensely. I picked up a few tricks for the handle symmetry. Thanx! :thumbup:
 
Very nice work. I too find that crazy eyes helps when filing a guard slot.

What are you using to hold the guard down as you file it? I see the bolt and washer, is that threaded through a rod or something?

Thanks mate. Having crazy eyes is the key to accurate guard slots.

Here's a better picture of the guard shaping fixture:

007%2520%25283%2529.JPG


There's a threaded hole in the round bar.
 
Blending the butt facets.
002.JPG


Shaping up nicely.
006.JPG


Action shot!
008.JPG


'Like a glove'
014.JPG


024.JPG


Once the contours are as good as I can get them with files, I switch to sandpaper. This is some pretty aggressive 120 grit PSA paper.
026.JPG


027.JPG


030.JPG


All the contouring should be where I want it by the time I'm finished with 320 grit; from there it's just a matter of sanding to 600, and then 800.
032.JPG


035.JPG


036.JPG


039.JPG


Here it is at 800 grit.
041.JPG


Hit it with some 0000 steel wool.
047.JPG


Scandinavian oil applied with steel wool.
050.JPG


Wiped clean once the oil started to go gummy.
054.JPG
 
While the first coat of oil was drying I finished the guard. I started with the underside of the... branches? lugs? I don't know what the right terminology is, but I sanded them up to 1200 grit and then buffed.
056.JPG


062.JPG


Top face masked while I buff off the sharp edge. Thanks to Peter Del Raso and Shawn McIntyre for this trick.
064.JPG


066.JPG


Cleaning up the satin finish on the sides of the guard.
071.JPG


Finishing the top face.
076.JPG


All done.
079.JPG


Status
Not open for further replies.
Back
Top